When I was growing up, we had piñatas for our birthdays — made from scratch. My parents would go through the whole papier mache process: Blowing up a balloon, pasting over with strips of newspaper, covering with tissue paper. As we got older, we'd help out. I still love the idea of traditionally made piñatas, but it's hard to find the time to make them. Not to mention, they're actually really hard for little kids to break! So when I came across the idea of making a piñata from a paper bag, I got excited. Here's a way to make this craft simpler, faster, and even easier to break.
Here's Do It, Gurl demonstrating how to make a paper bag piñata.
Embedded content: https://www.youtube.com/watch?v=v5DZ186PLY4
6 Steps to Make the Easiest Piñata Ever
1. Stuff a Paper Bag With Candy
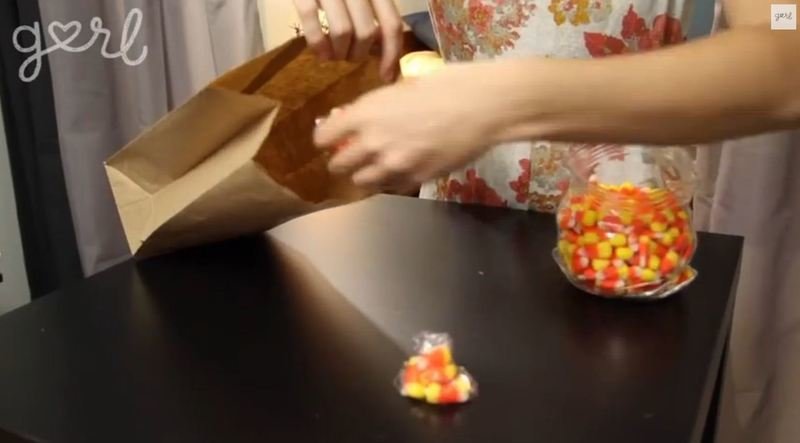
You can use any size paper bag — it all depends on how big you want your piñata to be. Start by filling your bag halfway full with candy. Make sure the candy is individually wrapped (snack-sized bags instead of just pouring M&M's right in).
2. Fill the Rest With Newspaper
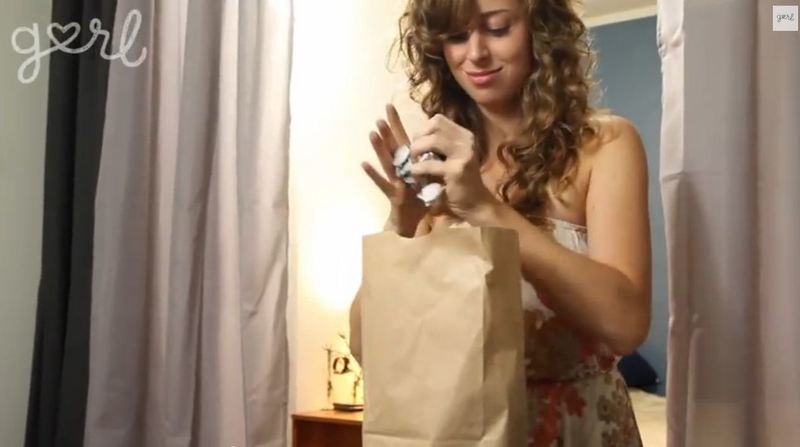
Fill the rest of the way up with crumpled pieces of newspaper. Leave a little room at the top for folding.
3. Staple Top Shut
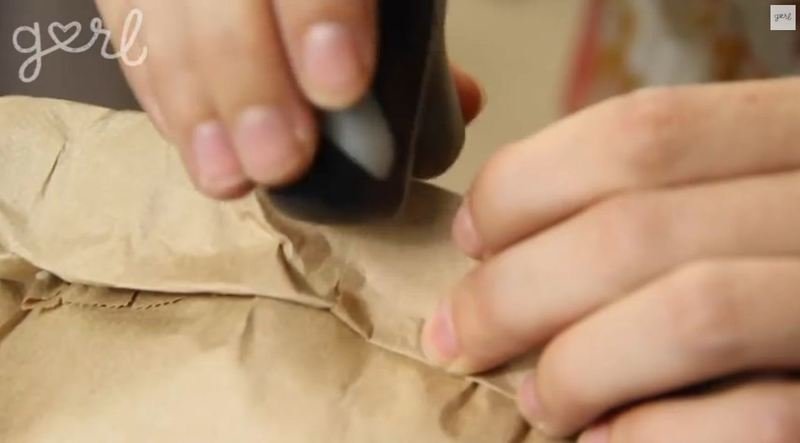
Fold the top down and crease well. Then staple across the top so it's securely shut.
4. Reinforce With Duct Tape
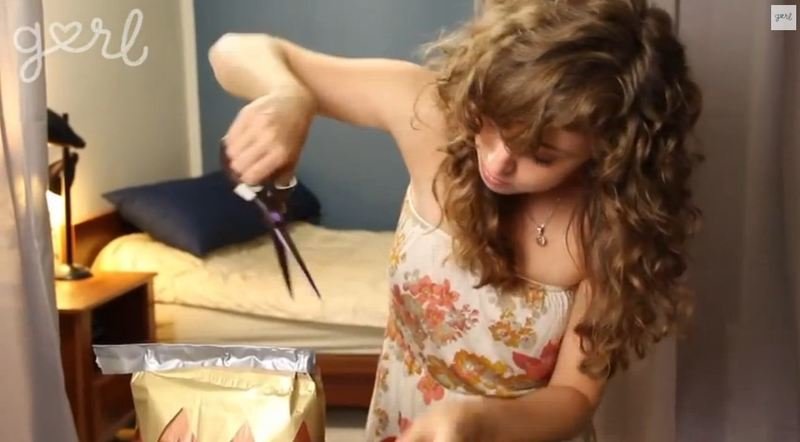
Tape over your fold and the top with duct tape. (In the video she does this after decorating, but I think it would look better if the top is reinforced first; then maybe cover at least some of the tape with tissue paper.)
5. Decorate Your Piñata
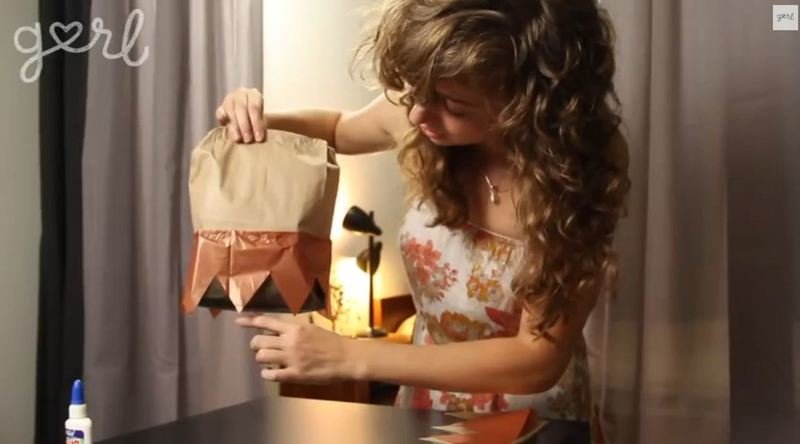
Now the fun part! Glue on tissue paper to decorate your piñata. In the video you'll see how to make an owl. But you could do just about anything, including just stripes running across in your favorite colors.
6. String Up Your Piñata
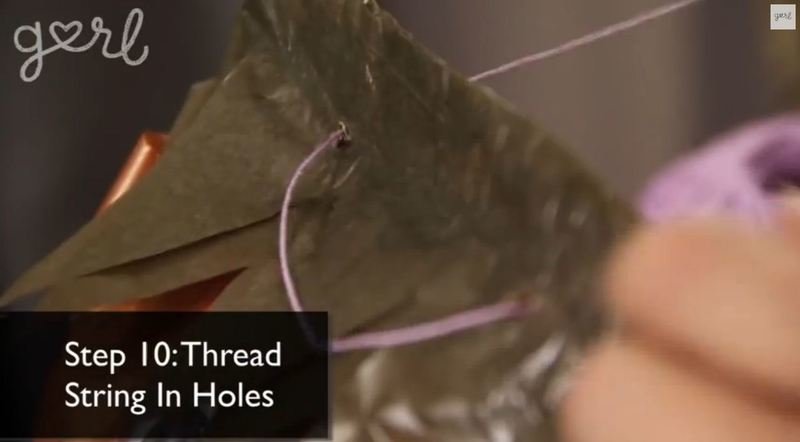
Punch two holes in the reinforced top of your piñata, each 2 to 3 inches from the edge. Run string through those holes, and then string up your piñata. (This is her step 10, but that's because she breaks down the steps for making an owl.) Now you're ready to par-tay!


