Floral centerpieces can really make a table look like a million bucks. They can also get very pricey, which is why you might want to learn how to make them yourself. Recently, I had the opportunity to attend a private floral design class that was such an amazing time full of fresh blooms, good wine, and all the decorating-with-flowers tips my heart could handle.
Master florist George Catechis and the team at The Fleuriste were gracious hosts, who offered such a wonderful opportunity to try a floral design class (retails around $100) for free.
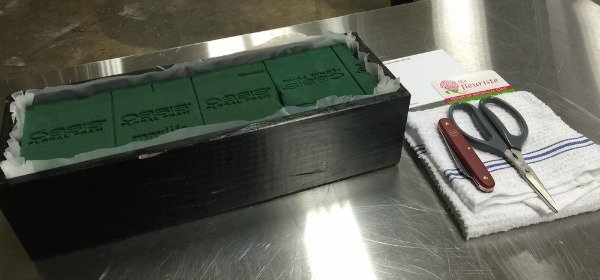
Each floral design station had a small flower box with foam, a florist knife (you can buy one for $10), and bonsai shears to use. Catechis stressed the importance of using quality supplies, as they'll help prolong the life of your blooms.
"Don't go cheap on floral bricks," Catechis warned.
For our floral event, we used Oasis Floral Foam Bricks, which many in the industry rate as one of the best. They're biodegradable, eliminate the need for taping bricks together (thank God for that), and are designed to evenly distribute water and nutrients.
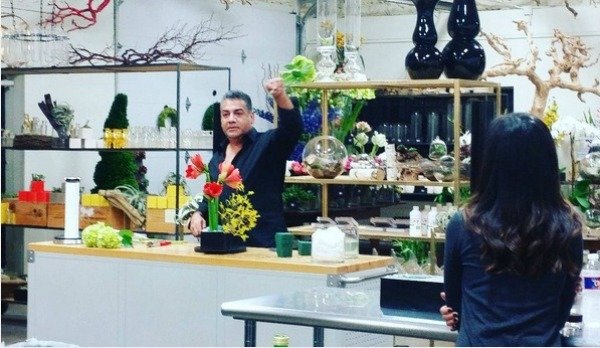
Another tip Catechis gave was to think about your flower placement before inserting them into the foam. Once the hole is made in the foam, don't take out your flower and put it back in. The second try will create a wider opening and you'll lose full support for your flowers.
With shears in my hand and a bandage on my finger (yeah, I cut my thumb trying to open the knife — I'm clumsy), I was ready to get my design on.
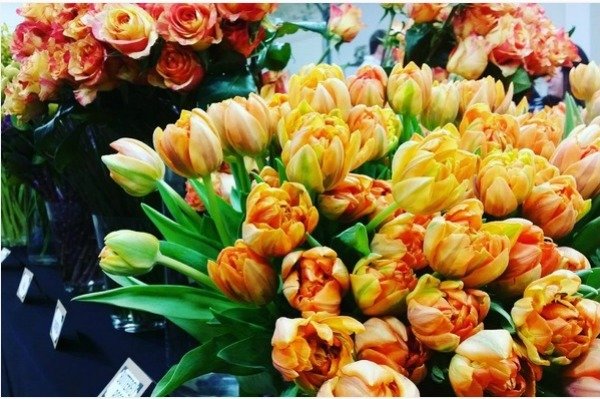
Our arsenal of blooms for the evening were amaryllis, anigozanthos, apple hydrangeas, mango calla lilies, kale (prettier than the kind you buy at the store), coxcomb, butterfly roses, tulips (my favorite), dubium, craspedia, olive branches, acacia, and geranium.
With the objective of creating layers through height and texture, Catechis recommended we add the amaryllis to our flower bricks first. This was the only bloom that required a flower knife to cut (all others could be cut using bonsai shears) — and he suggested a straight cut on these, by the way, not on a diagonal or slant.
More from The Stir: 10 Easy Thanksgiving DIY Centerpieces (PHOTOS)
The amaryllis has a hollow stem, so you want to give it as much support and water as possible. We filled the tubular stem with water and added a stick (cut to the length of the stem) inside for support and then inserted a cotton ball to help retain moisture.
I placed two amaryllis flowers on one side of my flower box (heads facing away from each other so they can open up) and then cut one down to about four inches in height for the opposite side.
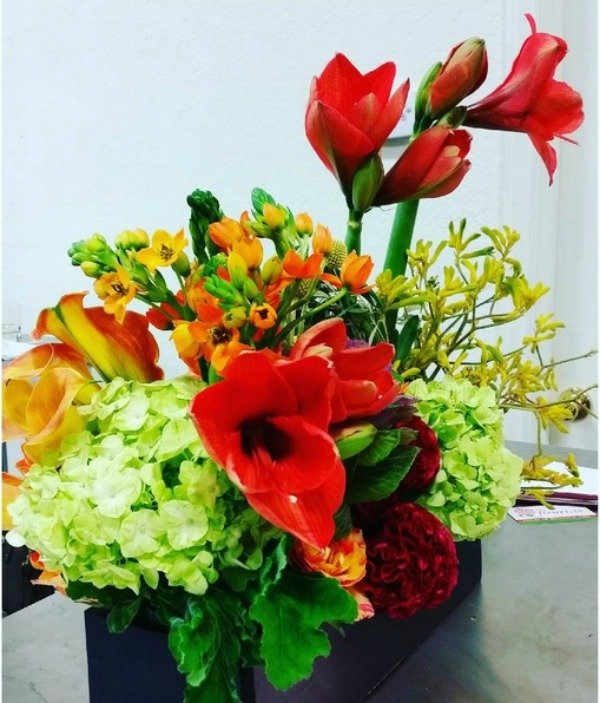
The rest of the flowers were easy to add, as they only required a diagonal cut with the bonsai shears (you can use a floral knife, but we weren't getting along … ). I kept all "bushy" flowers, like the hydrangea and coxcomb, closer to the base, or bottom of the flower box, to create fullness. Then the tulips, roses, and kale were inserted throughout my design to help fill in any major gaps. The anigozanthos, dubium, craspedia, and pieces of an olive branch helped achieve height.
As for the calla lilies, Catechis suggested they be inserted at one end of the arrangement so they could have a draping effect against the rest of the flowers in my design.
All in all, this was a really fun event that ended with a super-cool centerpiece for my dining room table.
To summarize, here are all the awesome tips I learned for creating a DIY floral centerpiece. Hope these tricks come in handy for you!
1. Equip yourself with a flower knife and bonsai shears. Regular scissors aren't recommended.
2. Choose quality floral foam.
3. Remove discolored and unnecessary leaves from each flower before inserting into your arrangement.
4. Think about flower placement before you place a bloom into the floral brick. Once the flower is placed in the foam, it shouldn't be removed and reinserted.
5. Flowers with hollow/tubular stems might require a stick for support. Cut stick to size and place inside stem — along with water and a cotton ball. Gently push inside flower foam brick.
6. Push flowers no more than two inches into floral brick (they don't need to go in super deep).
7. Consider placing "bushy" flowers closer to base of flower box. This will allow sparser blooms to be more visible.
8. Use flowers with thicker heads or more noticeable blooms (tulips, roses) to fill empty areas.
9. Allow calla lilies to cascade from one end of the flower box.
10. 7-Up and other lemon-lime sodas, with three parts water, can help maintain the life of flowers. Don't use colas, as these can be too acidic.
Images via Tanvier Peart; wikicommons/Christine Matthews


