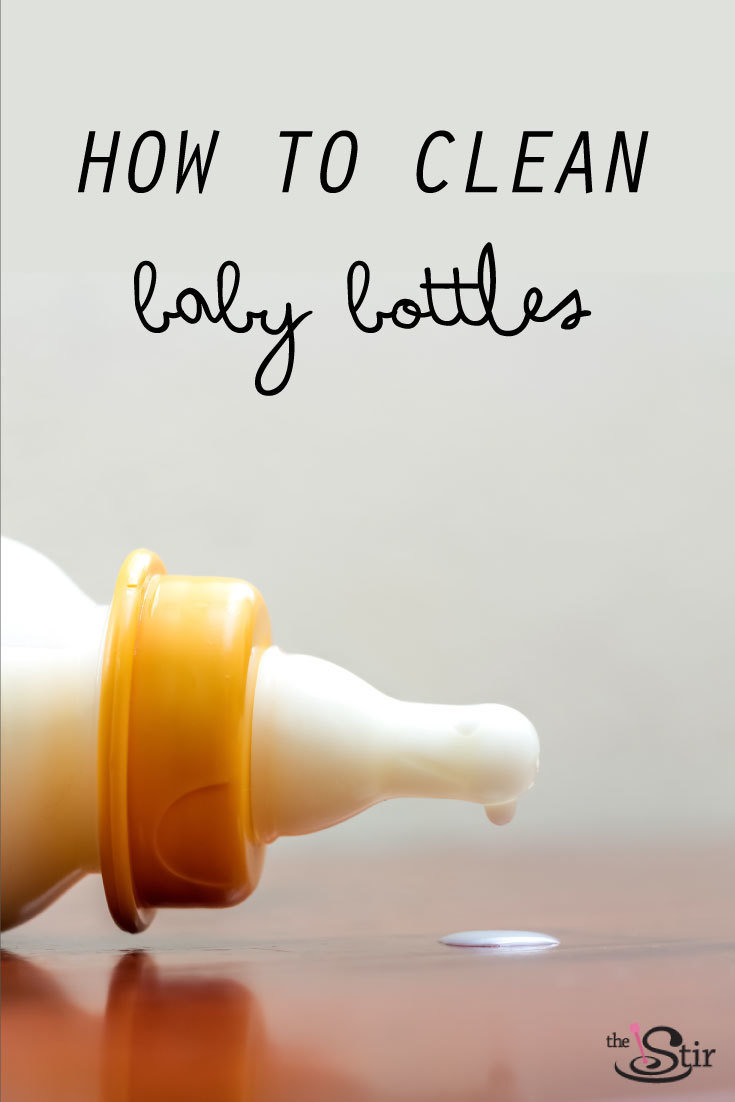
If you've ever found a forgotten baby bottle at the bottom of your diaper bag (or under the couch — don't judge), you've probably wondered if the grungy thing can be salvaged. Even if you're an organized parent who never misplaces a bottle, you may still be on the lookout for ways to get them their cleanest.
Let's face it: Sometimes, despite plenty of scrubbing, those bottles can still look a little gray and dingy. So, just how do you restore them to their original clear, and banish the cloudy? Once upon a time, parents were told to sterilize baby bottles after each use. Not only is that process time-consuming, but the American Academy of Pediatrics has deemed regular sterilization no longer necessary as long as your water supply is safe.

Still, you want your baby's bottles to be as germ-free as possible. Here are five tips that'll have them looking and smelling good as new.
1. Take the bottles apart completely. Blogger Laura Beth of A Step in the Journey says with two kids under 21 months old, she was often "drowning in baby bottles and sippy cups." The DIY guru and home renovator says the first step in getting bottles their cleanest is to separate each component.
Believe us, we know how much work this is, but if you don't take each bottle apart completely, water or milk may be trapped inside — and before you know it, mold can end up growing. Once they've been washed, allow each piece to dry completely before reassembling. A drying rack is an ideal solution. Also, be sure you've thoroughly washed and dried your hands before preparing your little one's next bottle.
2. Rinse thoroughly. If you don't have time to wash your baby's bottle as soon as she's done with it, take a second to rinse it with soapy water. Though many parents rely on the dishwasher to get bottles clean, it's still a good idea to rinse each piece before popping it in the machine. If you don't run your dishwasher until after dinner, those bottles and nipples will start to smell over the course of the day. A simple rinse can go a long way to eliminating odors and crusty milk or formula residue. Once that milk dries and hardens, it gets harder to clean. Trust us!
More from The Stir: 6 Simple Strategies for Quick & Easy Fridge Cleaning
3. Use a dishwasher basket for smaller pieces. Once you've checked the manufacturer's instructions to make sure your bottles are dishwasher-safe, you'll want to keep the small pieces contained in a dishwasher basket on the machine's top rack, advises Laura Beth. Use heated water (above 140 degrees) and a hot drying cycle, EatRight.org suggests for optimum cleaning.
4. Invest in a bottle and nipple brush. It can be a real challenge to get nipples their cleanest. A bottle and nipple brush will be your best ally in scrubbing those hard-to-reach spots. Just remember, this tool should only be used on your baby's bottles. Putting it to work on other items can cause cross-contamination.
5. Baking soda and vinegar help with lingering odors. No matter how fastidious you are about cleaning those bottles, there's still a chance they're going to smell. If milk is the culprit, add a spoonful of baking soda to the bottle and fill it halfway with hot water. Put it back together and then shake that bottle for two minutes. Pour out the solution and then clean it as you normally would.
If juice has left an unwanted sweet smell behind, you can create a solution using equal parts hot water and white vinegar. Give it 20 minutes and the bottle should smell good as new, though you'll still want to wash it thoroughly following the steps above. This vinegar-water combo can also help remove that unattractive cloudy hue clear bottles sometimes have.
Getting your little one's bottles their cleanest often feels like a real labor of love, but your baby deserves nothing less.
Image via Kumpol Chuansakul/Shutterstock


