If there's one thing I'm opinionated about, it's highlights.
I can rattle on about the time and budget required to maintain the sun-kissed look, not to mention how damaging it can be to the hair’s structure. So, imagine my surprise when I discovered that highlights can be achieved safely at home (for a tenth of the salon cost) in less than half the time. I was immediately intrigued.
Two things became clear when I asked a hair stylist about at-home highlights: 1.) the kit should be ammonia free, 2.) highlights should be done by a professional.
The first piece of advice was easy enough to follow. After over a decade of frying my hair, I didn’t need ammonia, a known beauty offender, adding to its decay. As for the second, I was committed to going rogue and highlighting my hair in the comfort of my own home. With nothing but my own two amateur hands, I was determined to confirm if pricey and time-consuming visits to the hair salon for lighter locks are worth it.
For a meager $16, this Tints of Nature hair highlight kit helped me see the light, literally.
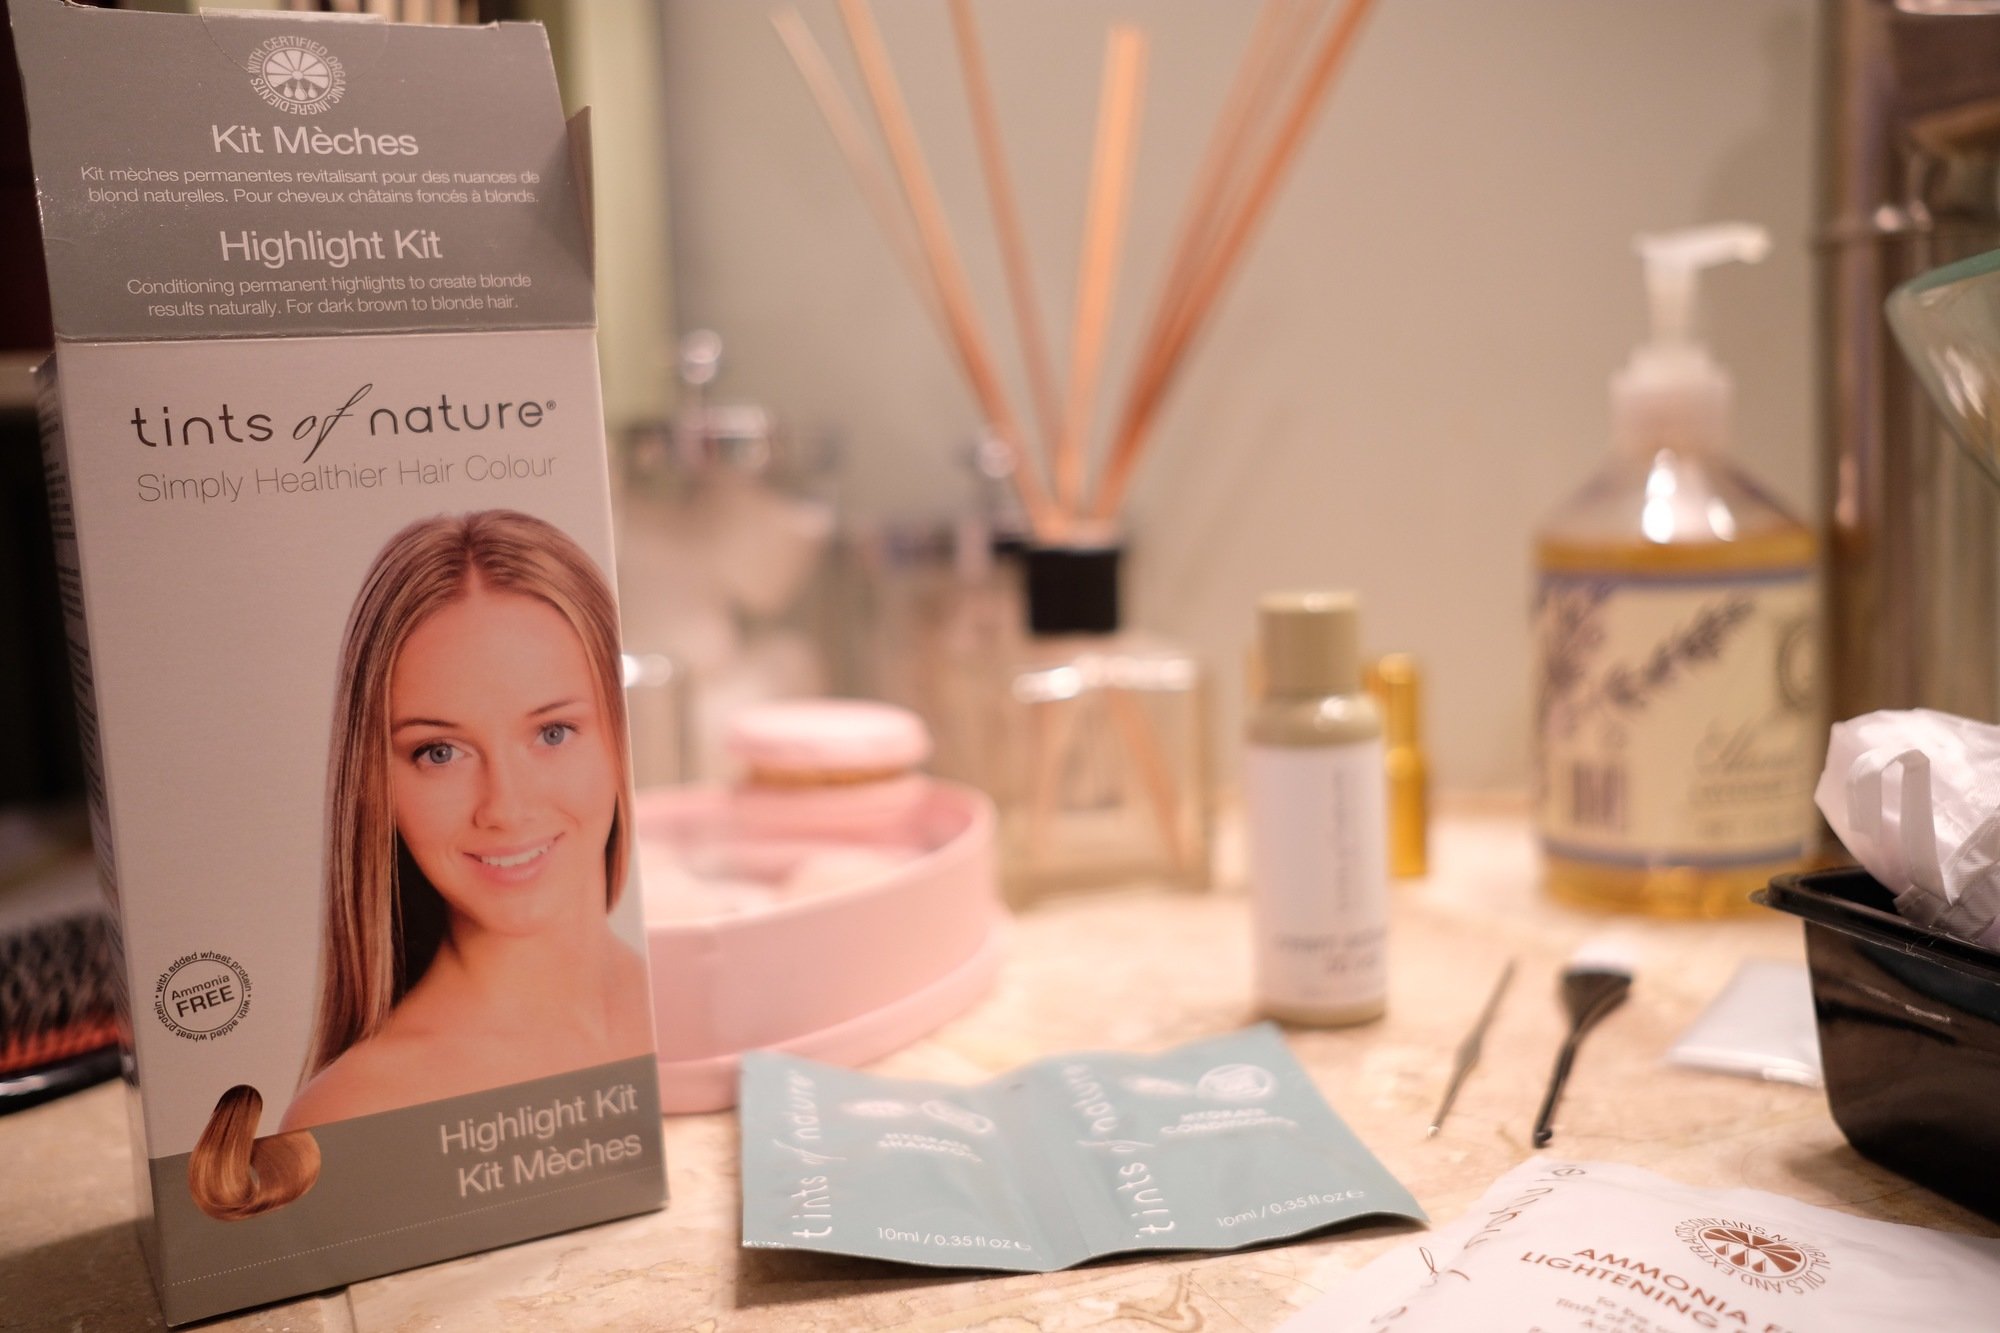
I was surprised at how well the kit took my dark mane to blonde ambition in 30 minutes.
By following this guide from one of my go-to hair gurus, Kristin Ess, I not only succeeded in highlighting my hair at home, I look forward to the next refresh.
The kit is petite and easy to use.
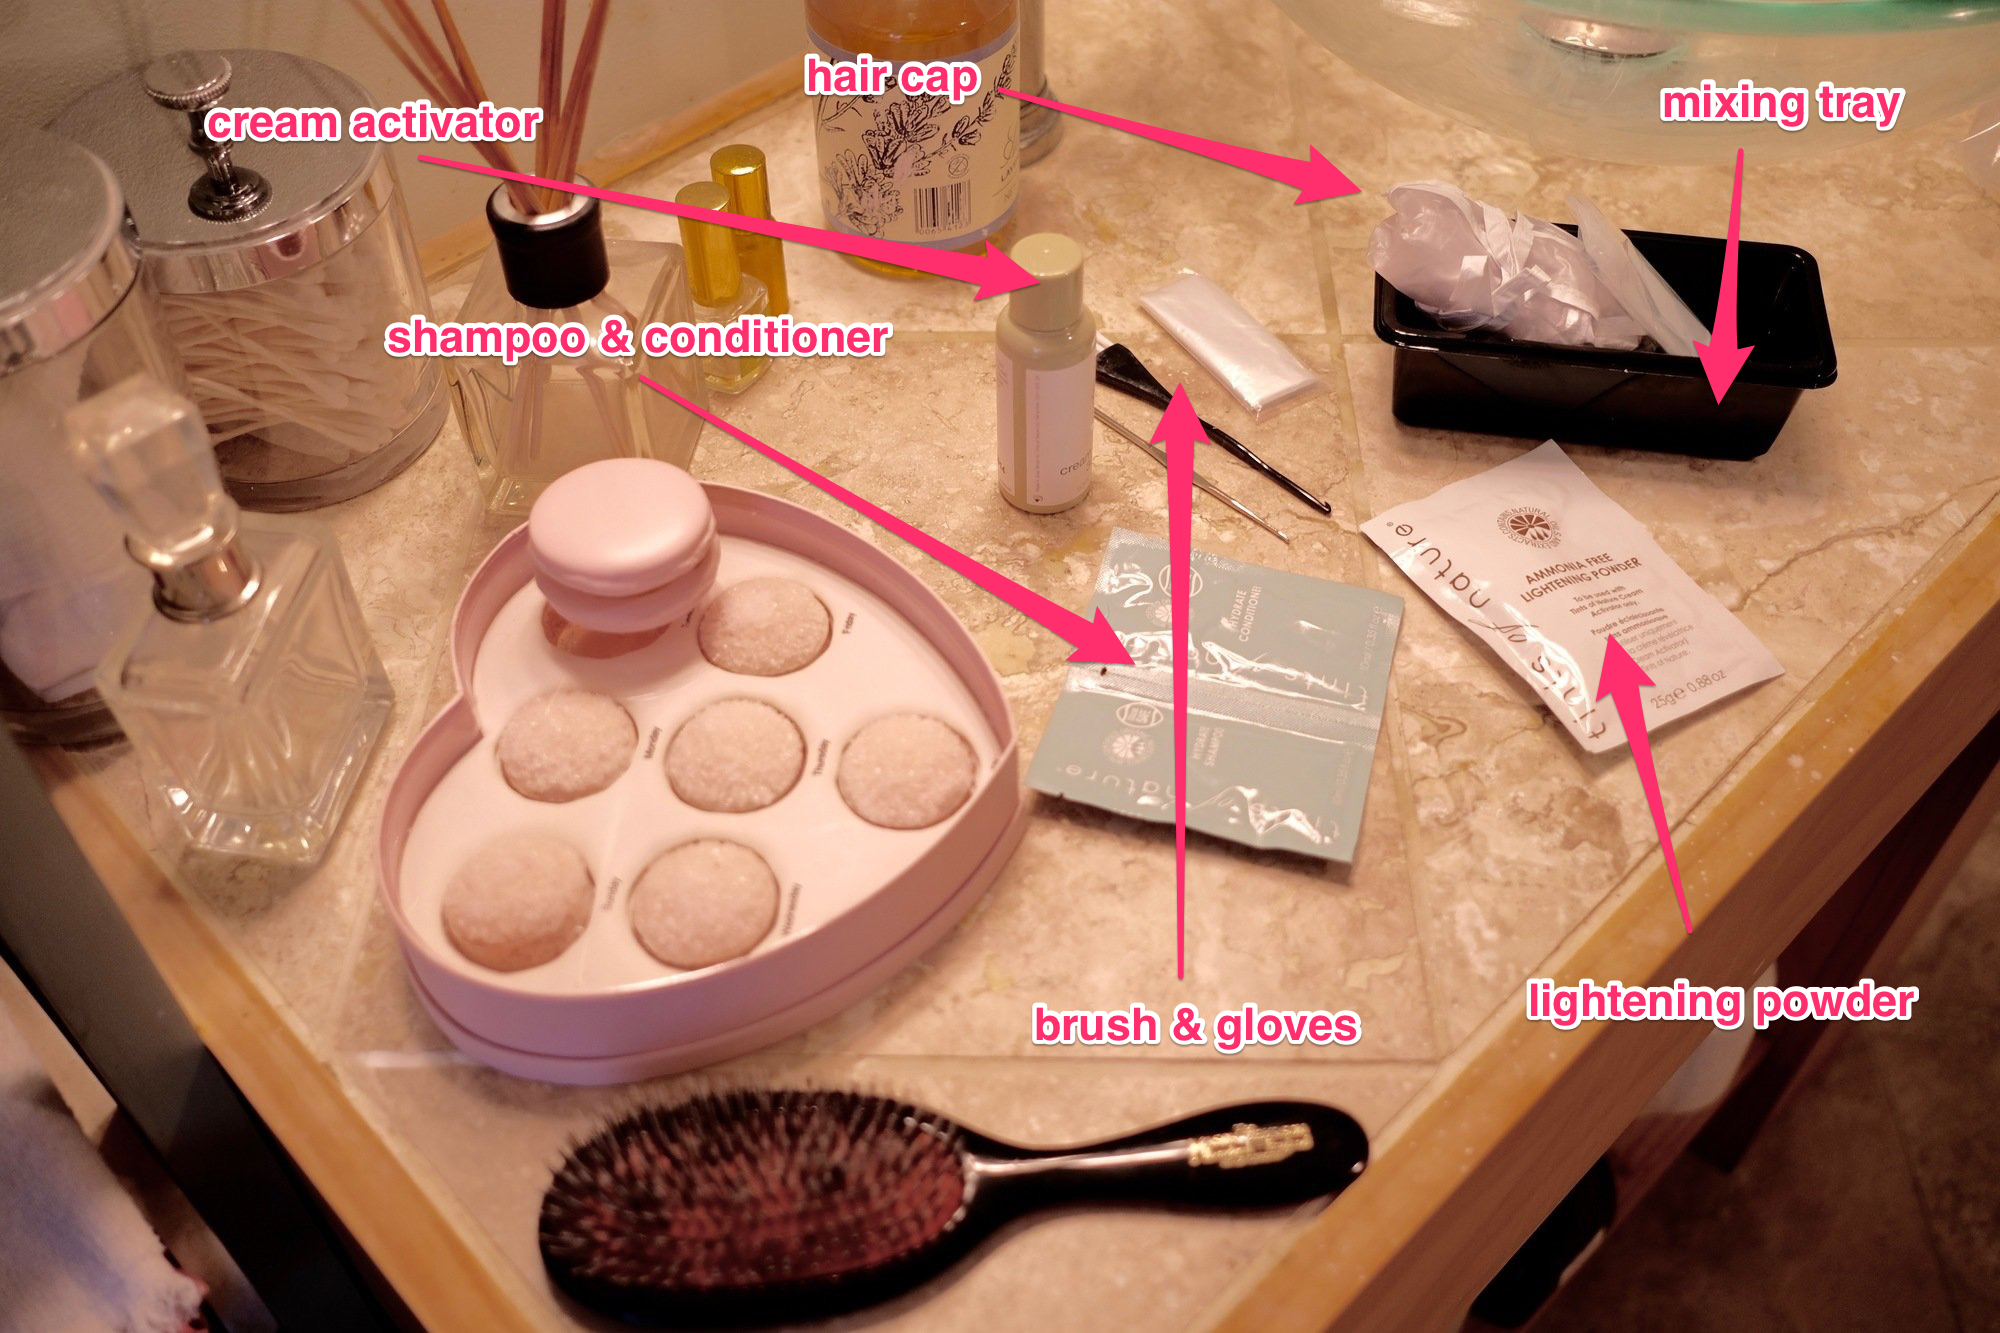
It comes with shampoo and conditioner, ammonia-free lightening powder, cream activator, a brush, a hair cap I didn’t use, plastic gloves, a mixing tray, and instructions that proved useful during the process.
I wore an old shirt in case of splattering, but there was no such mess. As I mixed the cream activator with the lightening powder, I smelled a subtle chemical odor, but it never grew worse than that.
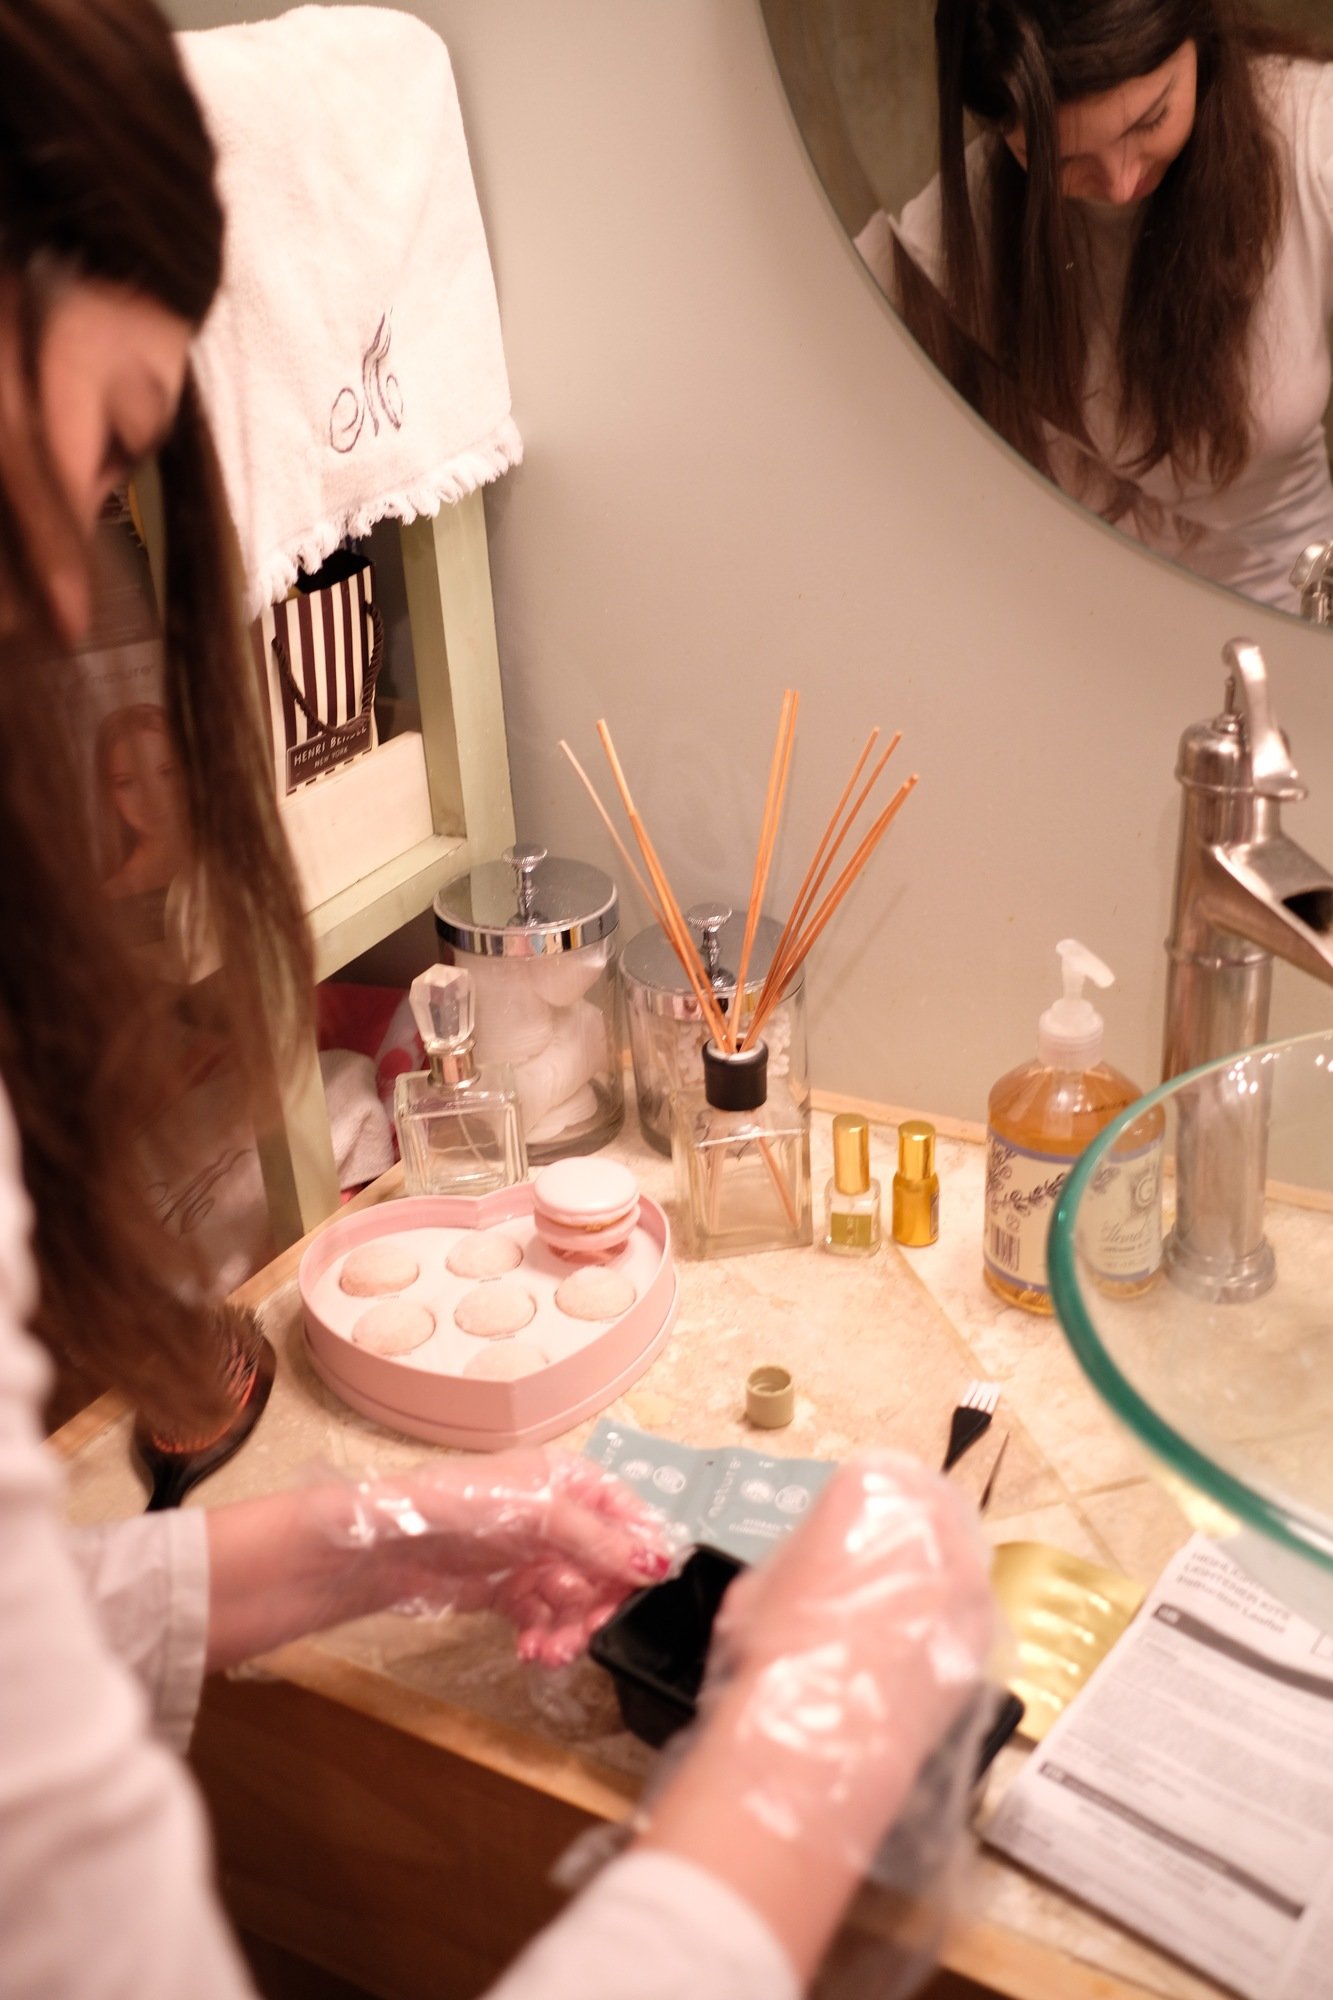
The components mixed together smoothly and resulted in a thick texture not unlike mousse.
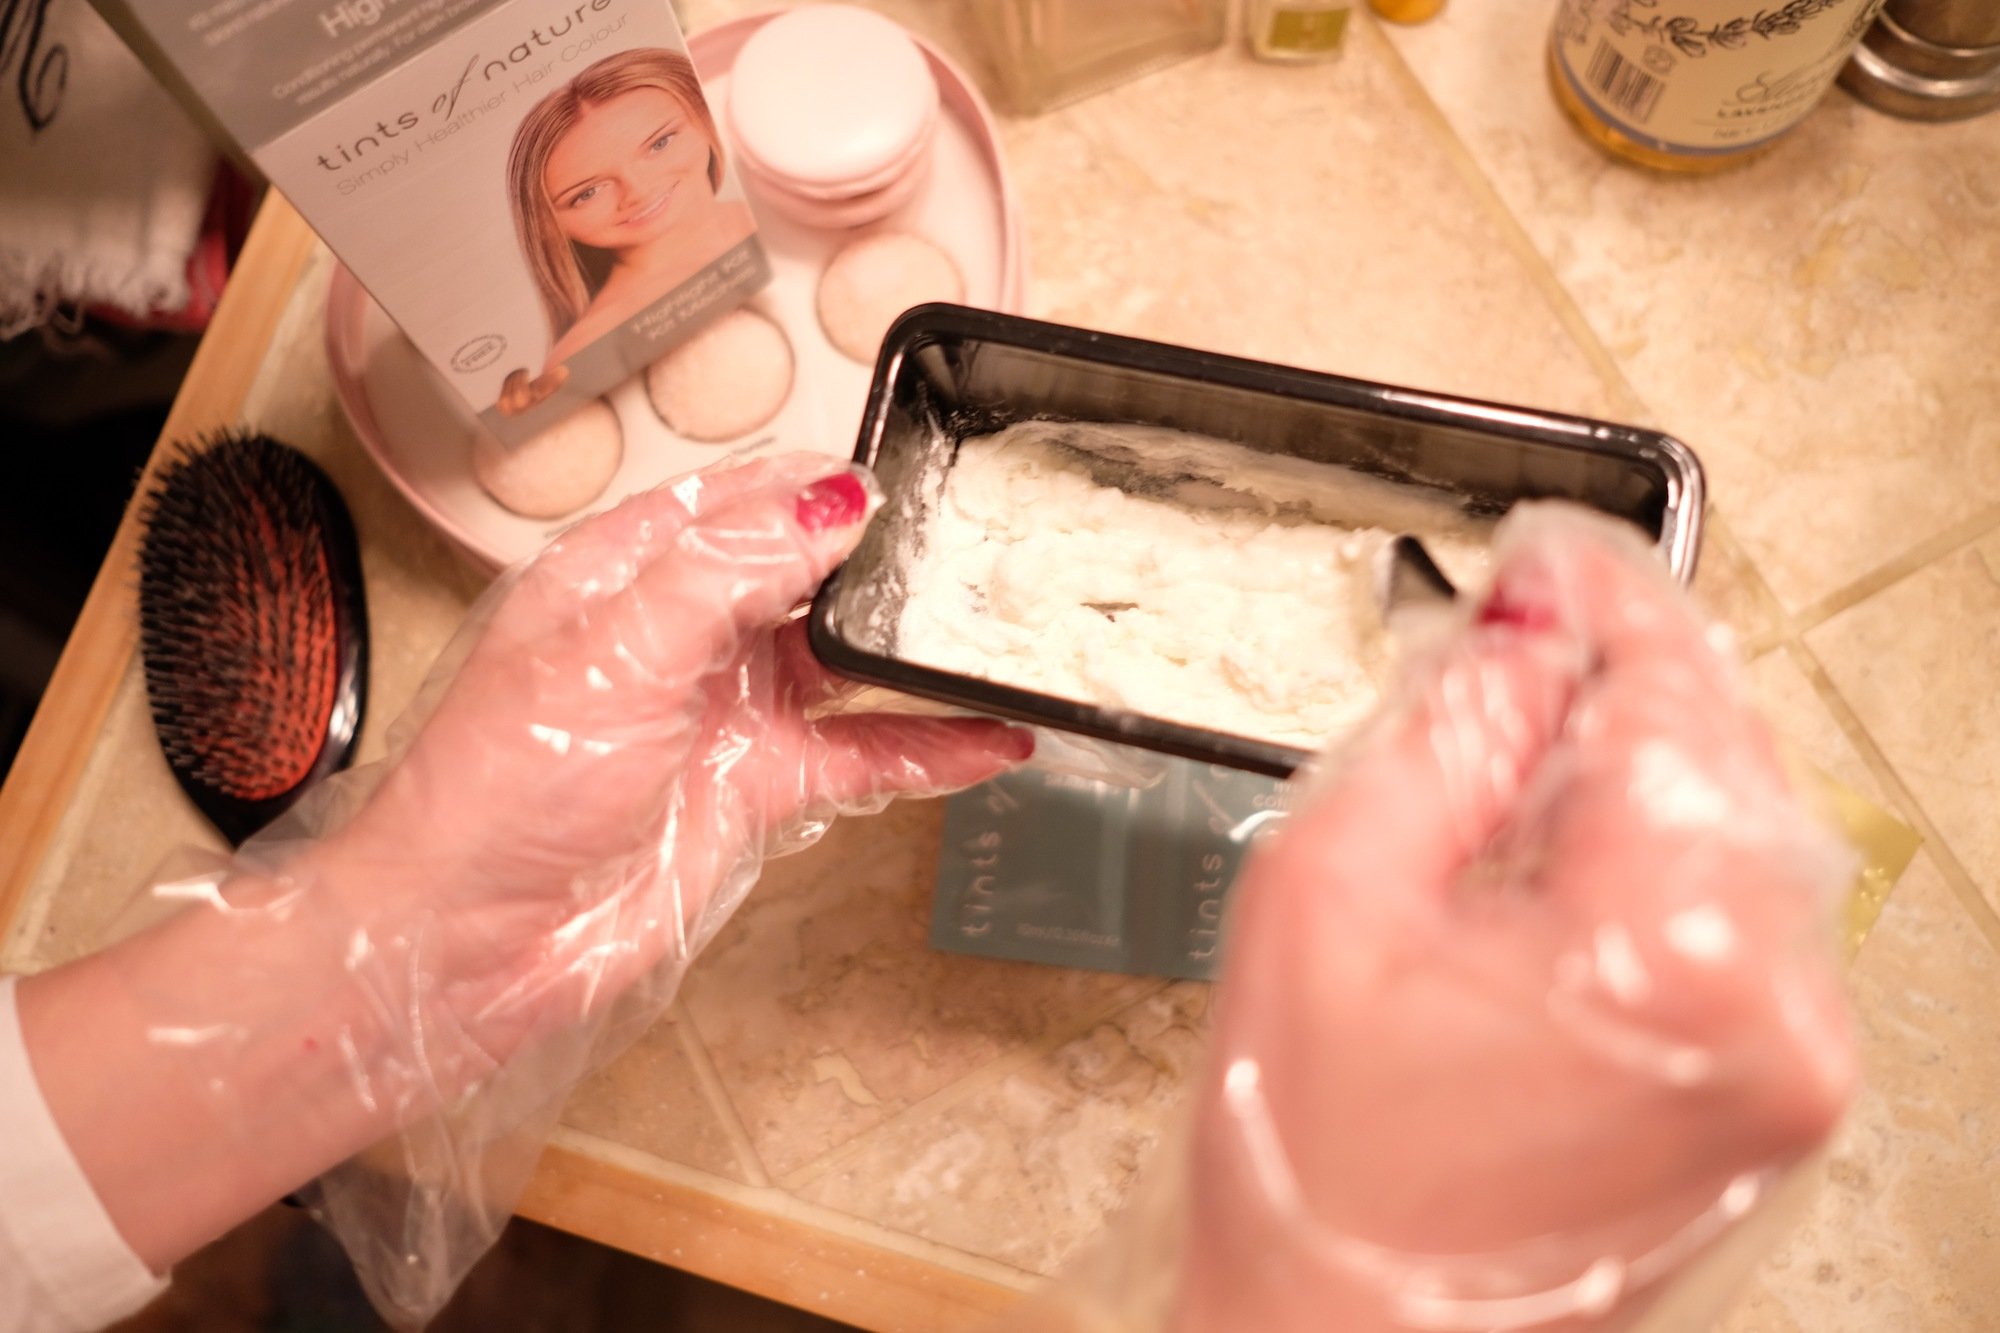
After achieving the desired texture, (mix until the graininess dissolves), I was almost ready to start painting.
I sectioned off the hair I wouldn’t be highlighting with a hair parting tool and my own hair clips.
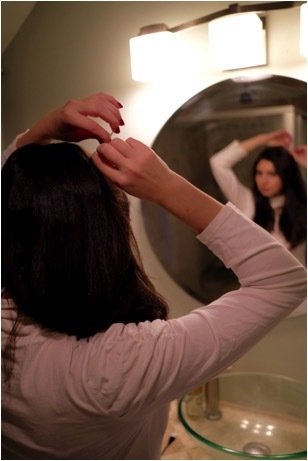
Before I went to town on some face-framing pieces in the front, I played around with the parts of my head I’d be highlighting so I could envision what it would look like.
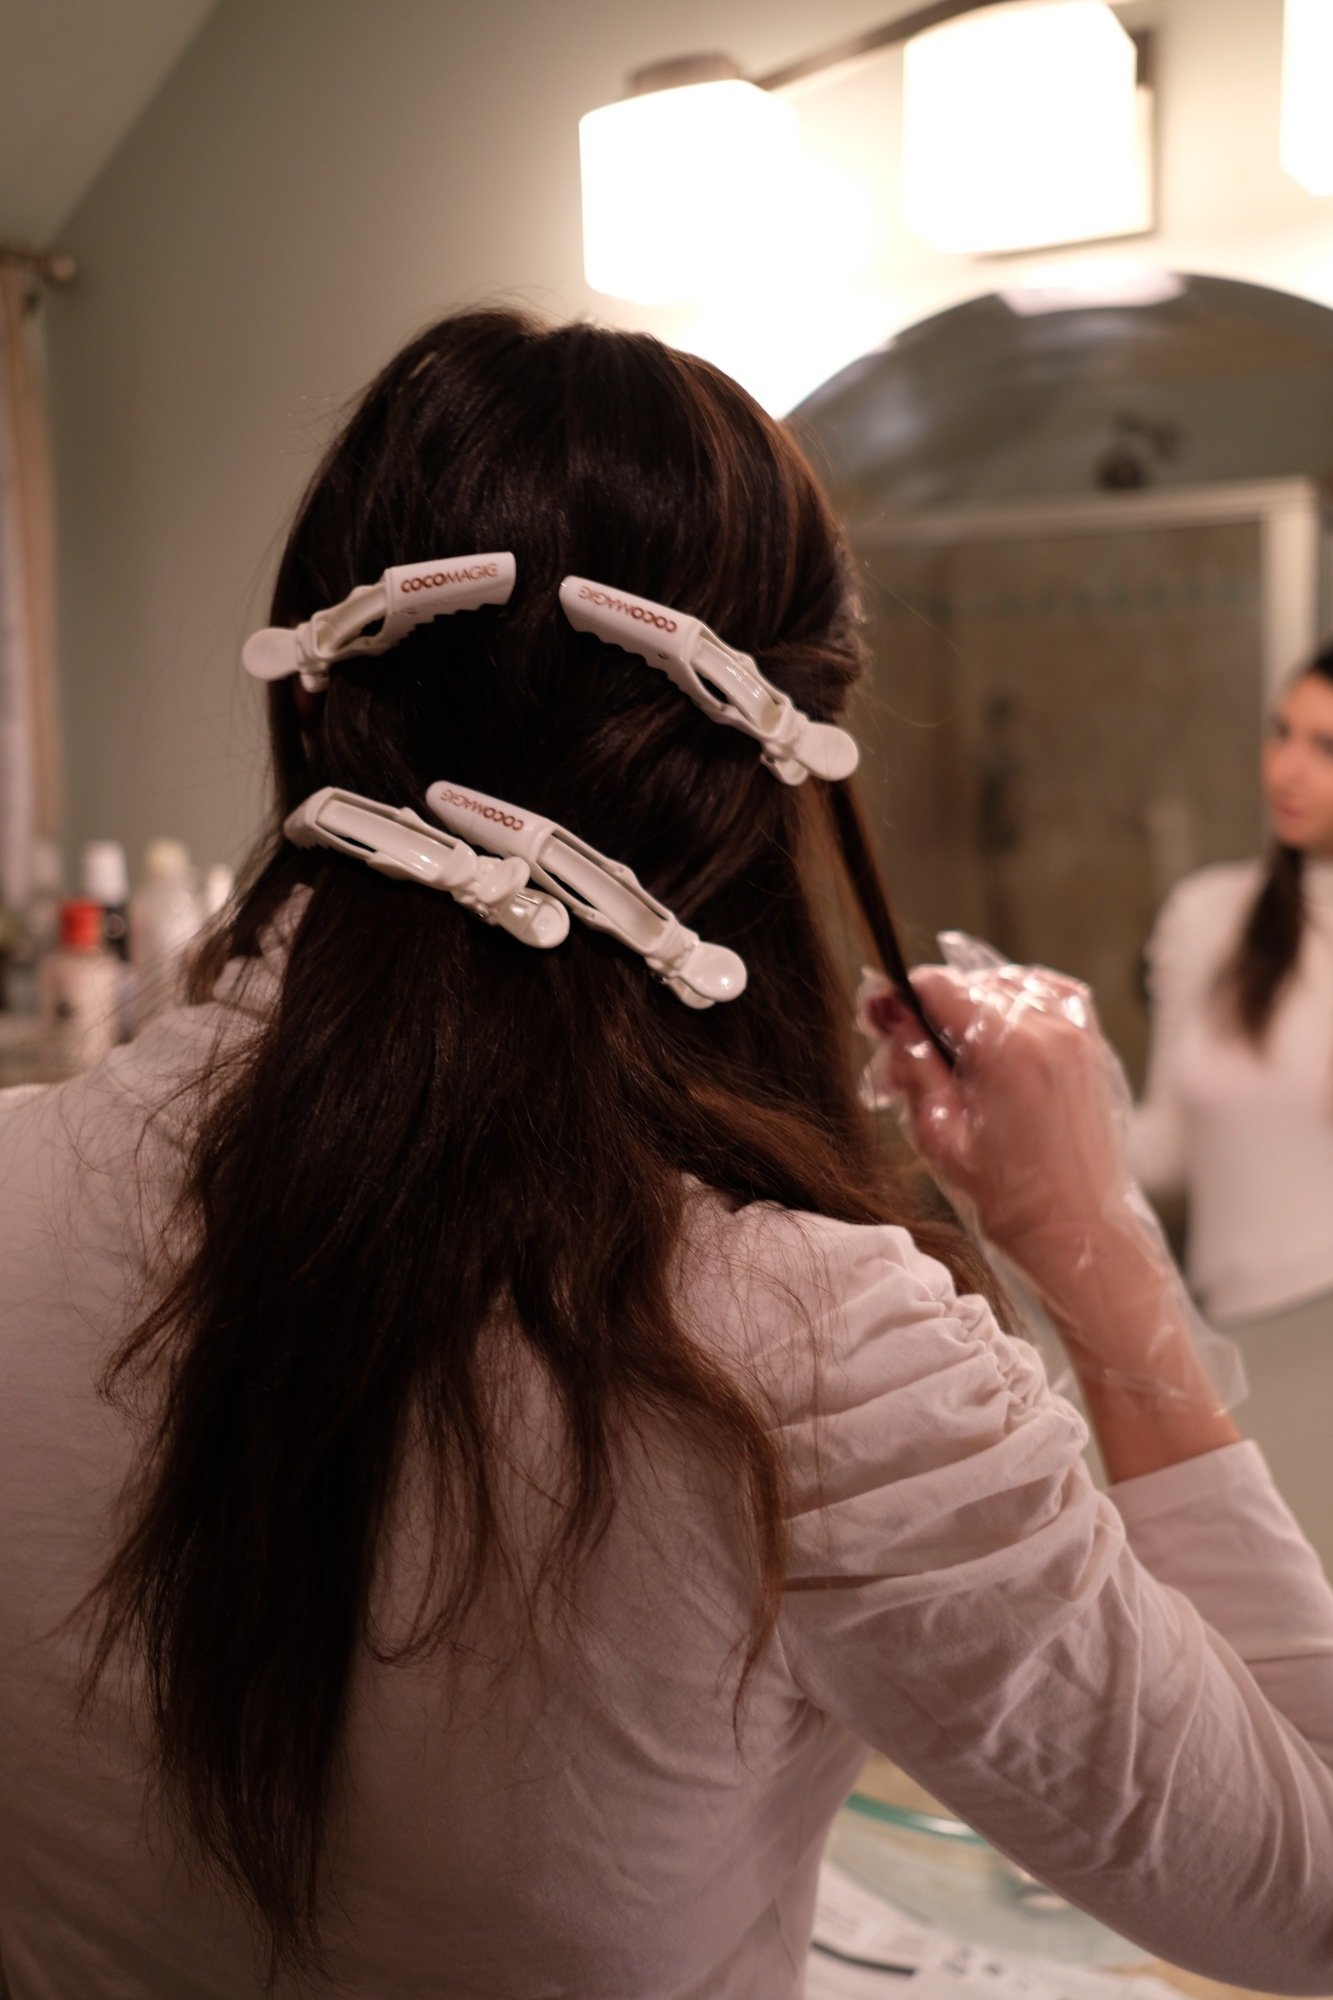
I’ll admit I took a deep breath before starting on the first piece of hair. Flashbacks of using Sun-In when I was 12 suddenly sprung to mind.
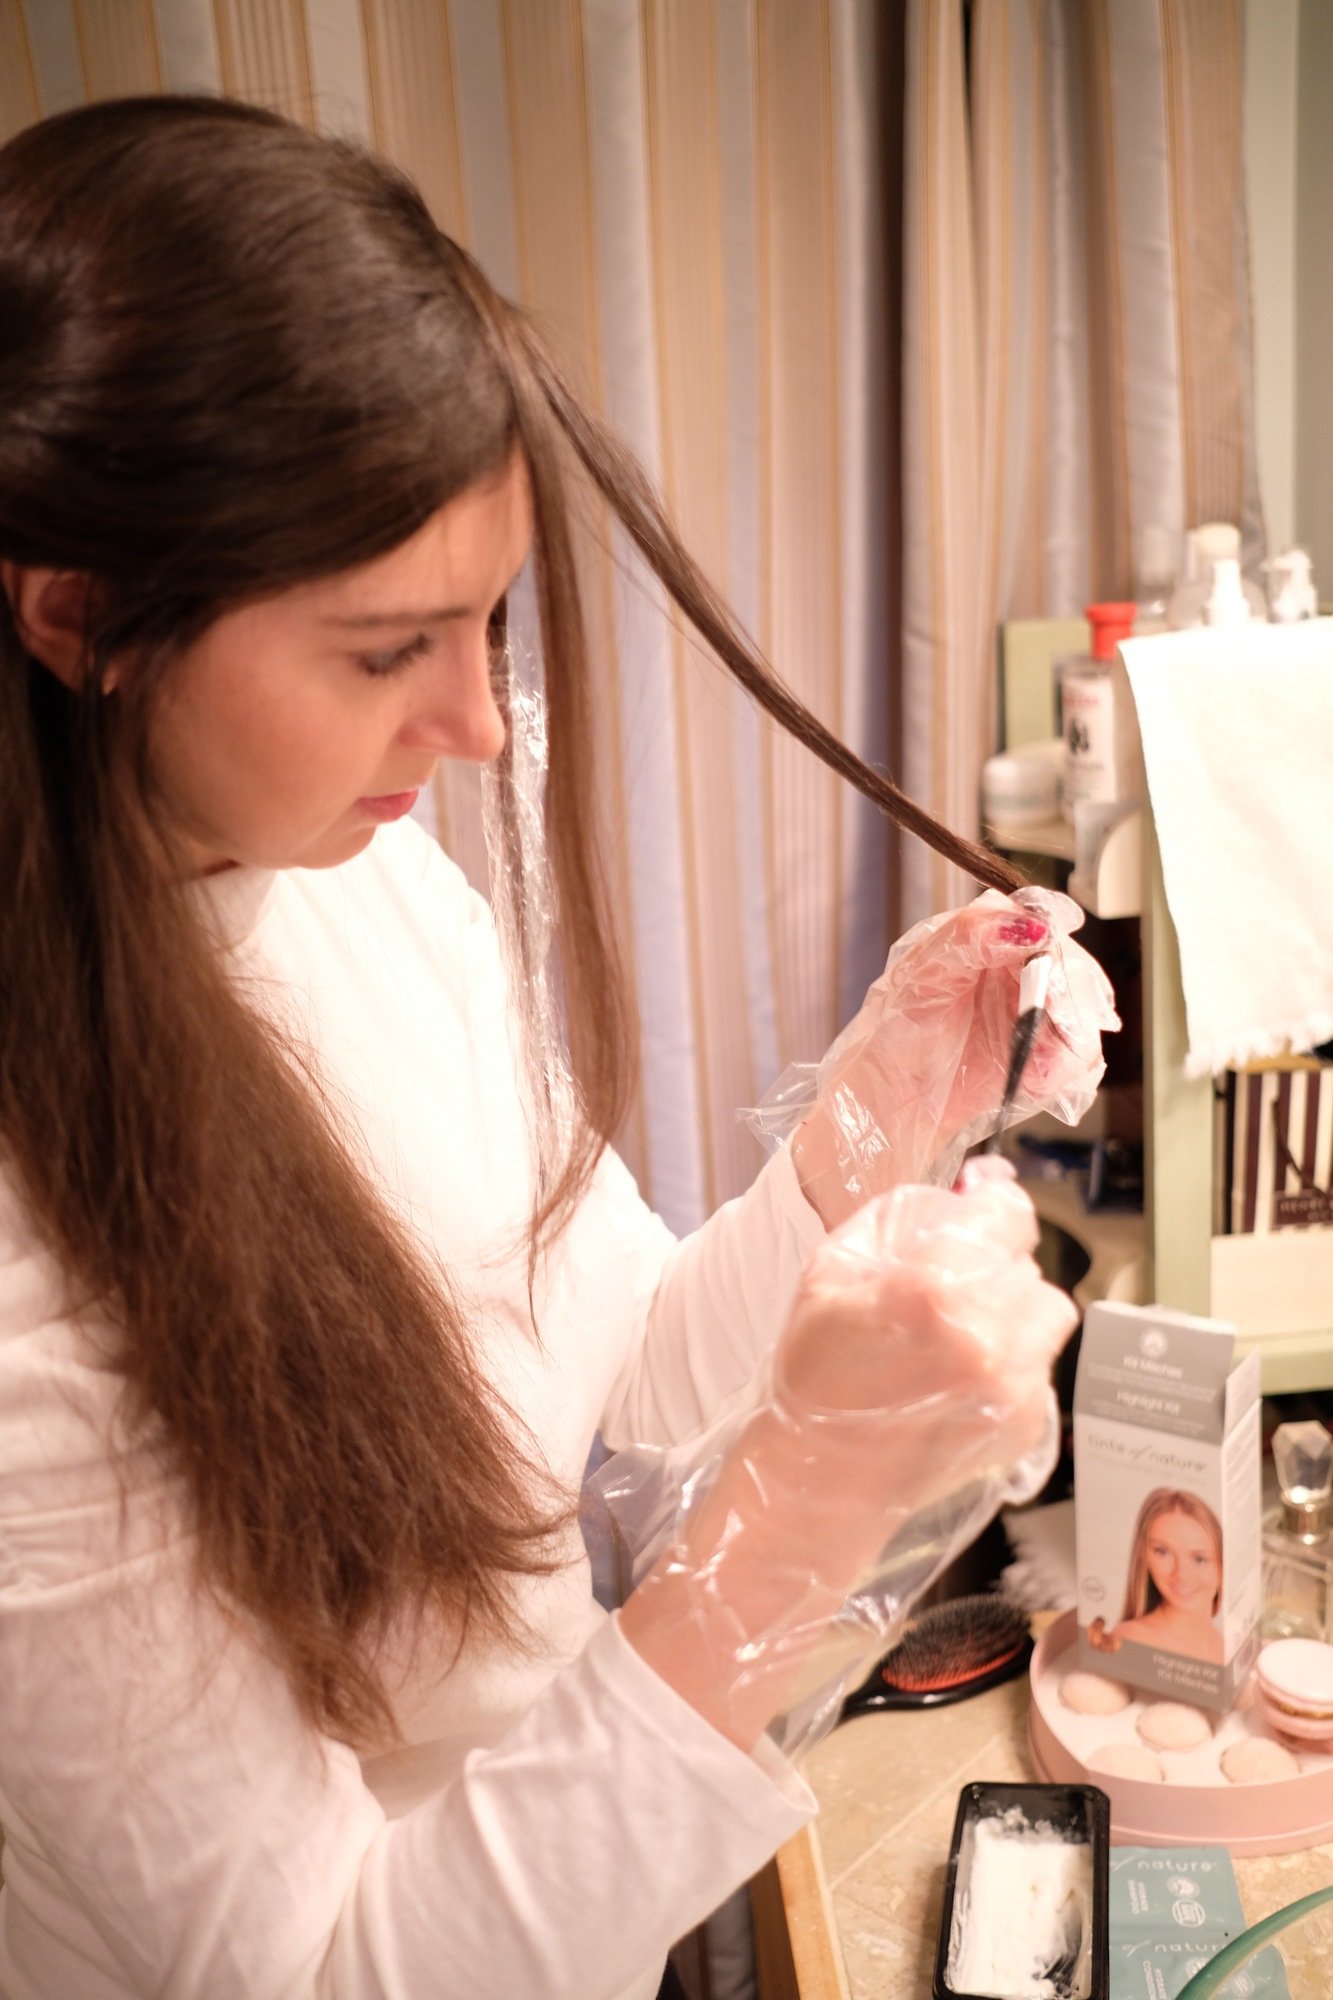
Only a haircut fixed that brassy orange mistake, and it was a short one at that. I hoped history wouldn’t repeat itself as the creamy solution glided from mid-shaft to ends.
I covered each painted section with plastic wrap to keep them from touching unbleached strands.
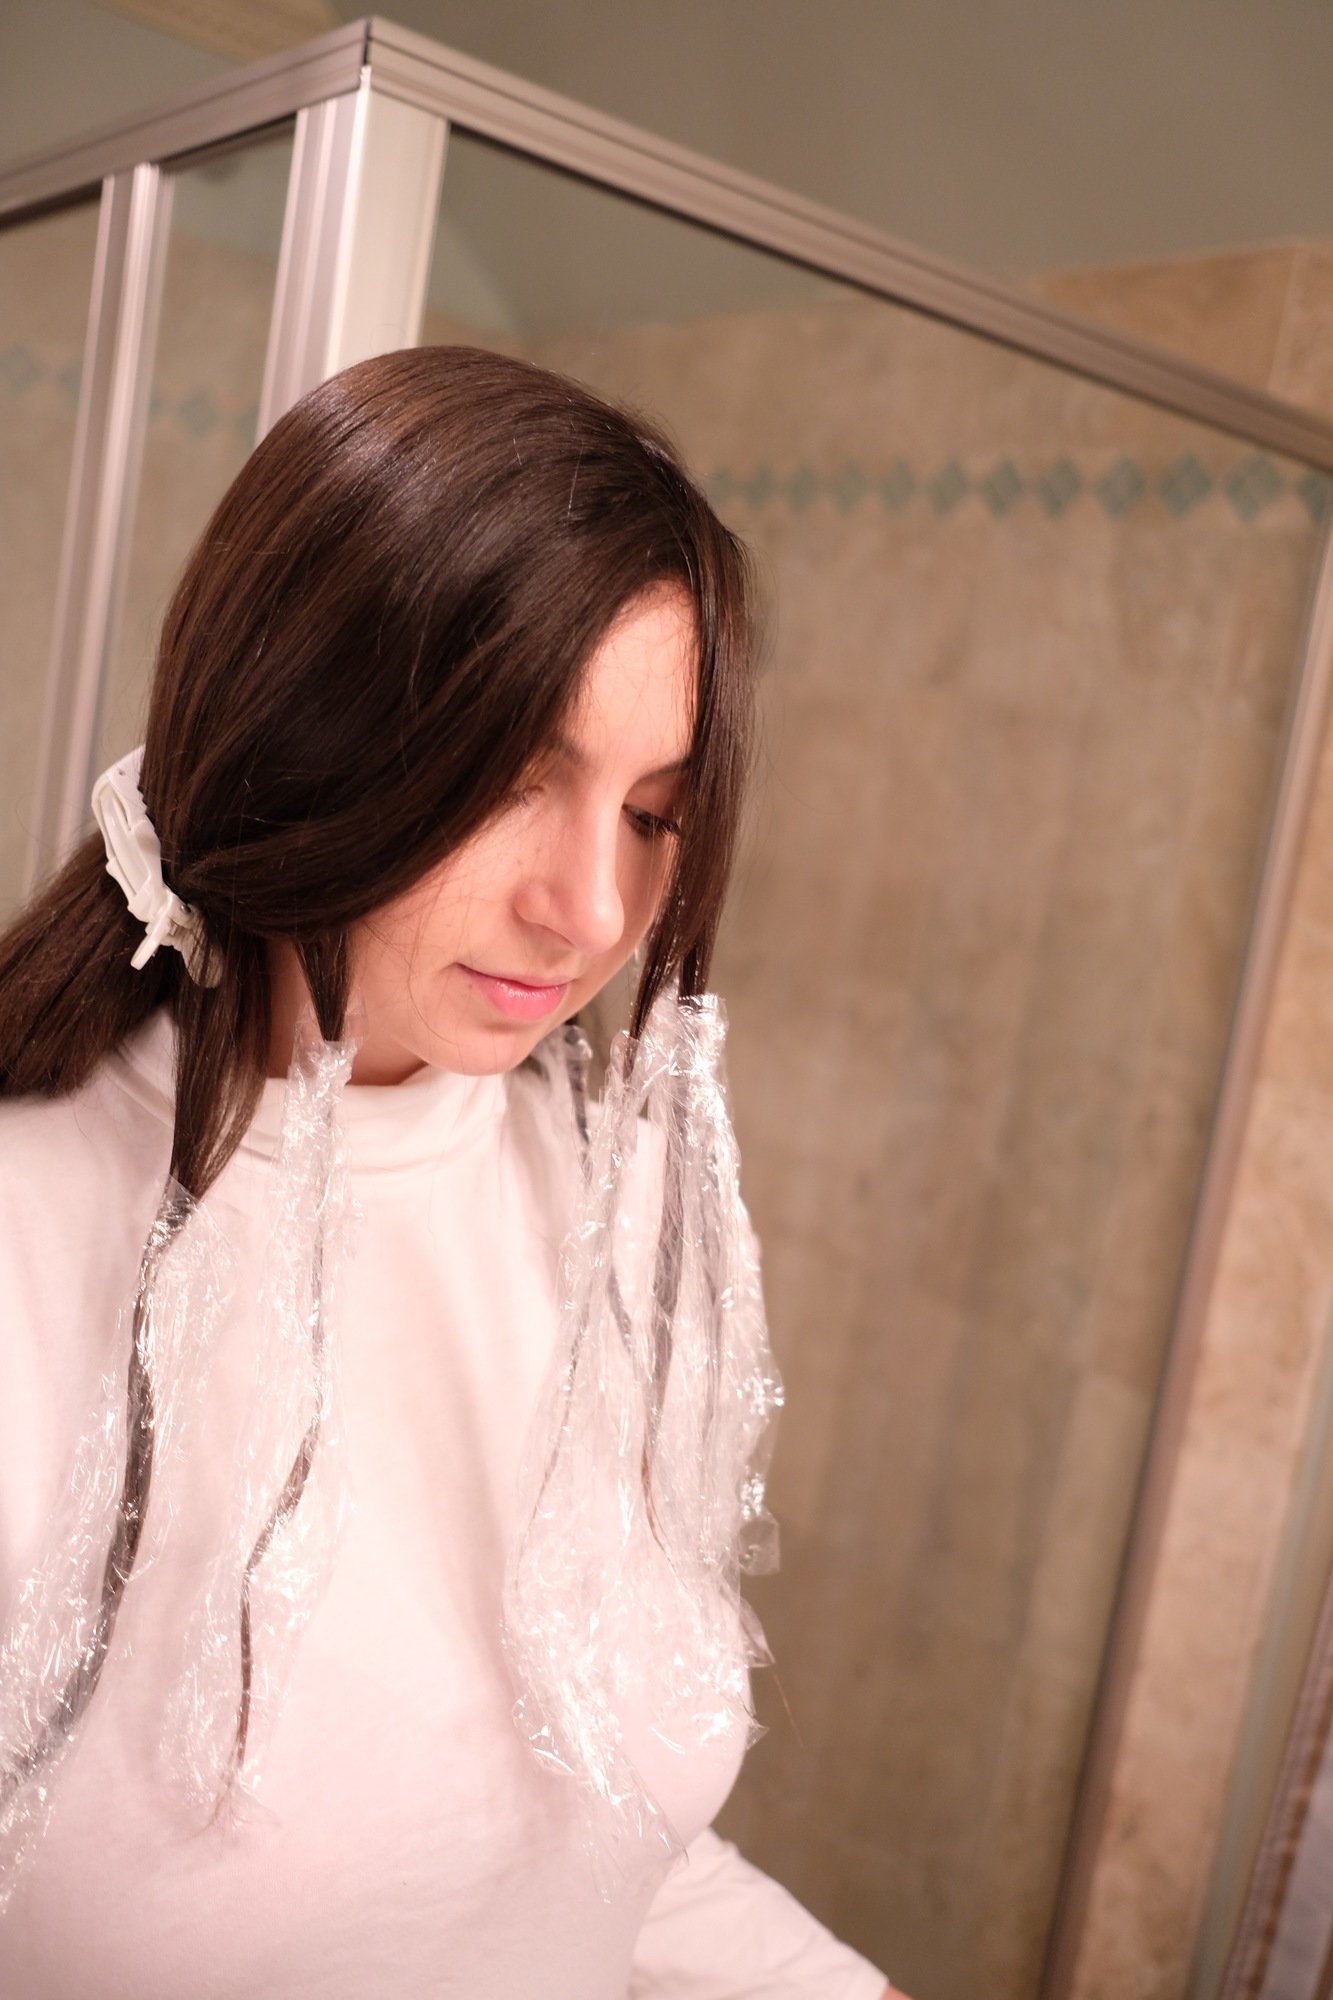
I didn’t highlight any hair in the back of my head, but if I planned to, I would have definitely enlisted a friend for help.
The hardest part of the process was the waiting. I stared at the television through the curtains of my hair while holding my gloved hands up zombie-style. It was uncomfortable until my alarm sounded 30 minutes later, but it sure beat sitting motionless in a salon chair for hours.
I was shocked to see how blonde my hair was when I gazed in the mirror. I guess that’s to be expected when going from brown to blonde in 30 minutes — but still.
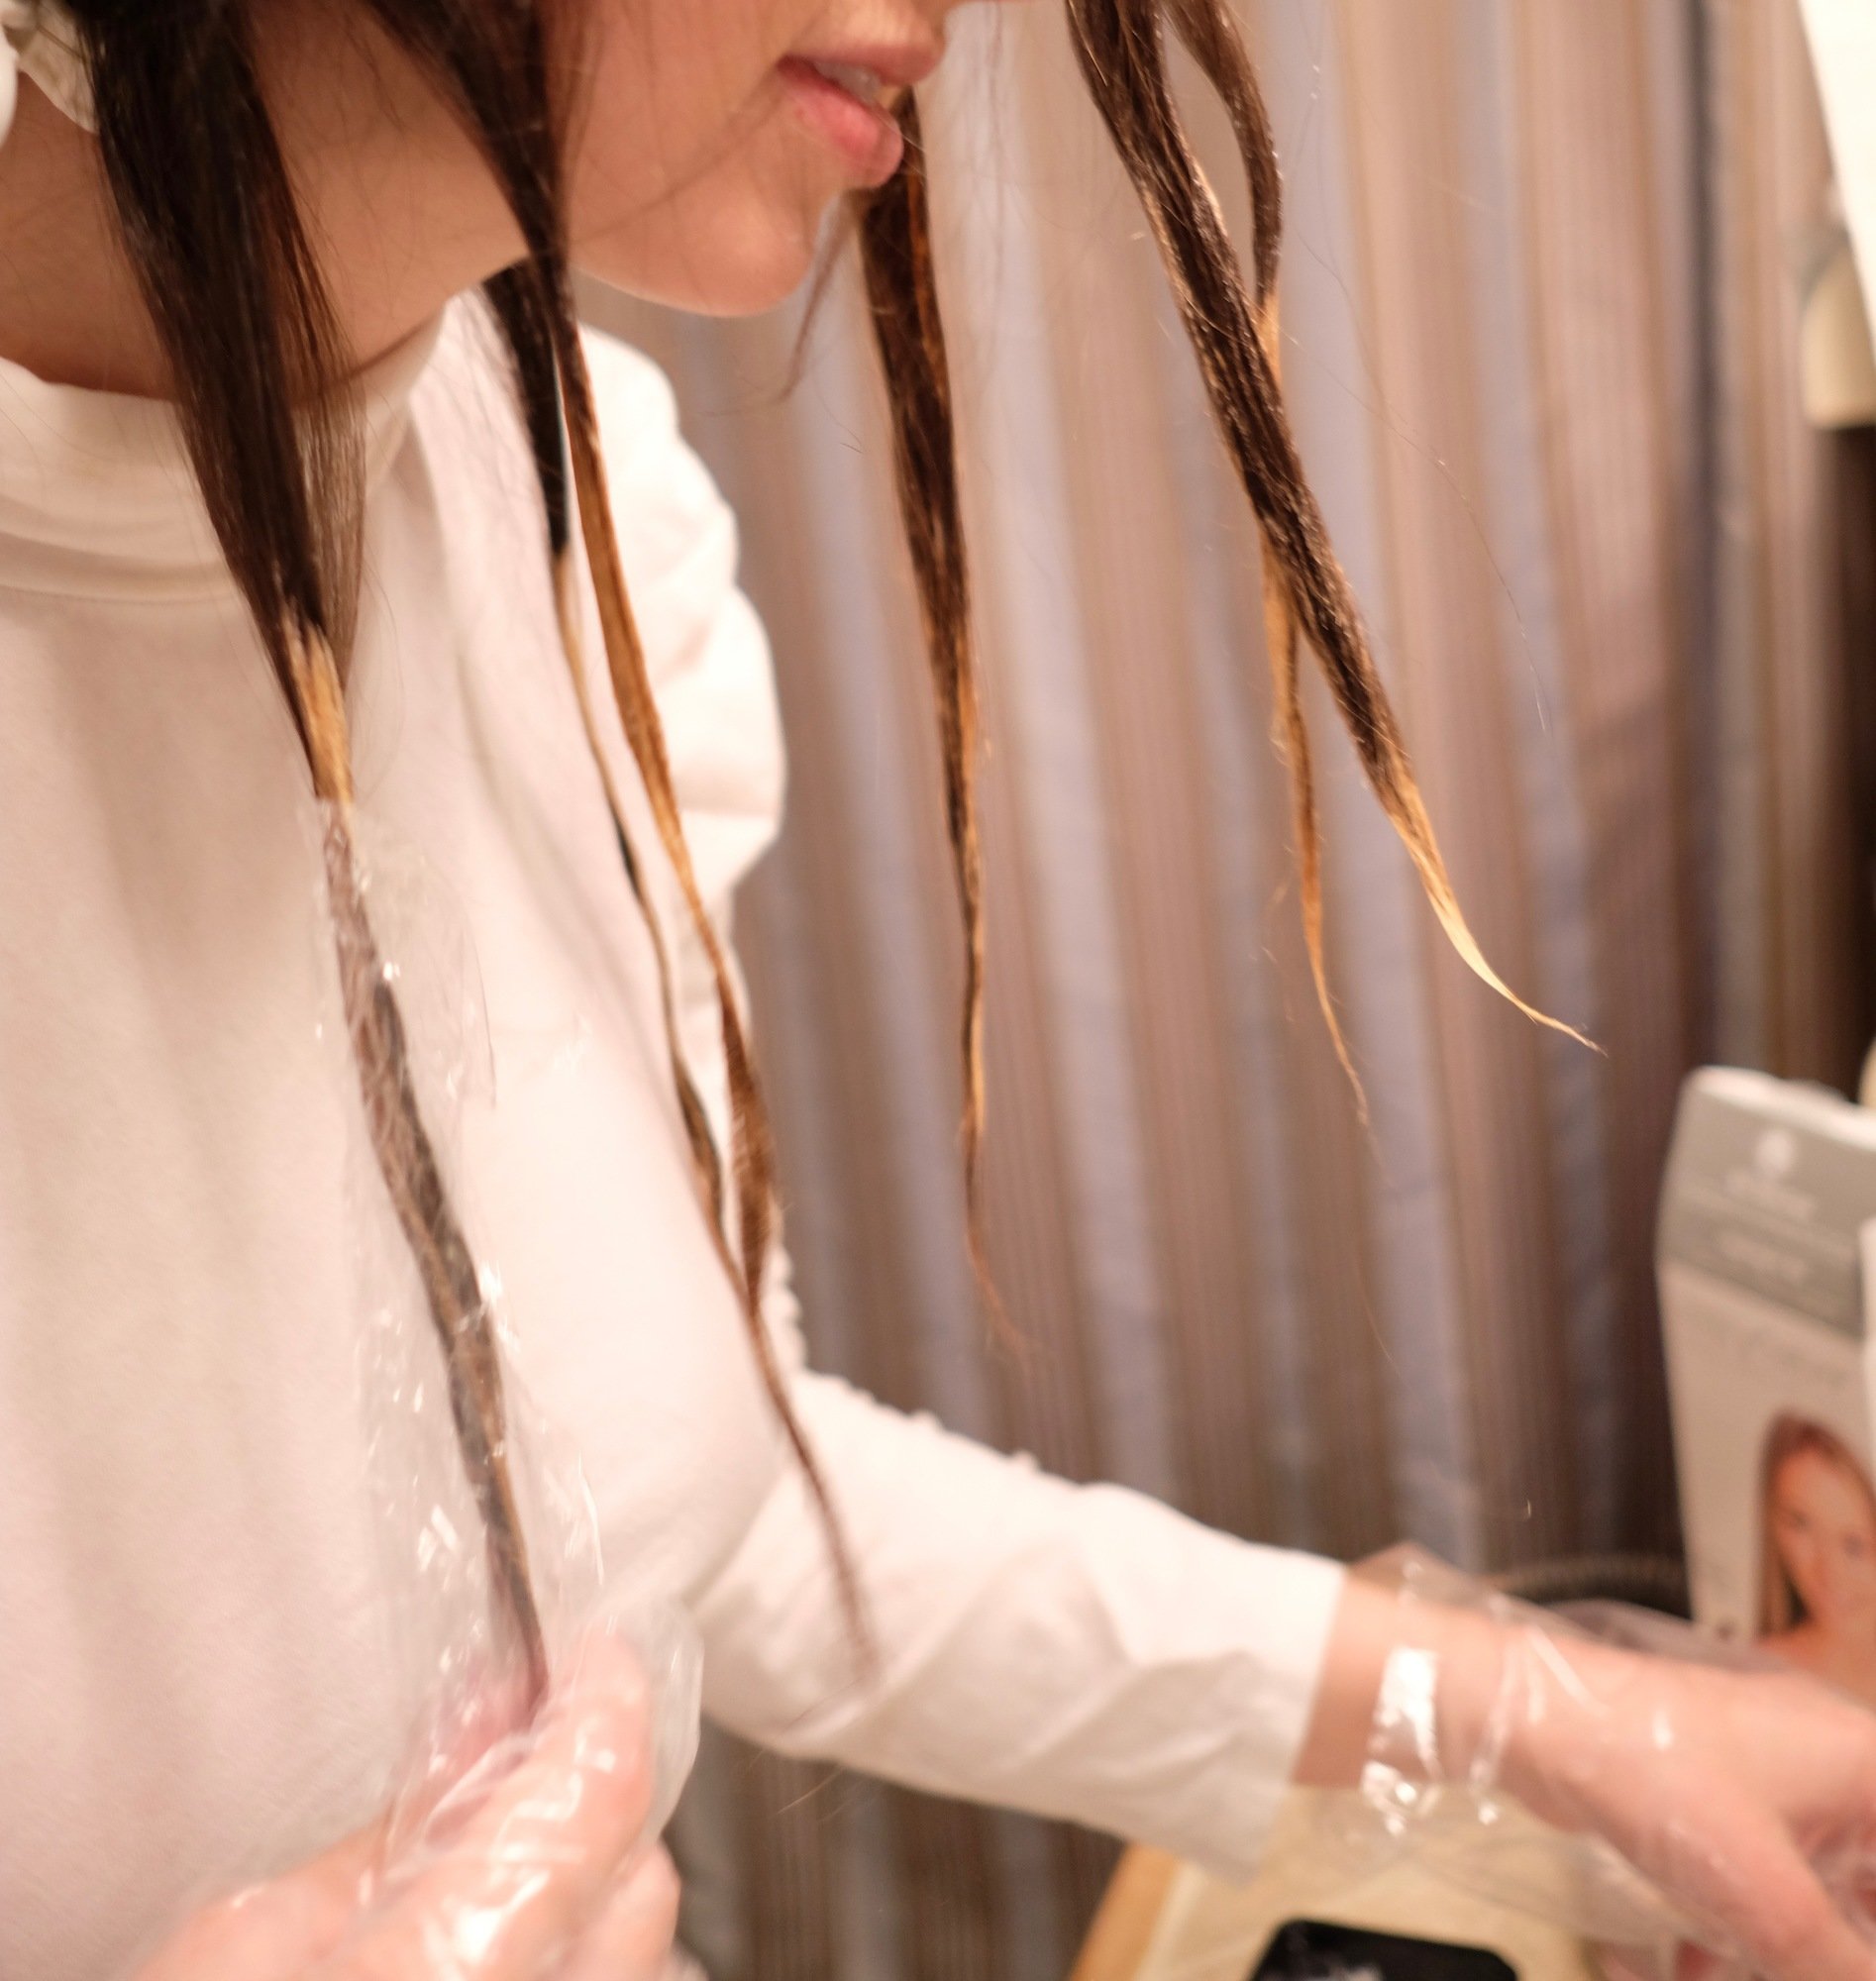
The plastic slid off effortlessly and I rinsed my hair in the sink. I adored the shampoo and conditioner that came with the kit; they made my hair feel silky and smooth.
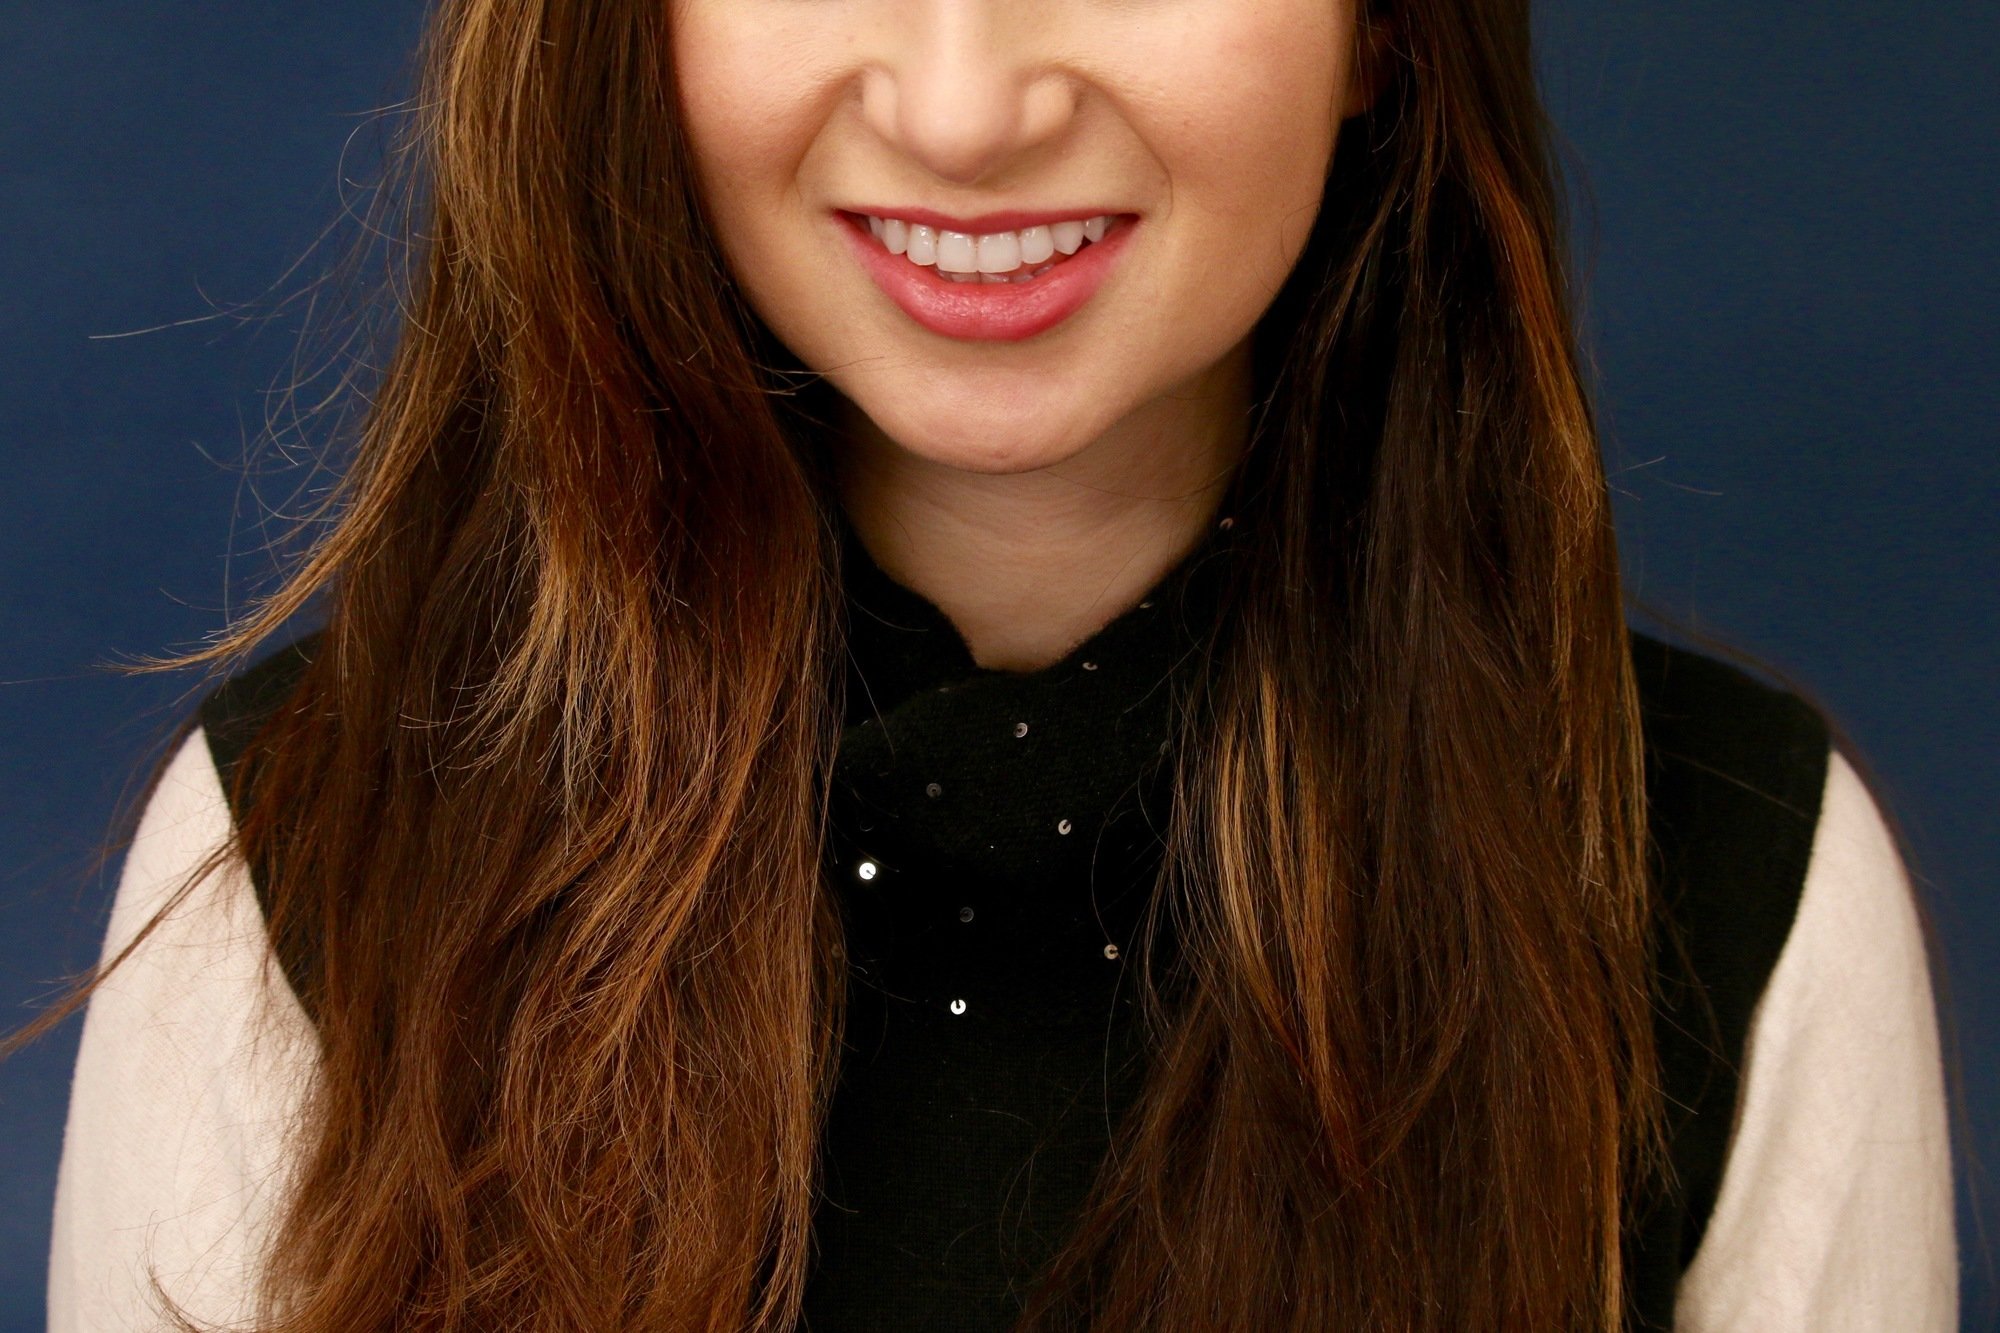
After blow-drying the damp pieces, I admired my new blonde ‘do.
This is immediately after rinsing and blow-drying!
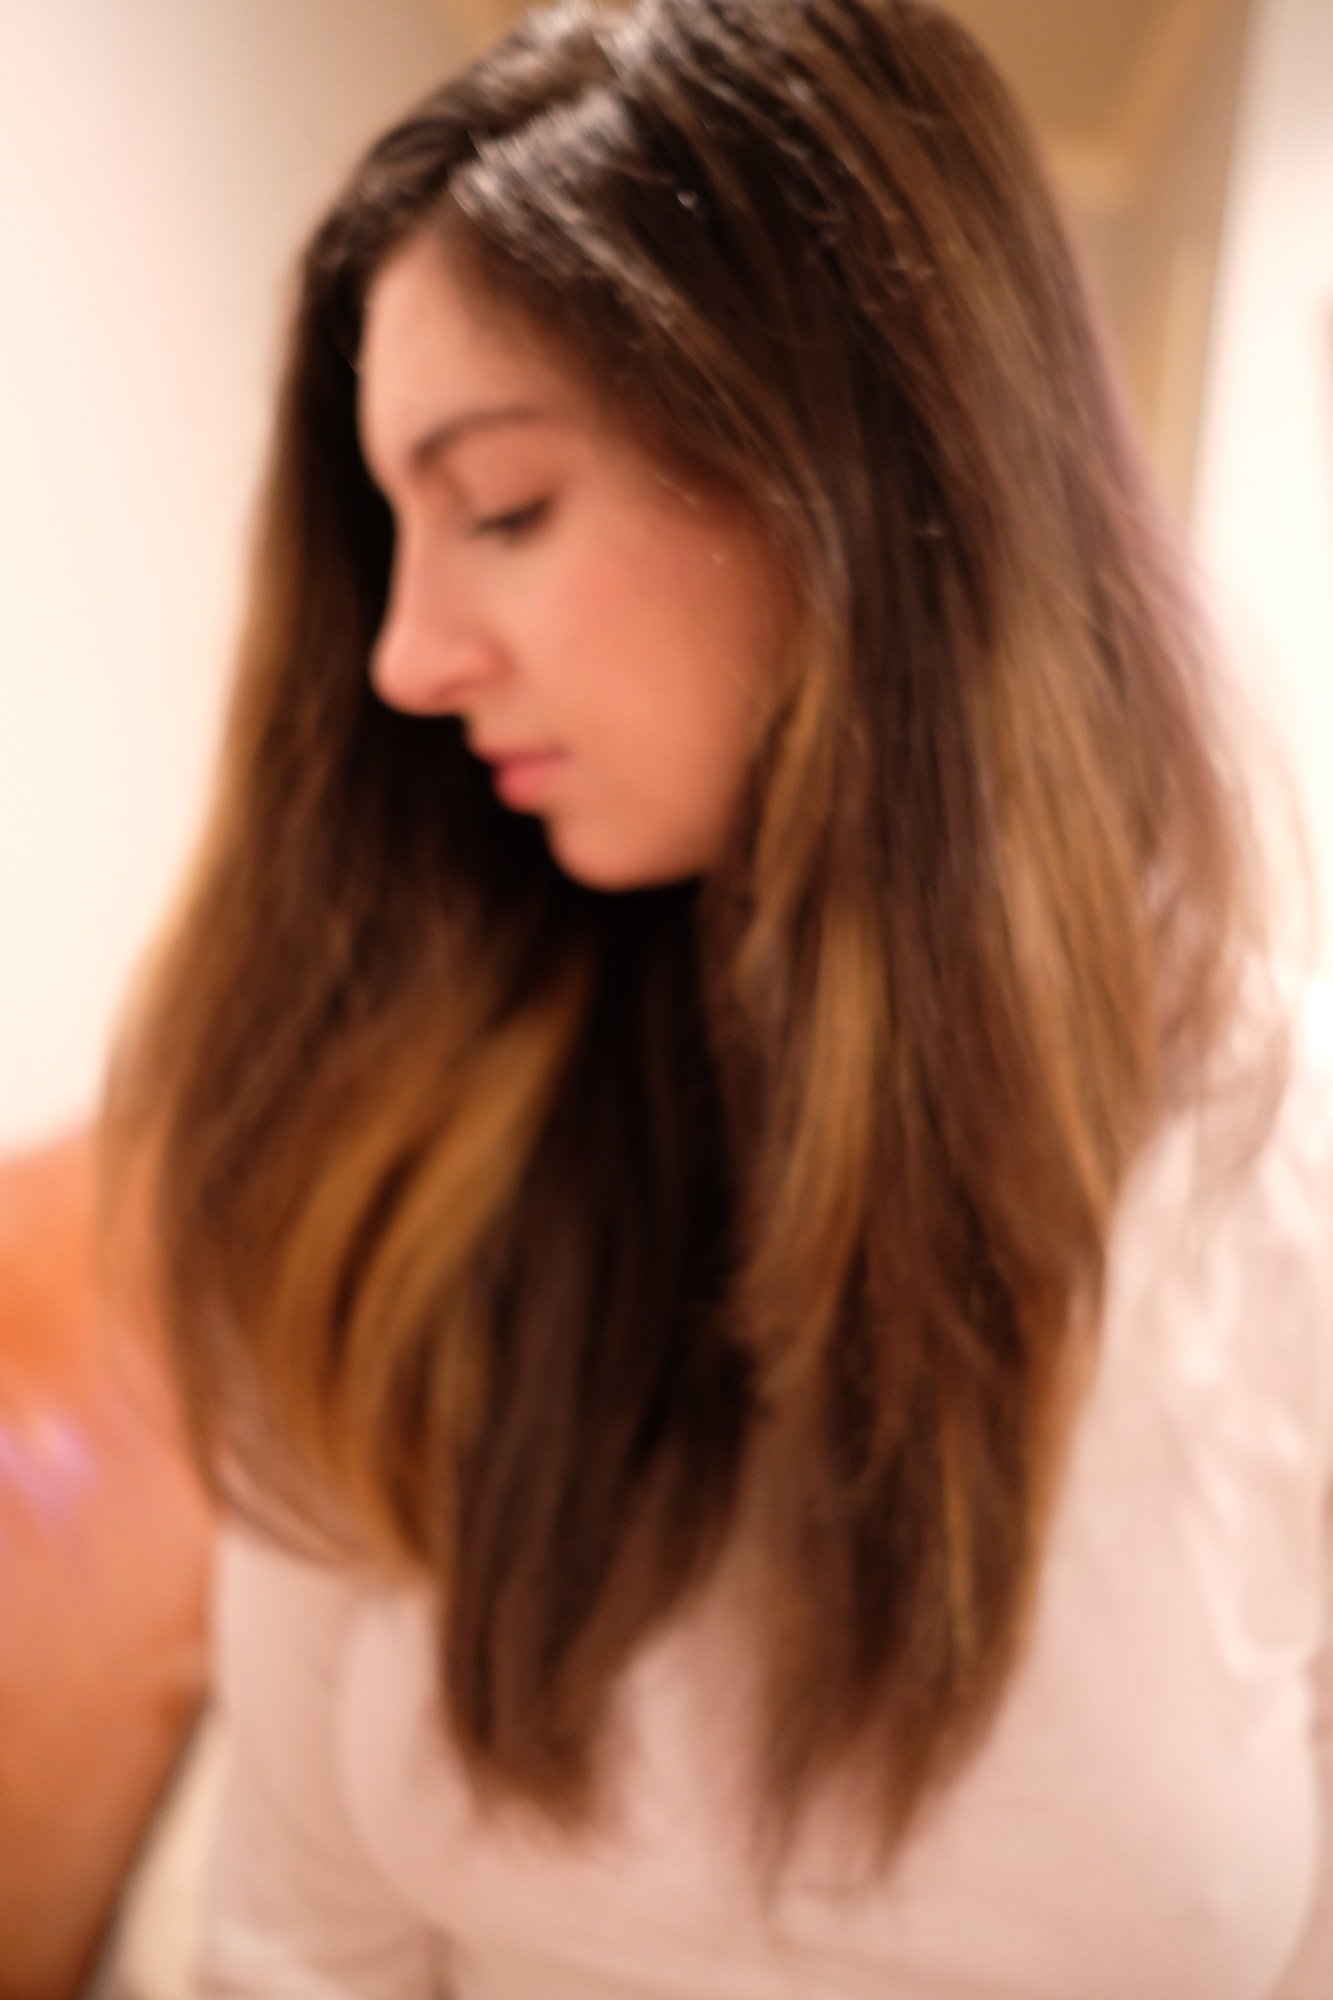
My first thoughts upon seeing the results were that I should have applied more highlights to create a richer effect.
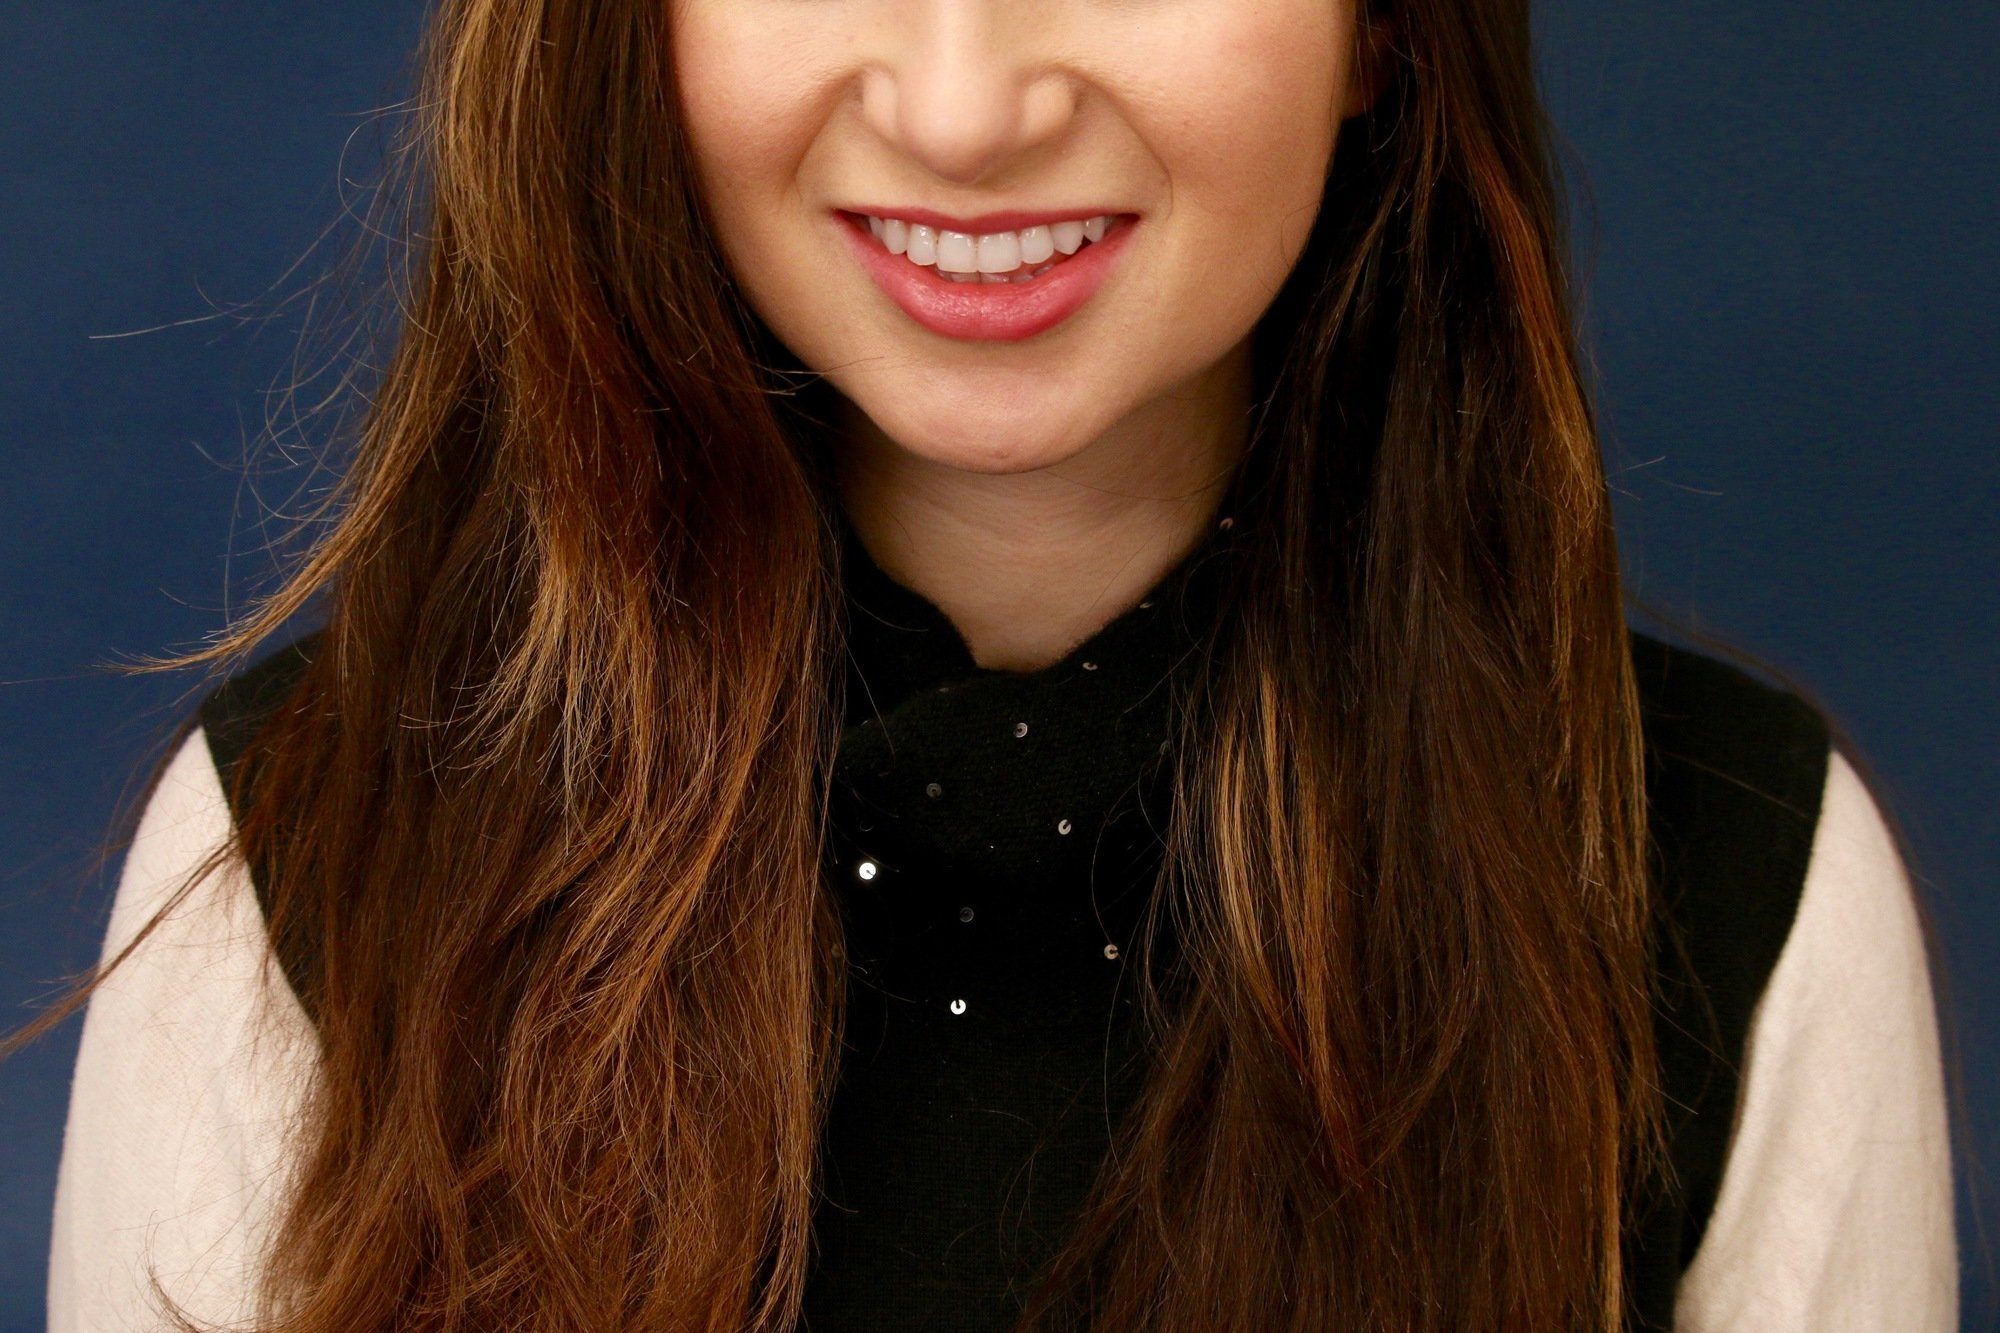
Nonetheless, I was pretty satisfied with the results from my first DIY approach in at-home hair highlighting.
Here are some before pictures:
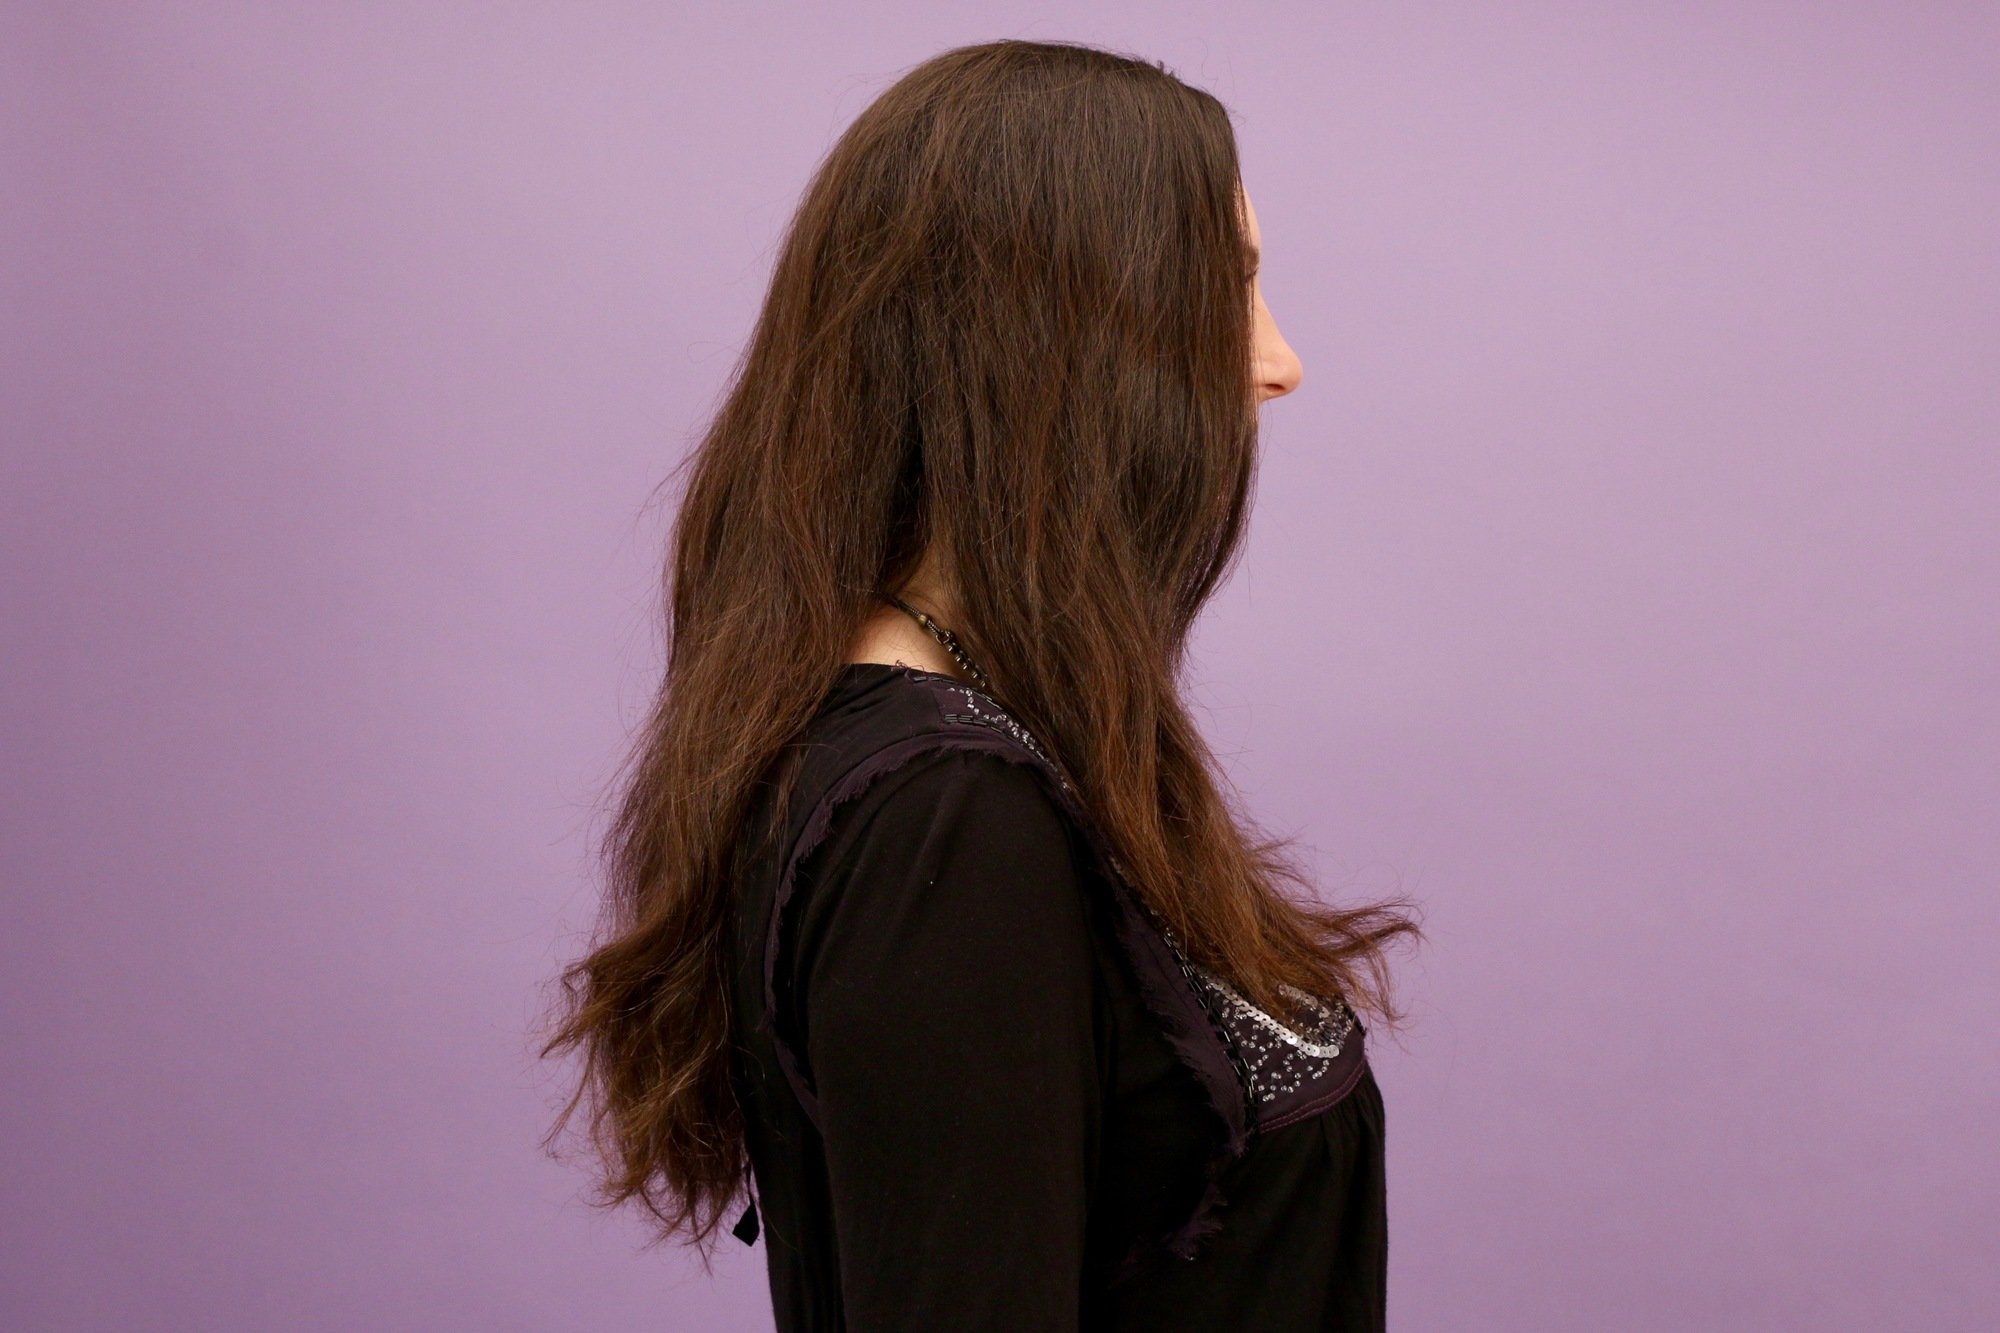

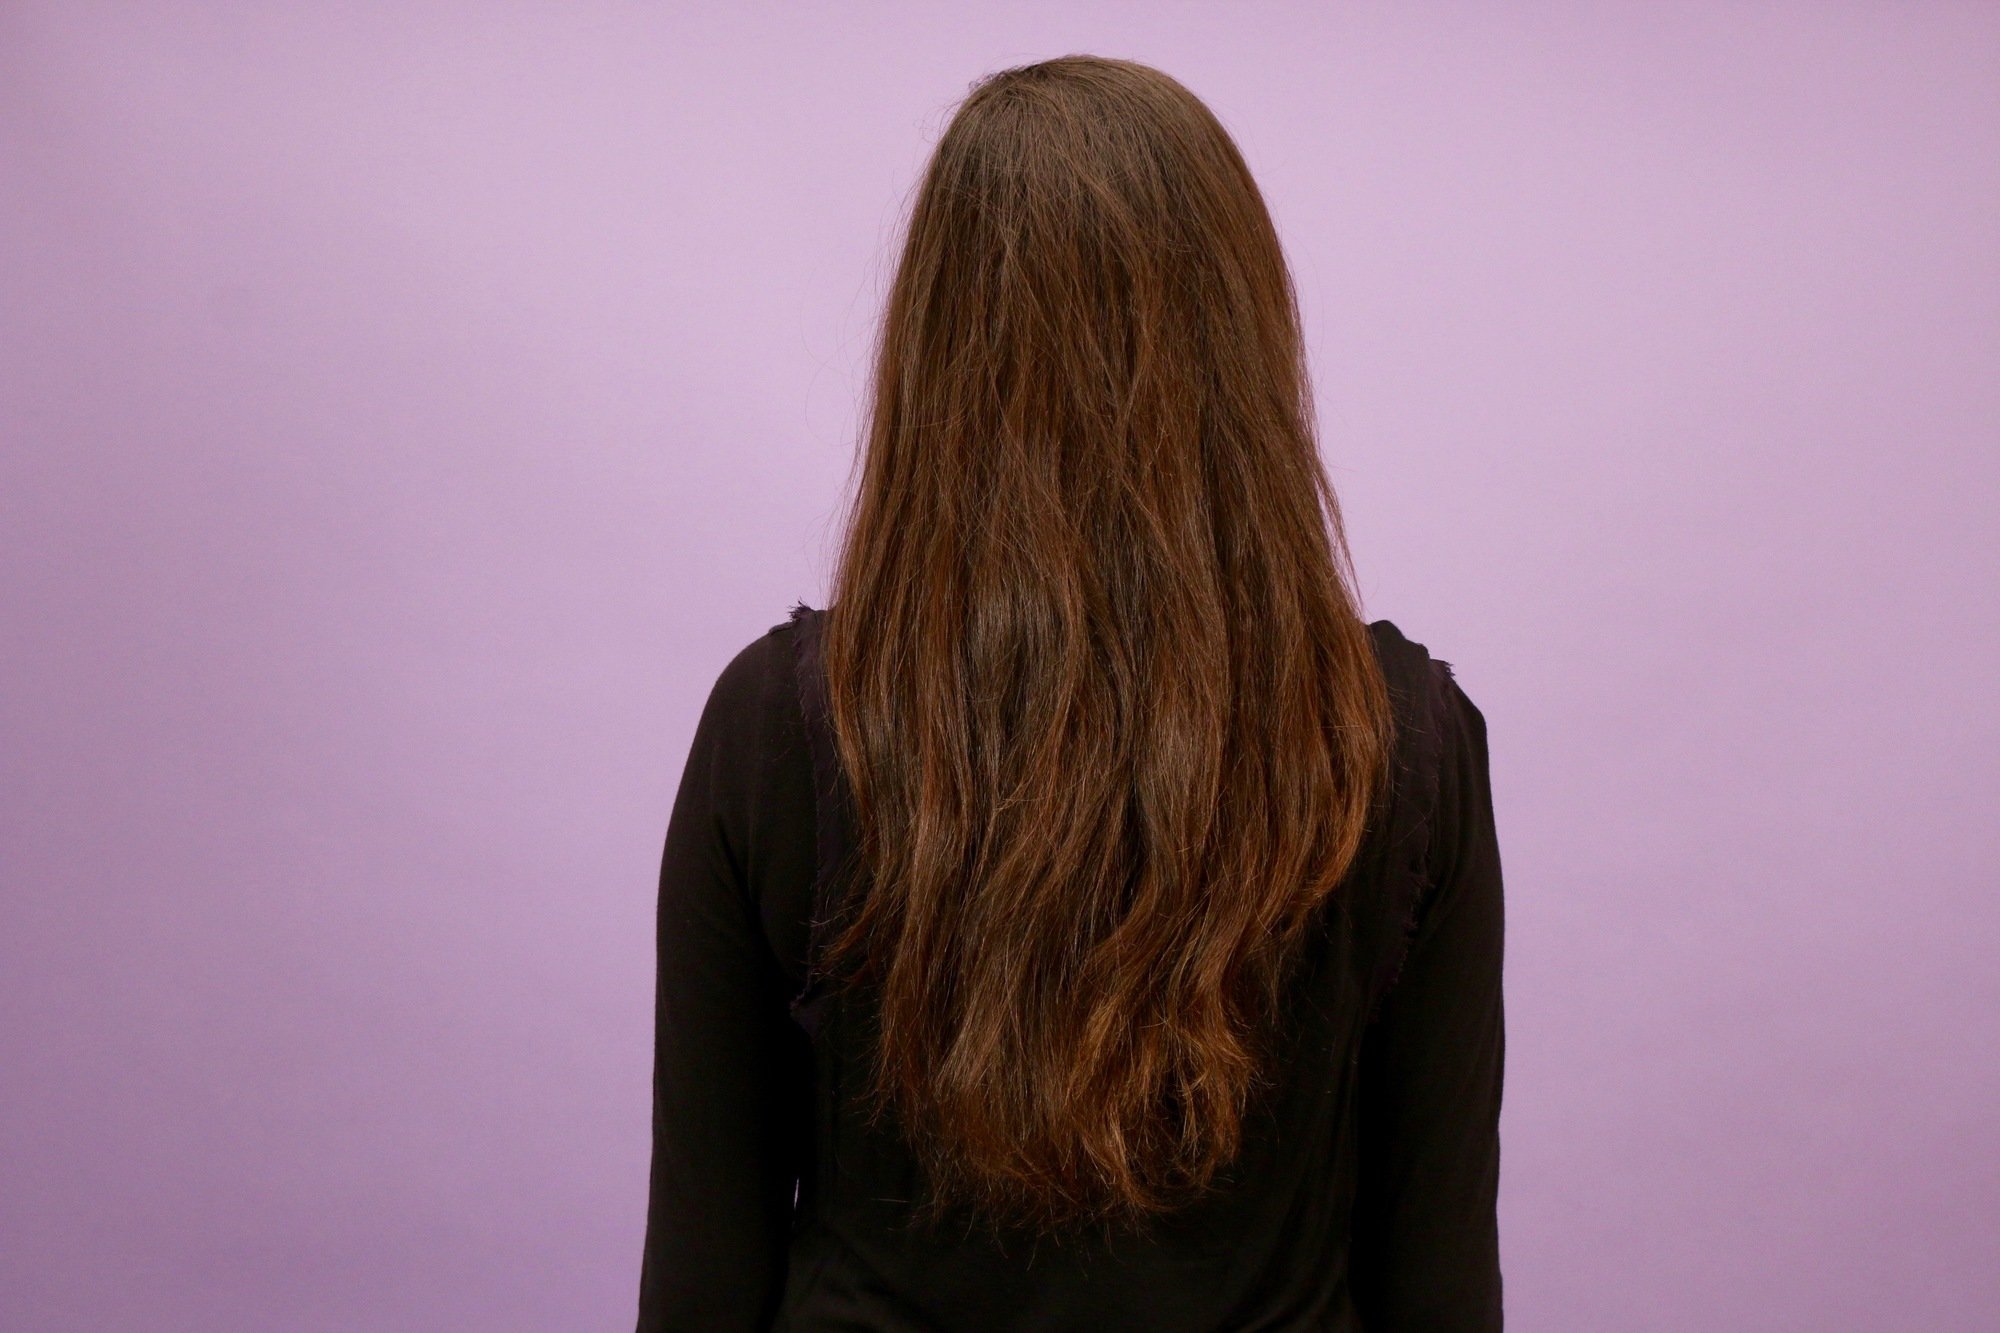
And here are some after photos:
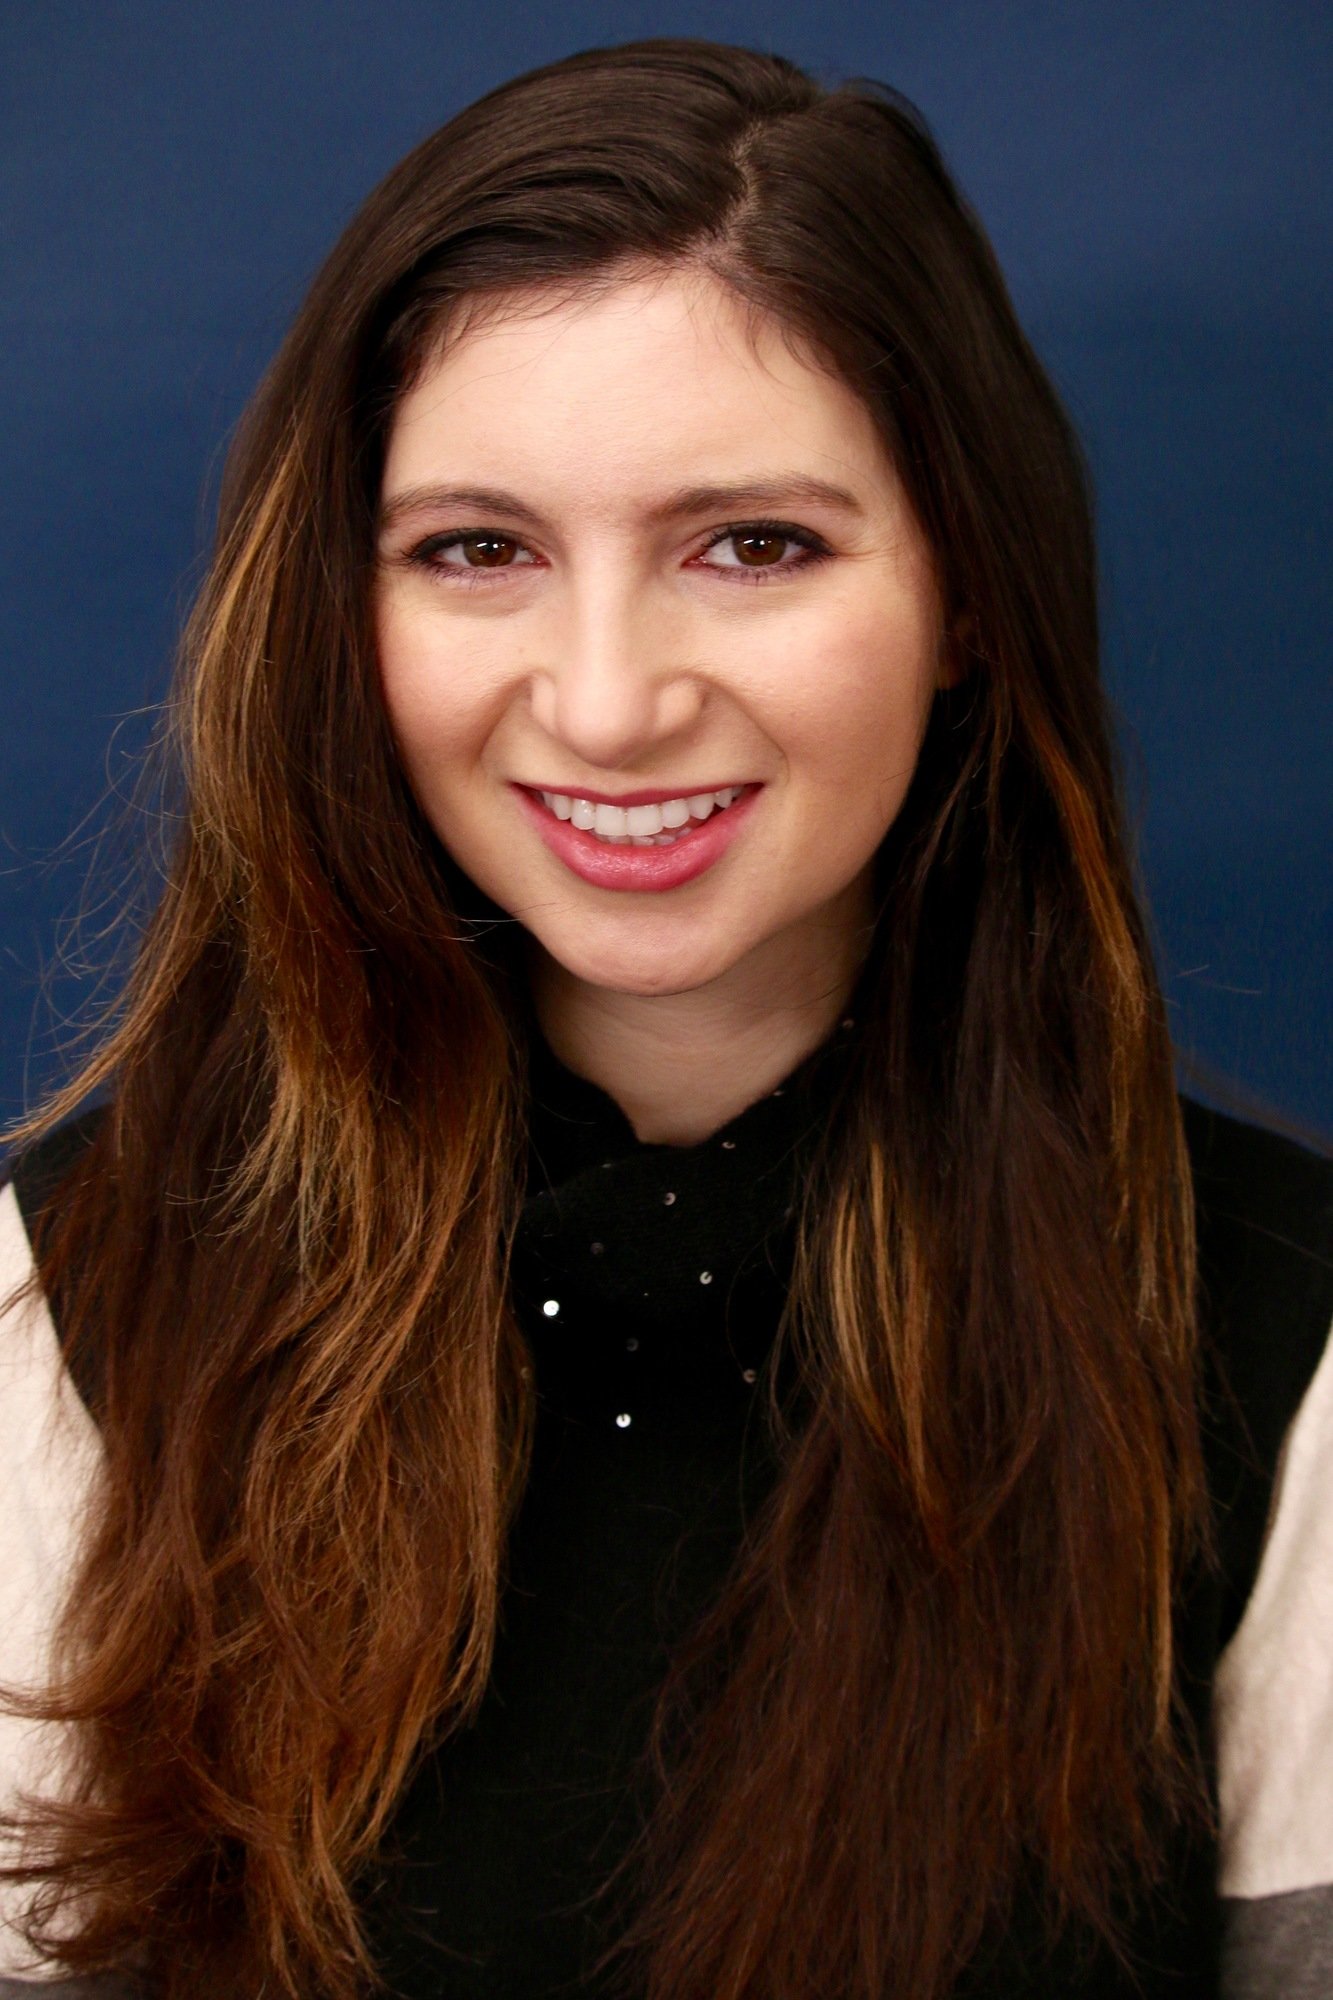
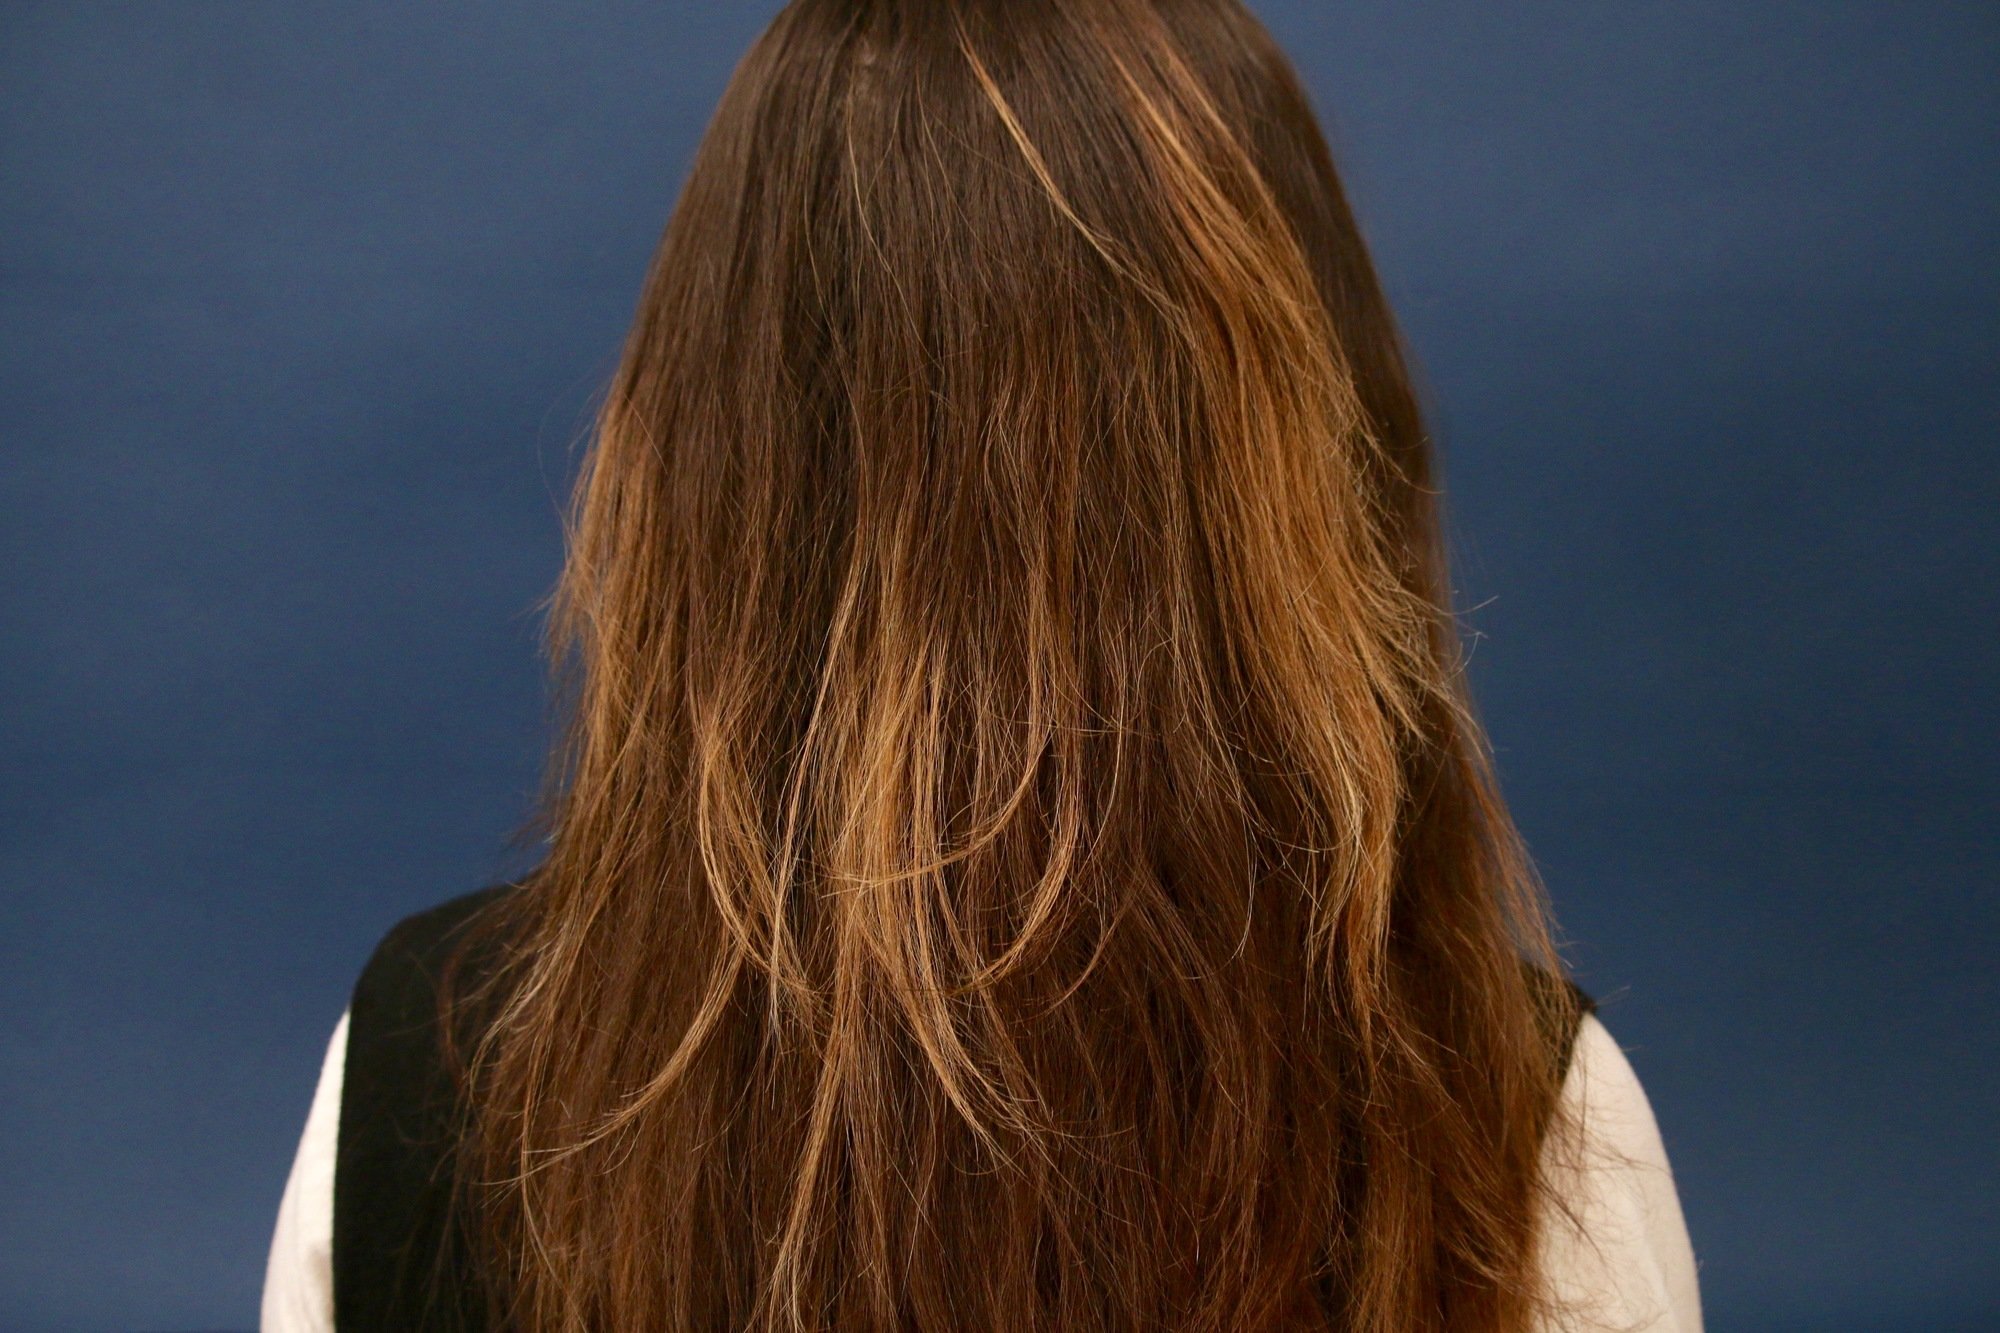
I never realized how low-maintenance highlights could be until I tried doing it myself.
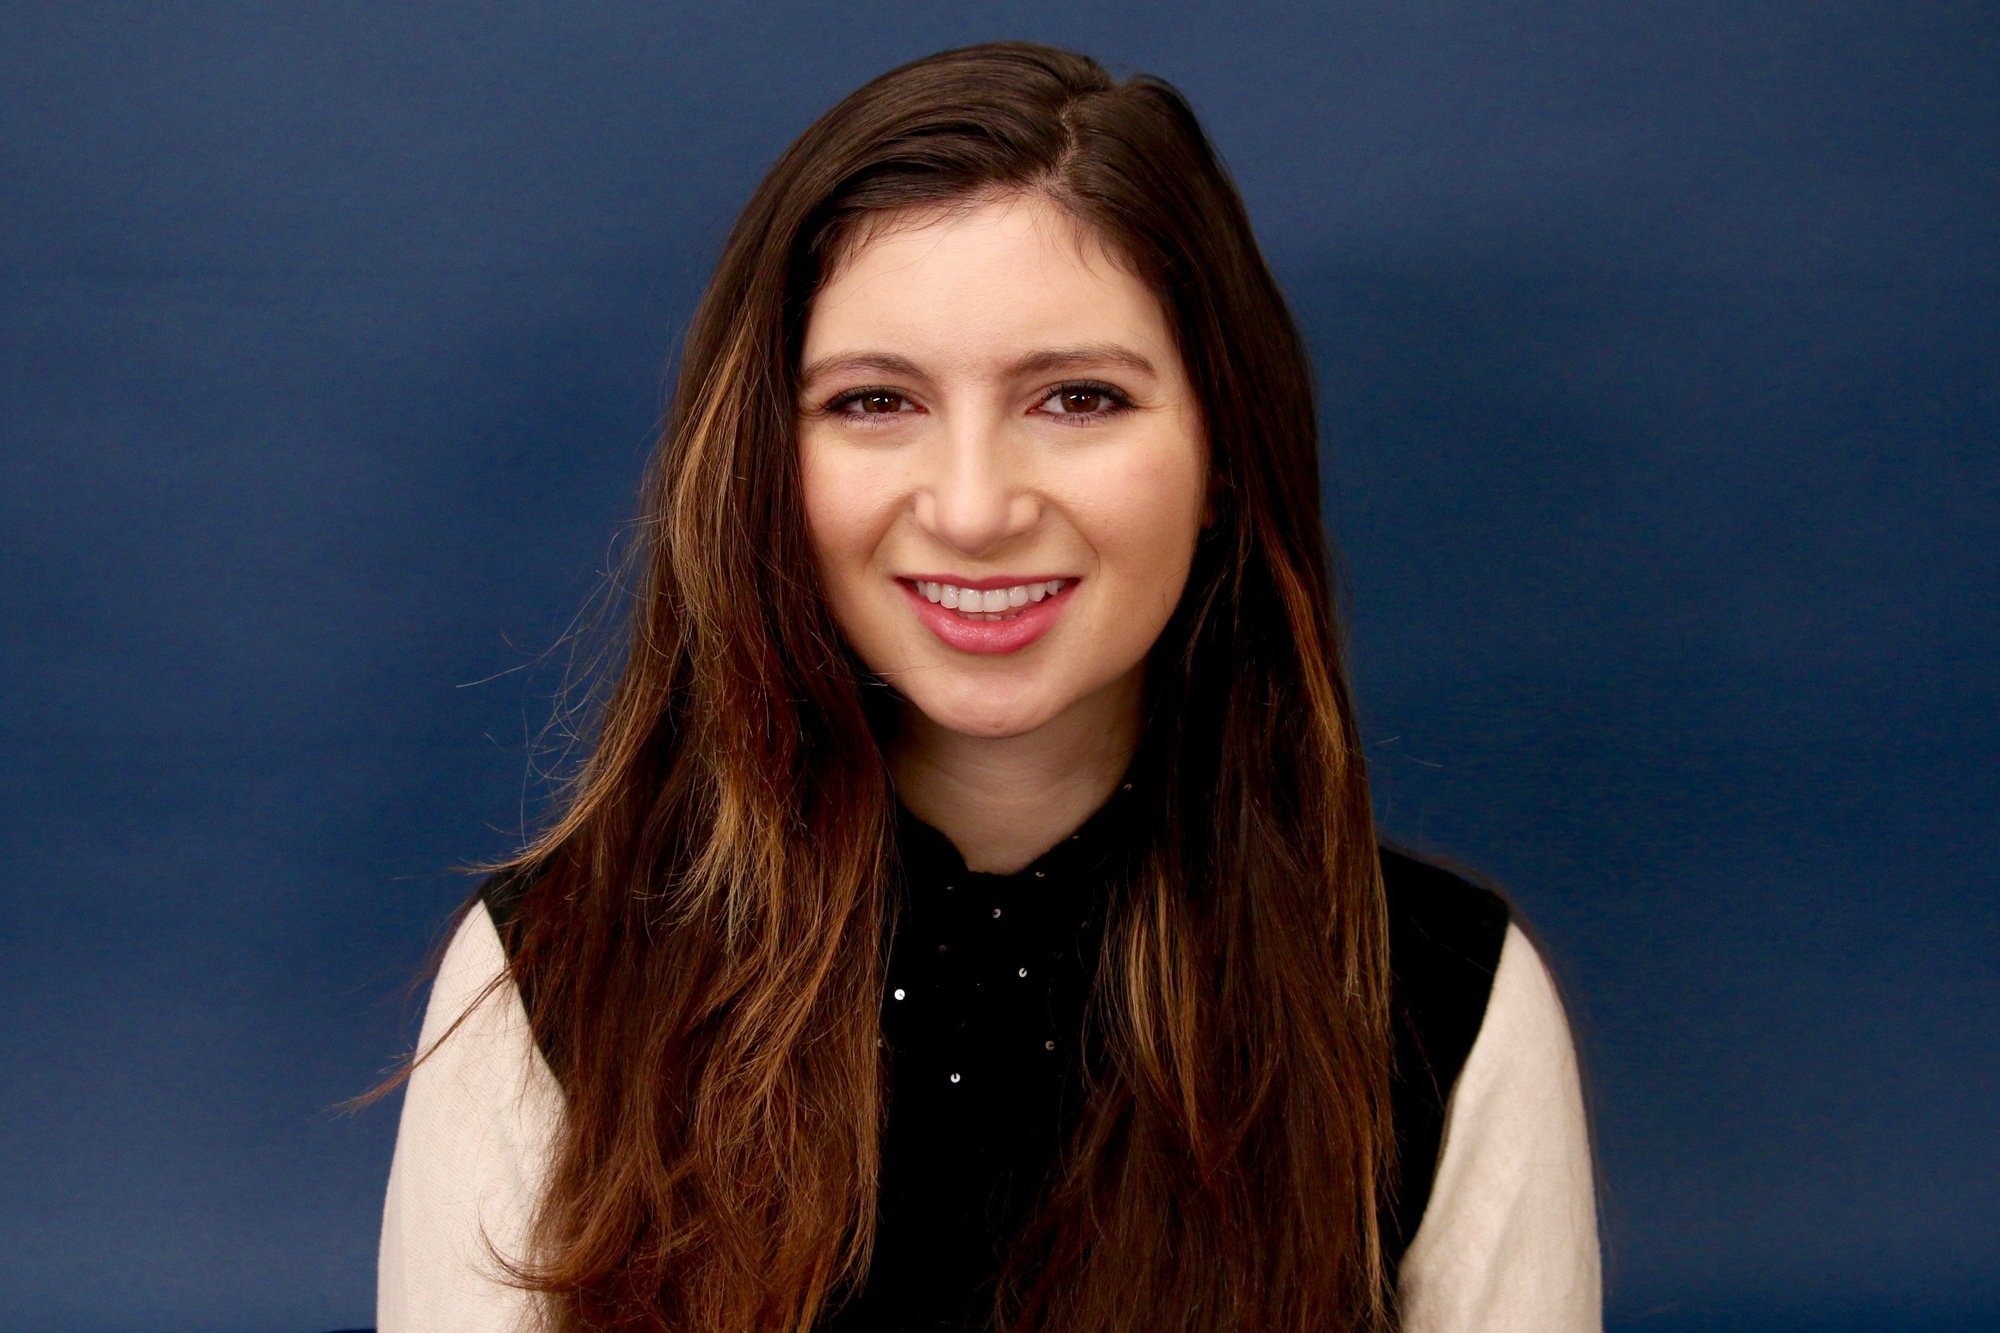
As certified travel junkie, I can certainly use extra savings toward flight deals, and the money I’ll save by skipping the salon and highlighting my hair toute seule will get me to my next destination both richer and blonder. See, I’m having more fun already!

