Share
Temporary tattoos were my favorite gumball-machine prize as a kid.
But waiting by the output slot, hoping you get a design you like was the worst… especially if you got a design you absolutely hated.
And let's be real, the temp tattoos out there can sometimes be pretty limiting in what's available. As it turns out, it's super easy to make your own from scratch! All you need is a computer, a printer, and the right paper.
Read on, tat lovers.
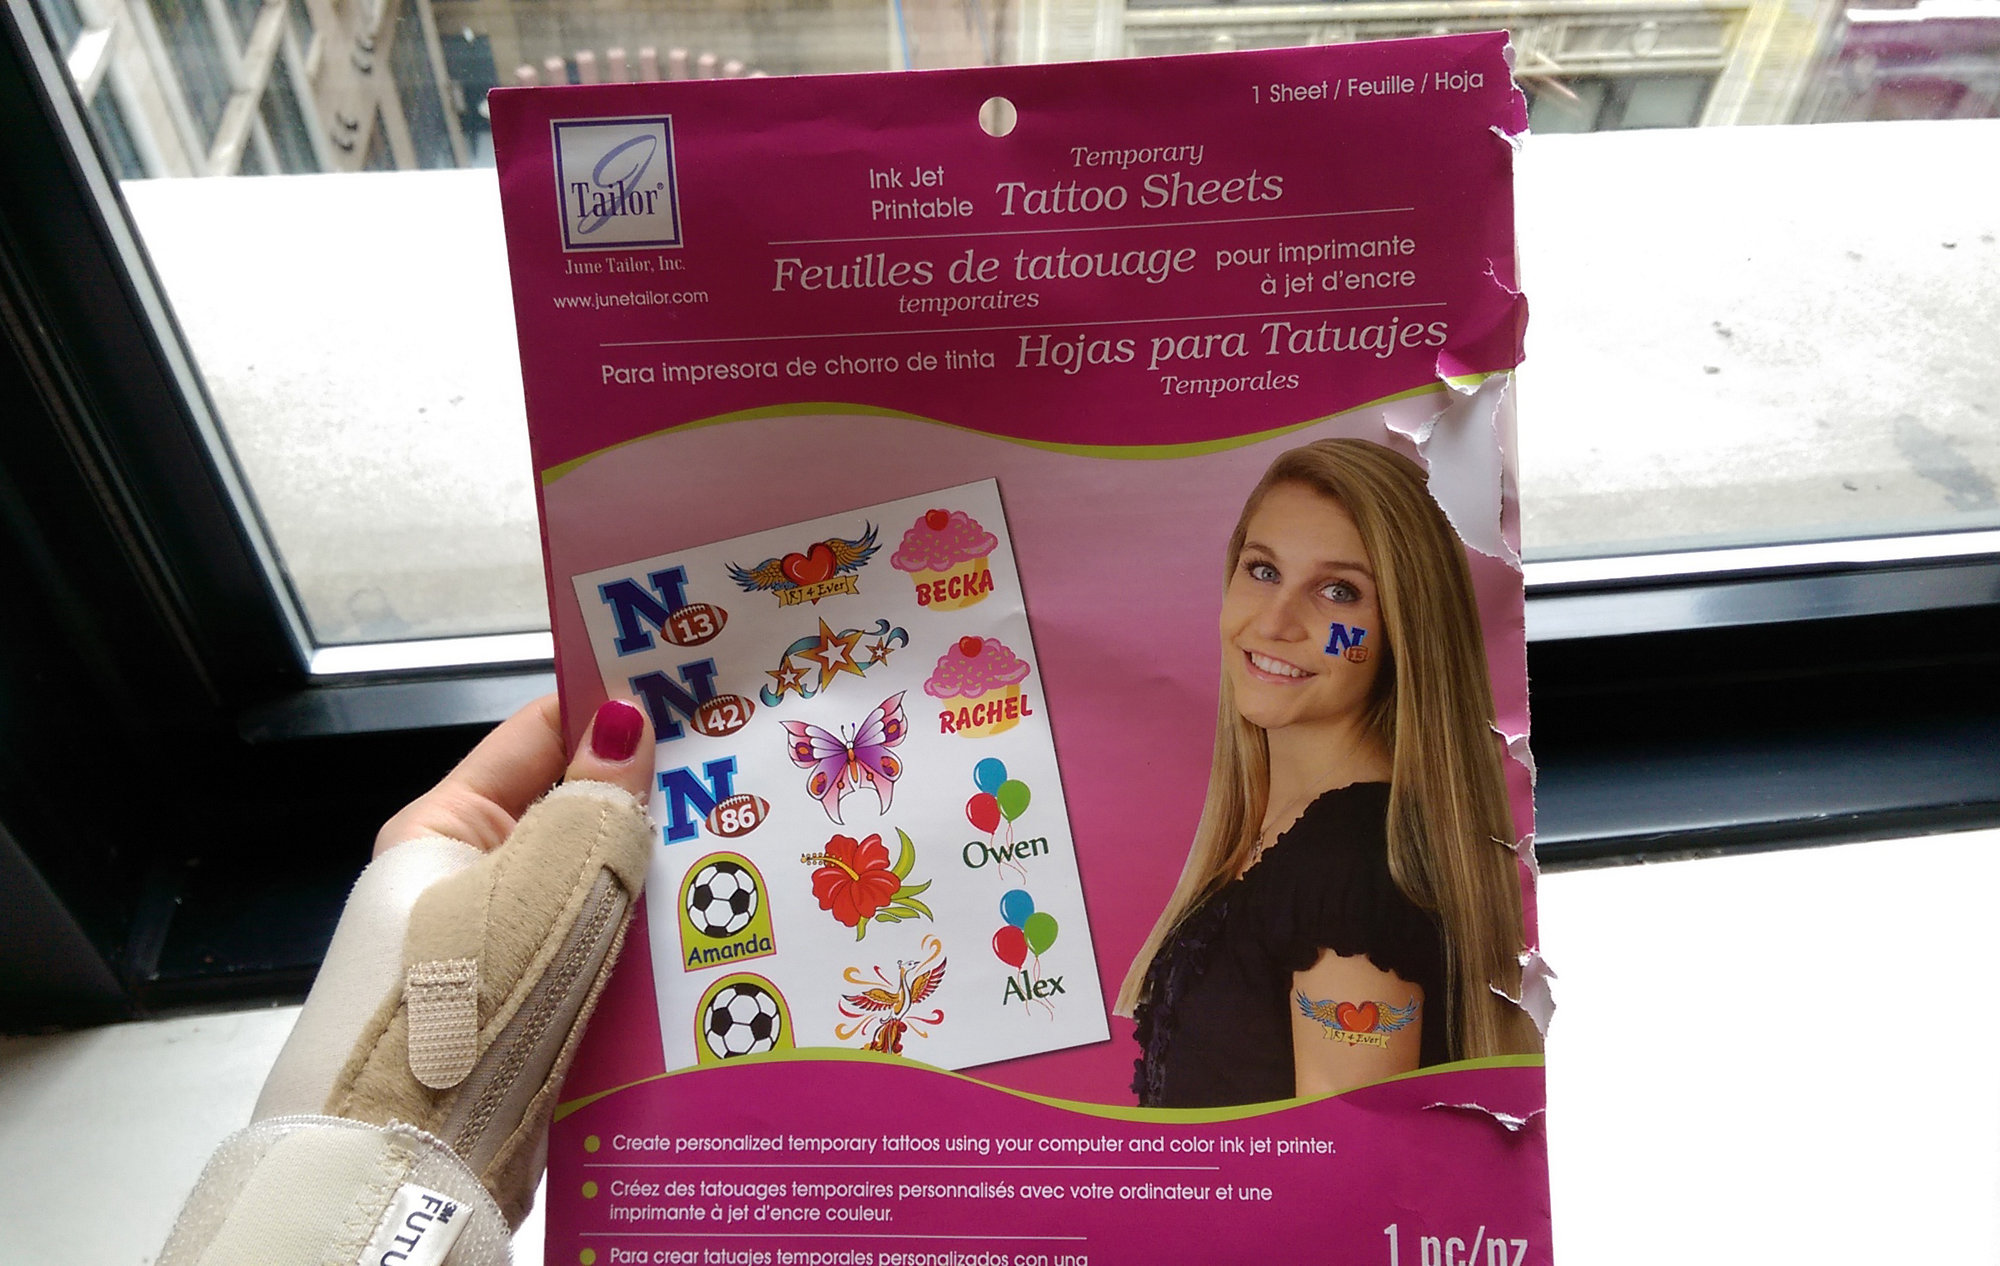
The first thing you need is temporary tattoo paper. I bought this one on Amazon. Easy.
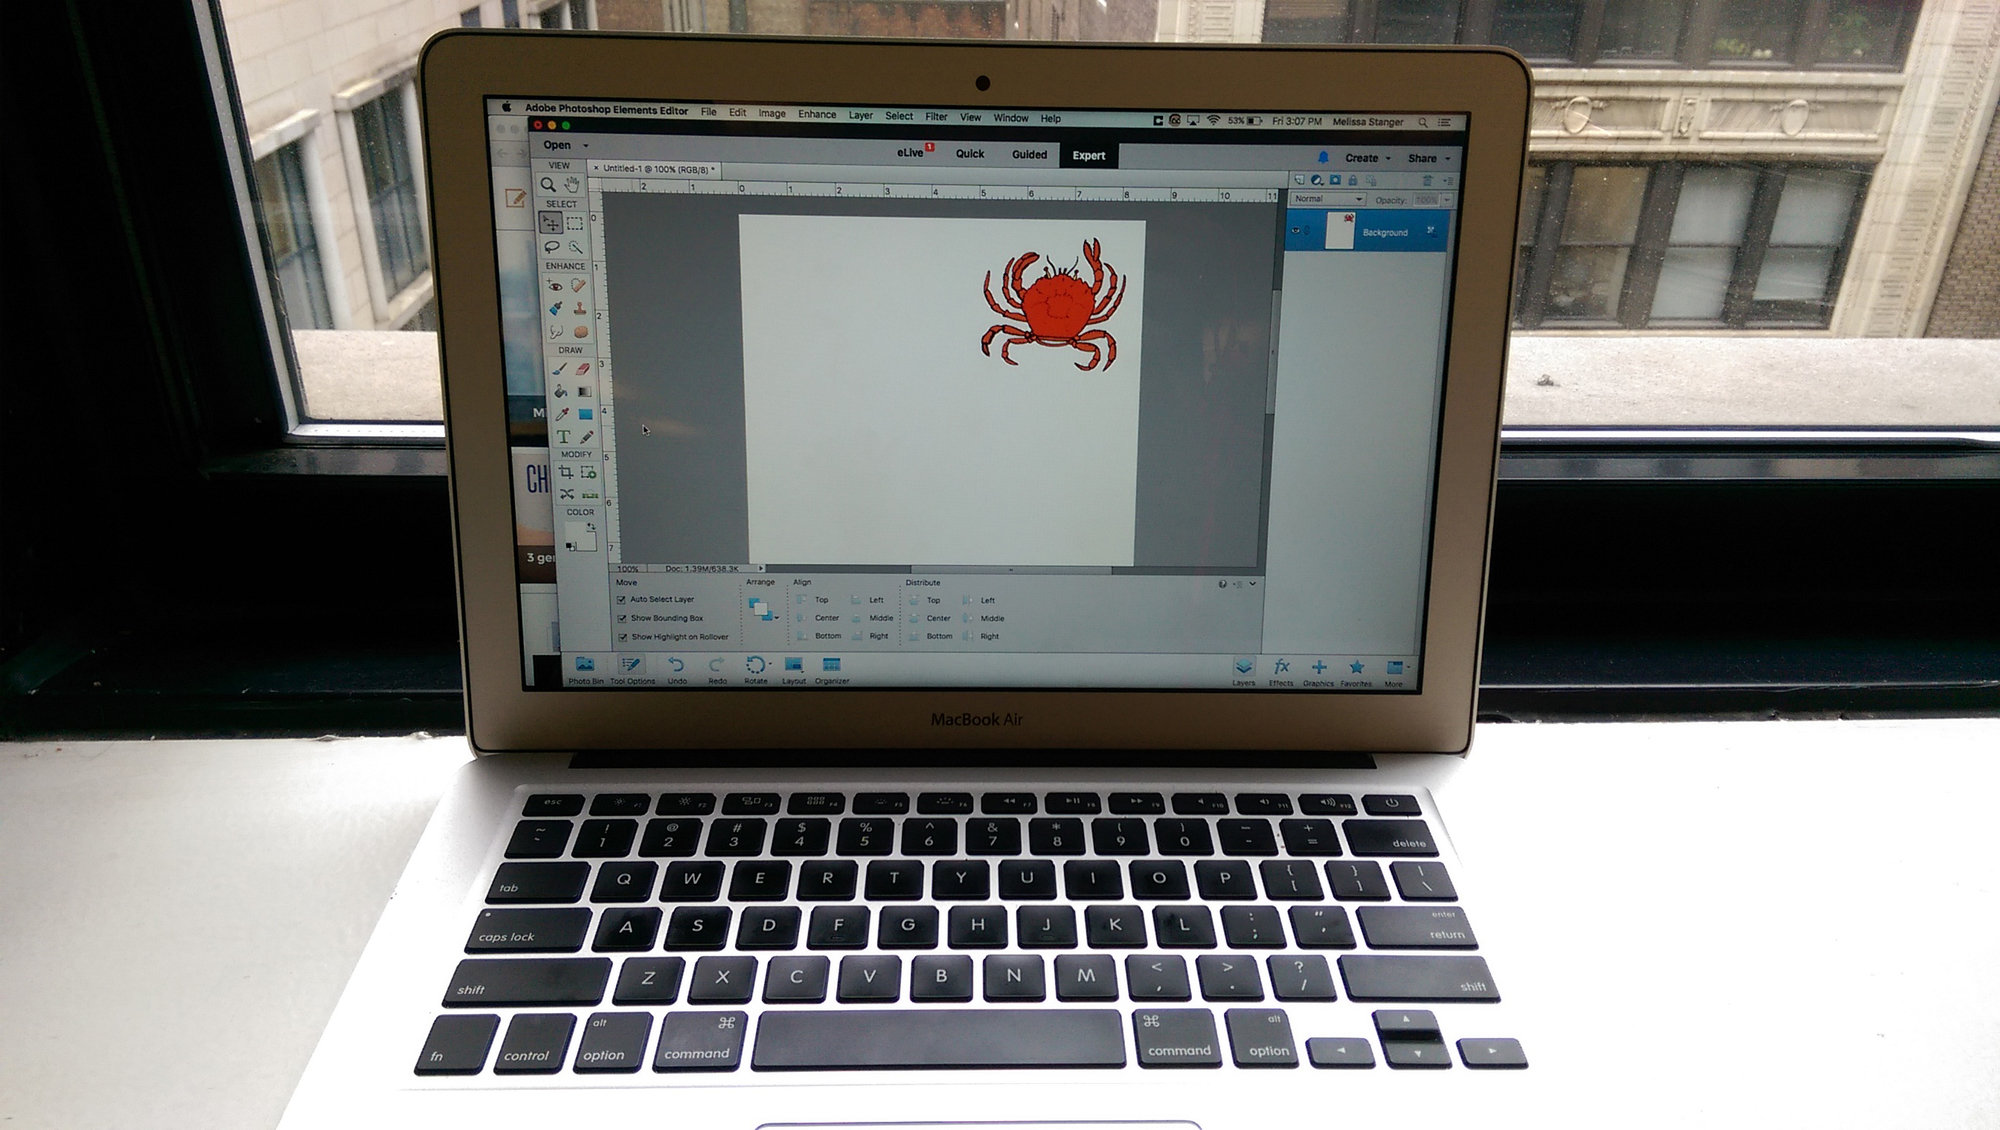
Design your tattoo on Photoshop or any other image-editing program. You can draw your own, or grab an image from the web.
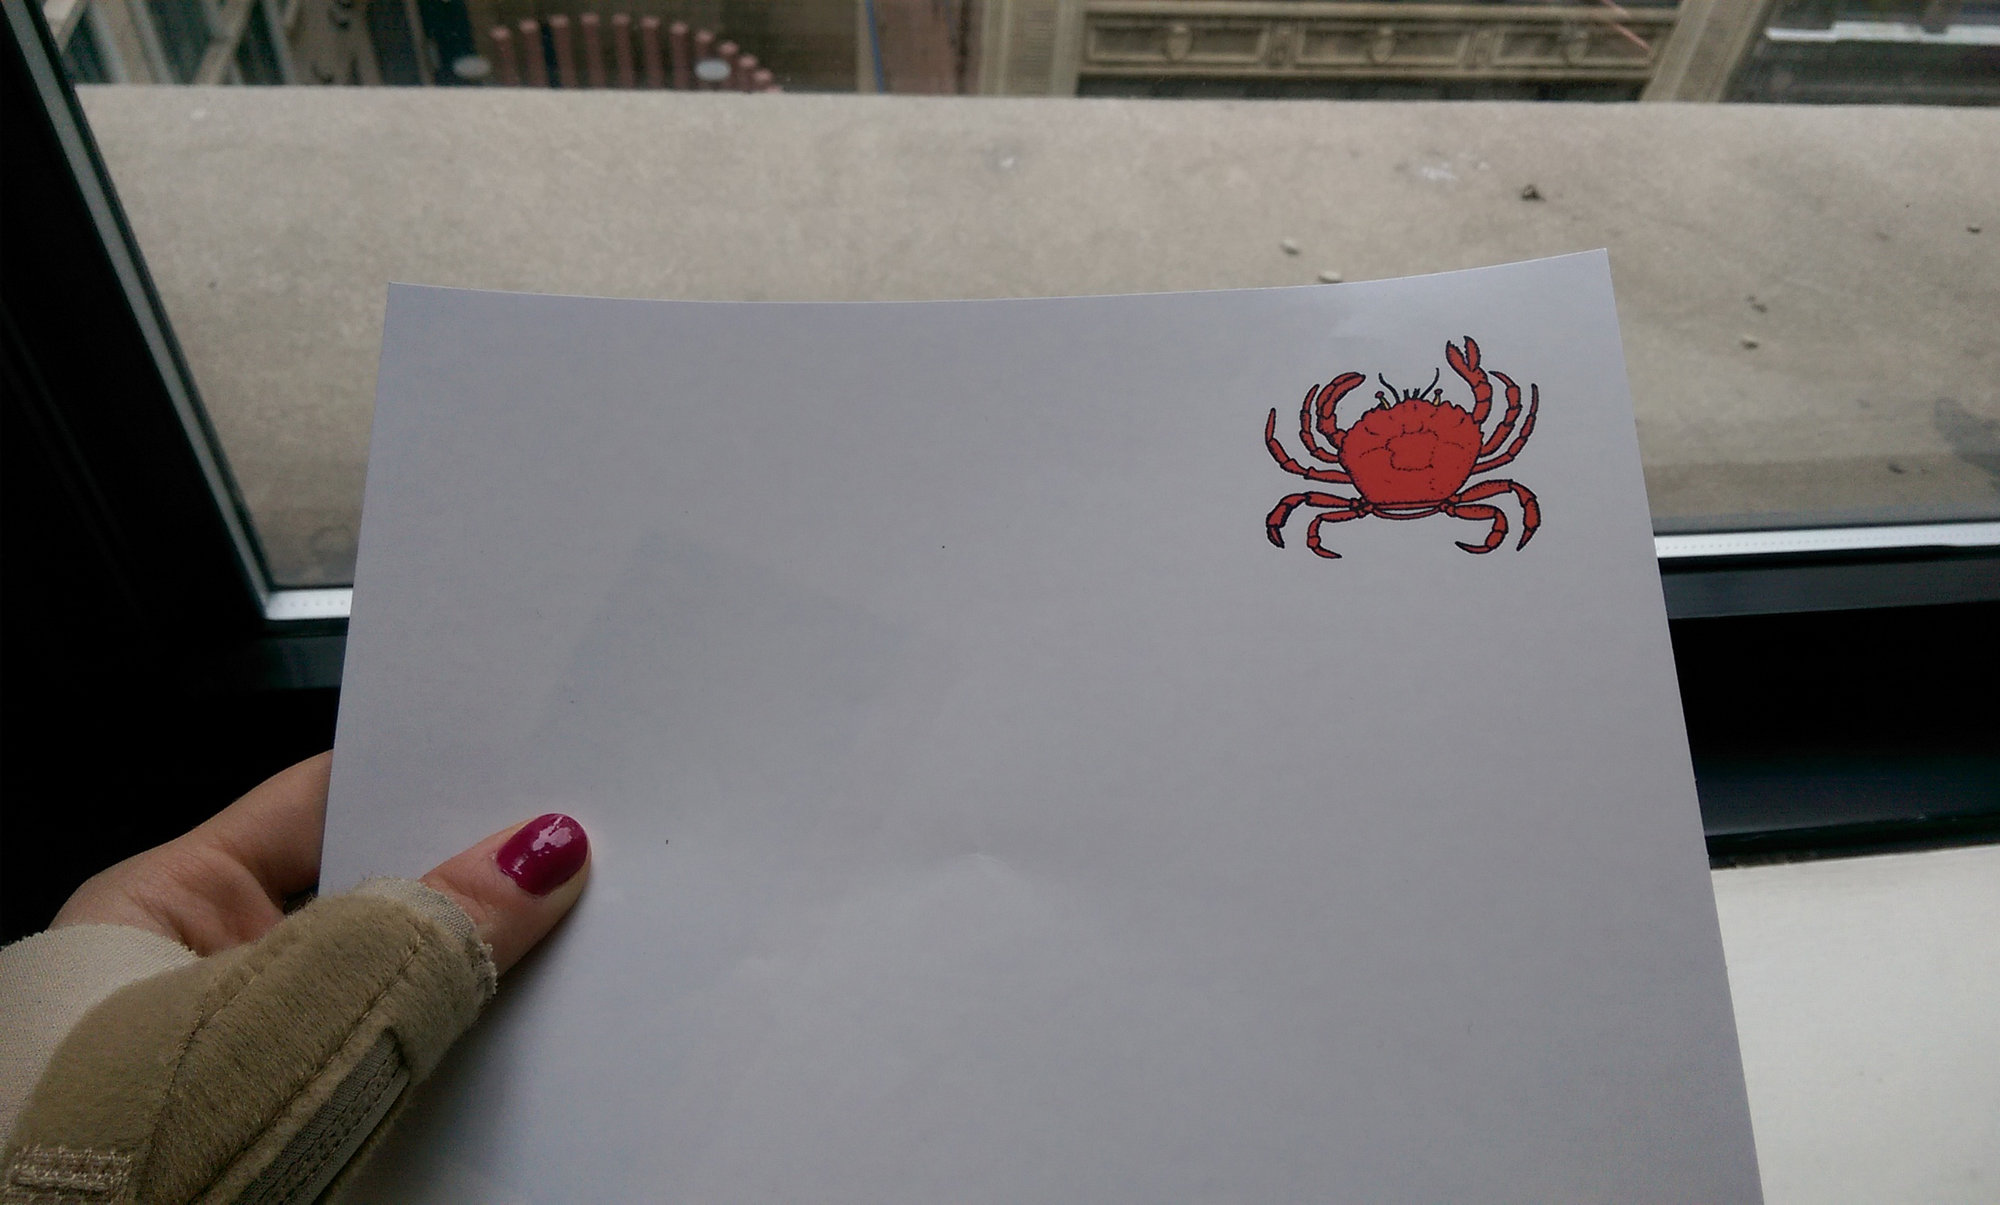
Print the design out on the tattoo paper according to the packaging instructions. Make sure it'll fit wherever you want to put it!
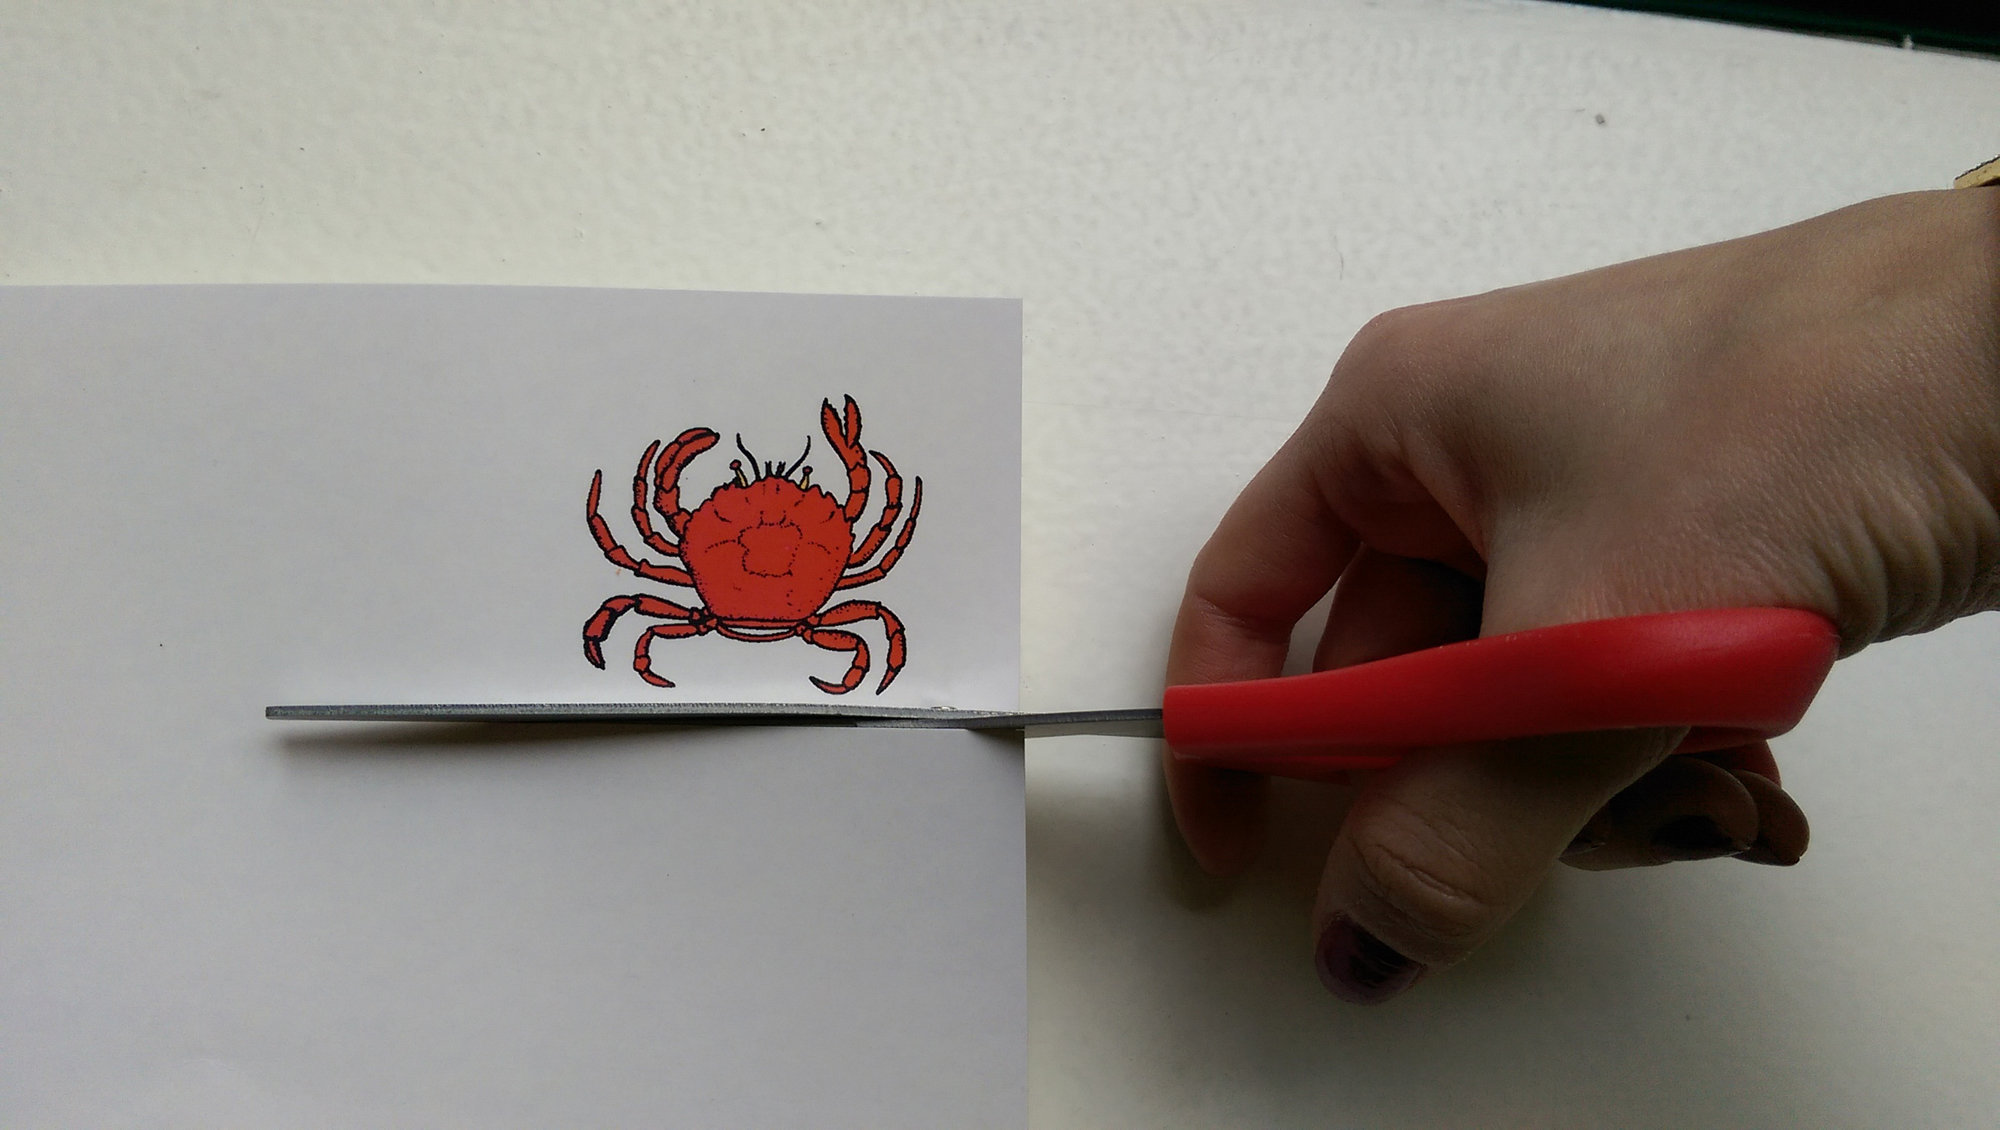
Cut the tattoo to a more manageable size...
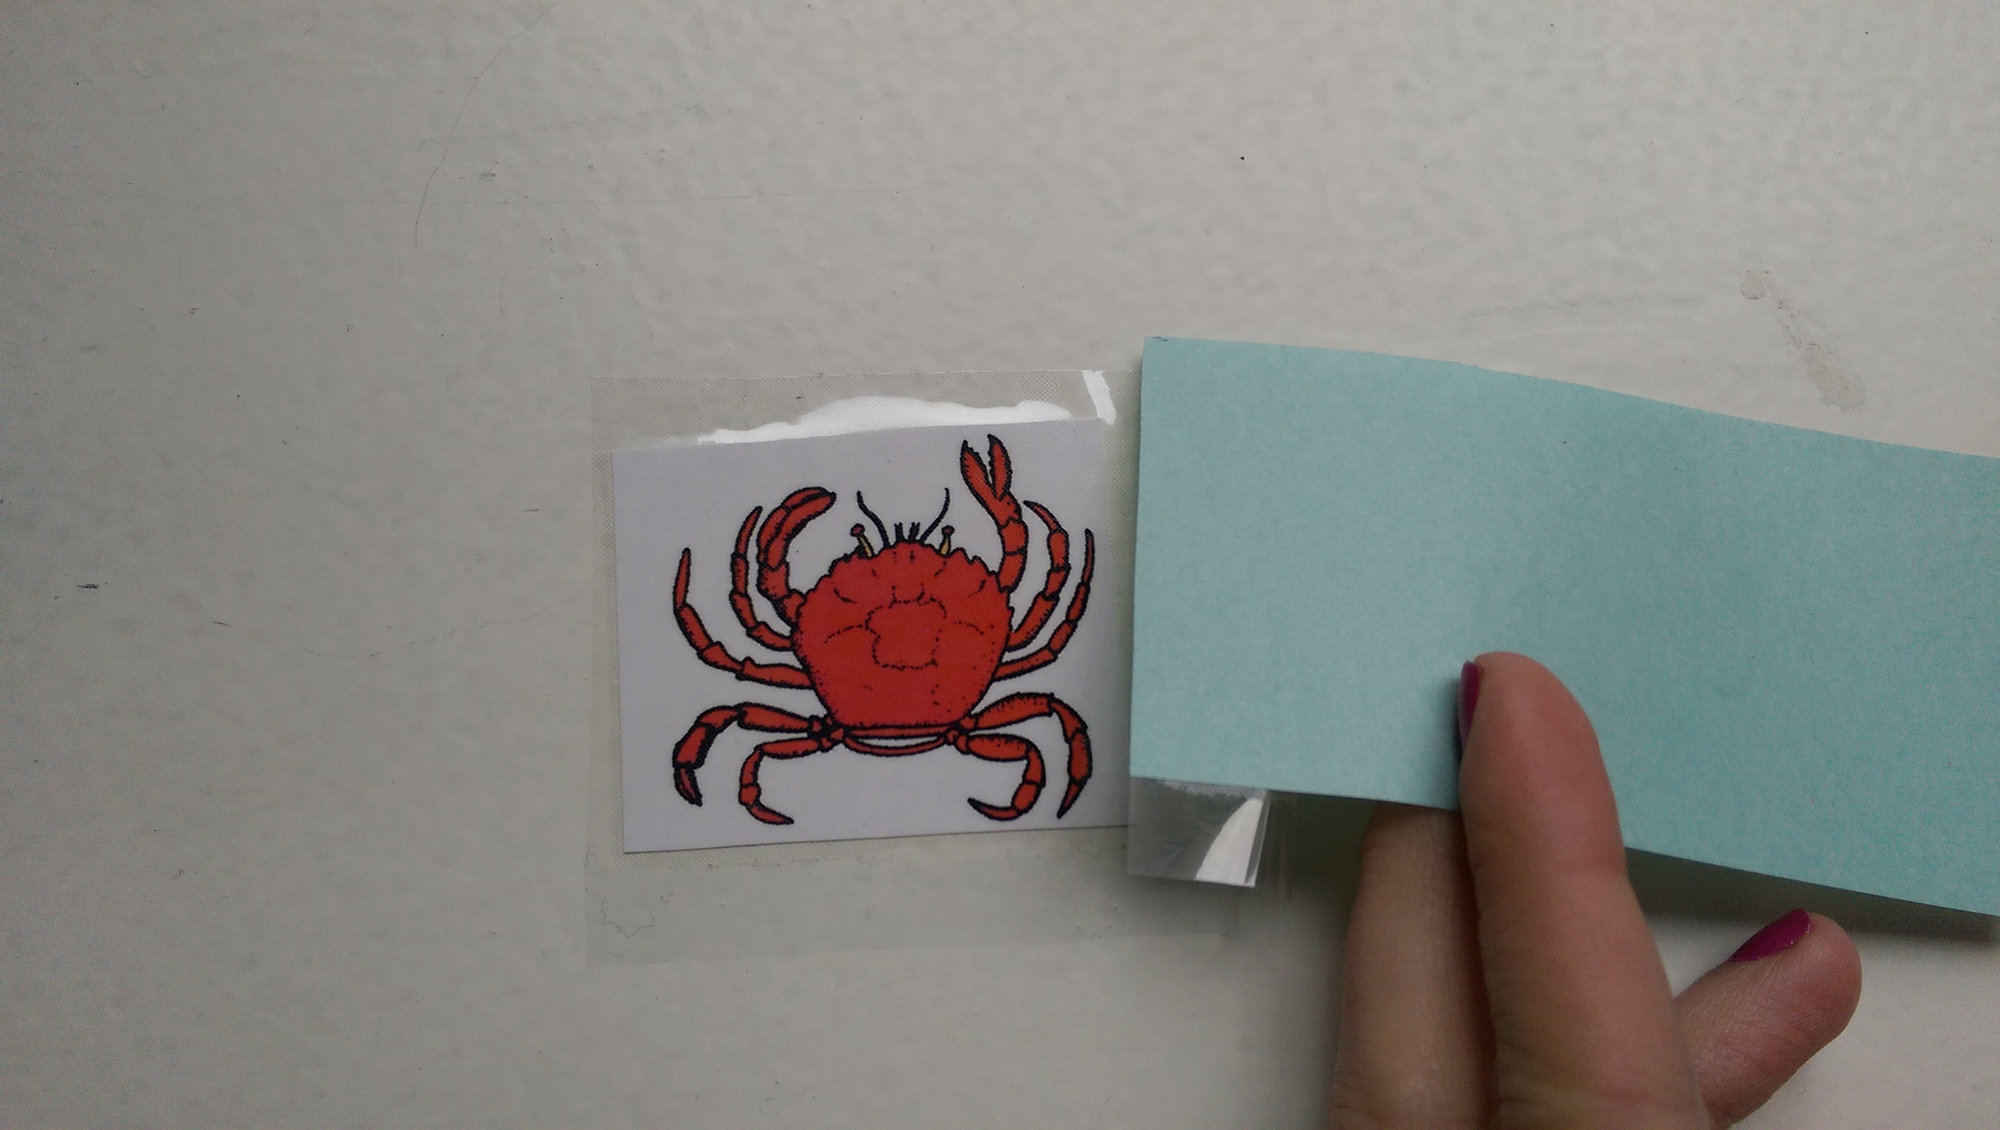
...and apply the clear adhesive strip (it'll be included in the package), using a flat surface to smooth the edges down.
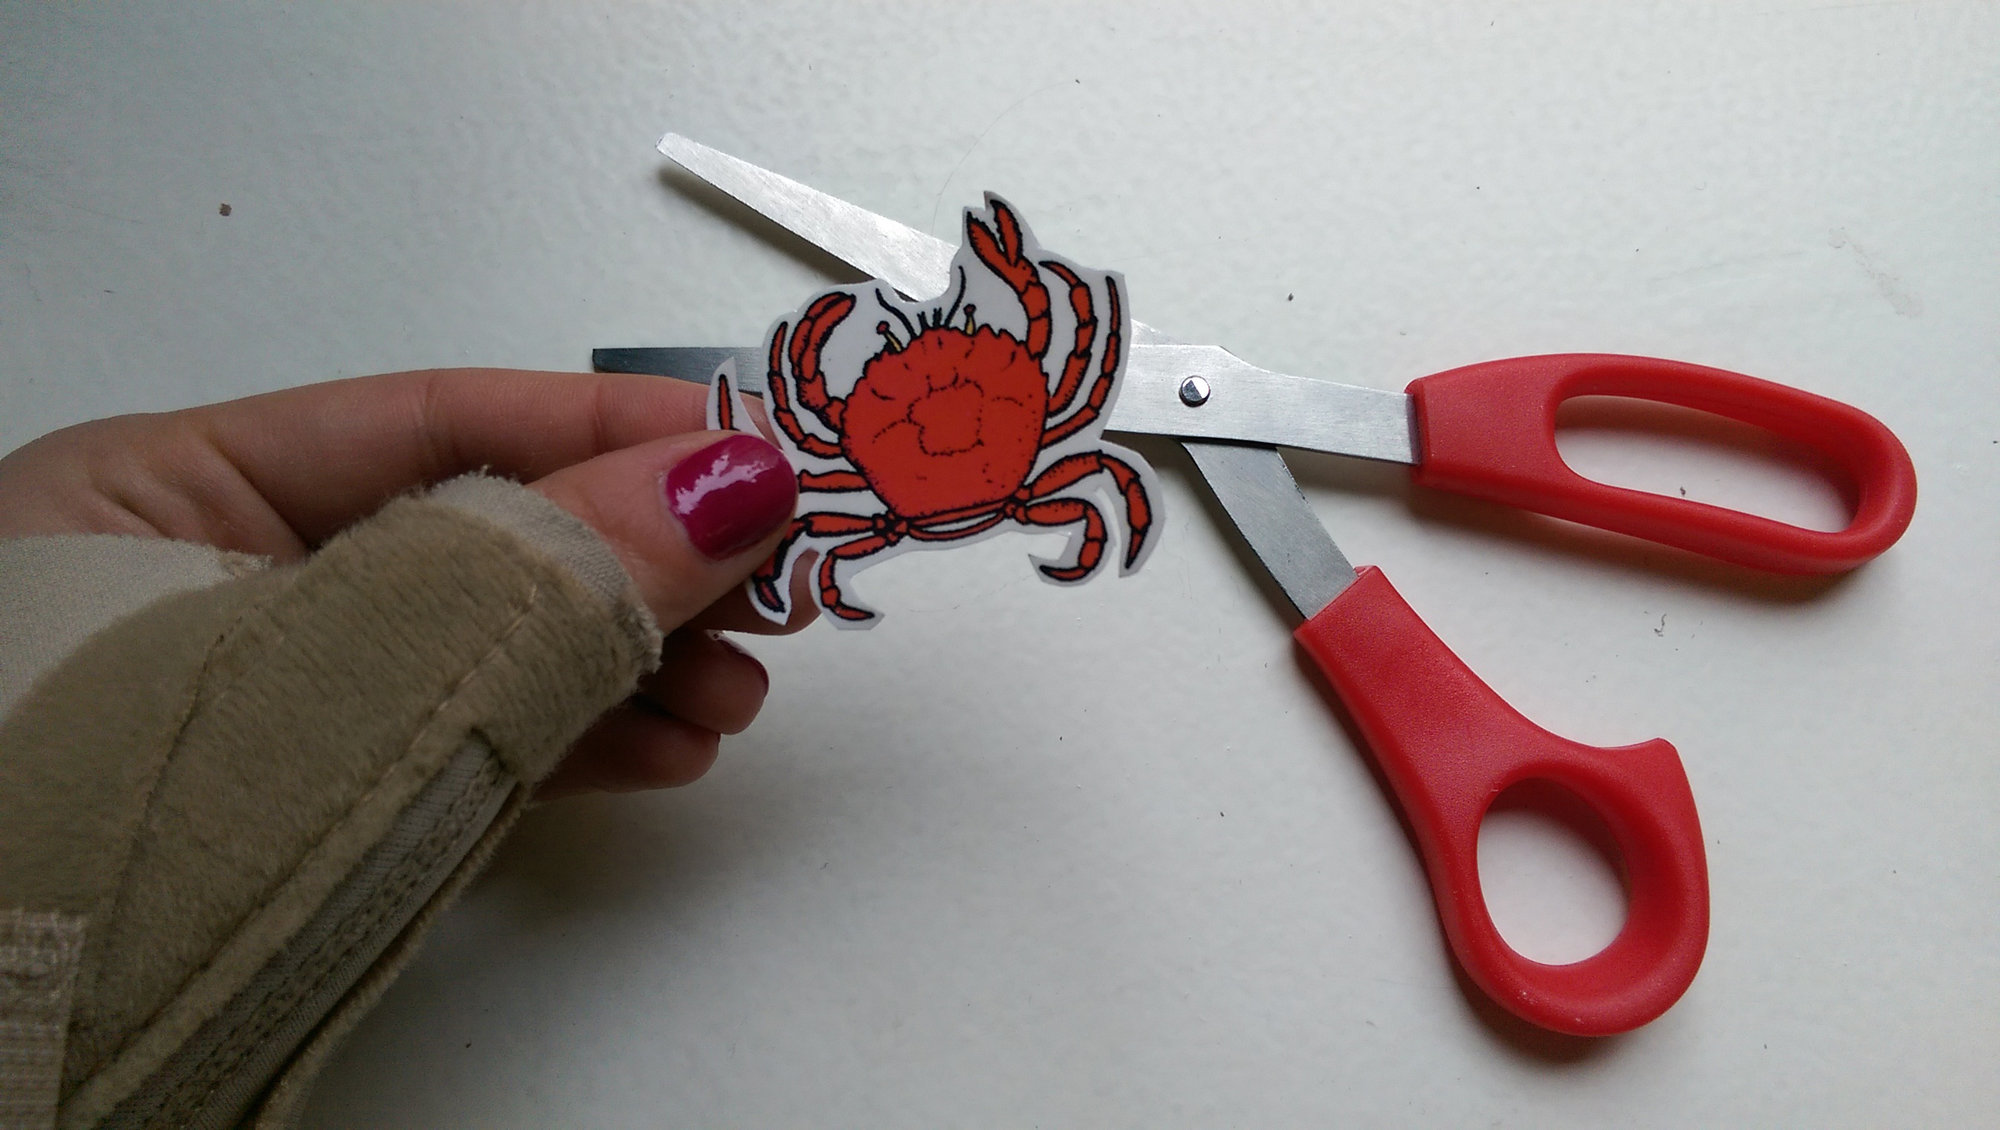
Cut out as much negative space around the tattoo as possible, otherwise you'll have a lot of extra adhesive on your skin.
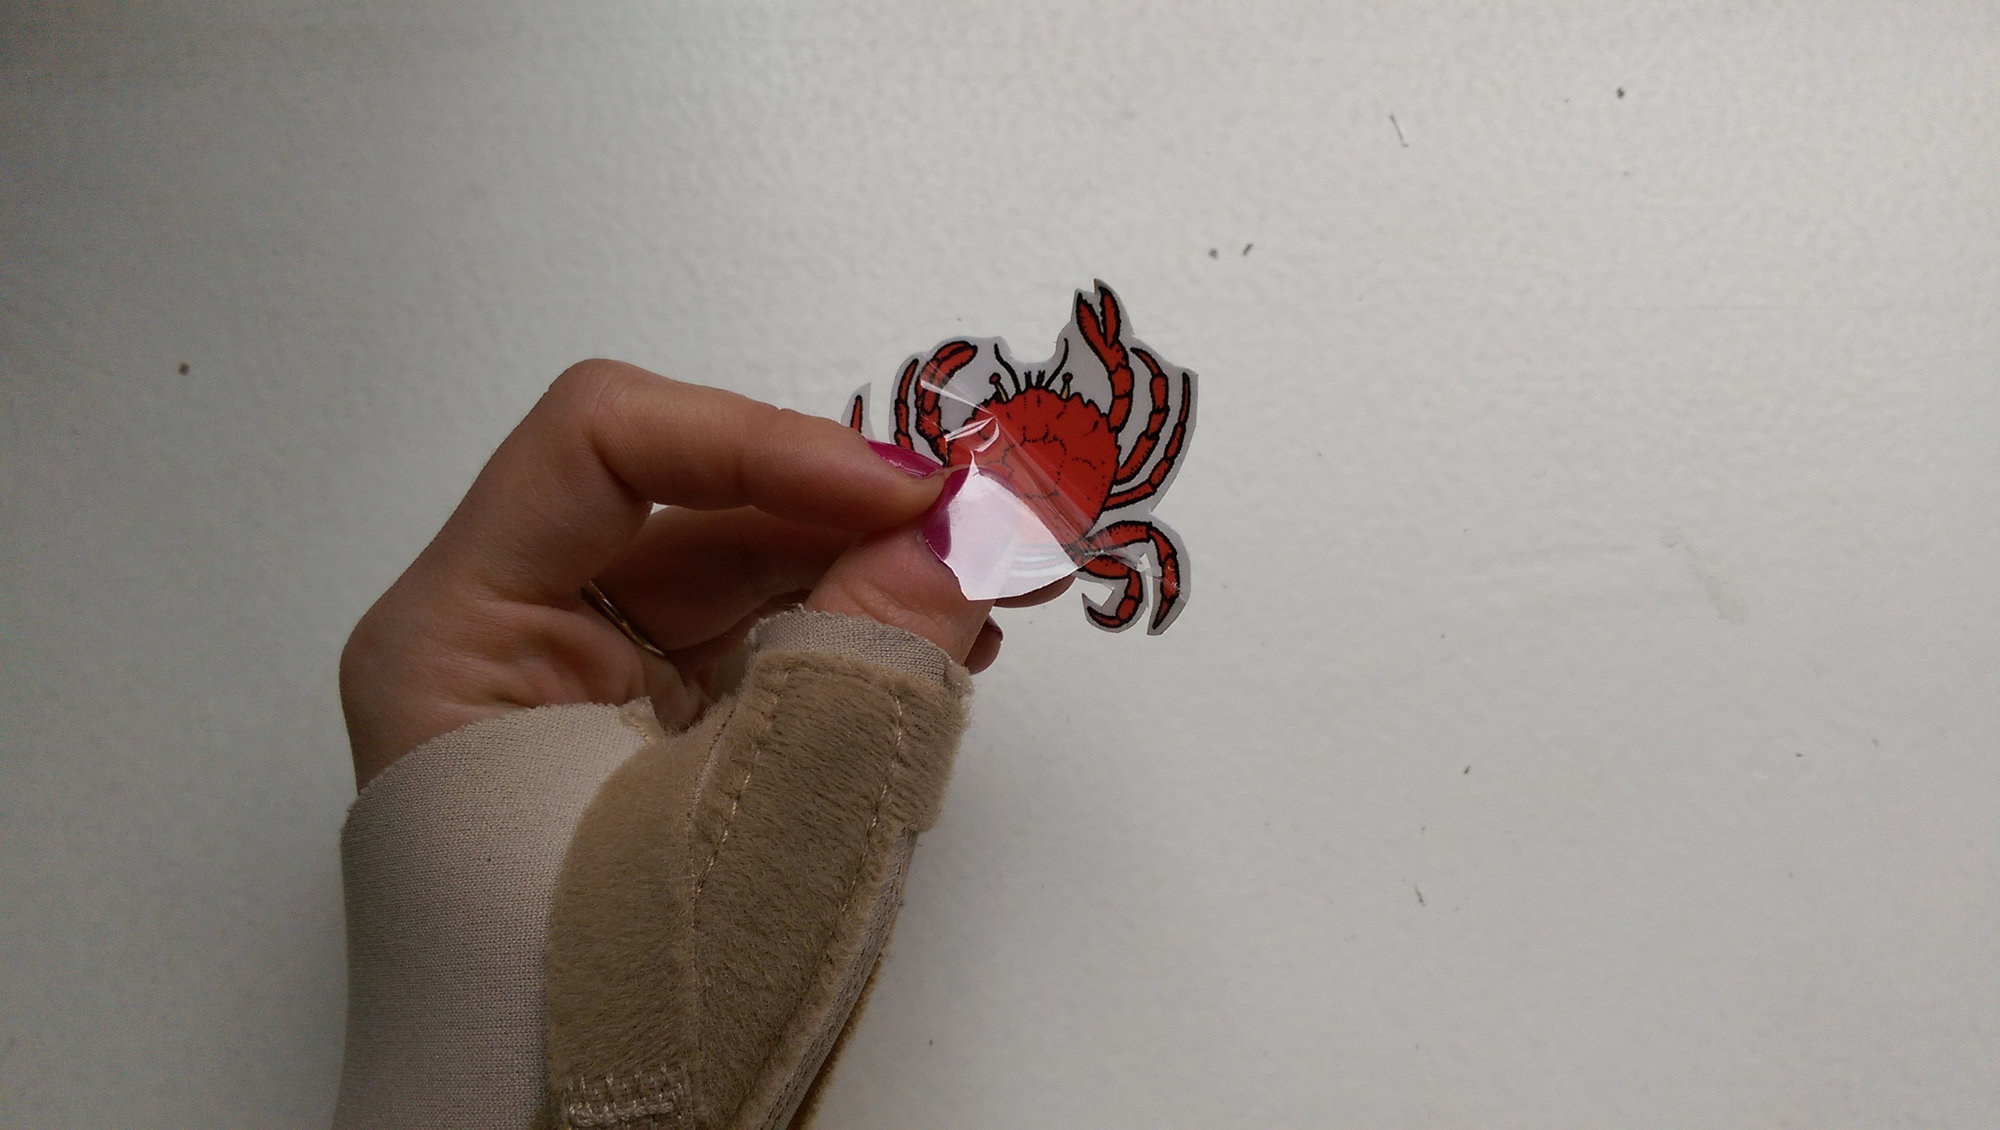
Peel the clear backing off...
...place it against your skin...
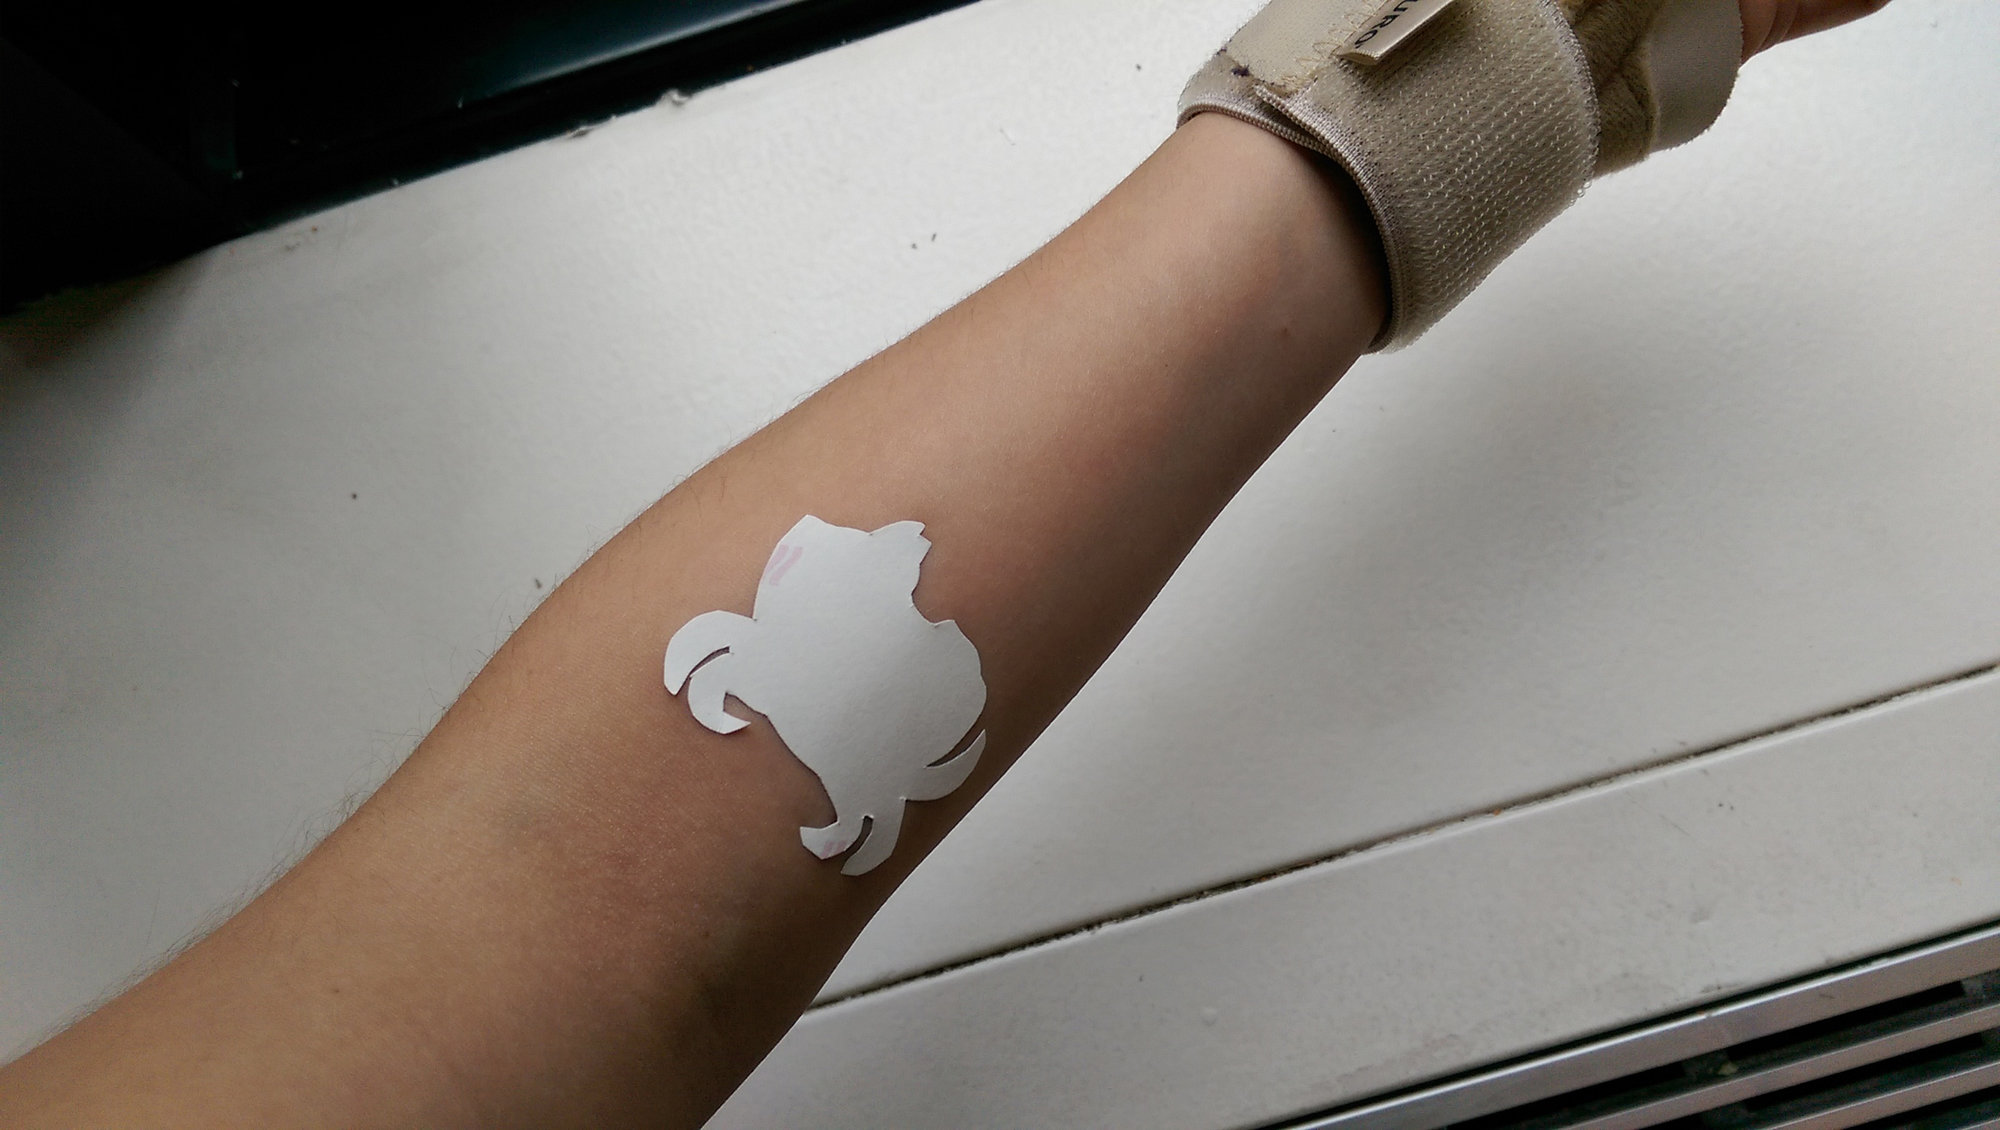
...and cover it with a wet cloth for 10-15 seconds.
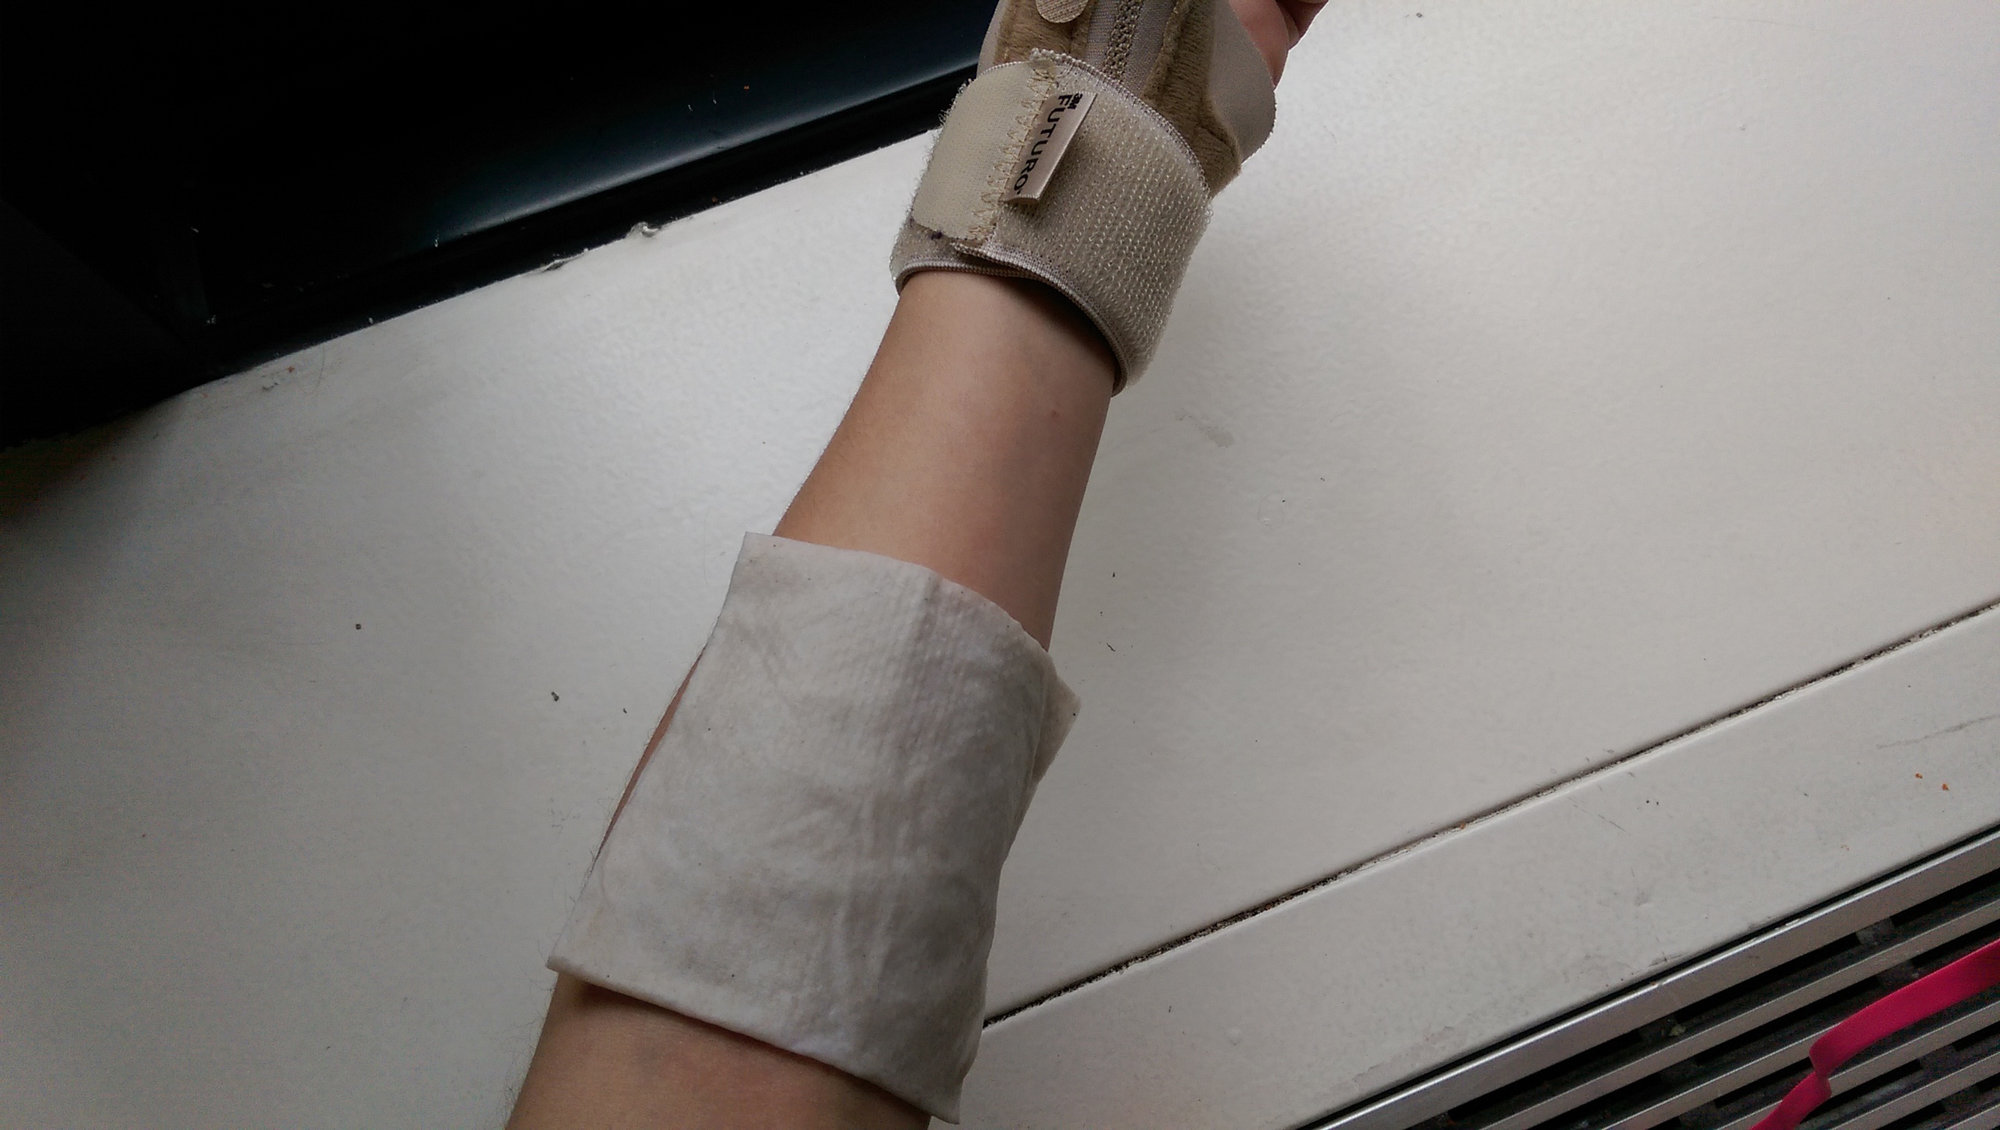
Make sure you wet the tattoo through!
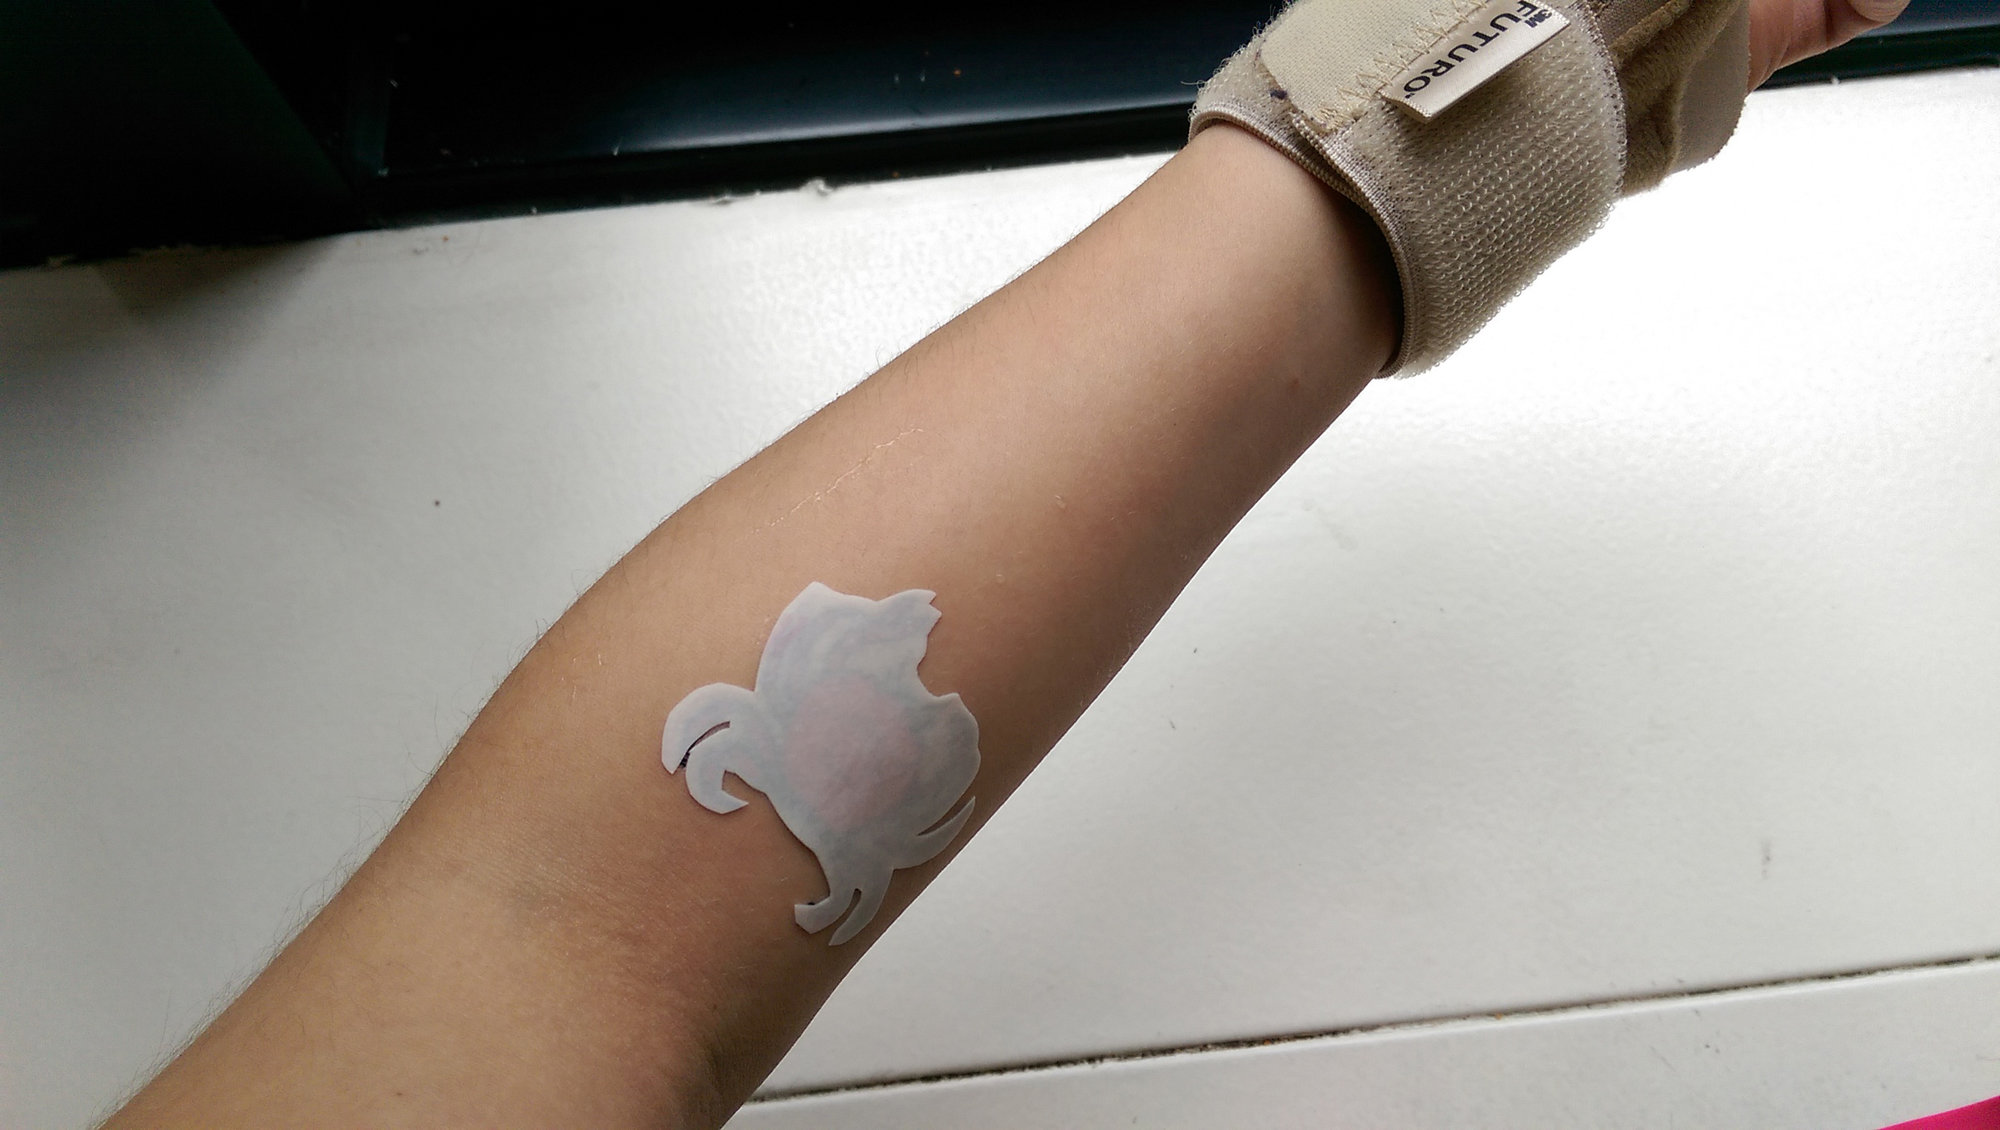
When the backing slides off easily, it's ready.
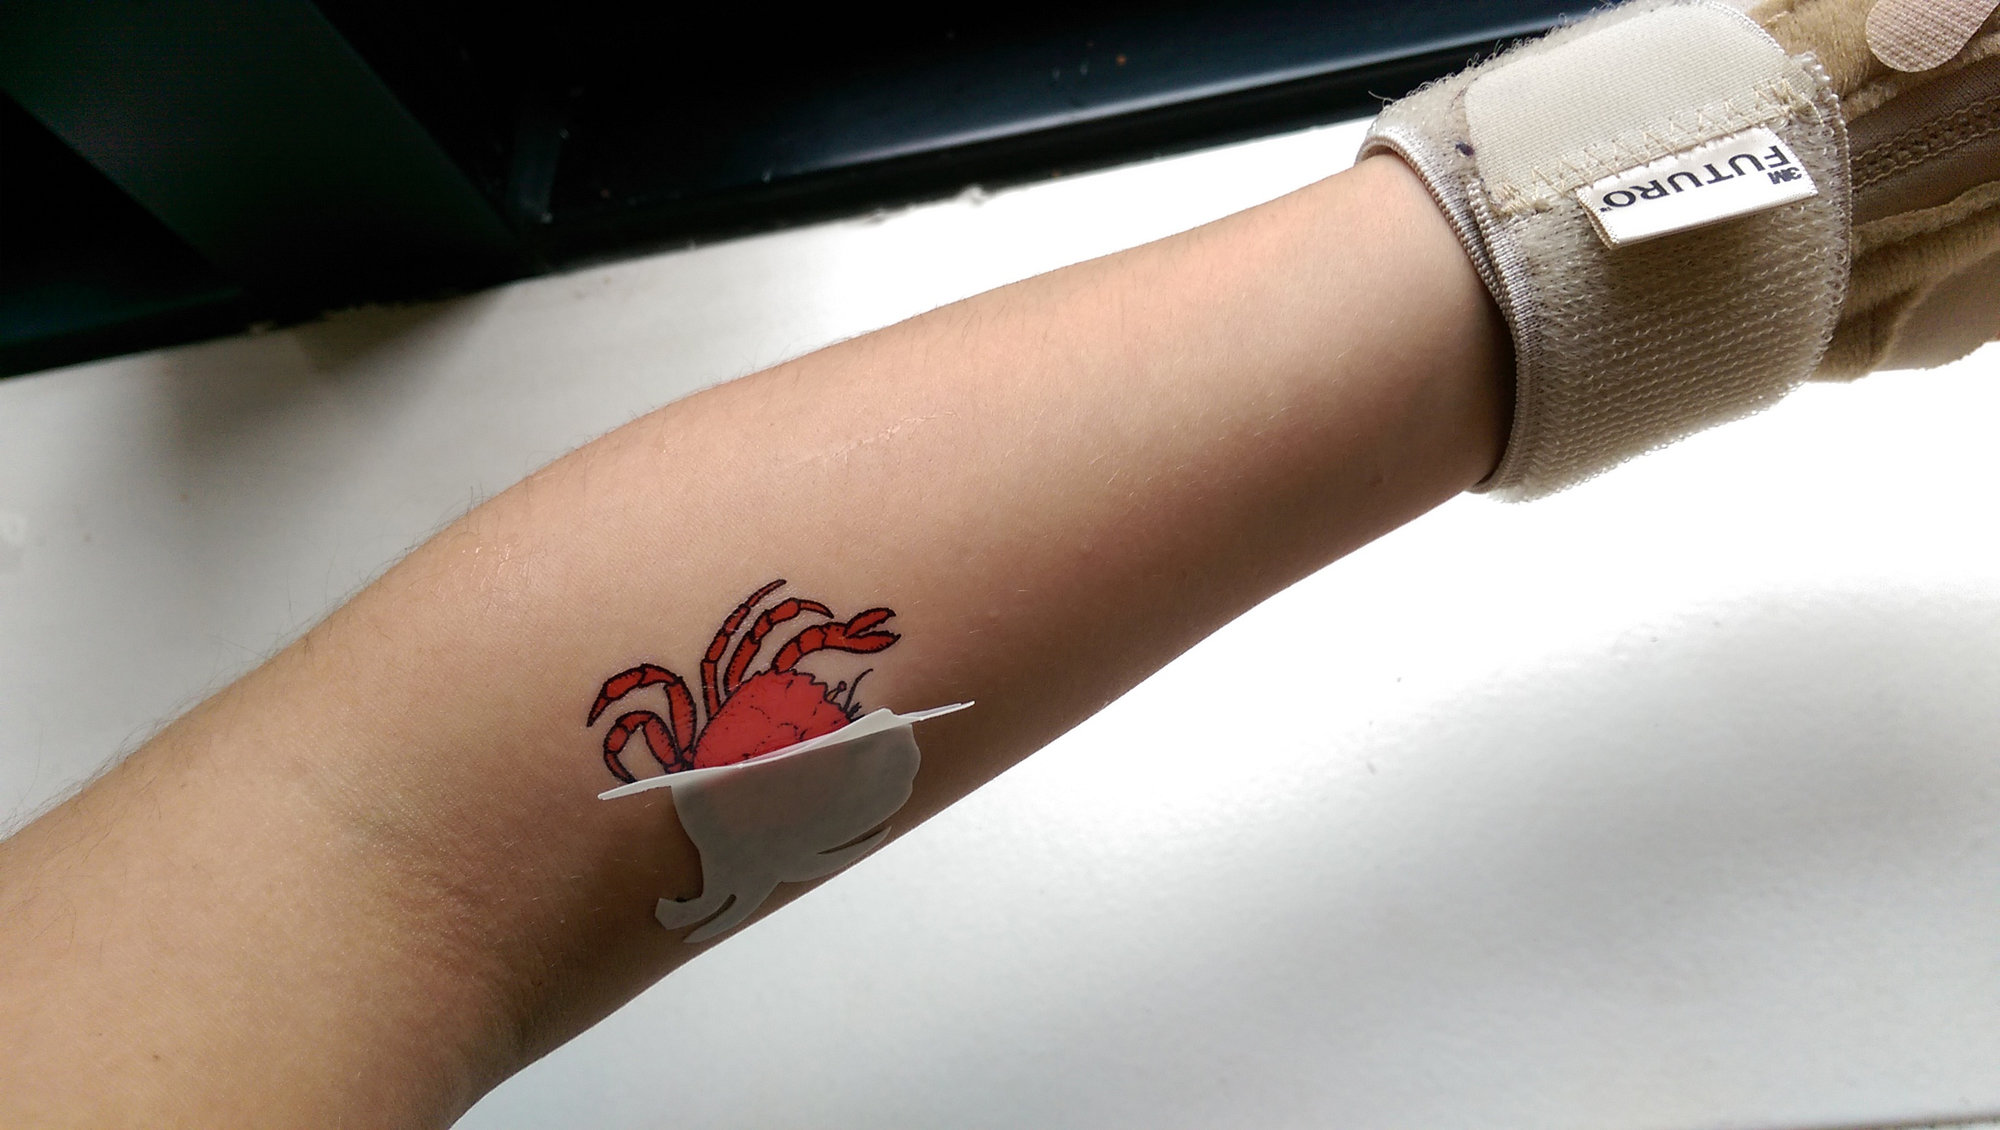
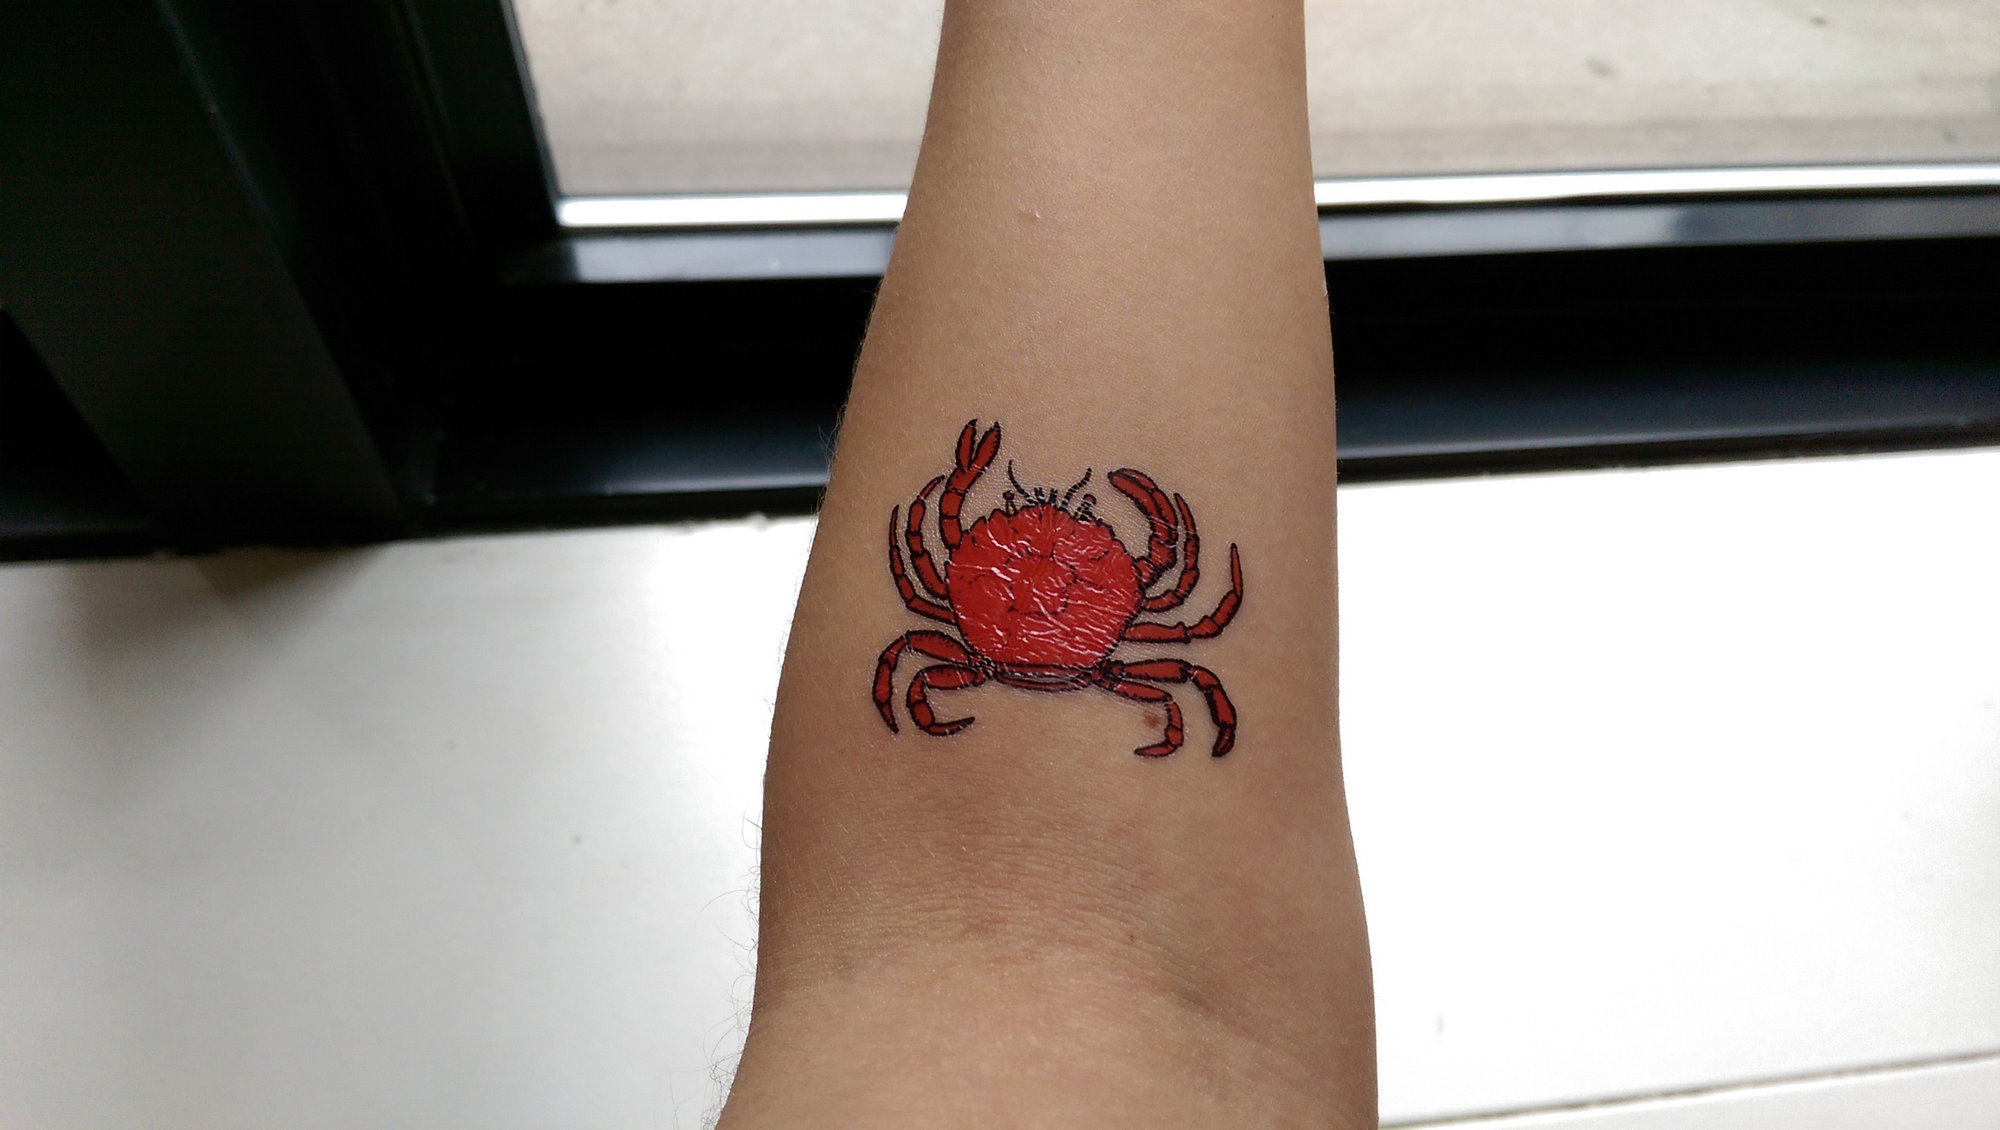
BOOM. You just DIY'ed the shit out of some temporary tattoos.
