Scrolling through Instagram I was always envious of the women who had big, feathery brows. My own brows are pretty thick, but are slightly curly and unless I wanted to spend half my day with a brow comb in my hand, getting them to stick straight up felt like it was never going to happen. But I couldn't crack how the Insta-Baddies were getting the perfect big brow. Were they born with the gift a pencil straight brow-hair? Is there an industrial strength Boy Brow that I hadn't tried yet? Are big brows a lie? Enter: Brow Lamination — the actual way to get your brows to stay put and for real, I am obsessed.
Brow Lami-whatsion?
Basically a perm for your eyebrows, Brow Lamination is a semi-permanent treatment that gets the hairs to stick straight up and give you that feathered, soap brows look. It's also a great alternative to something more permanent like micro-blading, in case you're not one for needles or don't want to commit to one brow look just yet.
The trend started in Russia about three years ago, and slowly made its way to the UK where it was embraced with gusto. Only now has the treatment jumped across the pond and landed here in the states, where one can easily imagine it being as popular as eyelash lifting or brow tinting.
I got lucky and was able to go to a Brow Lamination expert.
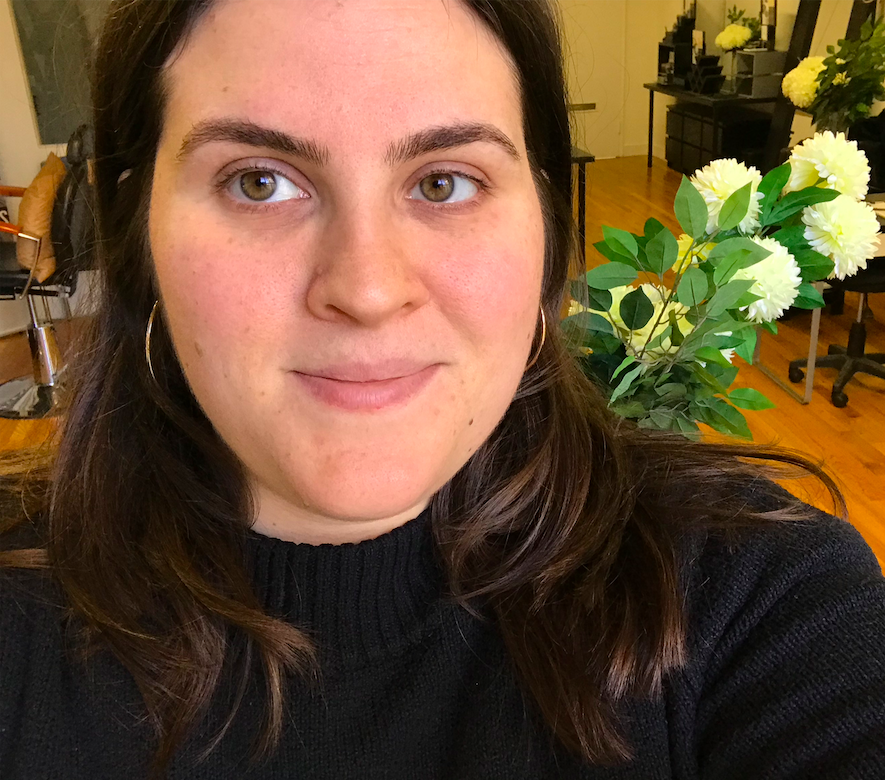
Elke from the Elke Von Freudenberg Salon in New York City totally hooked me up so I could at least attempt to get the big brows of my dreams (pre-coronavirus and sheltering in place, that is). And it was pretty quick and painless too.
As you can see I already have pretty thick and dark eyebrows to start with so the goal that day was to get them to be more sticky-uppy, fuller looking, and feathery. But I do admit that I broke the number one rule when trying any new beauty treatments: I thought I knew more than my practitioner.
I was warned not to trim or pluck my brows before my visit.
In fact, Elke tells me that ideally you come in with brows that haven't been touched so that they are easier to customize at your appointment.
"A slightly messy brow with hairs that have not been trimmed in two to four weeks is best," she tells Revelist.
But that is…not what I did. I was a little nervous that I'd end up with Mia Thermopolis's eyebrows (before the makeover) so I did give them a trim. Do not do this! Truly, unless you have the Princess of Genova's brows to start with, you shouldn't worry too much about getting crazy big brows.
Speaking as to why this bit of eyebrow math works out, Elke tells me: "Longer hairs look better and any spaces in or under the brow can be covered with any excess hair." Meaning that it can be easier to disguise any patches in the brow if you have a little extra something-something to work with from the start. At the end of your appointment your stylist will most likely trim and clean you up.
She also advises that you come into your appointment with clean brows (hence my make-up free look), so skip any brow pencils, powders, or gels.
First Elke and I did a little consultation.
I told her a little about what I was looking for in terms of brows and she brushed me up so I could visualize what the end result would look like. She advised me to go straight up until we hit my arch and then comb the hairs out and away from my face. Although that seems counterintuitive to what we're trying to do here, according to Elke, laminating the hairs up all the way across sometimes looks unnatural and even though I did not listen about trimming my brows, at this point I was very willing to Trust The Process and agreed to go with what she thinks is best.
Unlike other brow treatments, Brow Lamination shouldn't hurt (I'm looking at you waxing).
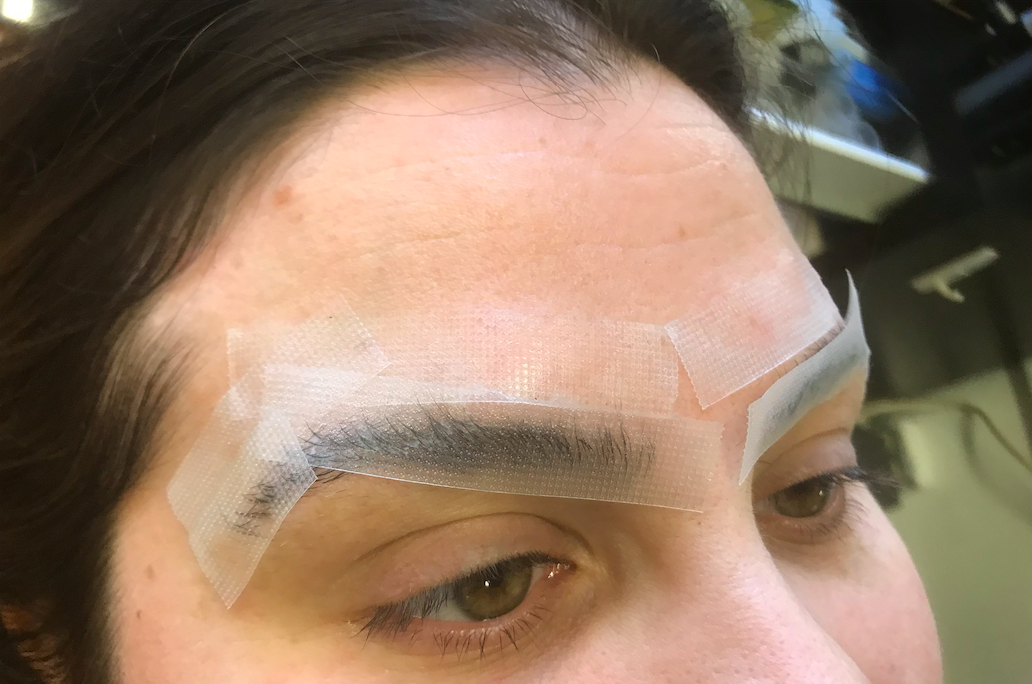
After she and I agreed on the shape, Elke applied a solution to help redirect the hair and set them into place. In total, the whole process can take anywhere from 30 to 45 minutes, but that involves a few rounds of solutions that break down your hair so it's pliable and then changes it so it straightens. Throughout the different solutions, Elke used a clear tape to keep my brows set. But at no point did it burn or tingle.
At the end, Elke applied a super hydrating cream meant to make the brows look glossy and healthy. And she did clean up any uneven hair (okay, I admit it. There were MANY uneven hairs. My trim was not great!) so that things looked clean and uniform.
Because my brow hair is already pretty dark I didn't opt to tint them, but that is a good option for people with lighter hair. We also didn't use any other product to fill in my brows or shape them — it was all just my brows, but enhanced.
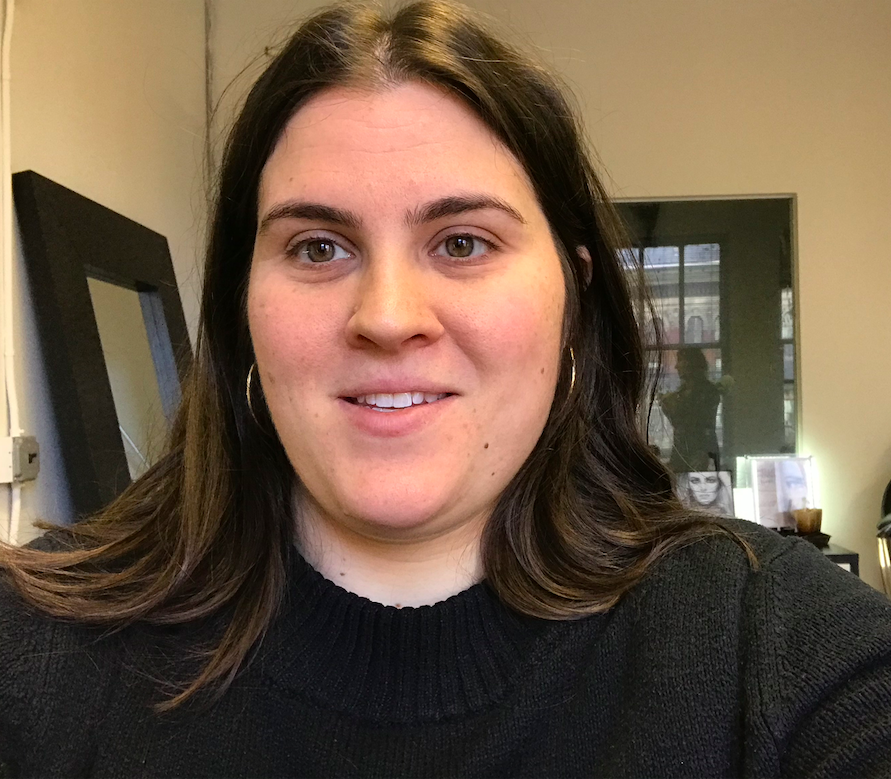
When it as over, I had perfectly full bushy brows.
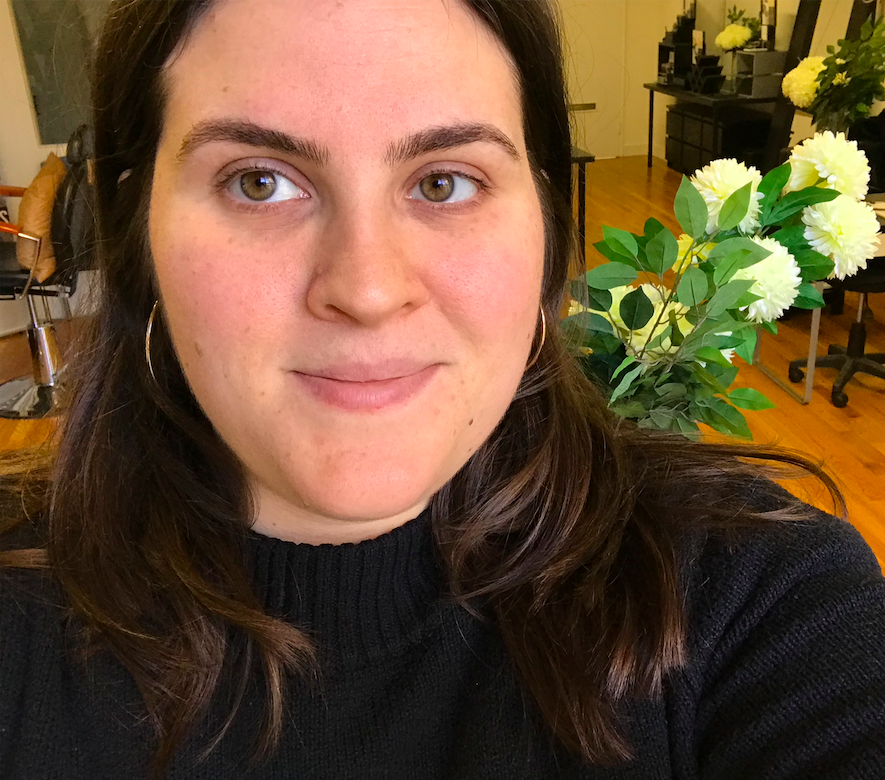
They were exactly how I like my brows to look on a good day. And instead of brushing them up, applying brow gel, and then watching as they fall throughout my day, these bad boys were going to stick.
Although Elke wanted me to have clear expectations of what was going to happen in the upcoming weeks.
"Lamination while it doesn't permanently change the hair direction, helps the brows stay in place much longer once brushed up," she says. "They stay in place then all day long without the need for brow gel."
And lucky for me, the treatment was expected to last for six to eight weeks.
In fact, I had to take a second selfie in Elkie's bathroom because we all know that bathroom lighting is the best lighting.
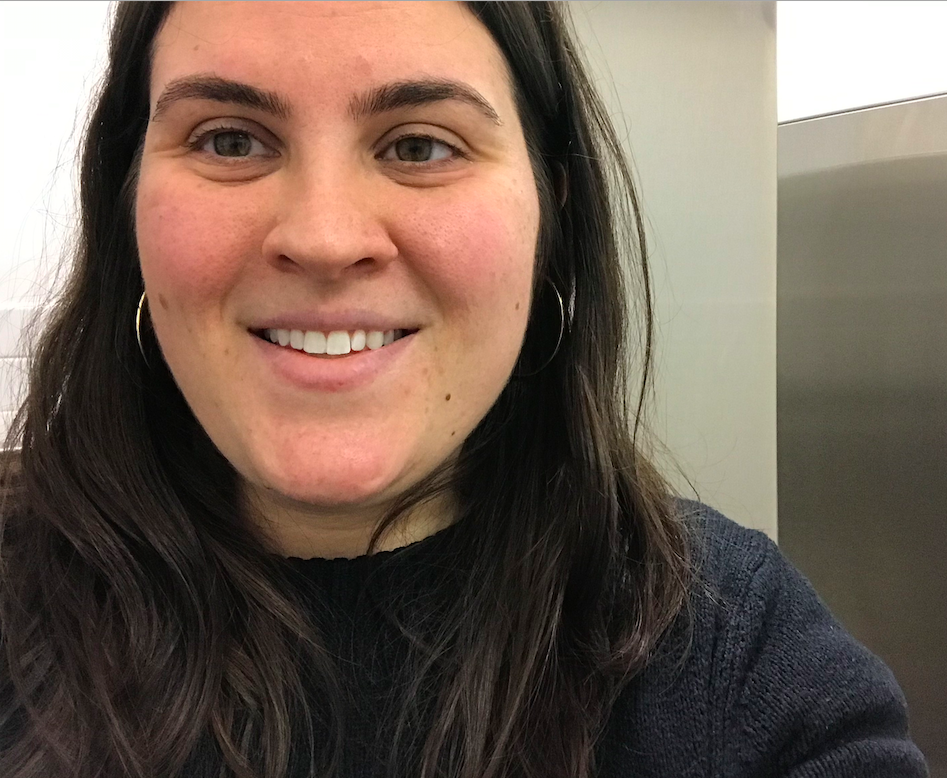
I mean, come on.
Then came the hard part. If you (like me) have watched Legally Blonde approximately 1,000 times, then you already might have guessed that I needed to not get any water on my brows for two days. That means no washing my face, no showers, no rain, no sweat, and no accidentally shooting your dad and then blaming your famous Stepmom for his murder (sorry, I had to). Elke told me that I could use a wash cloth to wash the skin around my brows, but she wasn't kidding about not getting them wet.
I also had to carry around a little spooly (brow brush) for the next two days to help set their shape, which meant I spent the next few days brushing my brows up and quietly whispering "spooly spooly" to myself throughout the day.
At the end of my two days, my brows were looking incred.
I will say that the first few days, my brows were a bit on the dry side, but once I started washing my face like I usually do they returned to their normal texture. The major plus was that I could just tell me brows looked thicker — especially in the part of my brow past the arch, which typically are curly and can sometimes look more patchy if I don't gel them properly.
In general my brows were easier to tame. I could get away with brushing them up and shaping them in the morning and then they would more or less stay full-looking for the rest of the day. And the results lasted pretty much lasted as long as Elke promised.
So was it worth it?
According to Elke, pricing for Brow Lamination varies from salon to salon. At her salon she charges about $85 for Lamination plus a clean-up, but some salons might charge as much as $125 or as little as $40 depending on where you go.
For someone like me, who is low maintenance most of the time, I would be willing to splash out on Lamination before a big event, but some people might not be able to afford to make this a part of their regular routine. I would say that if your brows are Your Thing, then absolutely it might be worth investing the money — just like one might for lash extensions or tinting.
And this could be one of those salon procedures that we have to try when we're finally able to leave our houses and take care of our beauty routines pre-lockdown times. Until then, you can research it, plan for it, and stay healthy and safe!

