In my next life, I will be one of those ladies who has her hair colored, professionally, properly at a salon. But for now, I am one of those ladies who colors her own hair at home. And you know what? It's going all right. I've gotten a lot of practice and learned a lot of hard lessons. Like, hair-falling-out-in-my-hands kind of lessons. Ugly lessons.
We'll get to that in a minute. The good news is, if all you want is a simple, single-process color, you can do that yourself. In fact, the only reason to get a single-process color in a salon is just to save yourself the mess and trouble. But really, it's not that difficult. Here's how.
More from The Stir: 6 Insider Tips for Coloring Your Hair
Do you think you can get a pretty good color job at home?
Image via © iStock/ValuaVitaly
Get Your Custom Color
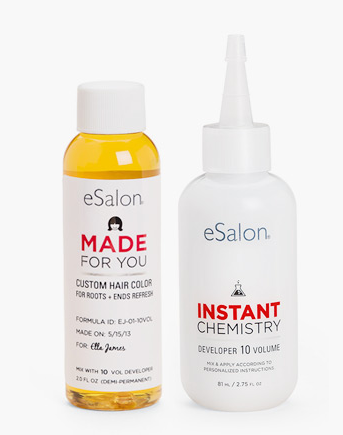
The next best thing to getting a salon dye job: Custom color company eSalon let me try out their hair color system. They'll find the right color for your complexion in the color you want. At around $20 it's a bit more expensive than drug store dye, but I think it's worth it. (Still way cheaper than a salon job.) I've been trying for the longest time to get a dark brown with just the right bit of red that doesn't look brassy or magenta. I finally got it!
I also liked how eSalon walks you through the whole process of hair dying — so I'm shamelessly stealing some of their tips to include in this tutorial.
Otherwise, ask your stylist for advice. Maybe I'm just lucky, but the stylist who cuts my hair has always been generous about giving me hair coloring tips. It doesn't hurt to ask! She's suggested specific colors that would work on me, which was really helpful.
Get All Your Equipment Together
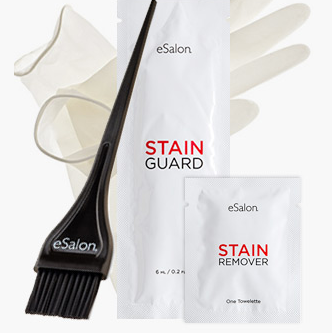
You will need:
1. Everything in the hair color in your kit.
2. Gloves, if they don't already come in your kit (but they're usually included — just check to make sure).
3. An old towel you don't mind staining.
4. Hair clips you don't mind staining. Should be metal as some hair dyes can do weird things to plastic. Nope, no, metal is bad. Very, very bad. Just use plastic.
5. A comb.
6. A timer.
7. An application brush.
8. A dye bowl (optional).
Don't Dye Squeaky-Clean Hair
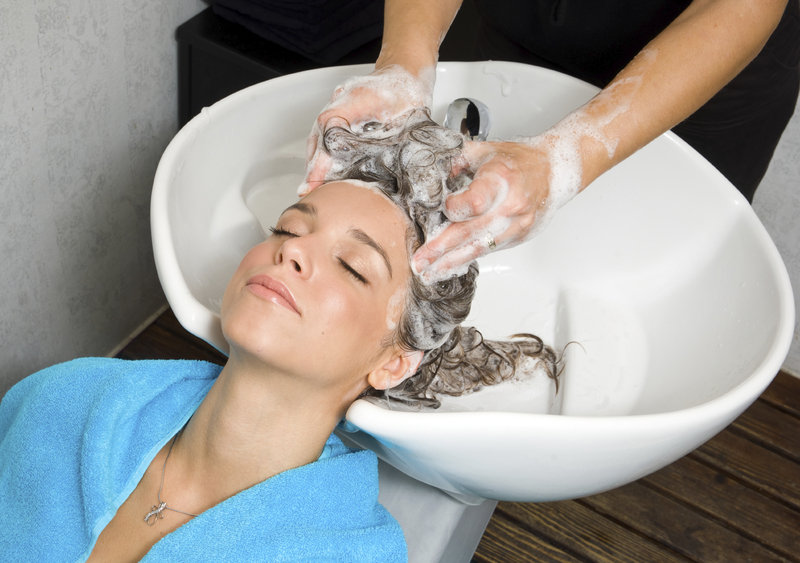
For most dyes, you want some natural oils still present to protect your hair and scalp.
Read the Directions First -- All of Them

After a while you'll notice a few things. A lot of dye kits use the same instructions. And a few of them don't. Don't assume you've got this, especially when you're trying a new brand. Always read all the instructions before starting.
Protect Your Skin
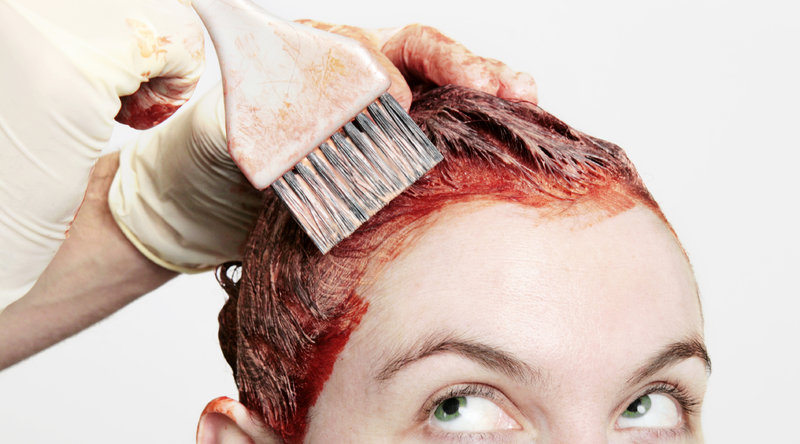
You know to wrap an old towel or a smock over your shoulders to protect your clothes. But you also need to protect your skin. The eSalon kit comes with stain guard, a lotion you apply around your neck, face, and ears — any place where you might get excess dye. Otherwise, Vaseline or any other heavy skin cream will do the trick. Pull your hair up, away from your face, and apply.
Another important tip: I've gotten dark brown hair dye on my white, cotton shower curtain. Before you get started, look around and see if there's anything near your station (hanging towels?) that might get smudged while you're working.
Brush or Comb Out Your Hair
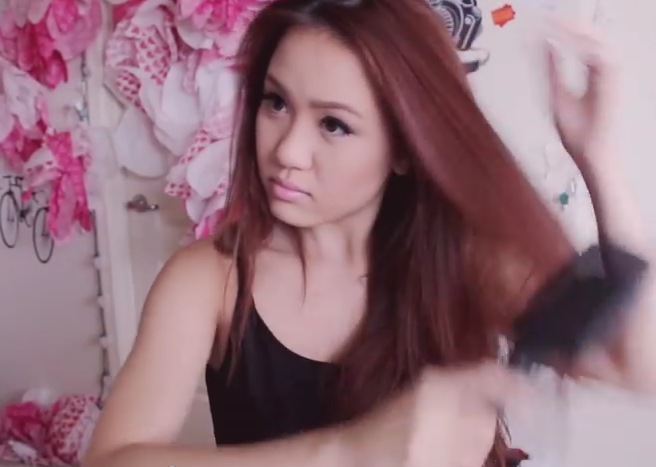
After you've mixed your dye (according to the manufacturer's instructions), brush or comb out your hair. I'm grabbing images now from lilisimply's excellent YouTube tutorial on dying hair.
Pin Up Your Hair
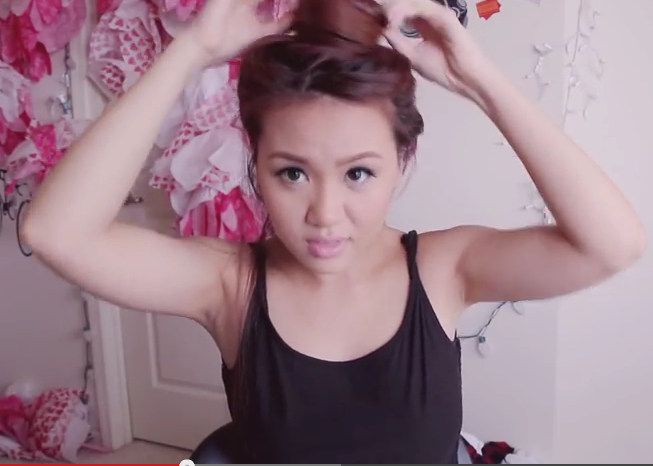
Pin all of your hair to the top of your hair and begin working the dye into your hair, starting with the roots.
Work Dye Between Your Hands
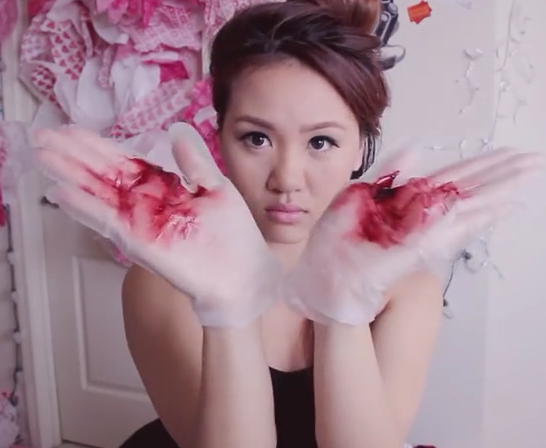
Pull out one section of hair from the bottom (you can start at the front instead if you have greys). Squirt a quarter-sized amount of dye right onto your glove and work it between your hands.
Work Into Roots Section by Section
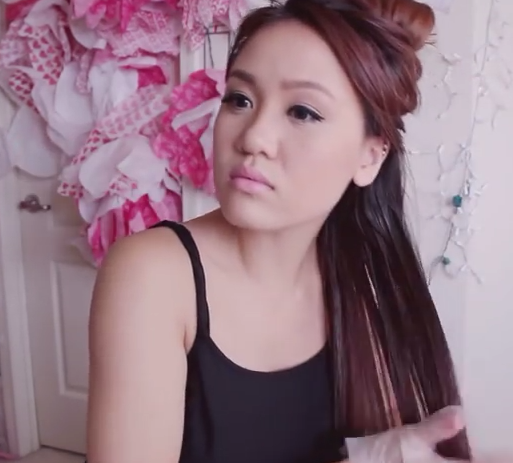
Spread dye into the roots of of that section. Repeat until your roots feel damp and you've covered thoroughly. Then pull down another section of hair and do the same.
Don't worry about your ends quite yet.
Apply at Roots at the Front
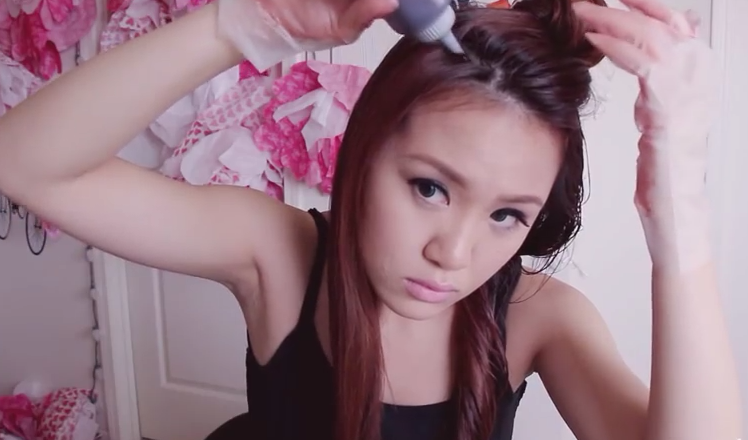
Once you get toward the front I think it's easier to just apply the dye directly on the roots and use the application brush to spread the dye from there. You'll need a little more control at the front.
Apply Dye to Ends
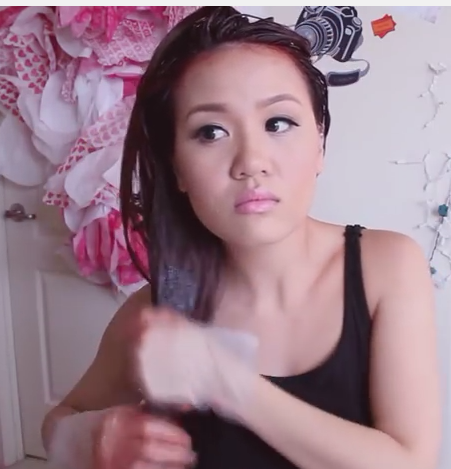
Now apply the dye to your ends. Work between your hands and spread through the rest of your hair. You may want to divide your hair into sections again to make sure you apply it evenly.
Pin Up Hair Again & Touch Up
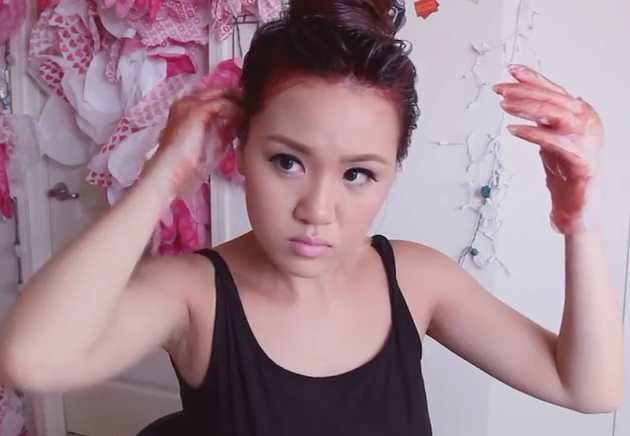
Pull your hair up on top of your head again, and touch up the front as needed. Keep in mind, wherever the dye is clumped it's going to be darker and more intense in color. So make sure the color is evenly applied.
Wait ... Rinse!
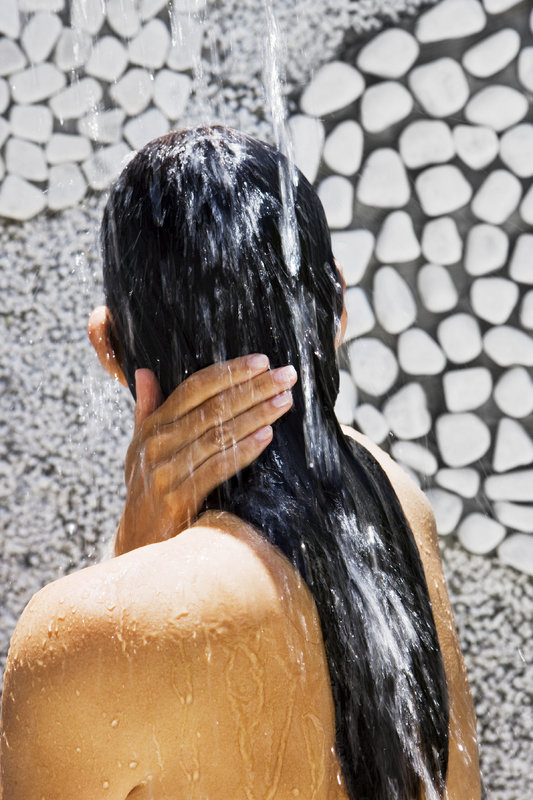
Now you wait according to the time given in your instructions. Some color kits have you shampoo the dye out, and others have you just rinse.
One trick that helps ensure even color is to open your bottle of dye, fill the remaining volume with water, mix, and pour over your hair, working it all through. For minimal mess, do this in the bathtub!
Now rinse or shampoo thoroughly. I find it's better if I actually undress and get all the way in and make a shower out of it. (That means you'll want to wear a robe while you're dying your hair, not a shirt you have to pull over your head.)
Do rinse as thoroughly as possible, because if there's any color left in your hair it will EAT your hair and that hair will fall out and you will be very sad.
Condition with a color-safe conditioner (usually in your kit) and you're done!

