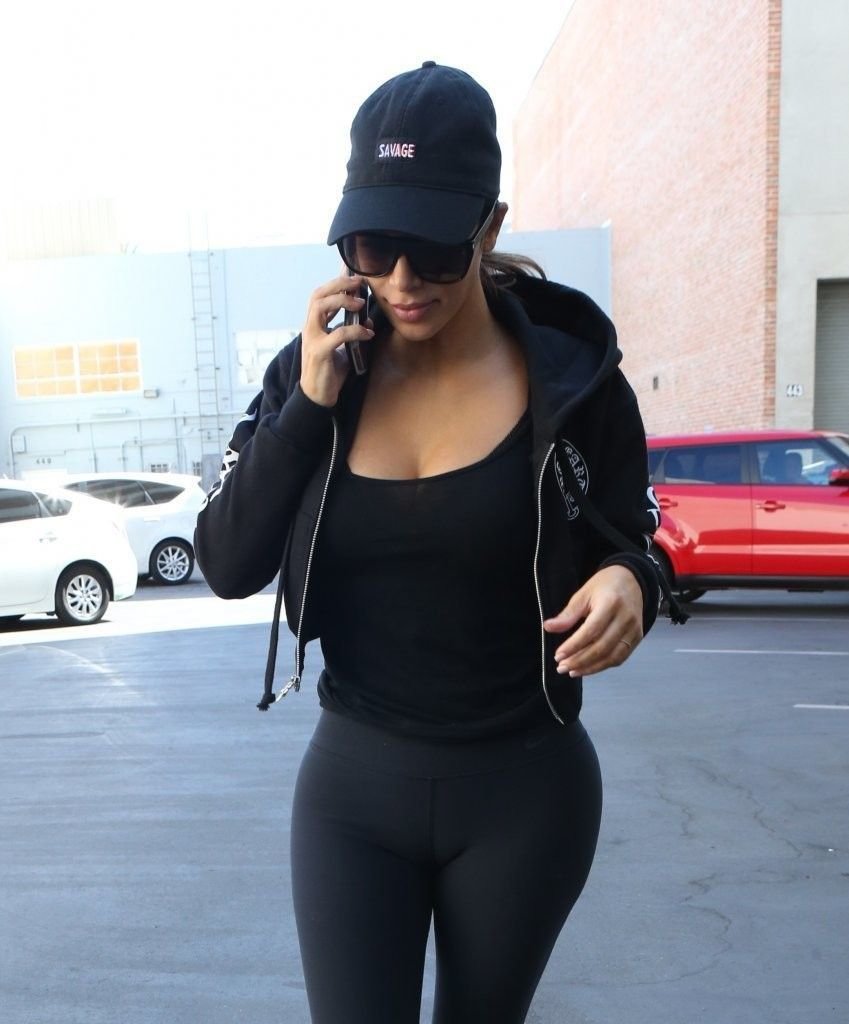
It's the coolest trend of the summer — an old-school dad hat with a sassy patch on the front. All the cool influencers are wearing them (or selling them). Hell, even Kim Kardashian, current arbiter of chic (?!), has them listed for sale in her merch store.
But let’s be totally real — $40 on a glorified baseball cap? Yeah, we don’t all have that kind of cash to spend. So here’s the simplest possible DIY for making your very own custom hat.
Here's what you'll need:

In case my photo isn't as clear and beautiful as the light of day, you'll need to gather a baseball cap, your choice of patch, a needle and thread, and some pins.
You'll also need about 20 minutes, but the concept of time isn't as easy to photograph.
Of all these things, your hat is probably the most important.

This cap cost $3, and I bought it from a street vendor on July 4th. It’s cotton. It has an adjustable back. It’s black. You can pick up one of your own that is more or less expensive, depending on your style and budget. Hell, you could even buy a trucker hat if you want to kick it all the way back.
But your cap is merely the crown that holds your ultimate jewel — your patch.

Pins and patches are REALLY cool right now, and there is no lack of options when it comes to edgy, sassy, awesome patches. You can pick up a patch from your favorite designer, have one custom-made, or do what I did and start laughing hysterically at a $2 patch in a random craft store.
THE CHOICE IS YOURS.
In terms of what *type* of patch you need, it’s up to you. The one I bought has an iron-on back, but that is not essential. We won’t be applying heat.

The issue with applying iron-on transfers to caps like this is that many hats have plastic elements. Heat plus plastic equals MELTING, and you definitely don’t need to go that route. A plain fabric patch printed on canvas works just as well, if you're OK with sewing it on very securely.
You’ll also need a safety pin or two, and a needle and thread. Your needle should be sharp — so no stump-nosed embroidery needles — but also sturdy. Patches can be hard to poke through.
Thread color is up to you. I picked black, because it matches, and it’s all I had.
OK, you have all your stuff! Let's get started!

Step one: Decide where you want to place your patch.

I’m going for dead center, aligned with the middle seam — but this is up to you.
Step two: Pin the patch in place.

Be careful! Don’t pin yer fingers! Etc etc etc. Anyway, you’re doing this so that you don’t have to REALLY hold the patch in place as you sew it on. Be careful that it doesn’t shift the positioning as you pin.
Step three: It's time... to attach your patch!

Using whatever stitch you like best, sew alllllll the way around the perimeter of the patch, attaching it to the face of your hat. I deliberately picked a patch that didn’t have a bunch of tricky twists and turns so that the sewing process was easier, but hey, YOU DO YOU.
“But Alle,” I hear some of you asking. “Can’t I just put a couple stitches on the corners and call it a day?”

I mean, you *can.* You could also attach it with staples, or saliva, or paperclips — all options that will let you down in the end (and some that are also gross).
Friends, just because you CAN do a thing does not mean you SHOULD. You will — I hope — be wearing your hat a lot. If you only use a few stitches, odds are your beloved patch will fall off, and THEN where will you be?
<p>TL;DR — don’t half-ass a thing. Whole-ass it. Sew your entire patch on like a grown-ass human who cares about their weird hat-related DIYs.Here's the inside of my hat after 20 minutes of extremely easy sewing.

I whole-ass lead by example.
And here is the outside. I hope my Brownie leaders are proud of my ~extremely good~ sewing!

You can take the Sixer out of the Moora Mooras, but you can't take the… you know what, I think I'll stop.
When you’re done messing around with needles and thread, take out your pins. Voila! A magical, custom hat of your very own!

Not only will nobody else have a hat like you, you can also feel that self-satisfied glow that only comes from saving a BUNCH of money.

This hat cost me around $5. Kim Kardashian’s Kimoji caps START at $38. I would *personally* rather have the $33 of human money and the sun protection, but hey, do you!
Best of all, now the entire world knows my philosophy on life in general — Go somewhere? Do something? Talk to somebody? NOPE.

And if you're wondering whether this custom dad hat looks really cute on a sleepy (yet angry) dog... the answer is yes.

If a picture is worth a thousand words, this custom hat is worth at least ten thousand. A summer DIY I'm very glad to have done.