Everybody loves makeup, but nobody likes to clean their makeup brushes.
And if you've ever found yourself wondering how to wash your makeup brushes so that they stay perfect forever? Well, you've come to the right place.
I have more makeup brushes than I know what to do with, and I wash them CONSTANTLY. There is no greater expert on their care and maintenance than me.
I have tried every potion, machine, and magical spell that promises to make your brushes gleam. But even though I've tested them all, there's a very simple way to clean your brushes that turns out to be the best.
Here's how to clean all your makeup brushes — and your beautyblenders, too, because I love you — quickly, easily, and for cheap.
First thing first: Clean your sink. You can't have clean brushes in a slimy sink.
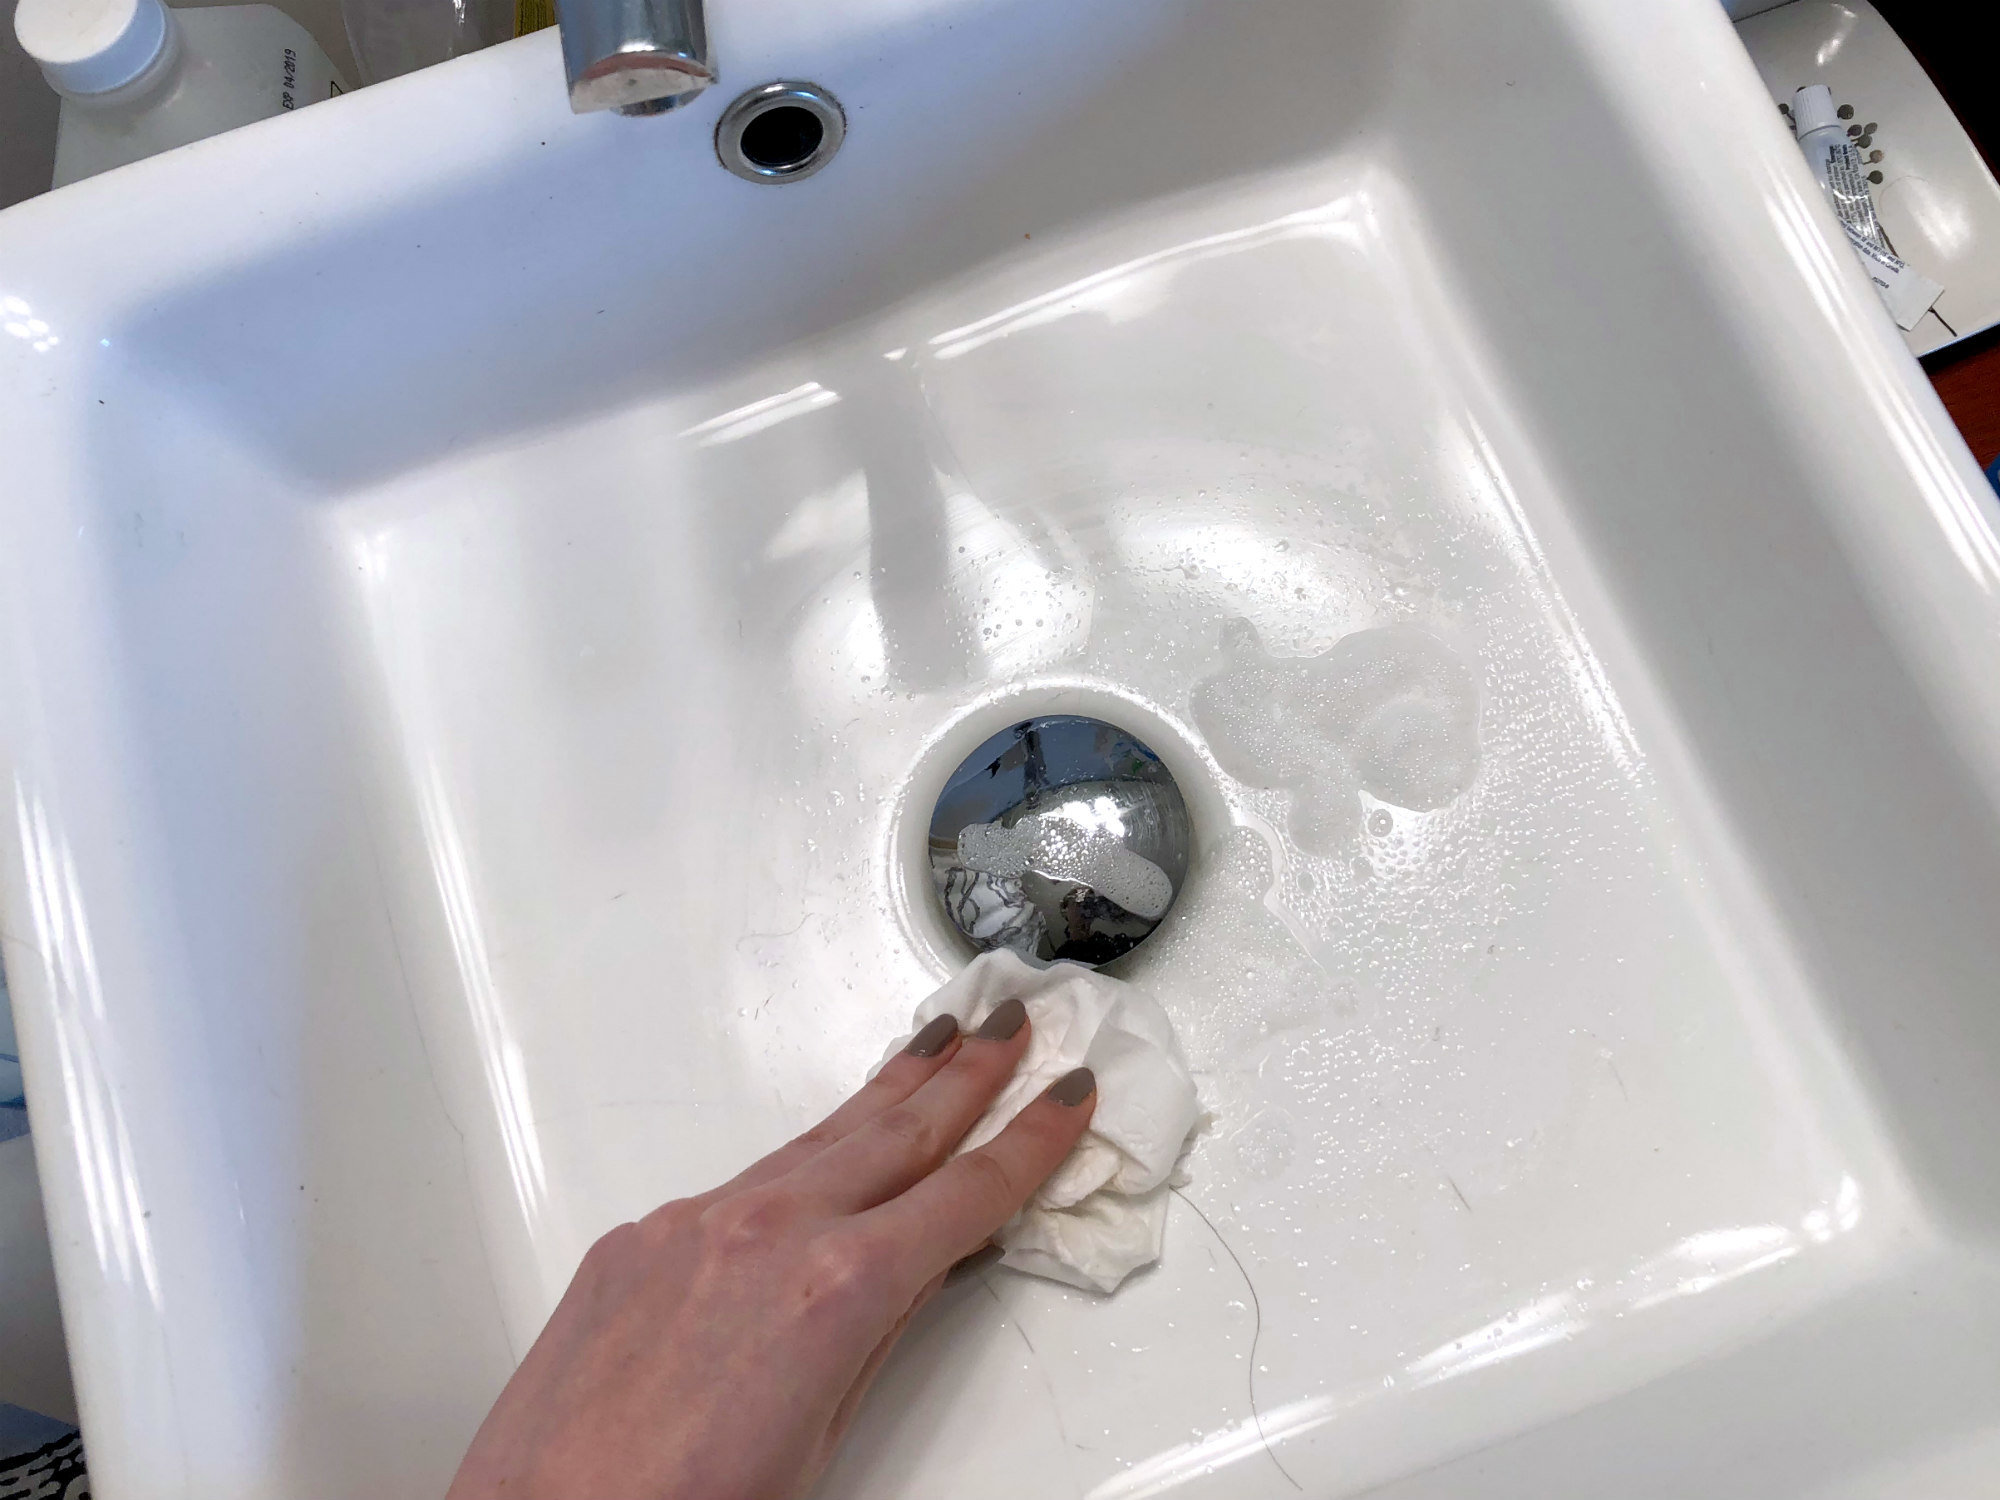
If you use a cleaner with bleach in it, make sure you REALLY rinse your sink before you even think about touching a makeup brush. Trust me.
Make sure you have all your cleaning supplies, and a clean, dry towel, on hand before you start. Nobody wants to go fumbling for something while their hands are wet.
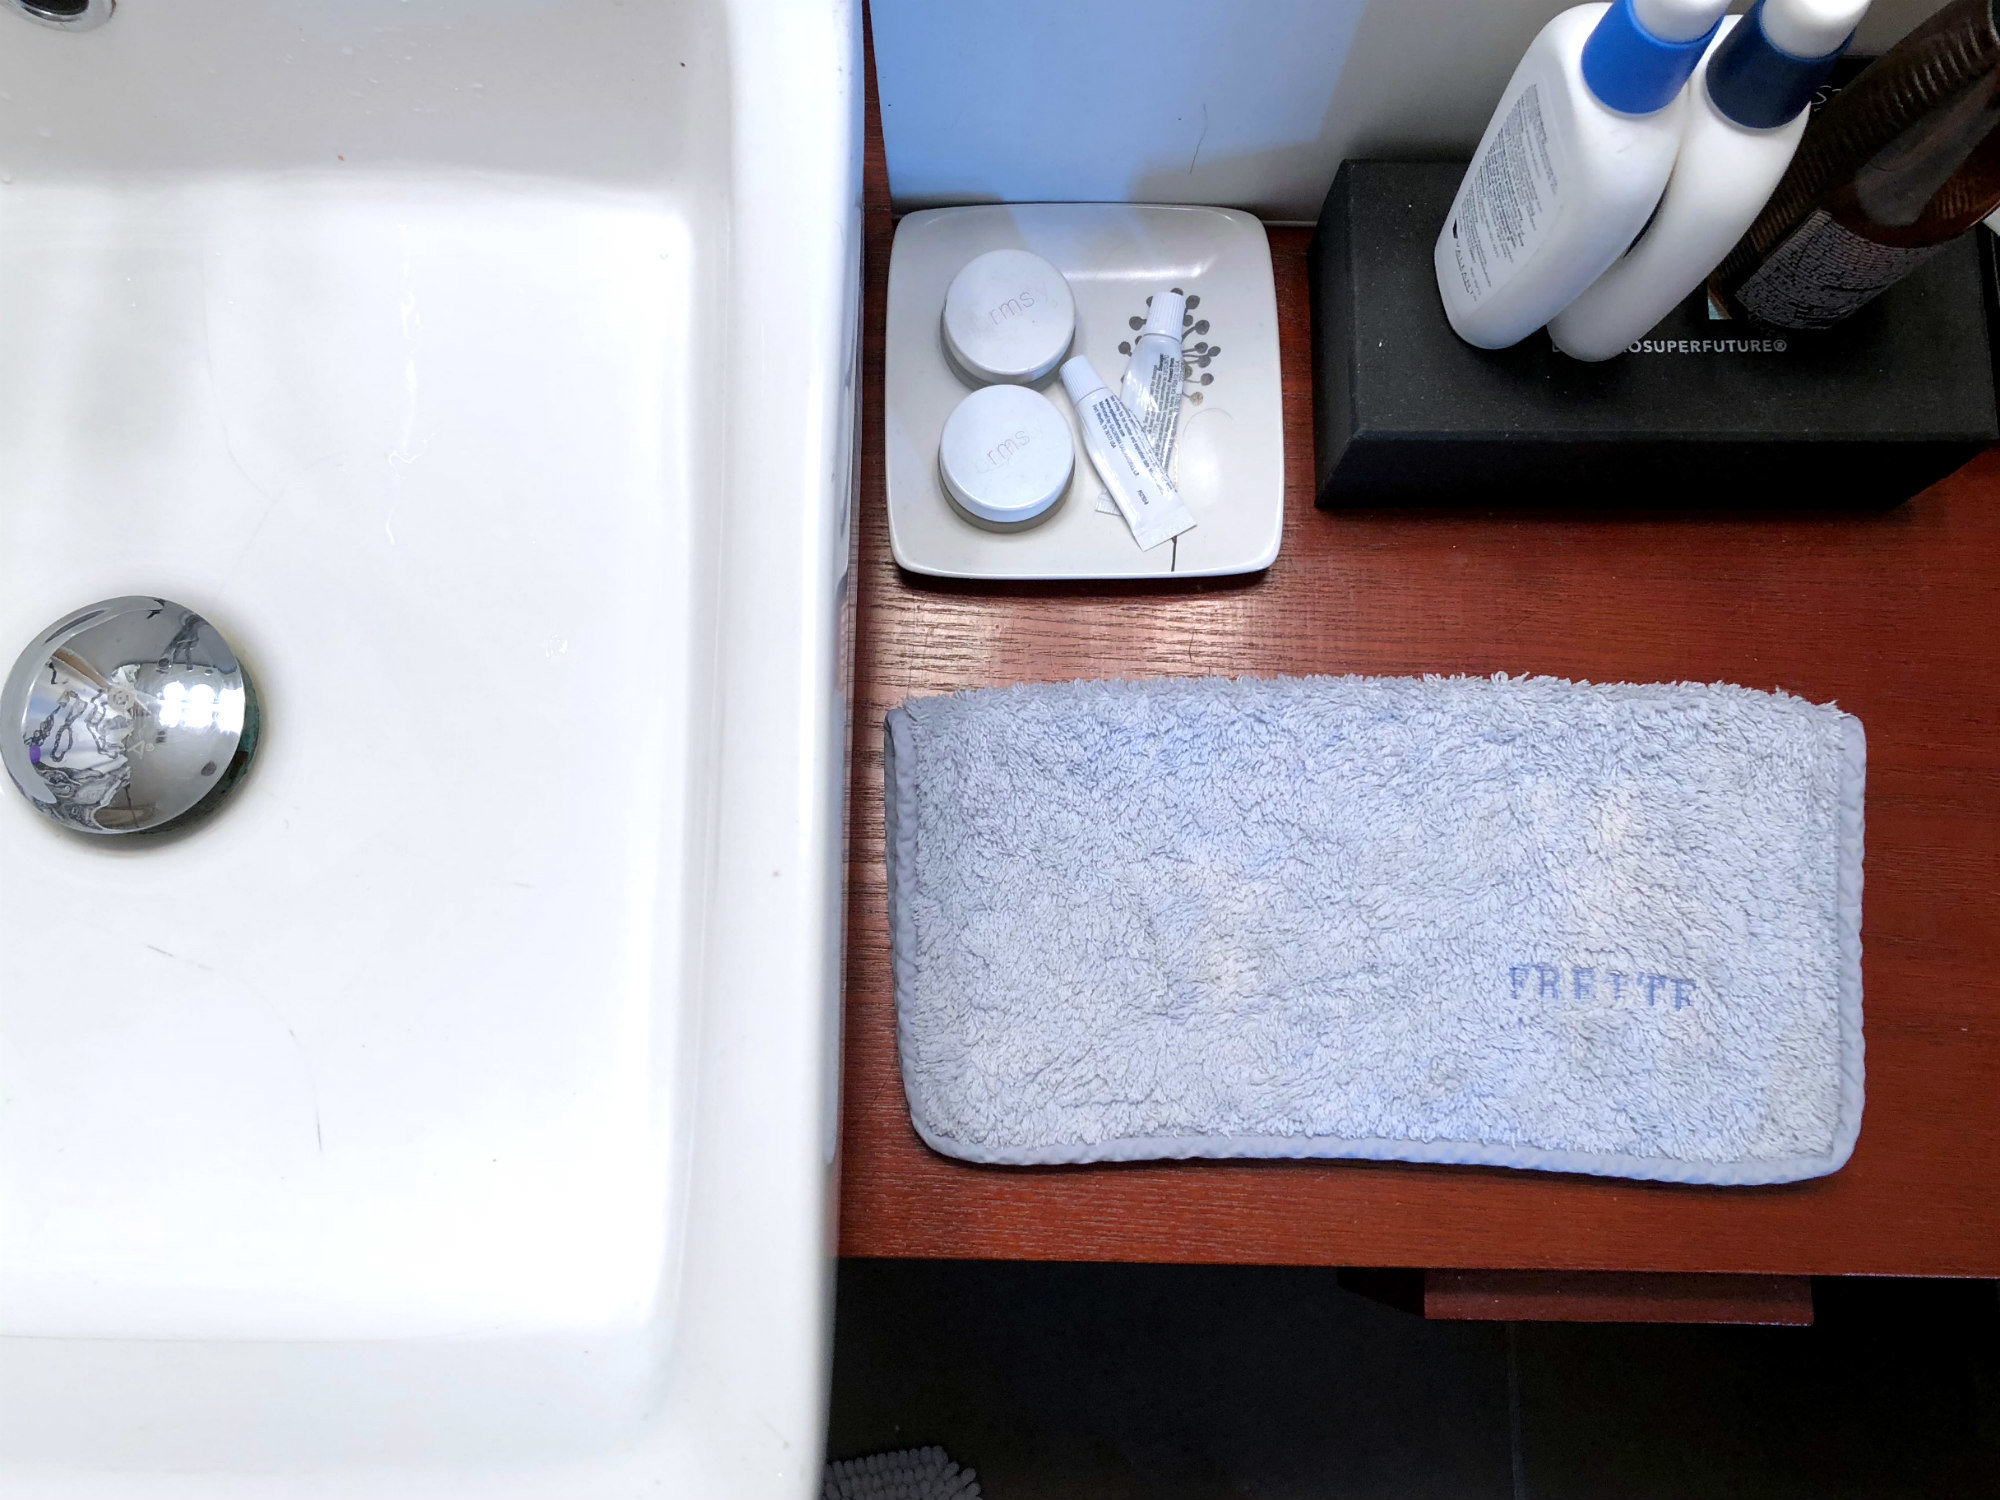
I usually use a larger towel to dry my brushes on, but it was in the wash. I will regret using a small washcloth, as you will soon see.
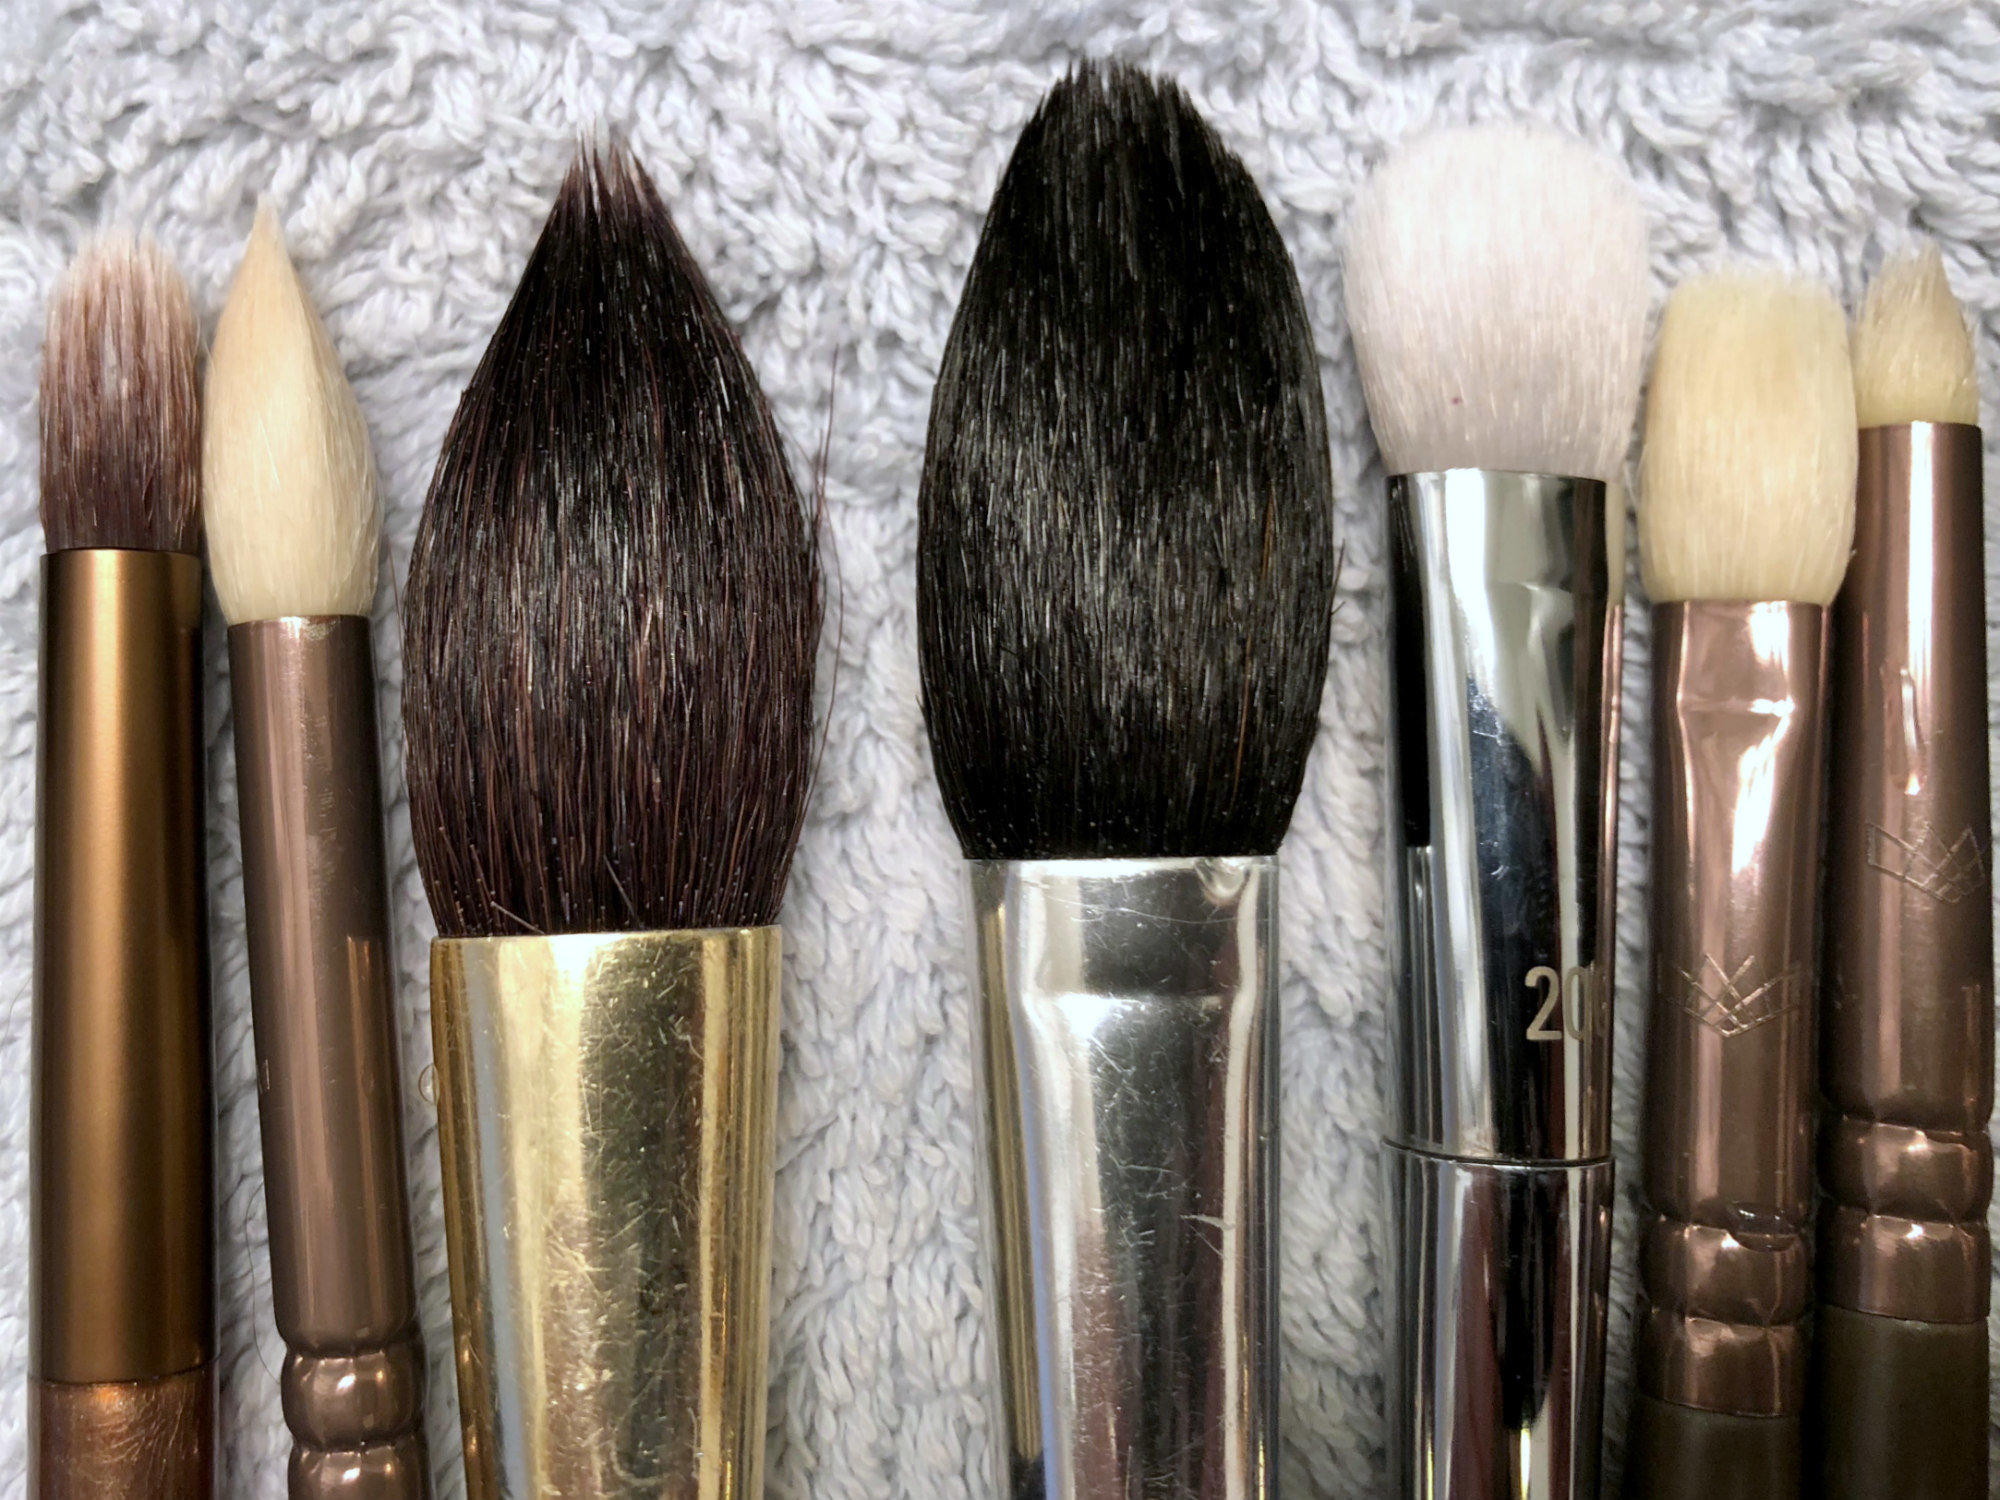
These are all the brushes I'll be showing you how to wash — properly. There's a real variety here.
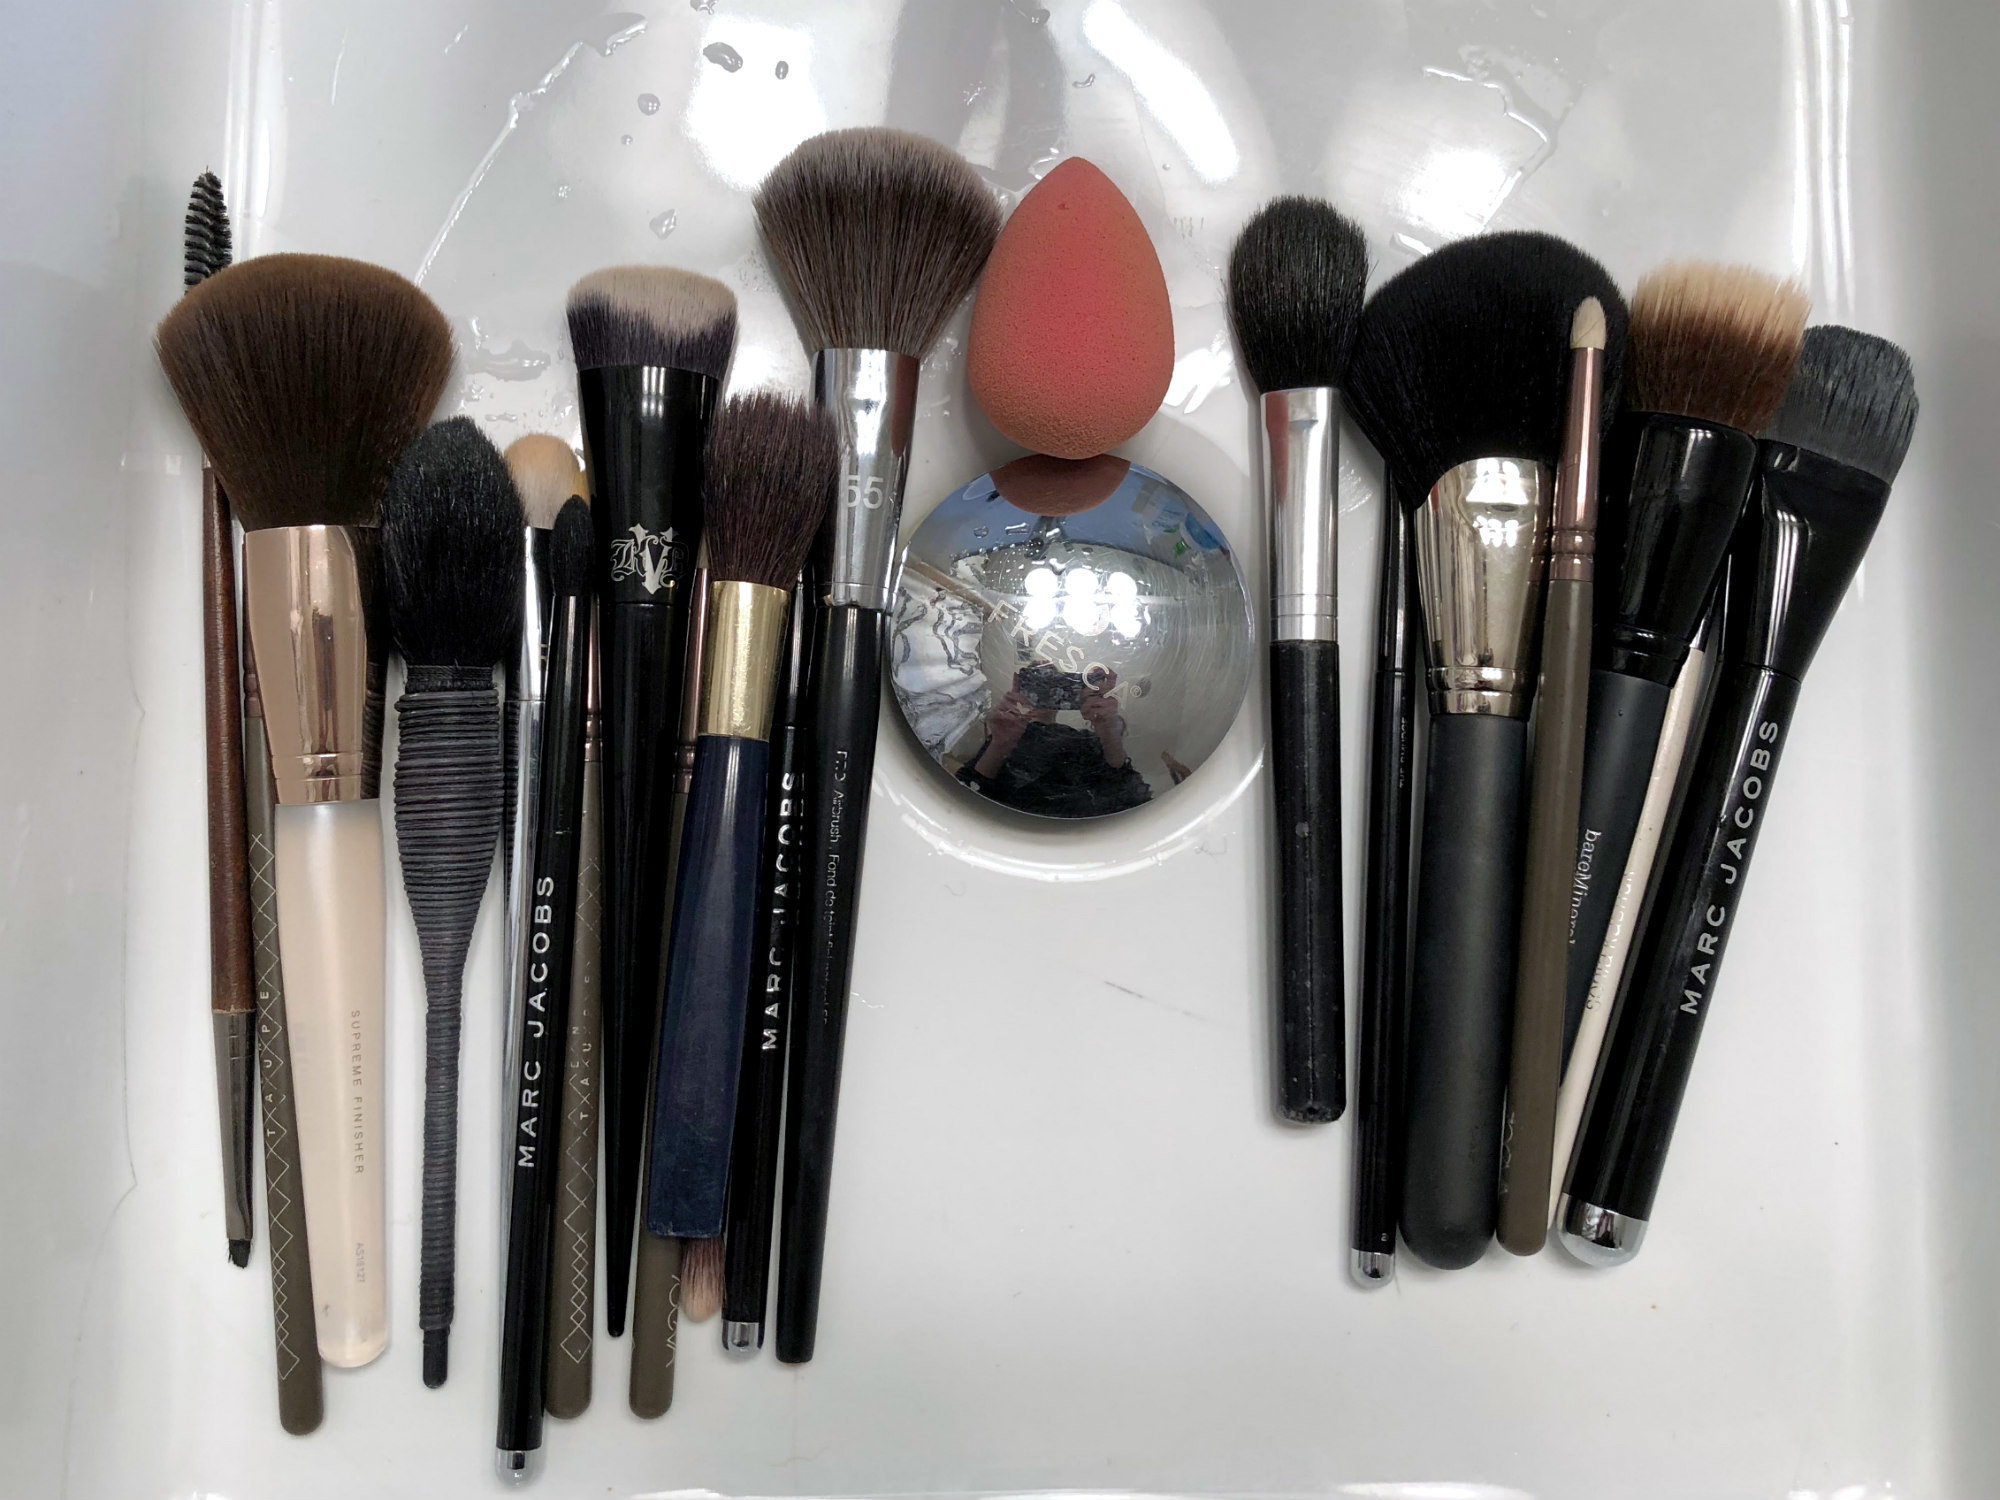
I wash my brushes every other week, since I'm the only one who uses these. The brushes in my professional kit, which I use to do other people's makeup, get washed and disinfected after each use. I'm only taking you through the way I clean my own personal brushes, which is different to how a makeup artist should sterilize theirs.
As with most things in beauty, there's no one way to clean your brushes. I personally think my cleaning method is really good, because most of these brushes have lasted me for YEARS. At least two of these brushes are 14 years old, and are still in absolutely immaculate condition!
The BIGGEST mistake you can make when cleaning your brushes — aside from not doing it — is expecting just one product to work perfectly on ALL your brushes. This will never happen.

There's multitasking, and then there's magic. Until we graduate from Hogwarts, cleaning a concealer brush with the same product you use to clean an eye shadow brush will bring you to tears.
<p>No; if you want to be true bad bitch, you need to specialize. That's why you need to break up your brushes into three groups, which will all be cleaned a different way.The first group: Natural bristle brushes used to apply powder products.
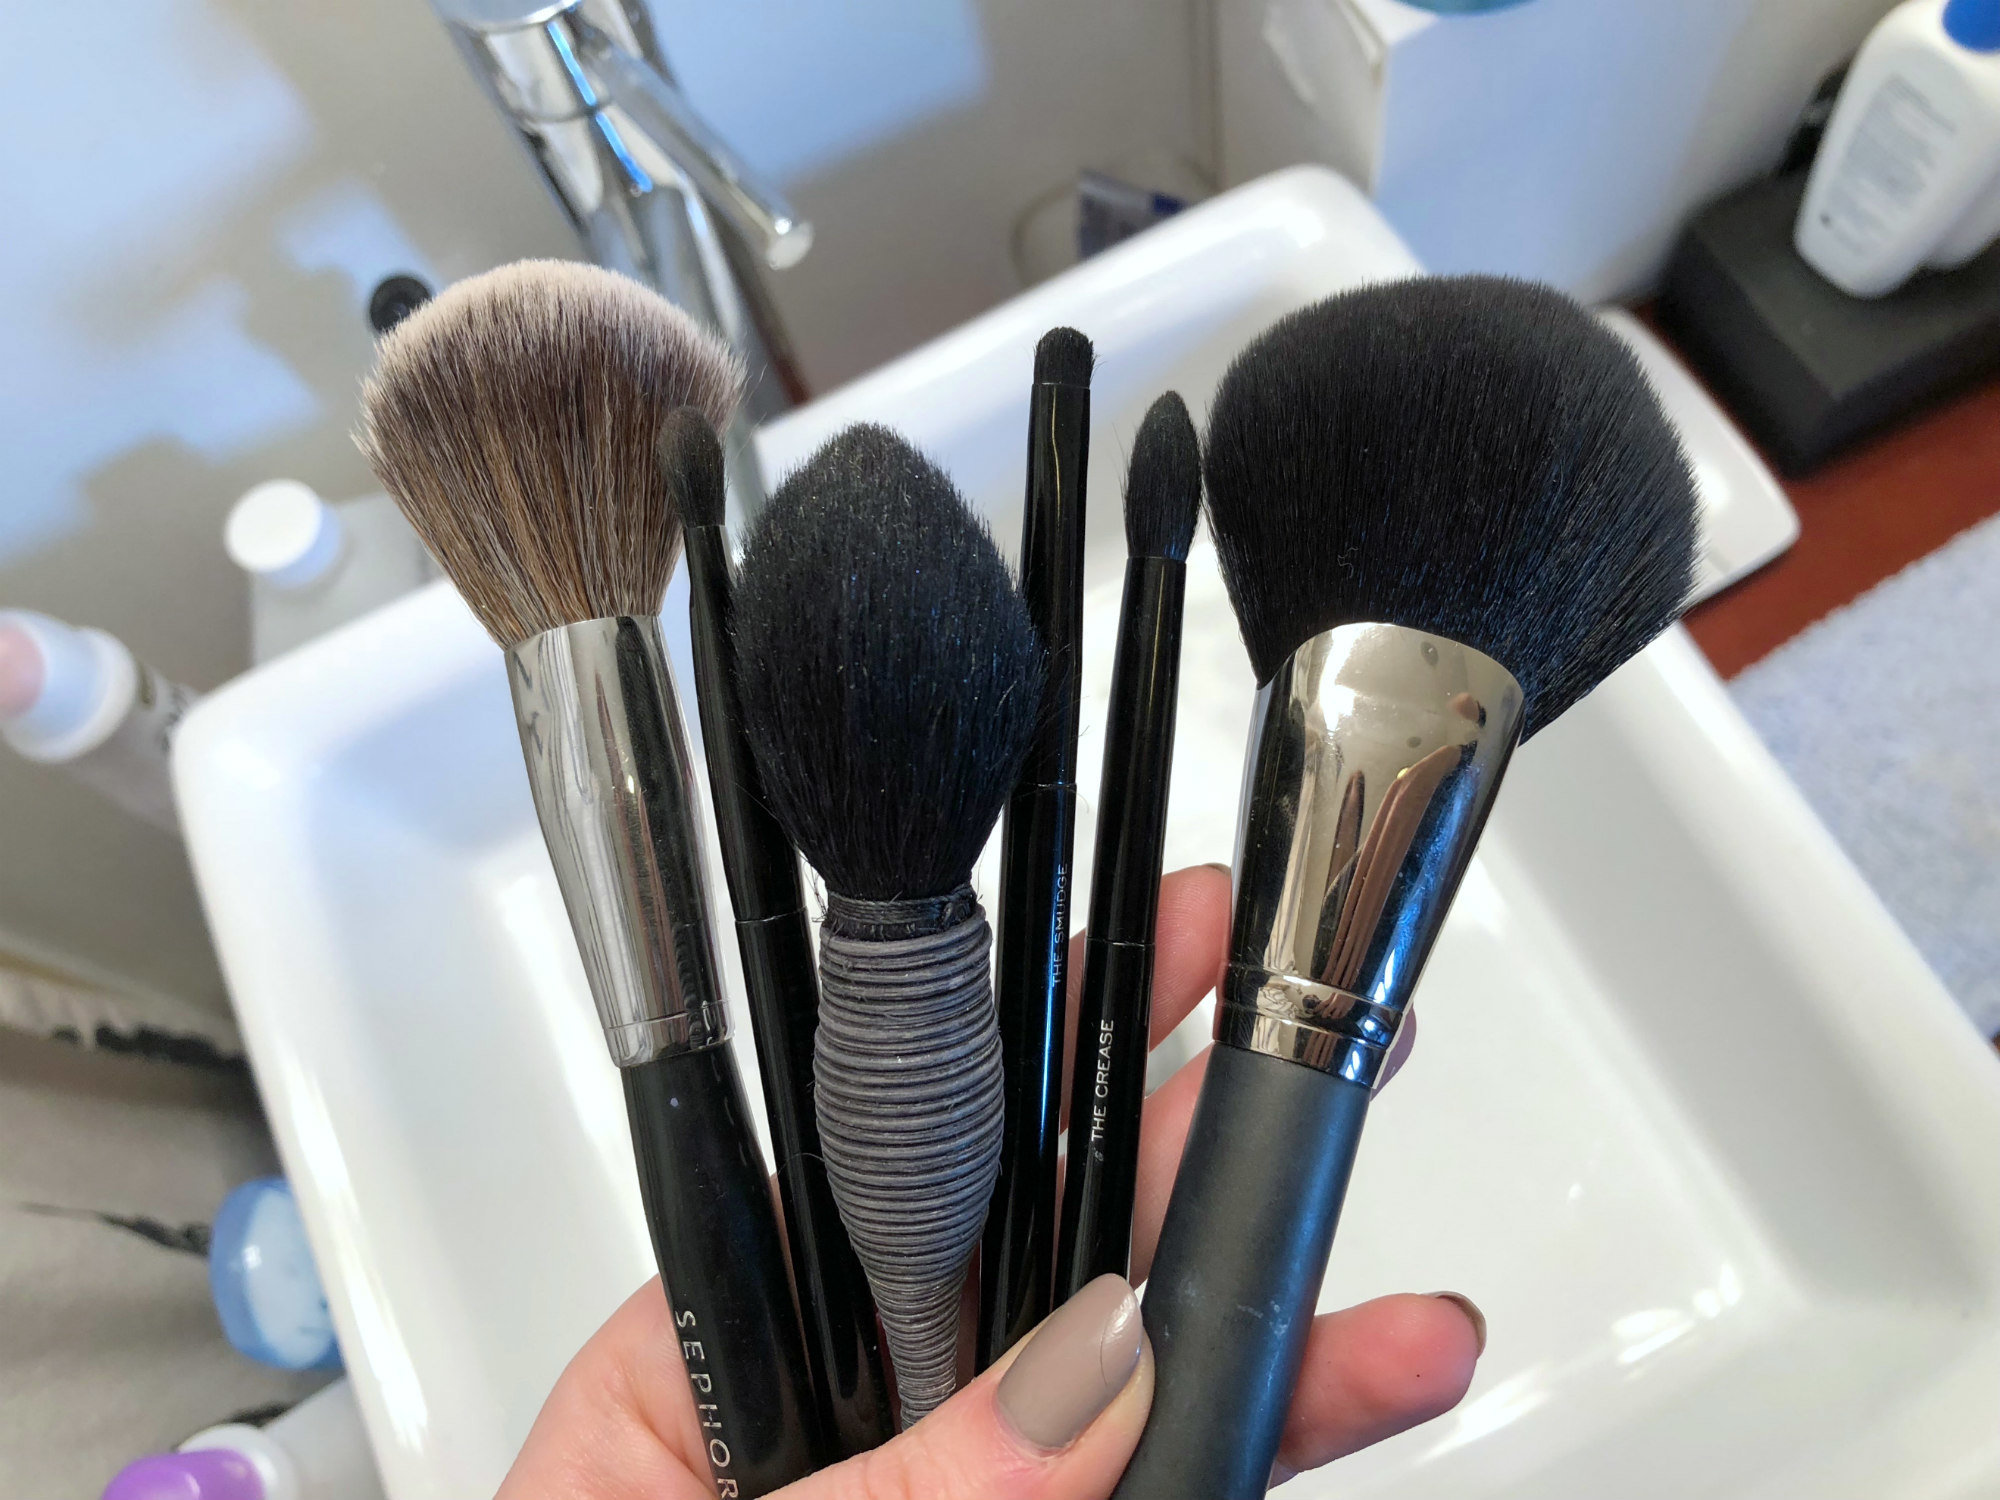
These would be used to apply and blend products like loose powder, blush, highlighter, and powder eye shadow.
Though I mostly have synthetic brushes now, there are still a few natural hair brushes in my kit. These guys require special cleaning, as the bristles tend to be more delicate.
For these brushes, you're going to use a very gentle, sulfate-free shampoo. Baby shampoo works just fine, or you can use whatever you have on hand.
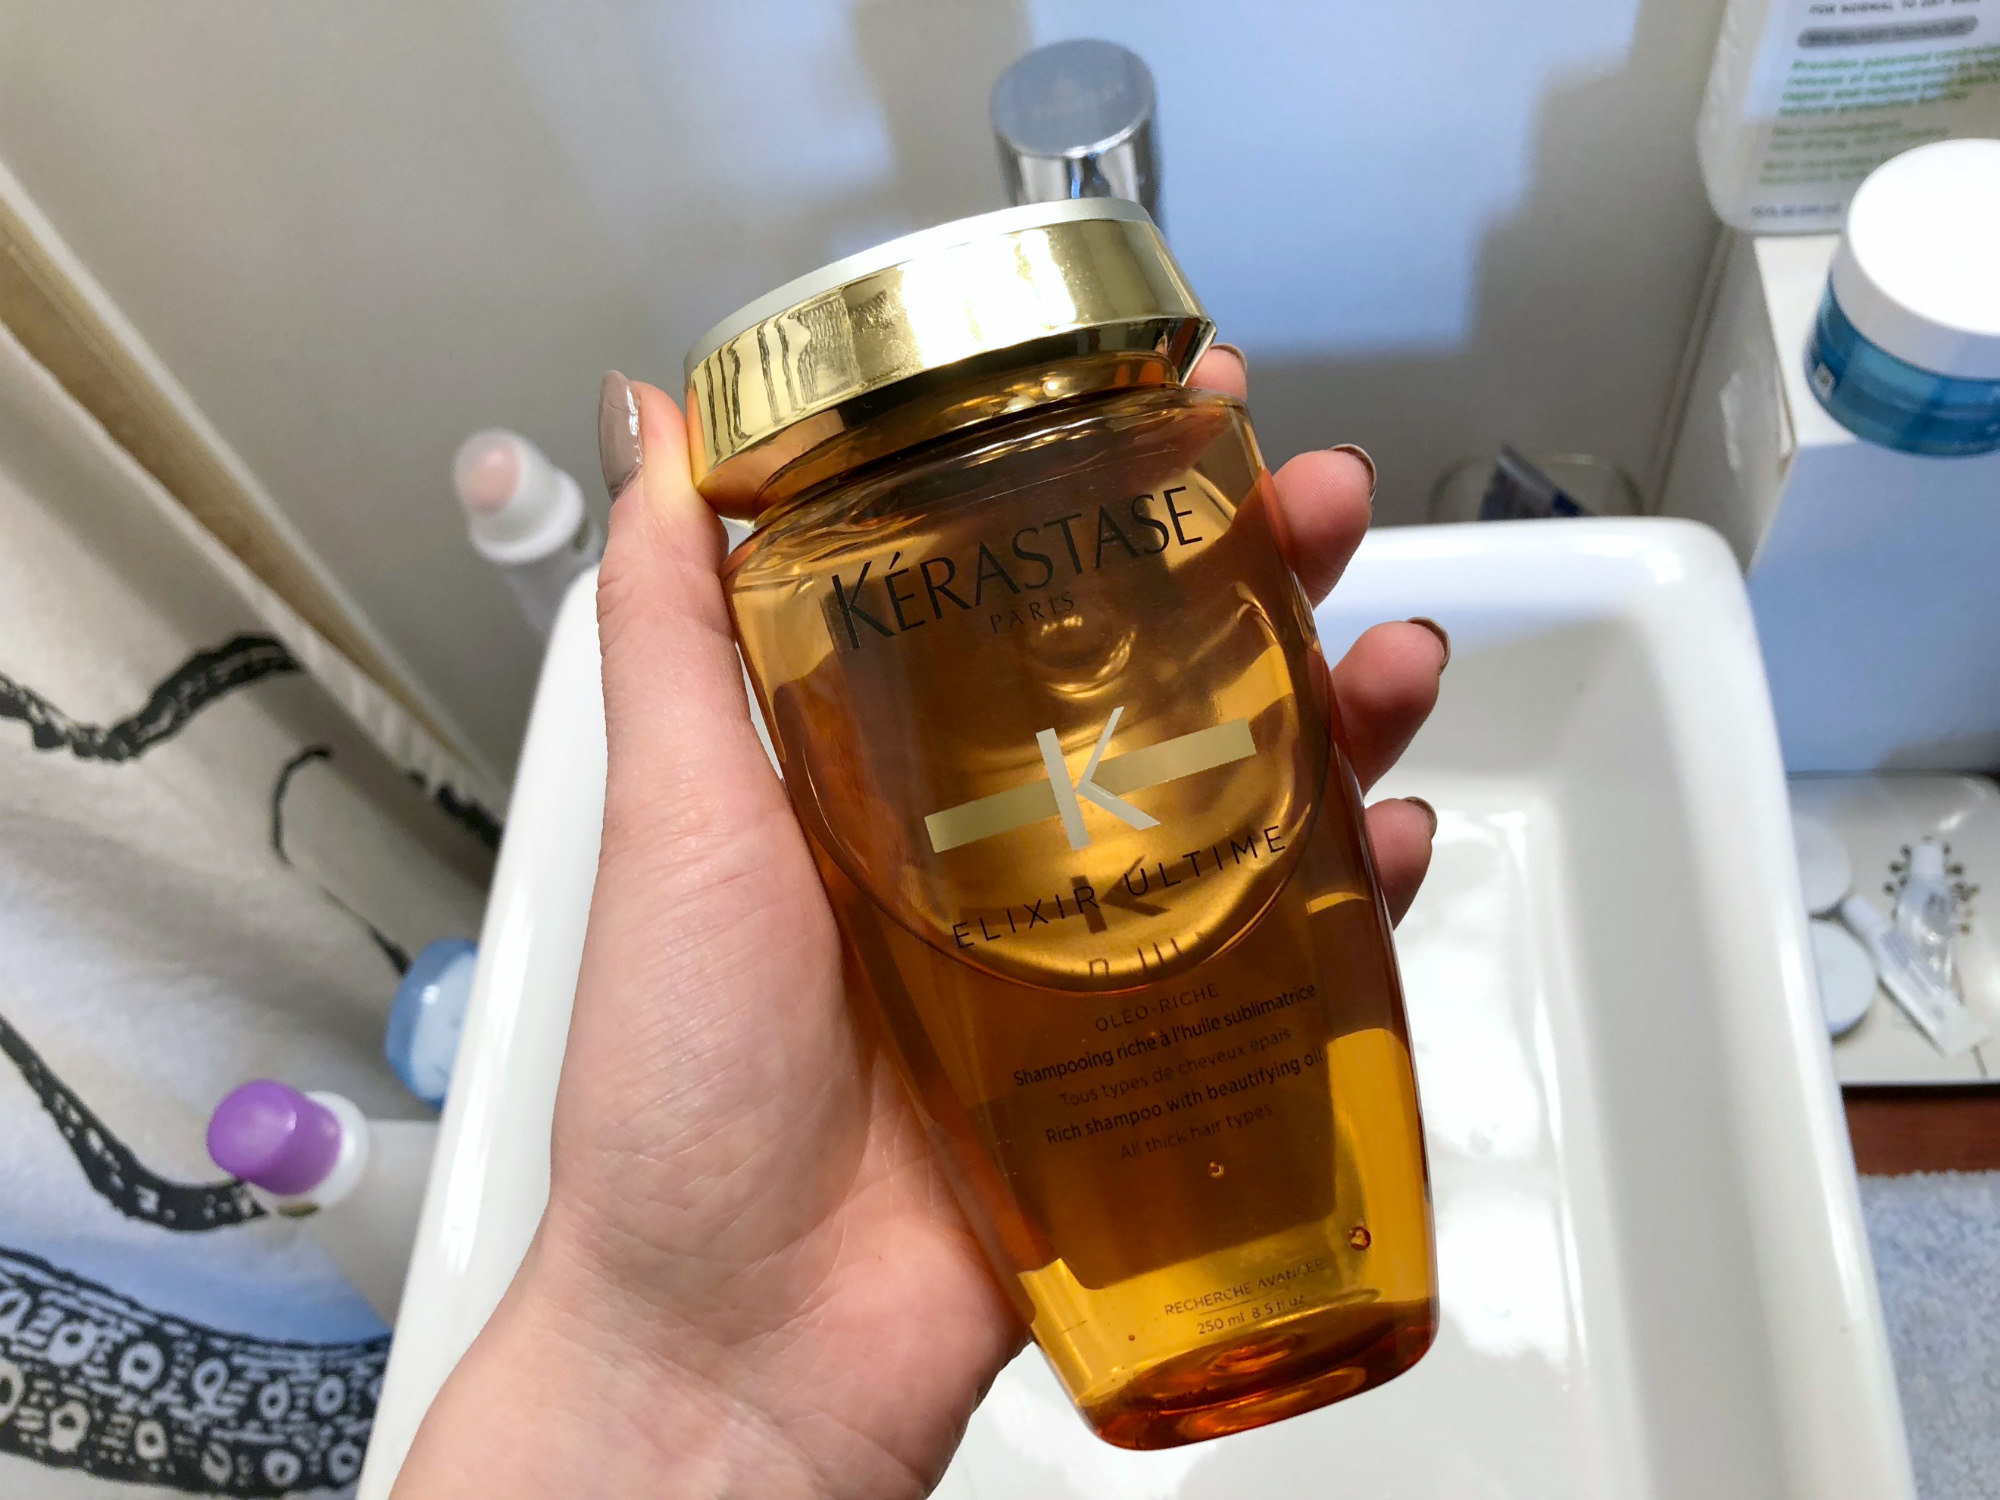
Because I'm a luxurybitch with difficult hair, I have Kerastase ($24, Kerastase USA) in my shower, so that's what I'm using. Again — baby shampoo is best, but some of us don't have babies.
The shampoos to watch out for and NOT use: Anything that deposits color (like purple shampoo), anything medicated to treat dry scalp, and anything clarifying. Otherwise, you'll probably be fine.
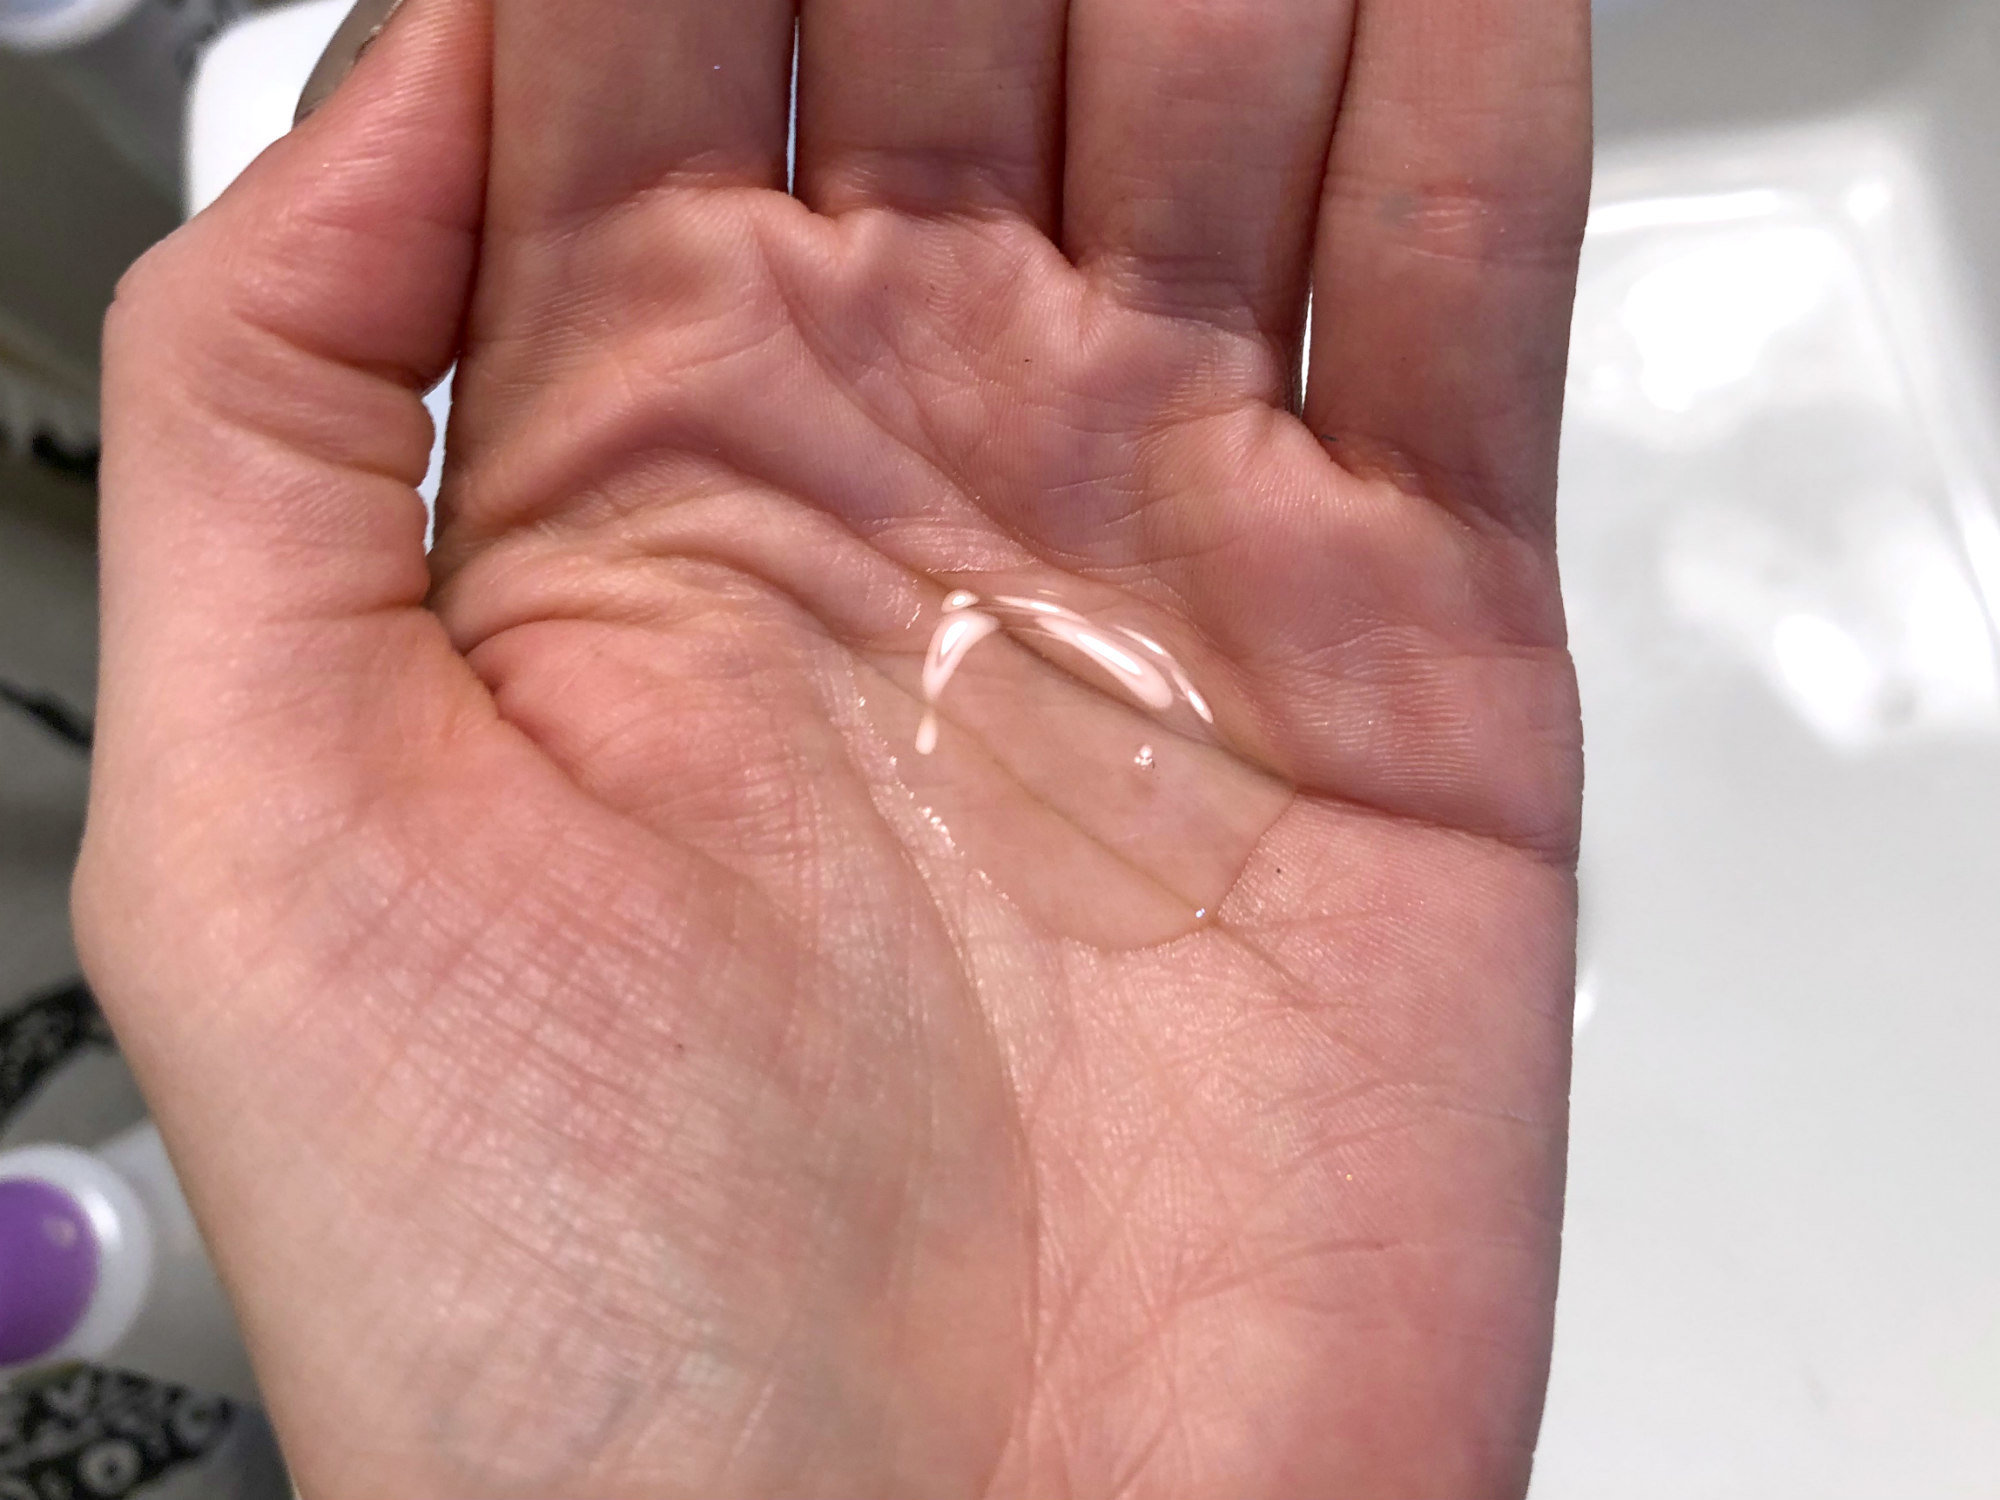
Wet the bristles of your brushes under running water, squeeze a quarter-sized blob of shampoo into the palm of your hand...
Then, working one at a time, swipe your brush back and forth across the palm of your hand.
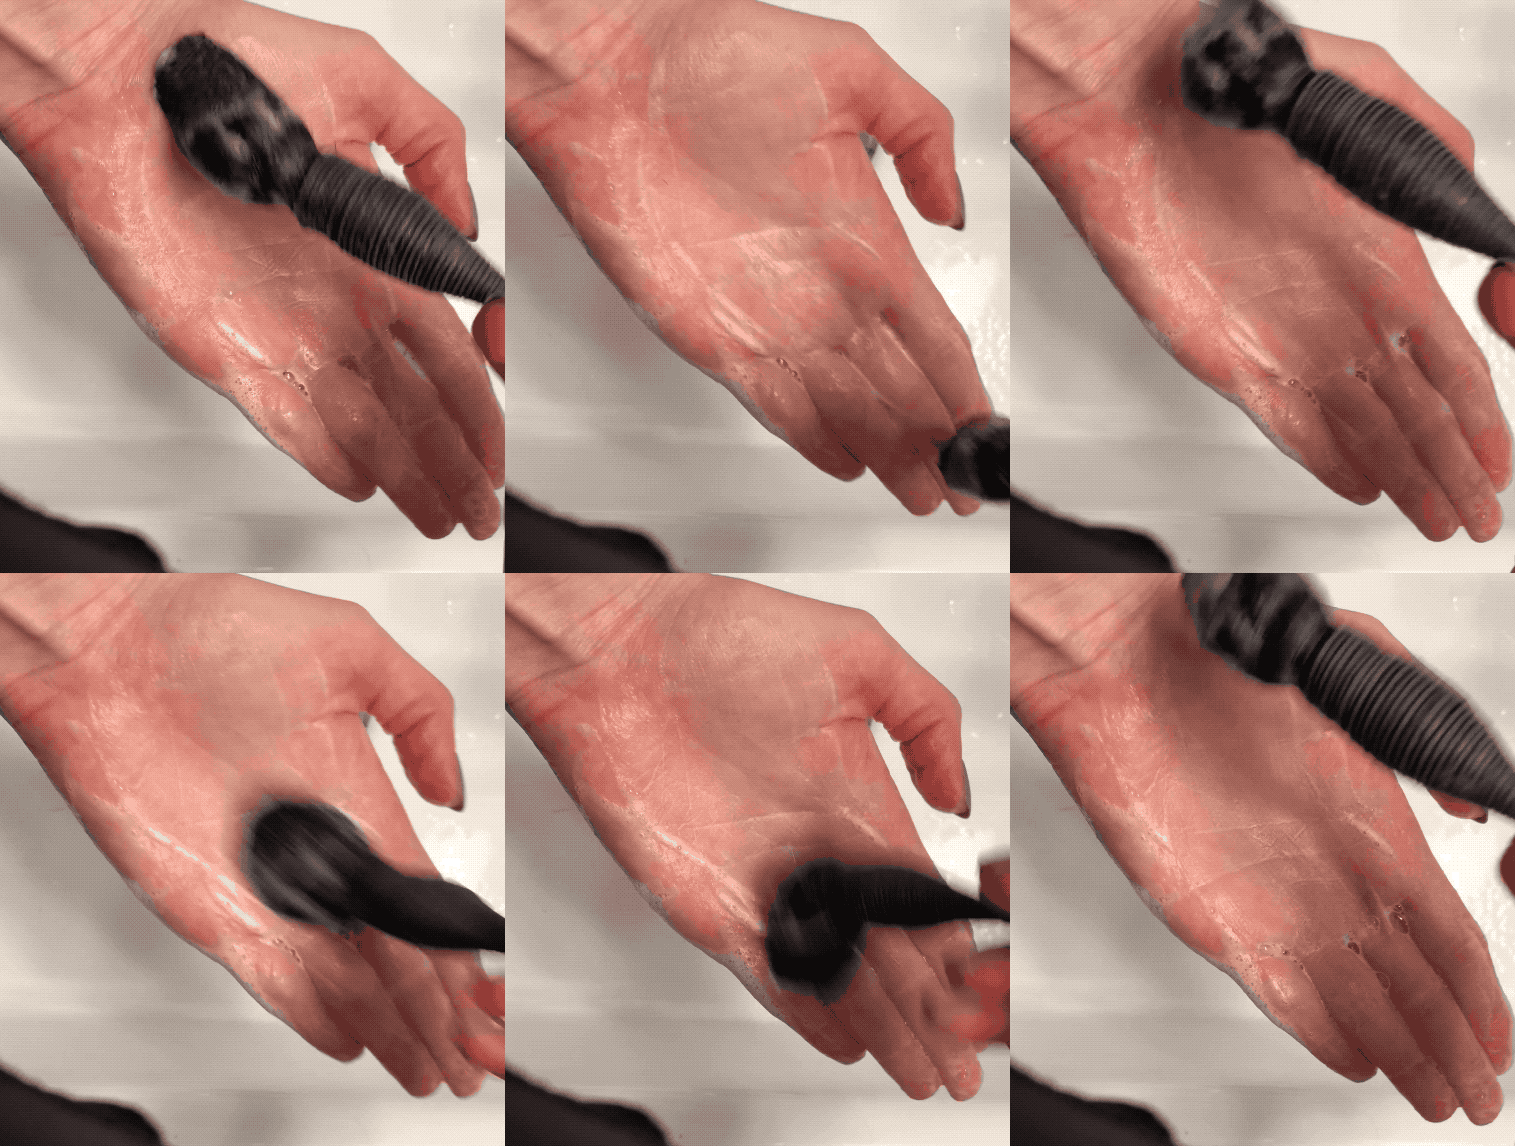
Sometimes you'll see the makeup come out. Sometimes you won't. It depends on the products used, and how long it's been since they've been cleaned.
Then, gently re-shape the bristles with your fingers so that your brush dries in the right shape.
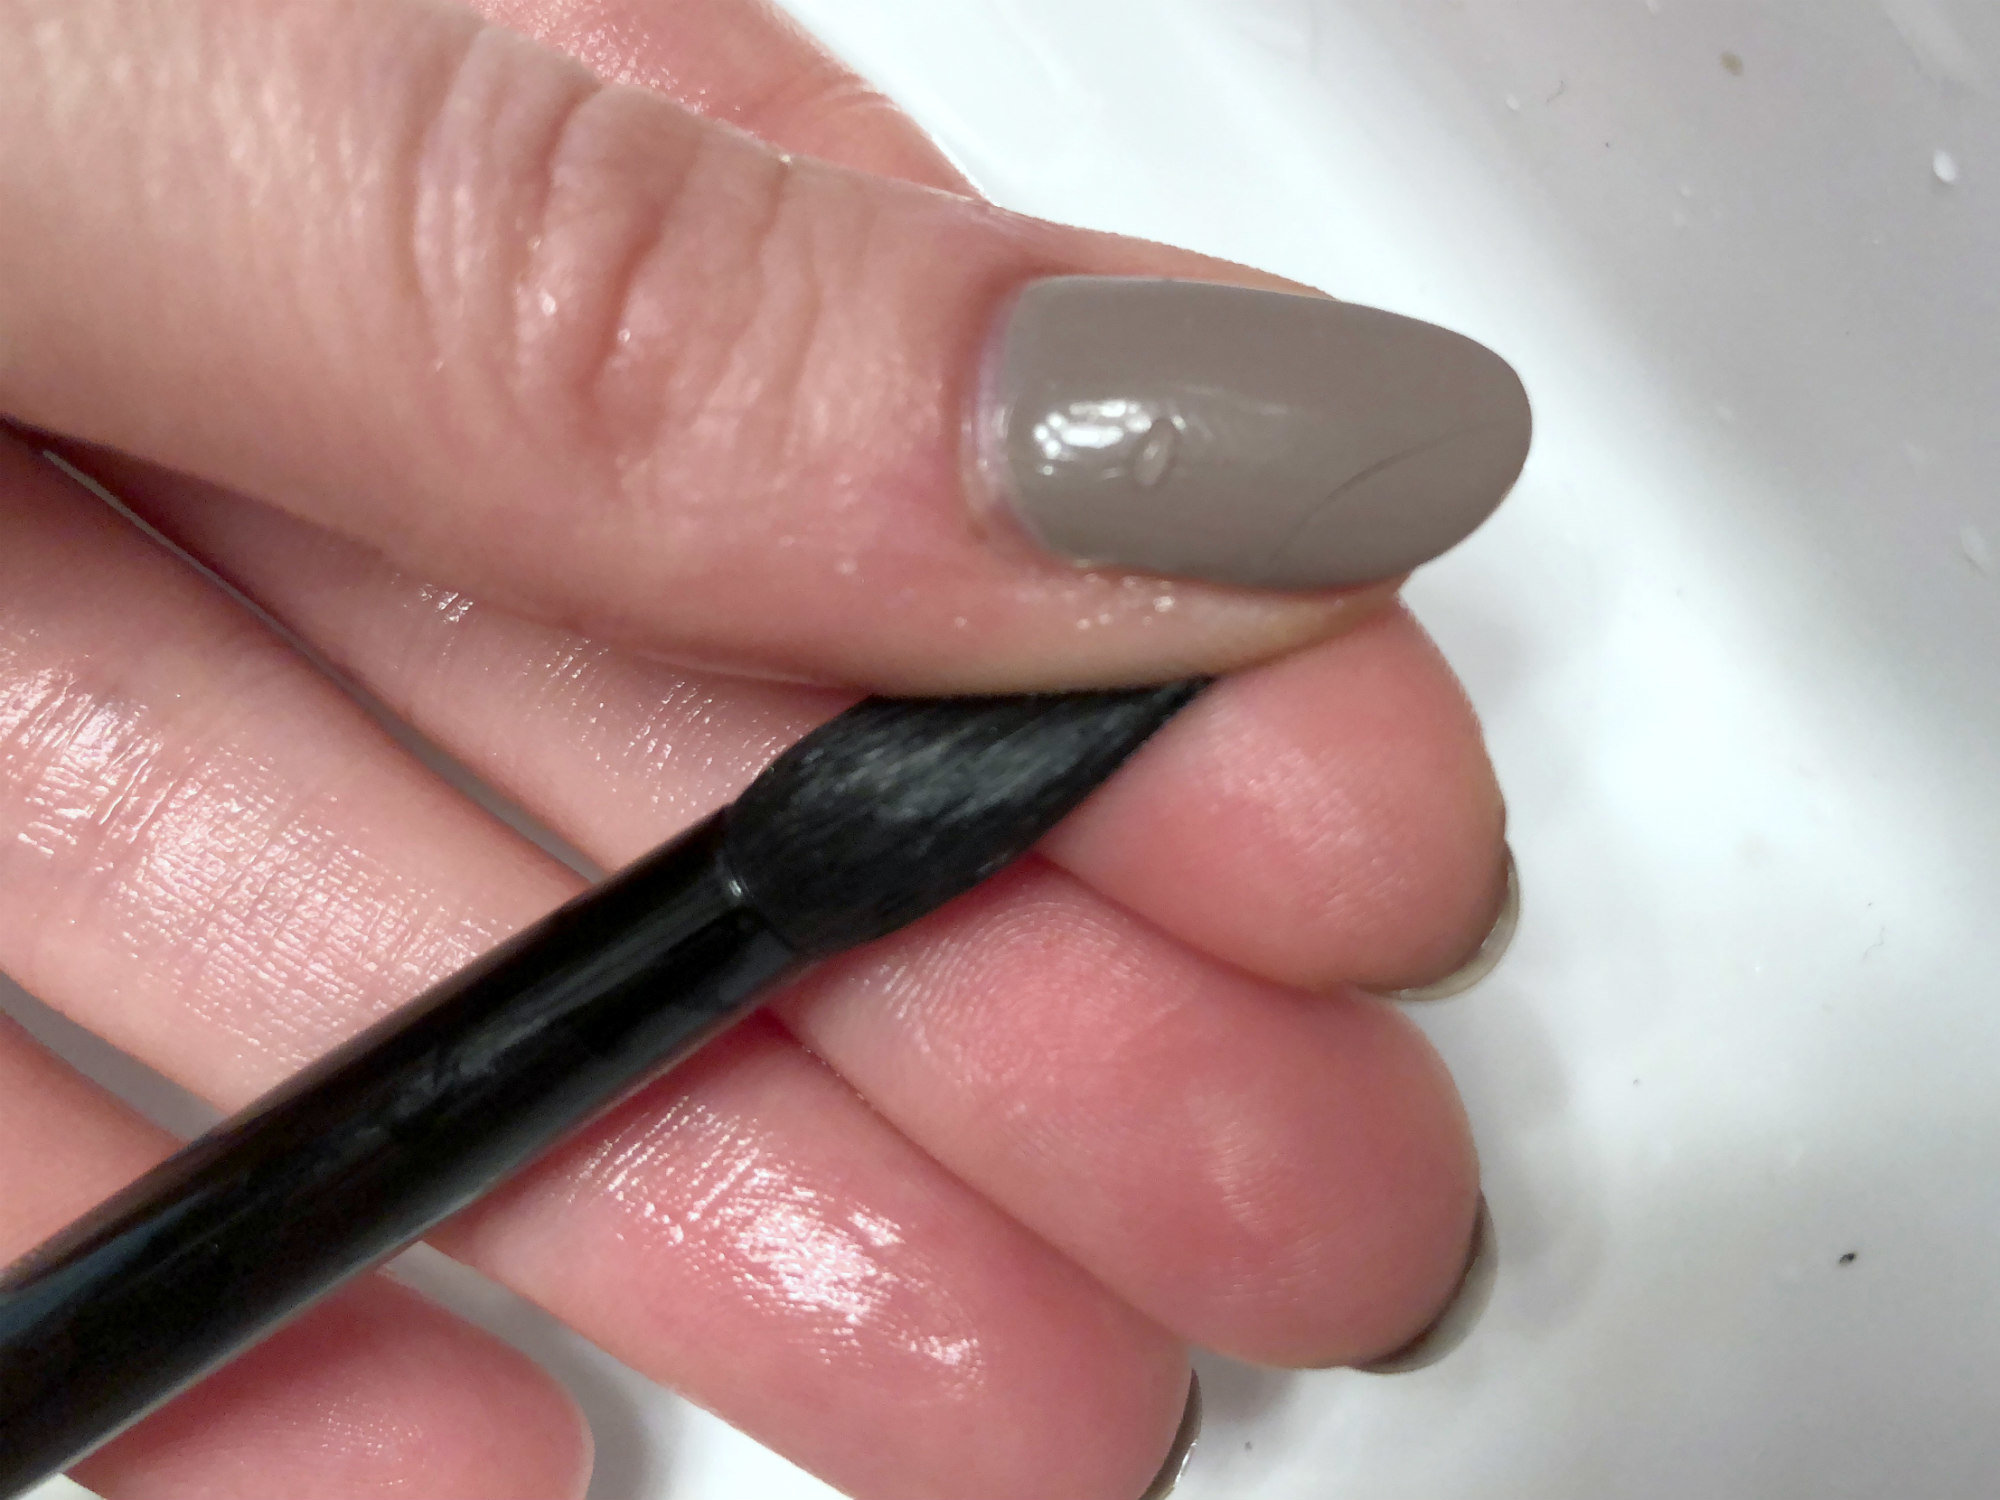
It should probably go without saying, but flat brushes should be smoothed flat. Pointed brushes — like this beauty from Marc Jacobs ($36, Sephora) — should be smoothed so that they're round and pointy. You're not dramatically re-styling your brushes; you're just letting them be great in their natural shape.
Finally, lay them down to dry flat on a clean towel.
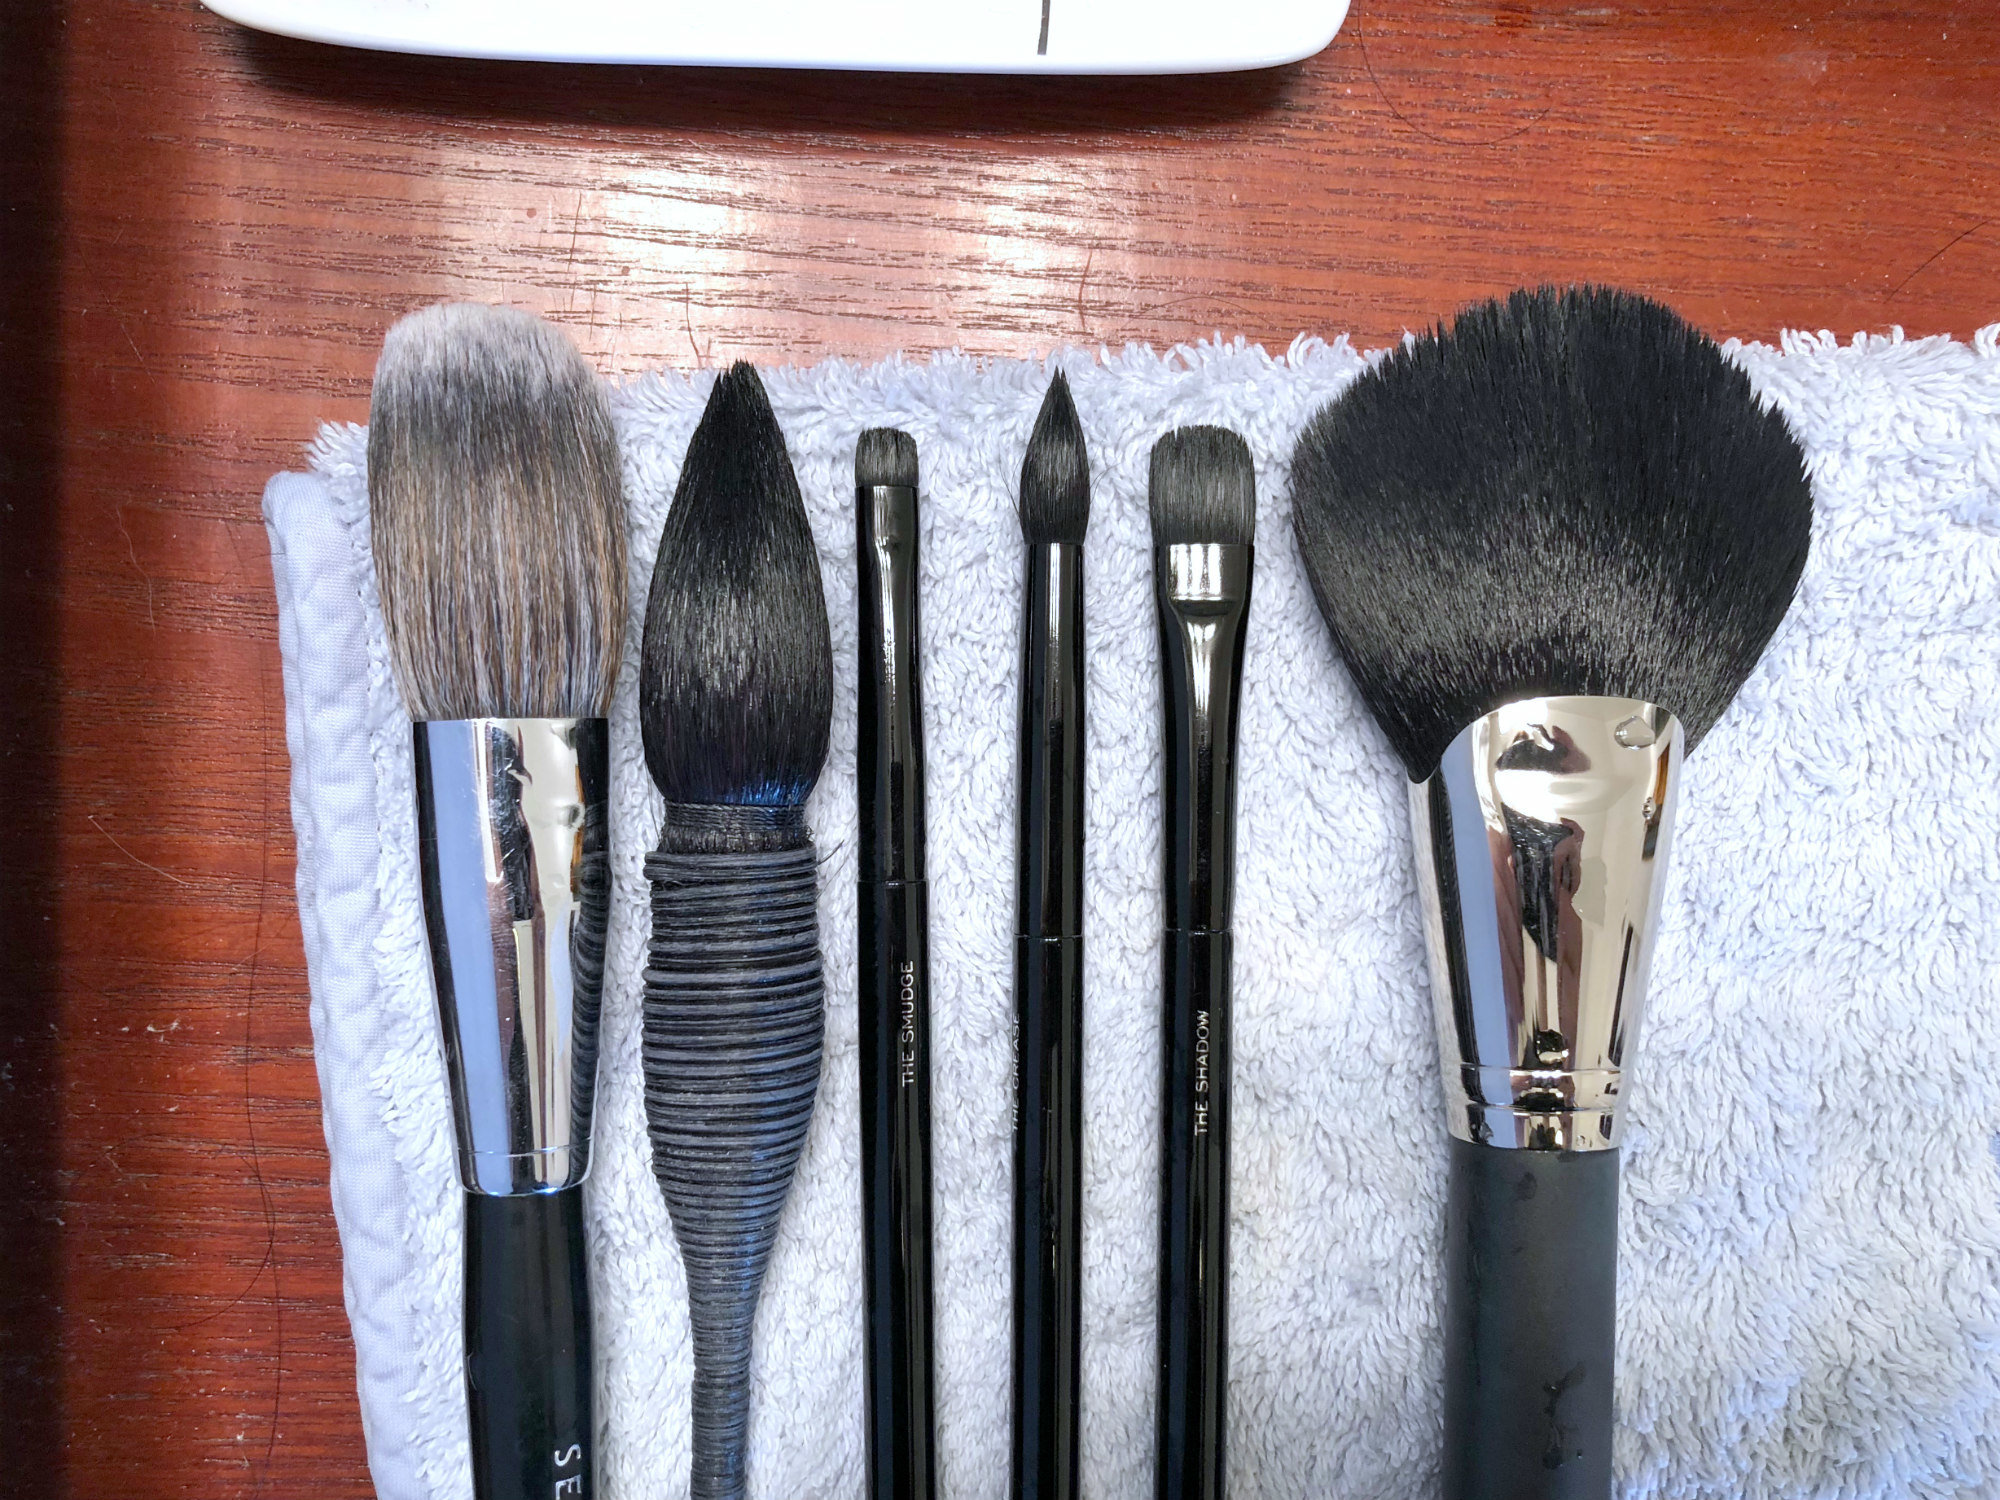
I KNOW, THIS IS CONTENTIOUS! A LOT of people feel that makeup brushes should only ever be hung upside-down to dry, which is a fine choice. But if you have limited space, are short on time, or don't want to spend your life turning your home into a makeup brush batcave, lying them down a towel is 100% great.
Source: My 14 year old brushes, which are still perfect, and have never been hung upside down.
Now we move on to the next group: Synthetic bristle makeup brushes used to apply powder products.
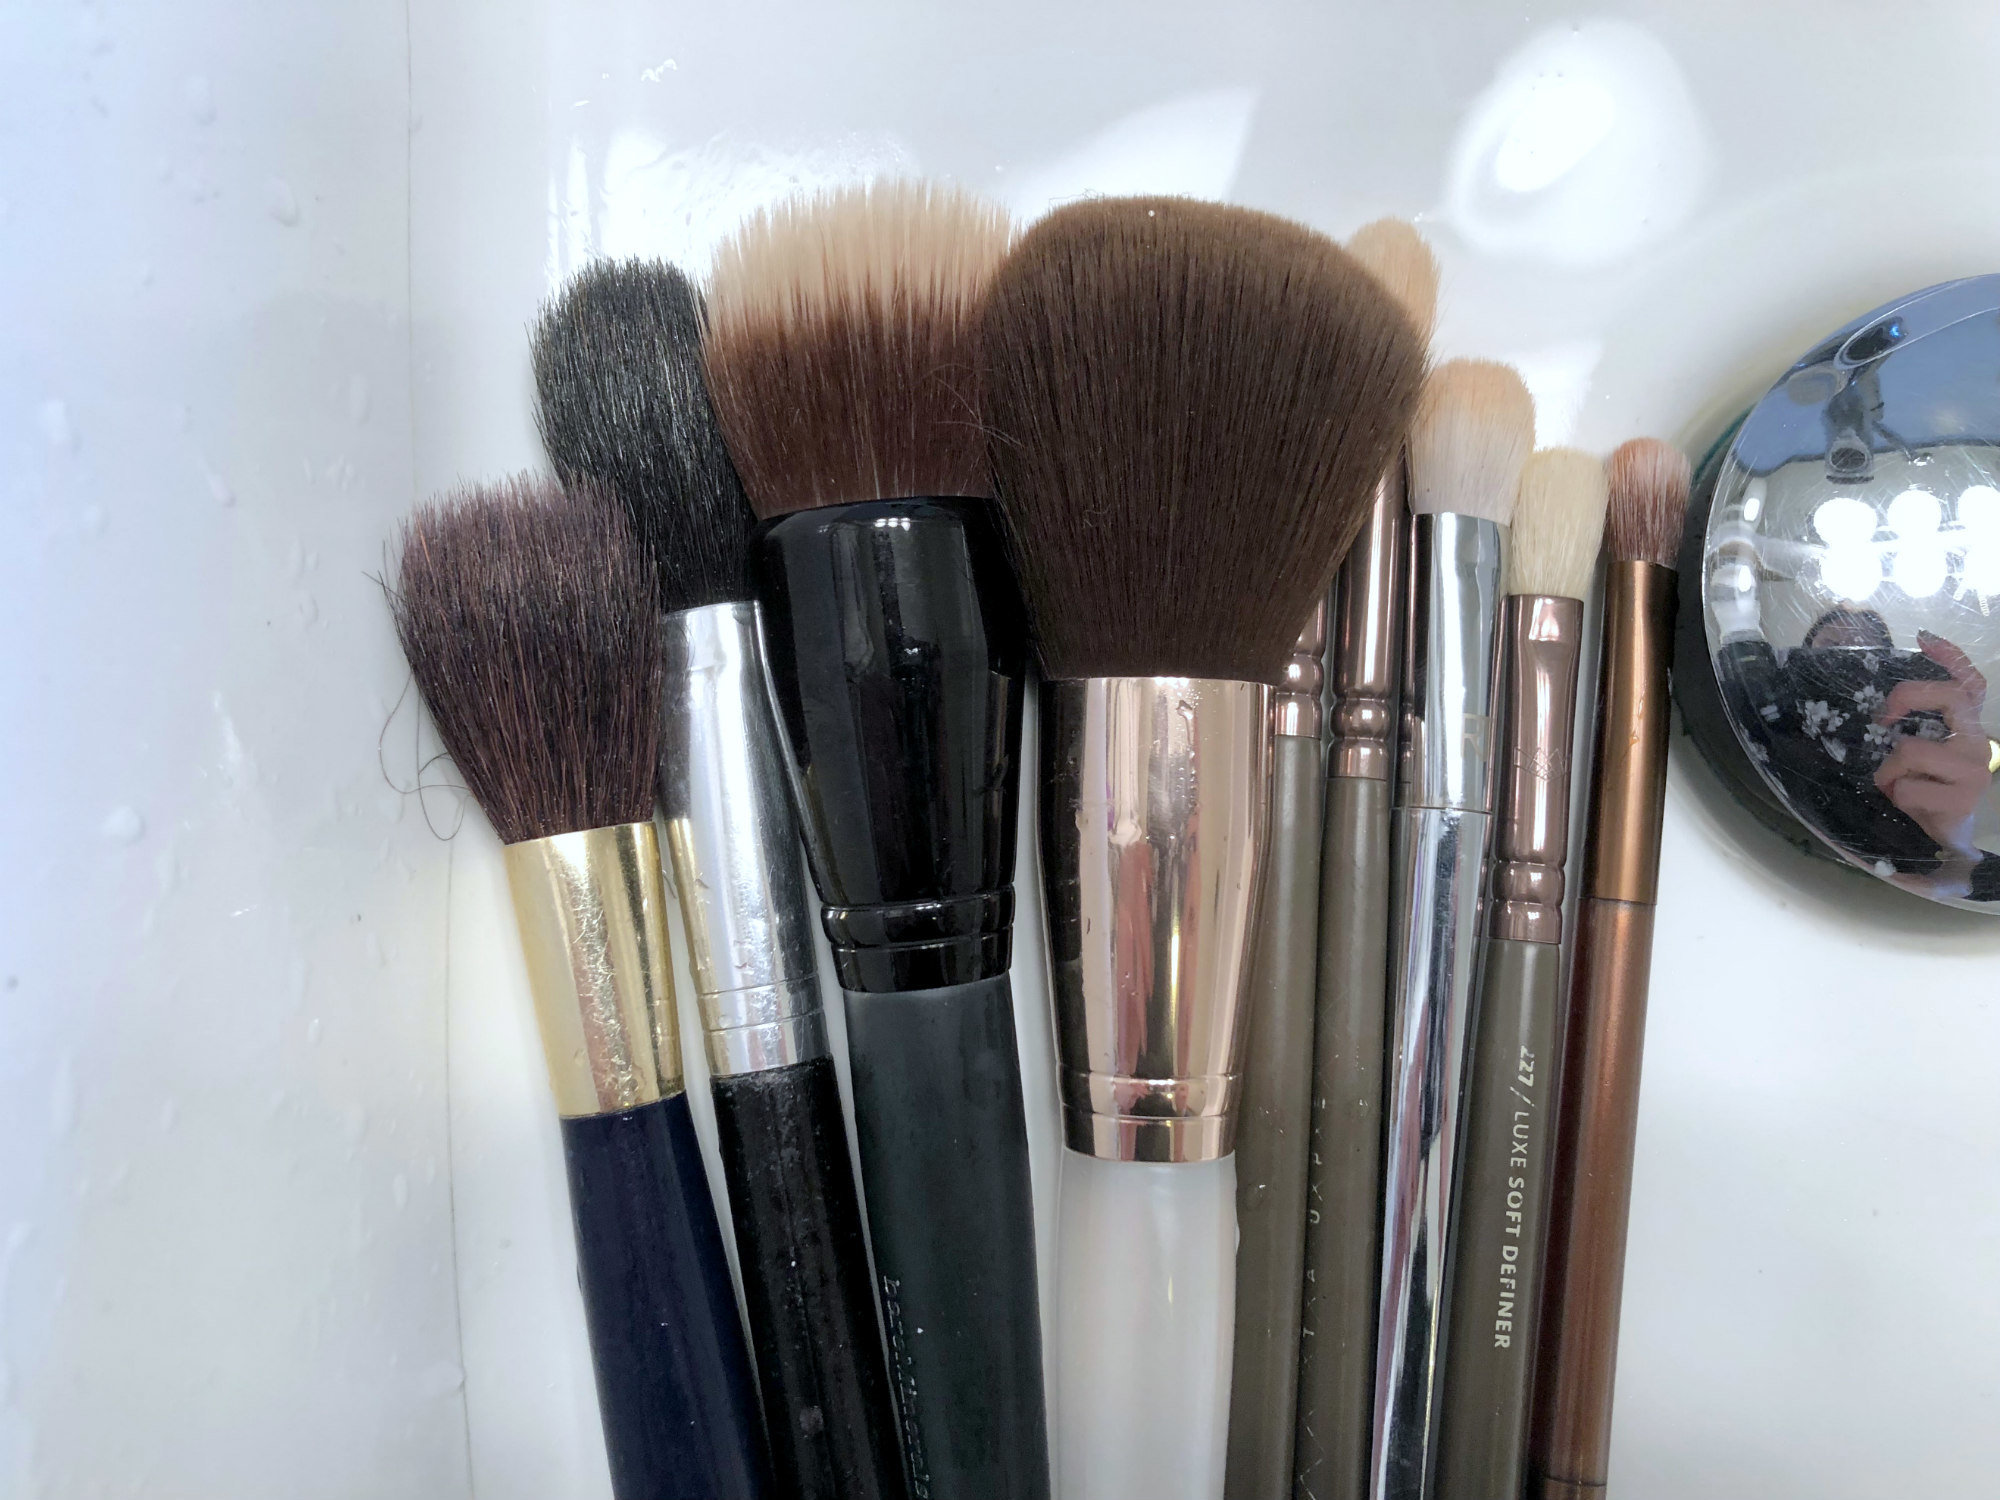
We all probably have more of these than we can count. These are your eye shadow brushes, your blenders, blush brushes, hardcore highlight brushes, stipplers, and probably even fan brushes (which I still hate).
Synthetic brushes, when when they're very fluffy and soft, tend to be quite durable. BUT they tend to soak up product and the bristles can stain really easily, so they require a different cleaning method.
Enter the oil cleanser.
This is Urban Decay's cleansing oil stick ($13). It is the PERFECT product to wash even the messiest synthetic makeup brushes.
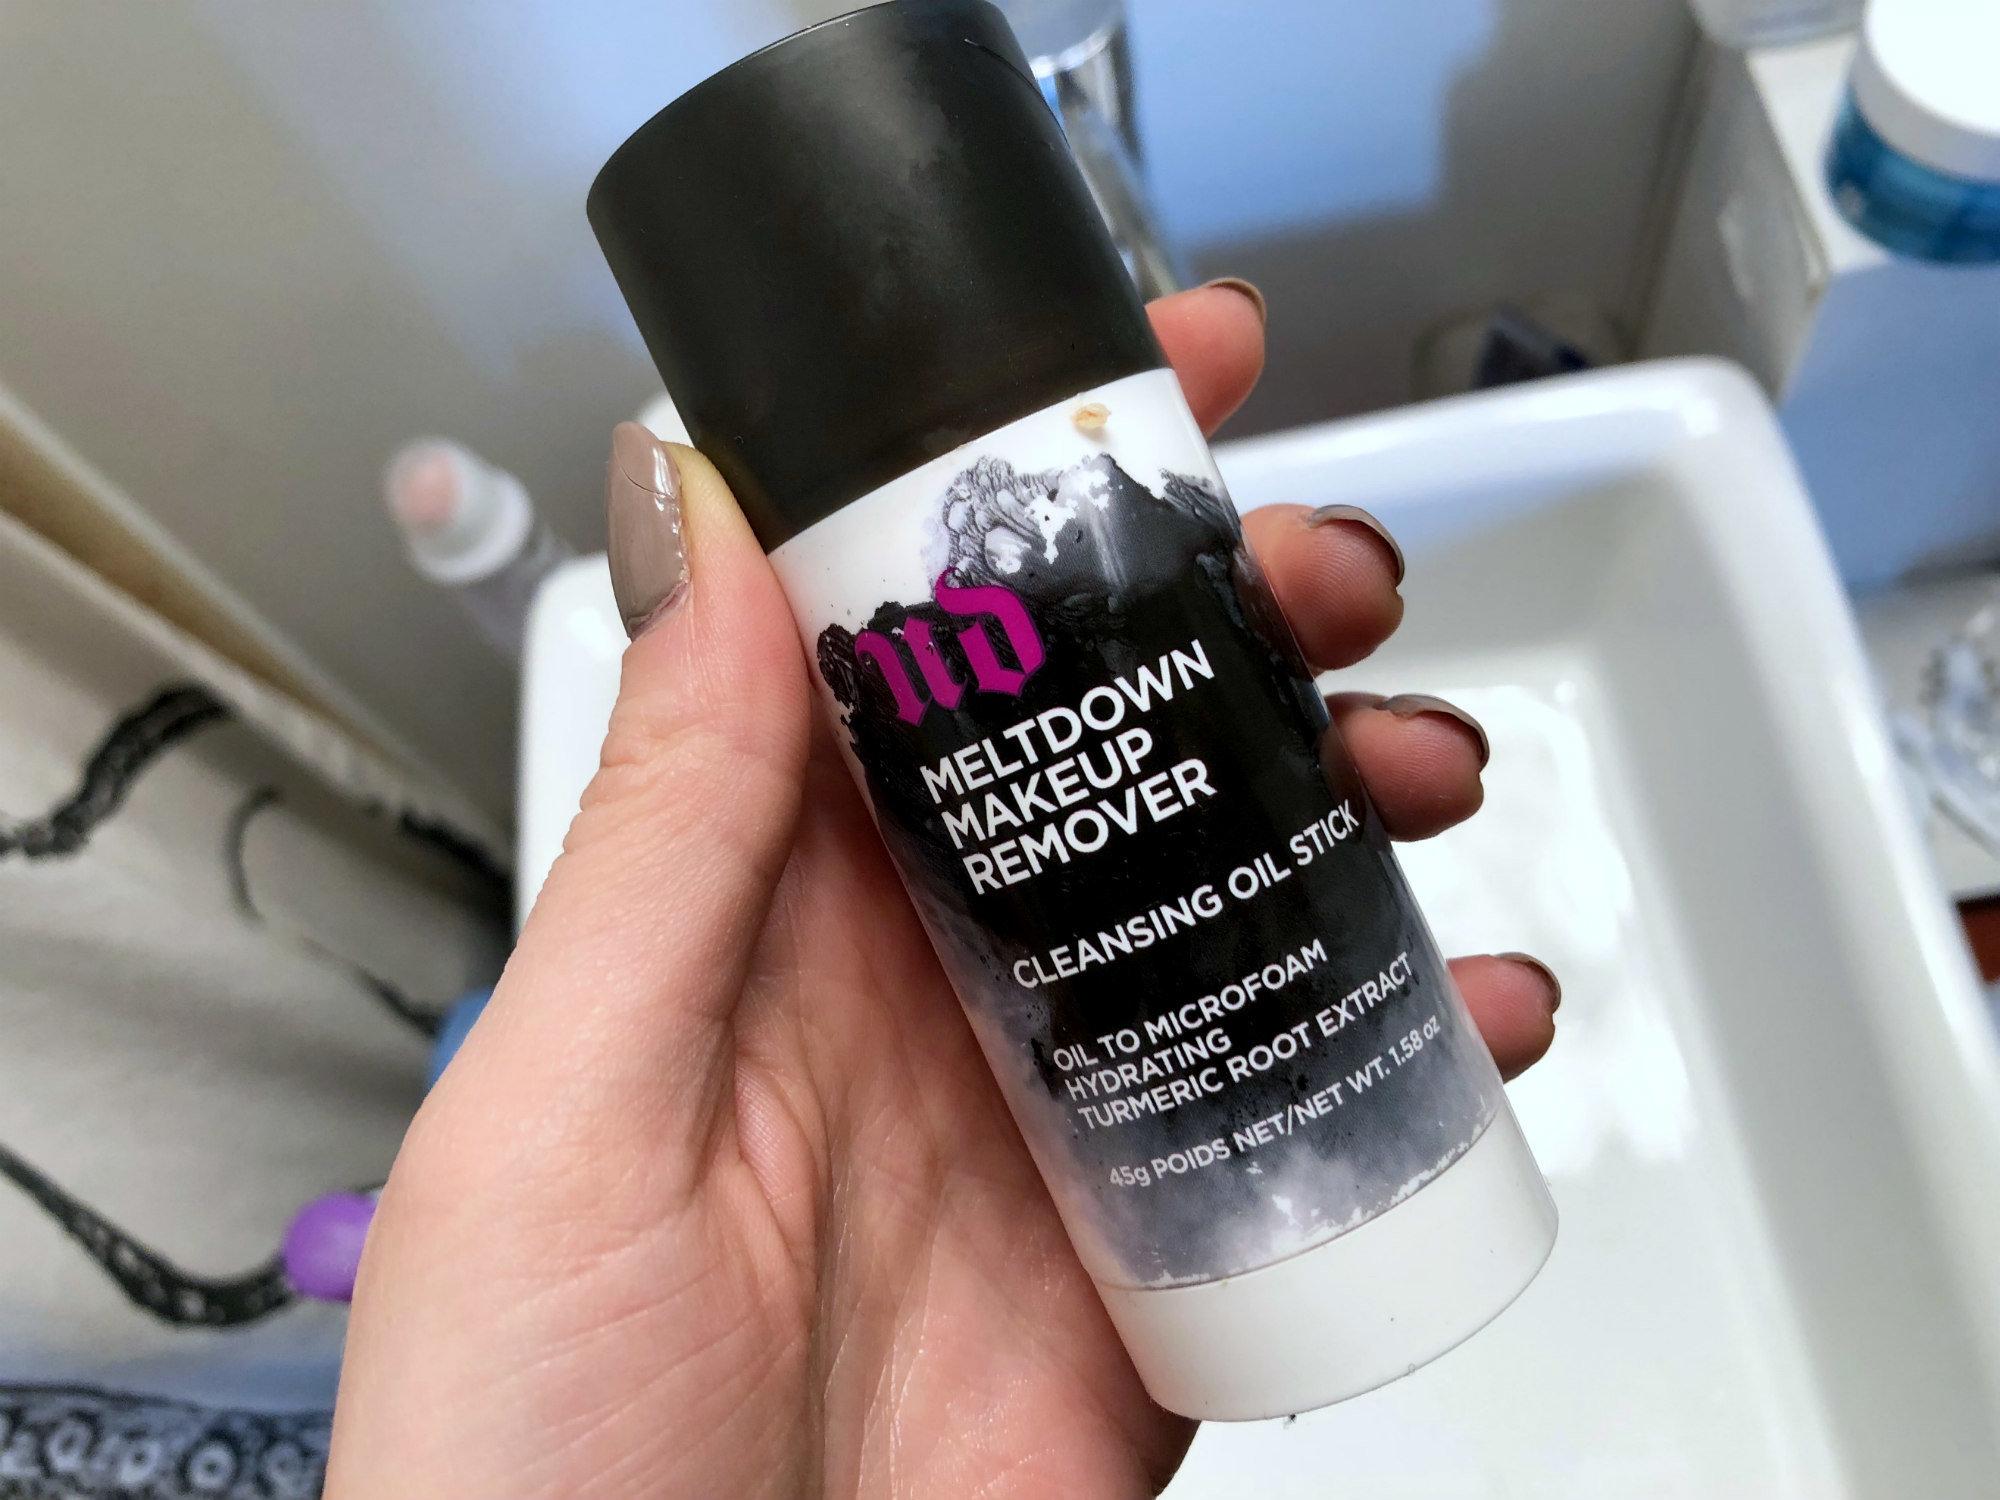
Full disclosure: I do not like to use the Urban Decay cleansing oil stick ($13, Sephora) on my face, because it stings my eyes. But when it comes to cleaning brushes, there is NOTHING better.
It's solid, which makes it easy to use.
Because it's an oil, it removes EVERYTHING, including tricky stuff like dried gel eyeliner, from every bristle of your brushes.
It lasts forever – I've been using this stick every other week since last summer, and I'm nowhere near the end.
And most importantly, it rinses completely clean. No residue, no mess.
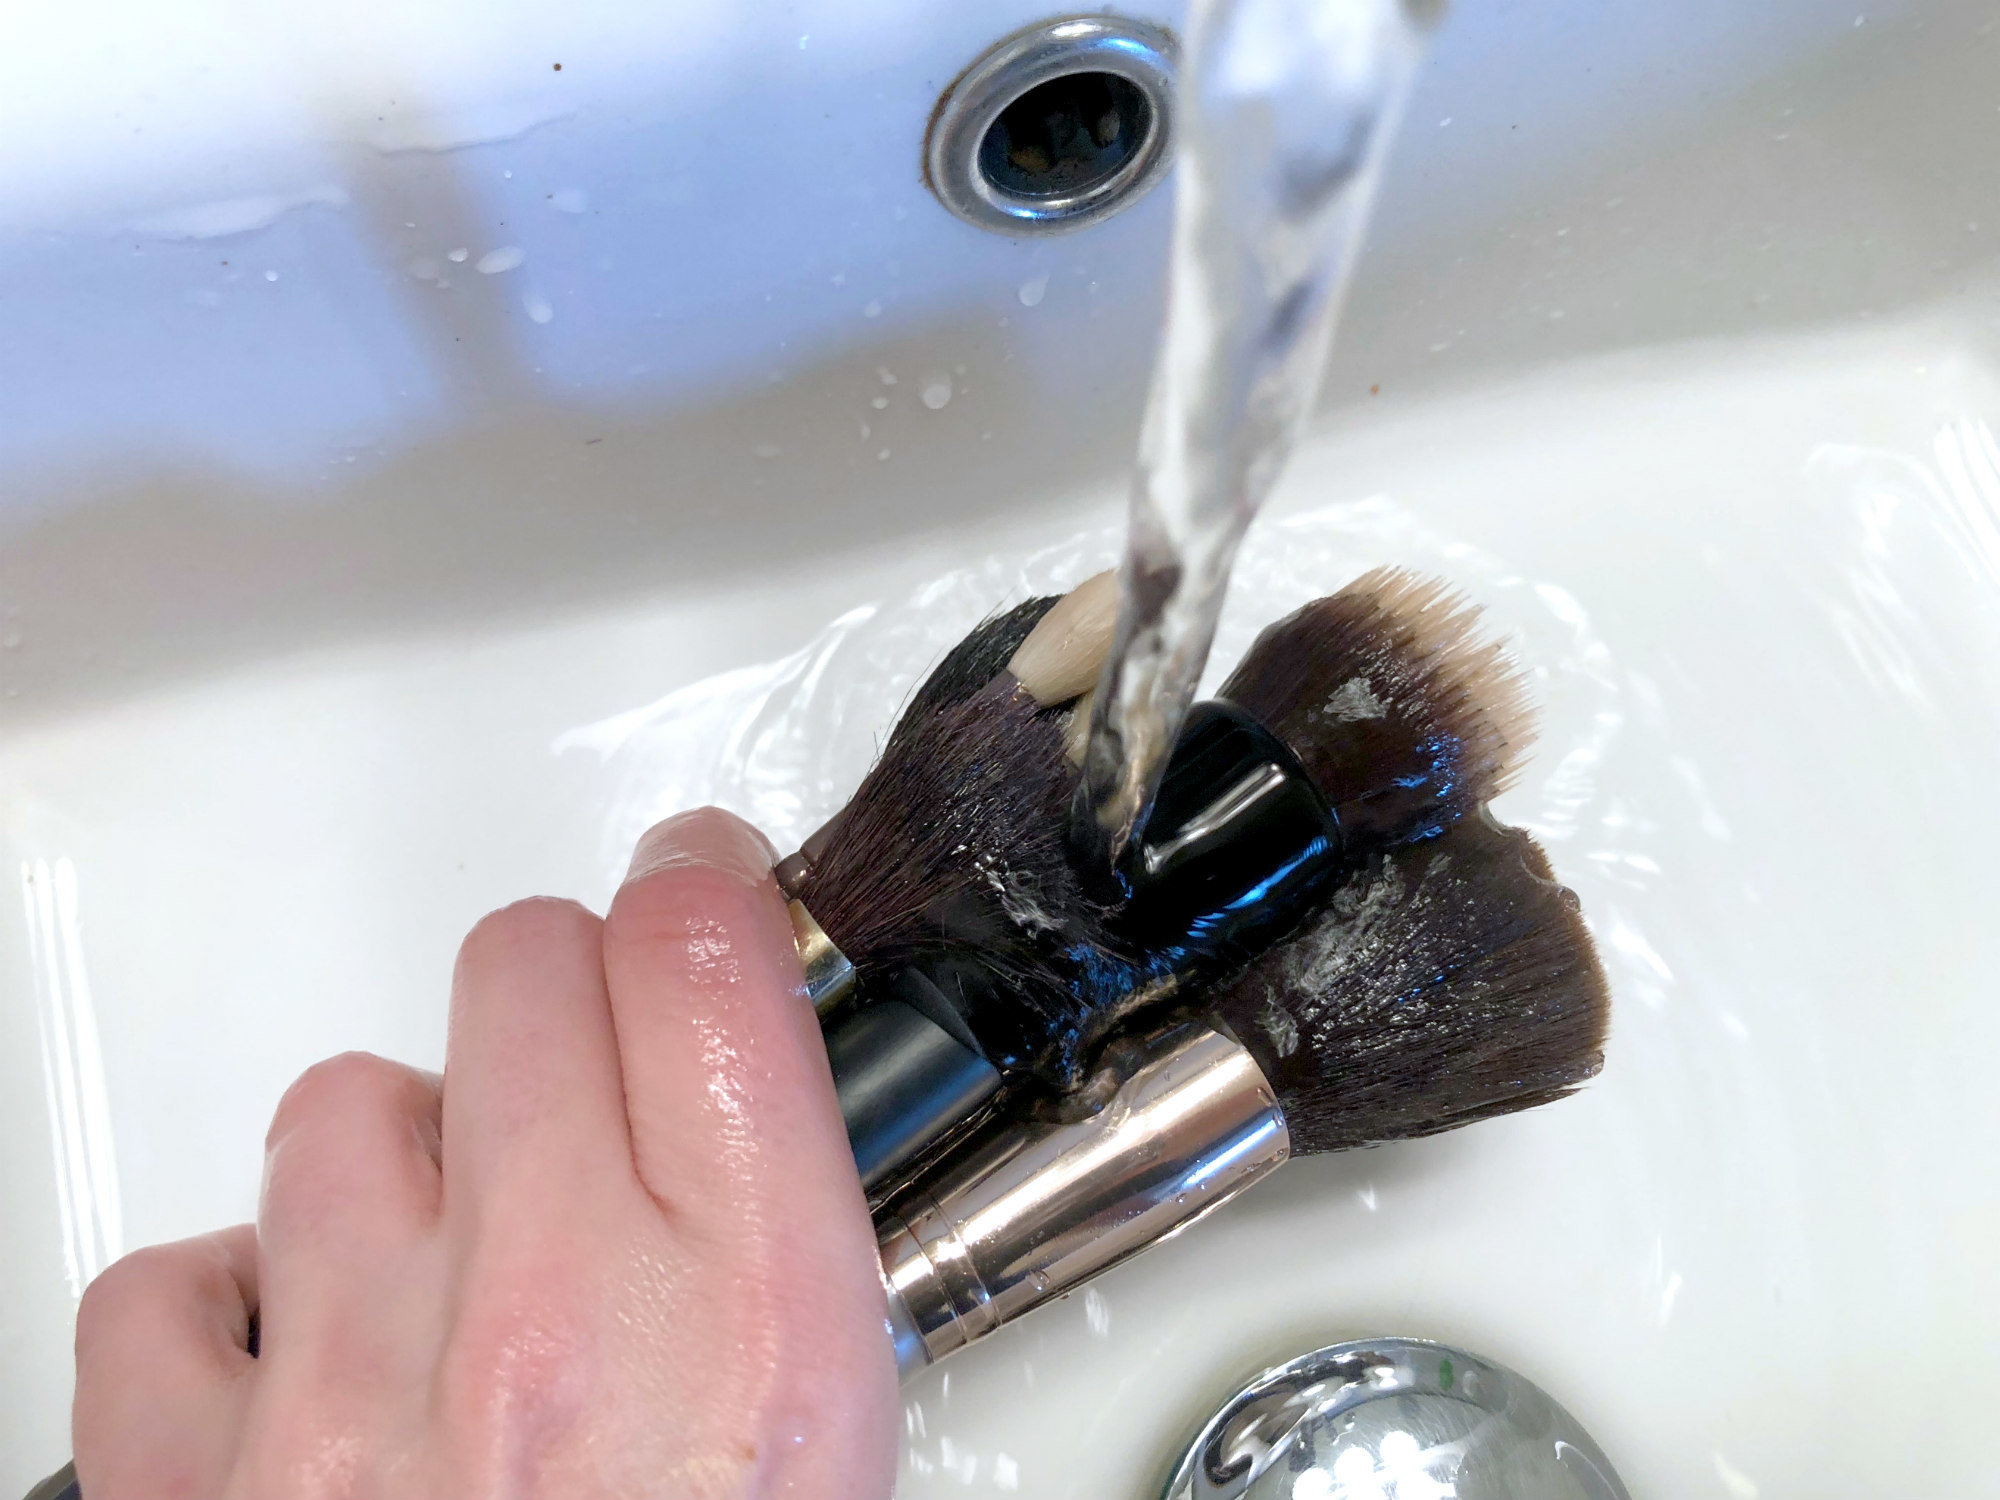
This oil only works on wet brushes, so run everything you're going to clean under the faucet...
Then, swirl the brush around the surface of the cleanser. You can either go up and down, pressing to get all of the product out...
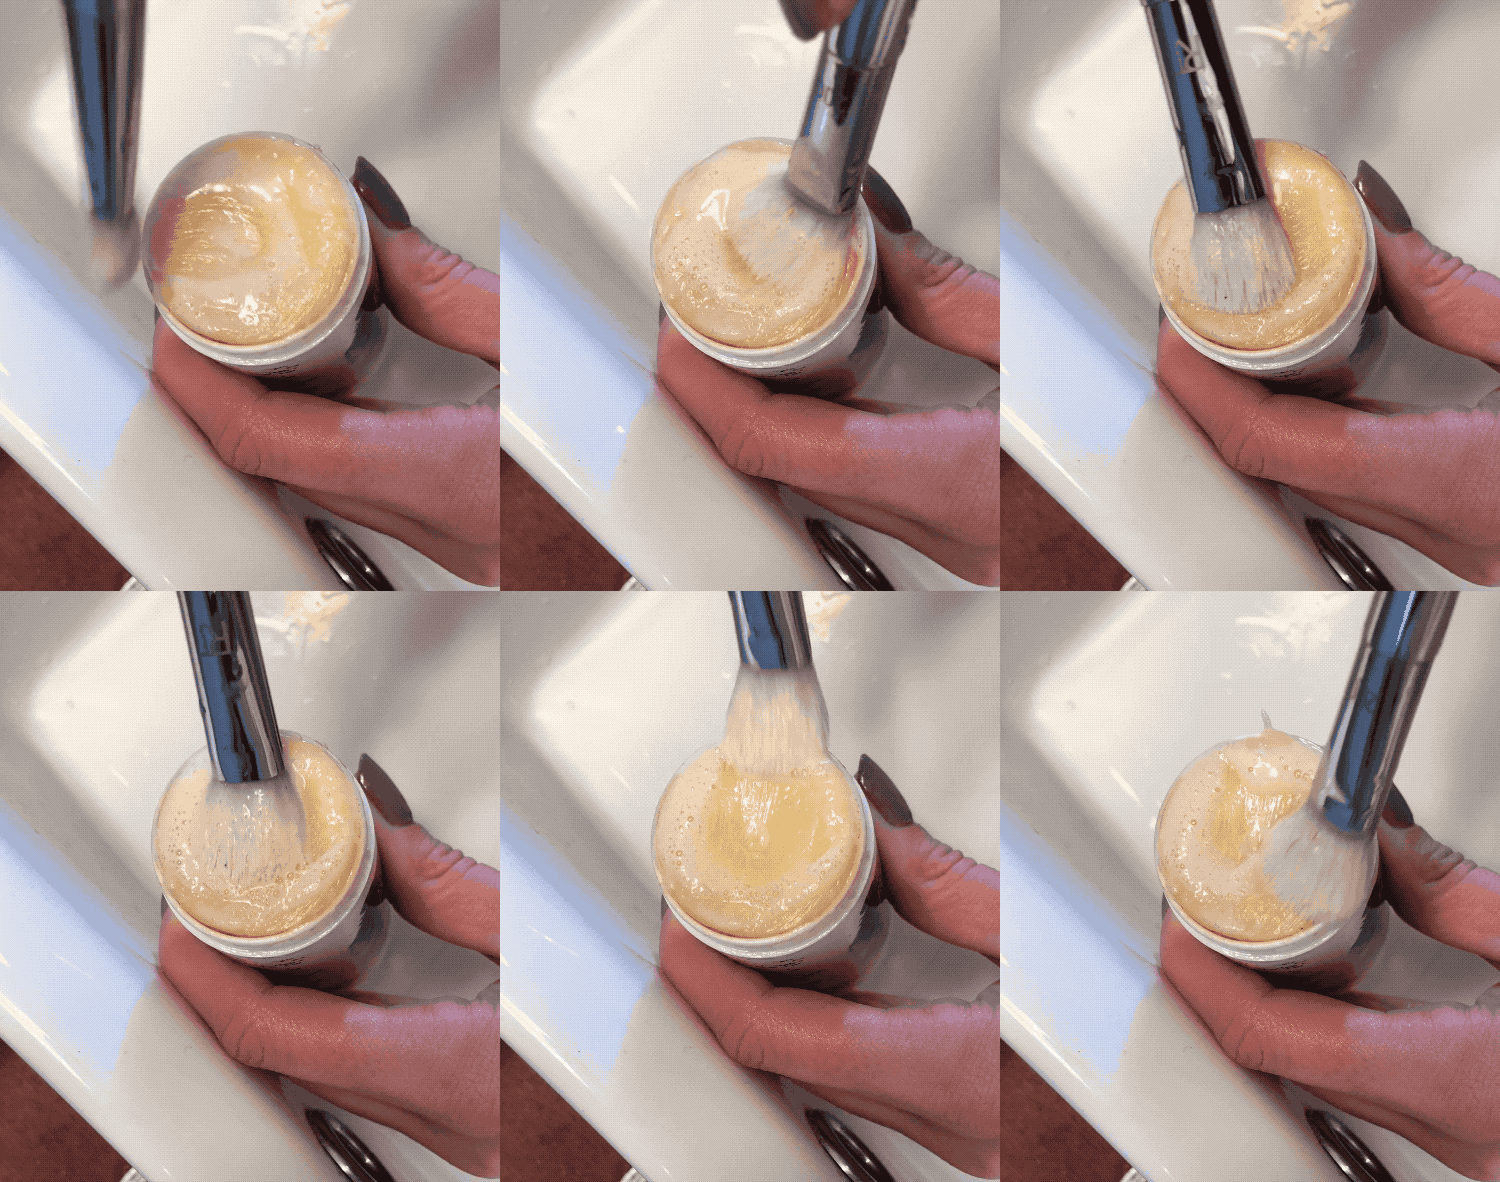
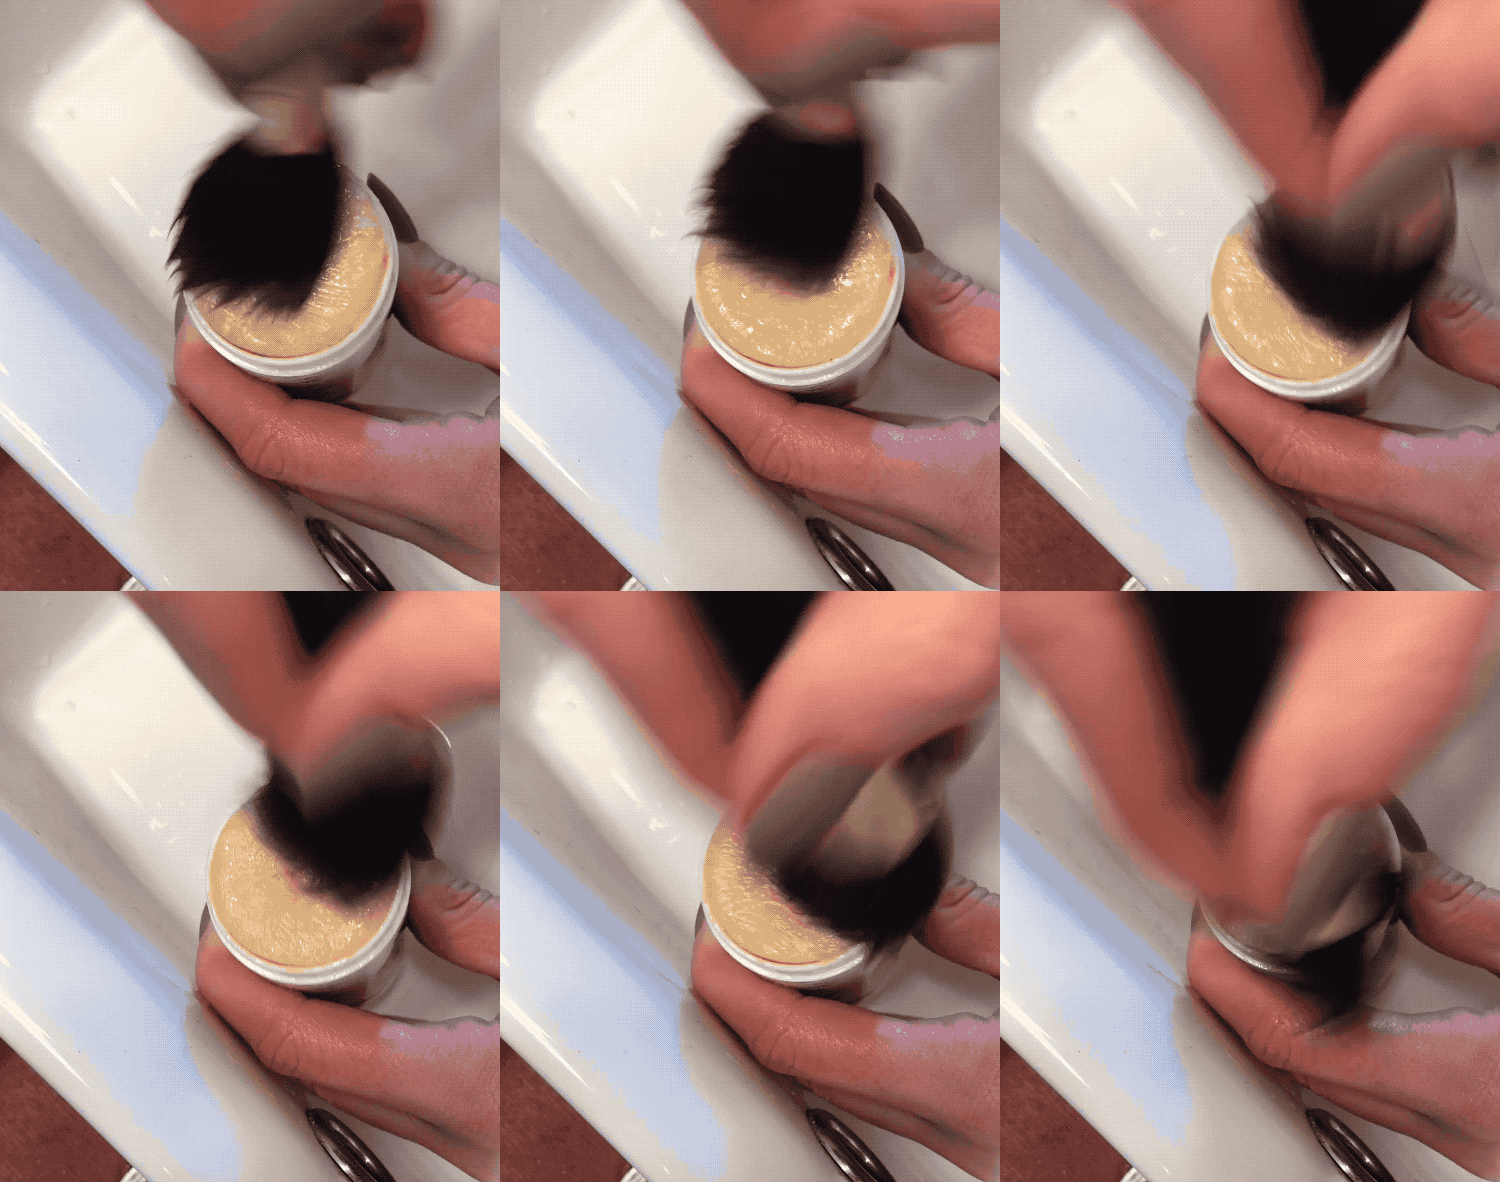
...Or swirl the brush around and around.
You'll see the foam change colors, depending on what's being cleaned out of your brushes. It's VERY satisfying.
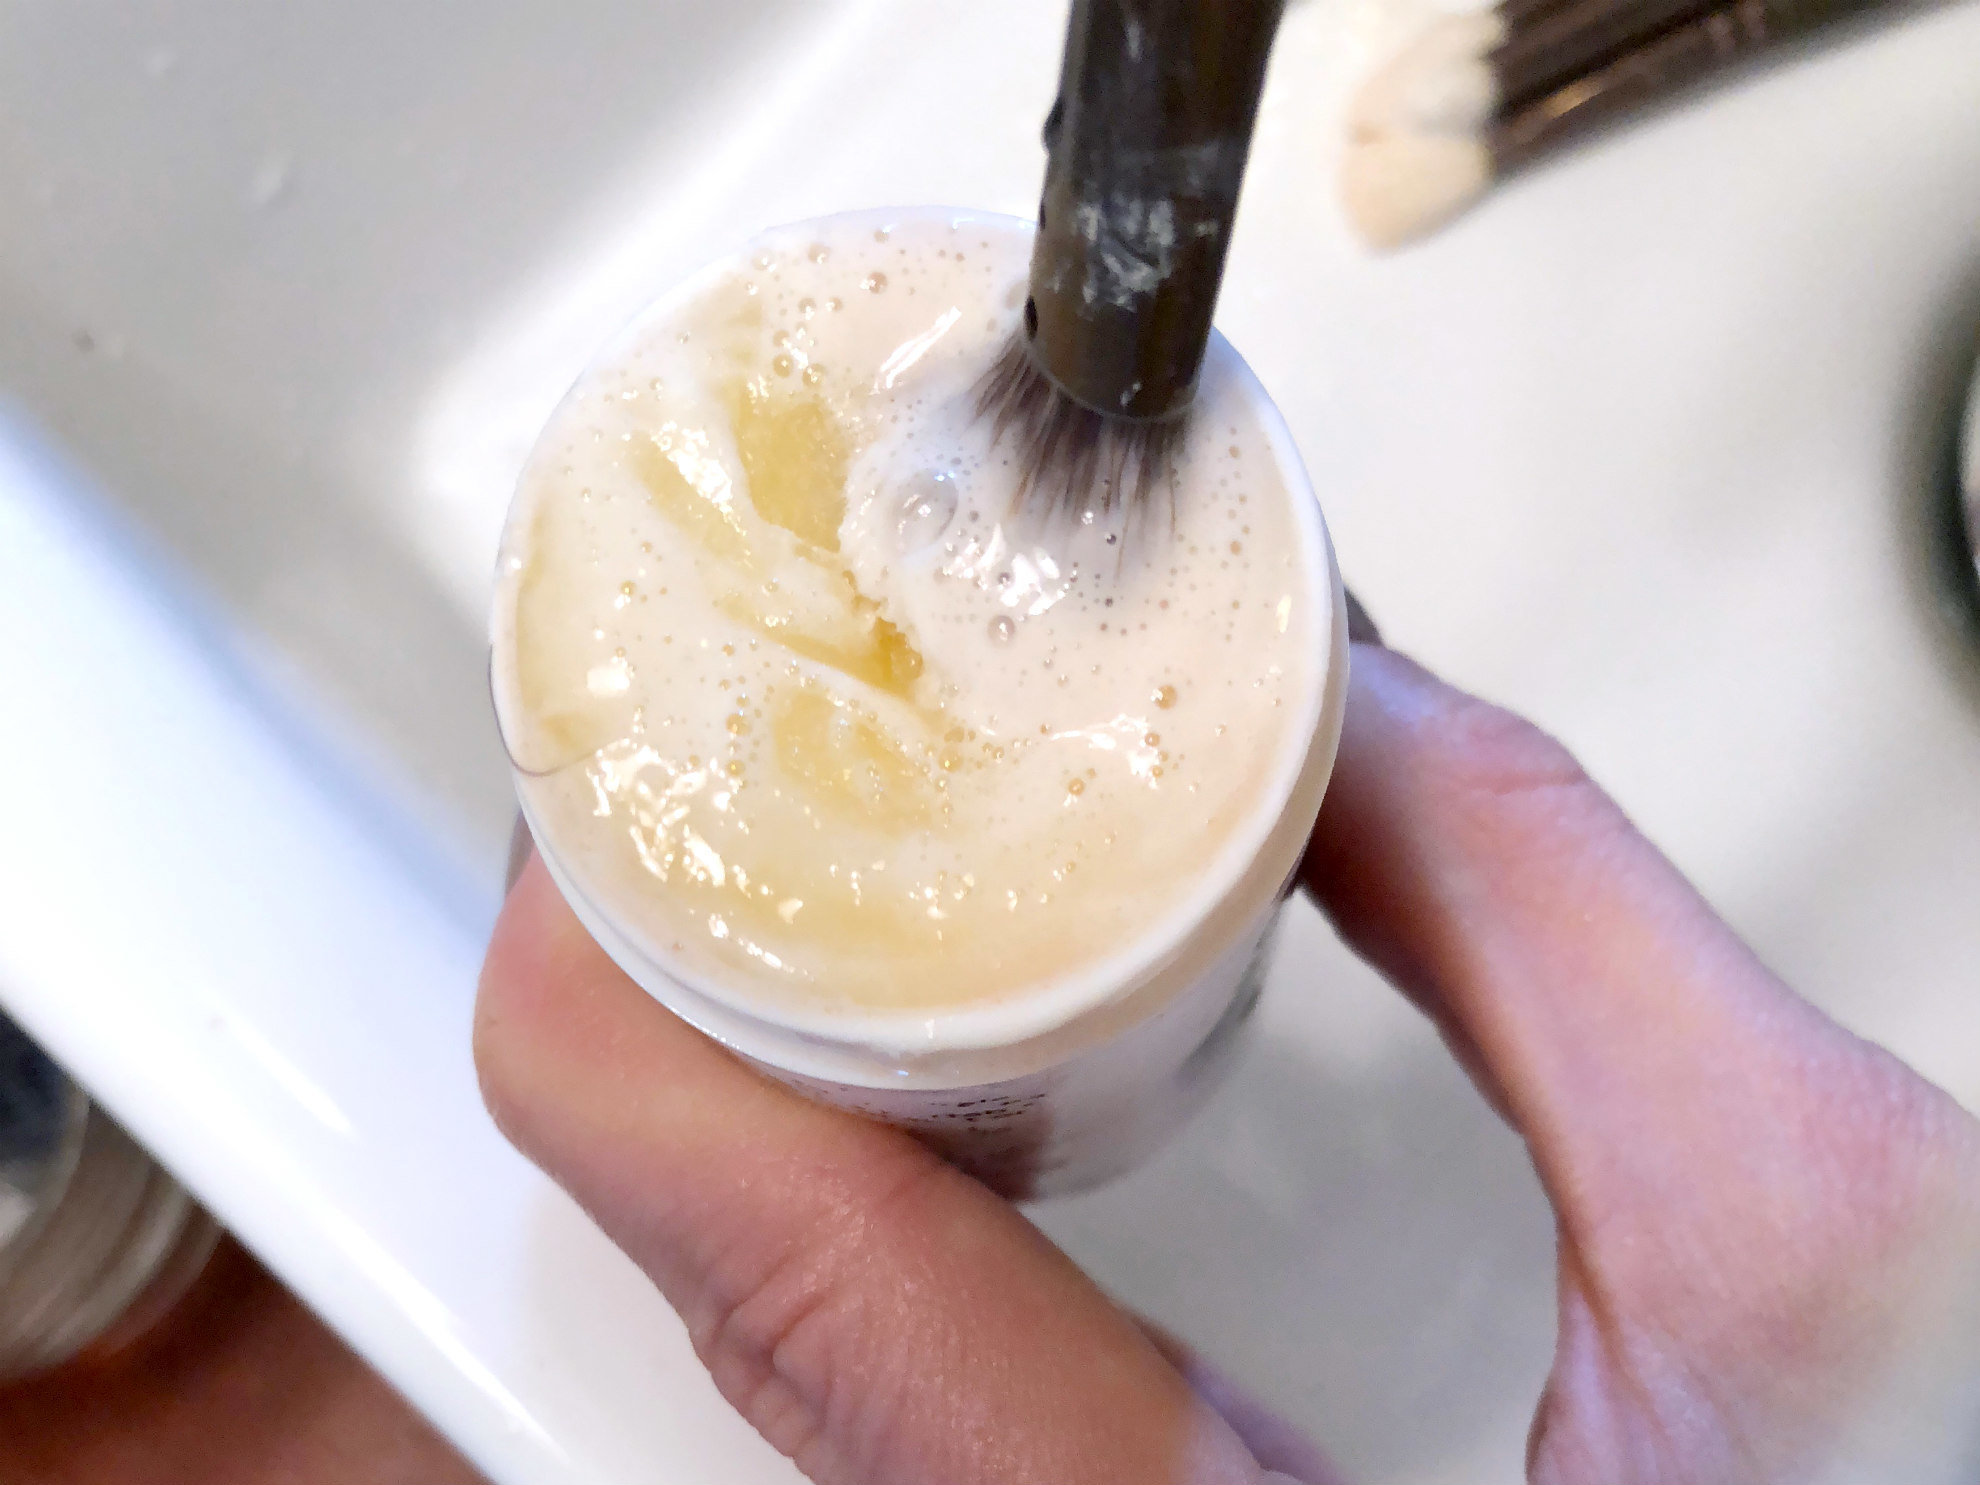
Make sure you REALLY rinse each brush once it's clean — and run the cleanser under the tap in between brushes. We don't want cross-contamination!
Gently shape the bristles of each brush once it's clean...
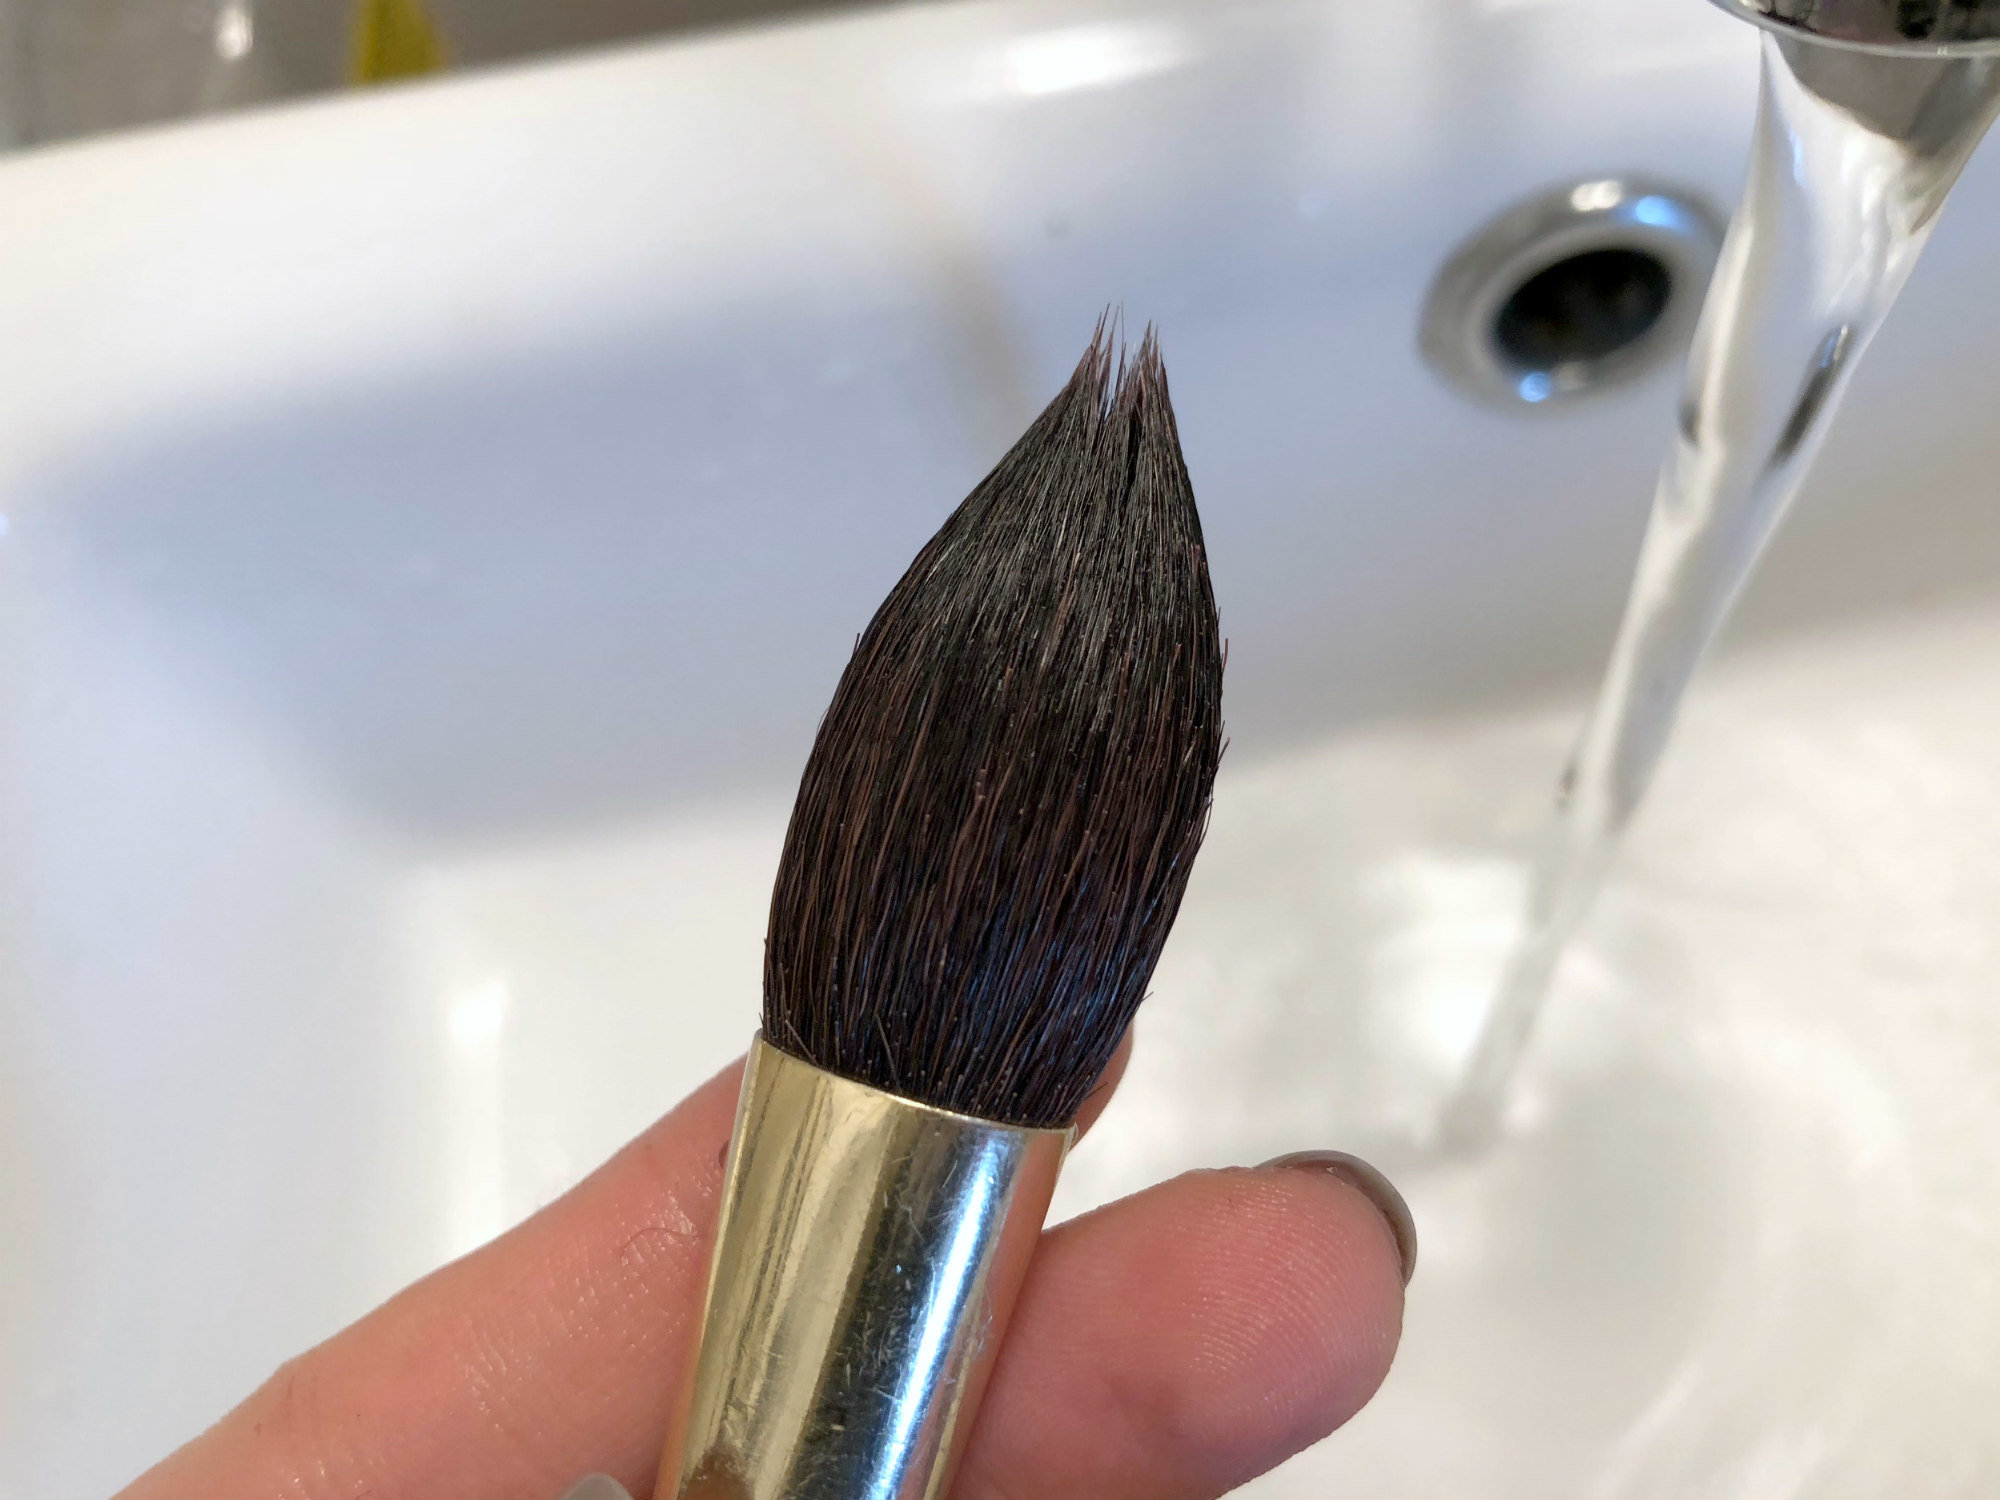
...Then lay them flat on a clean towel so they can dry.
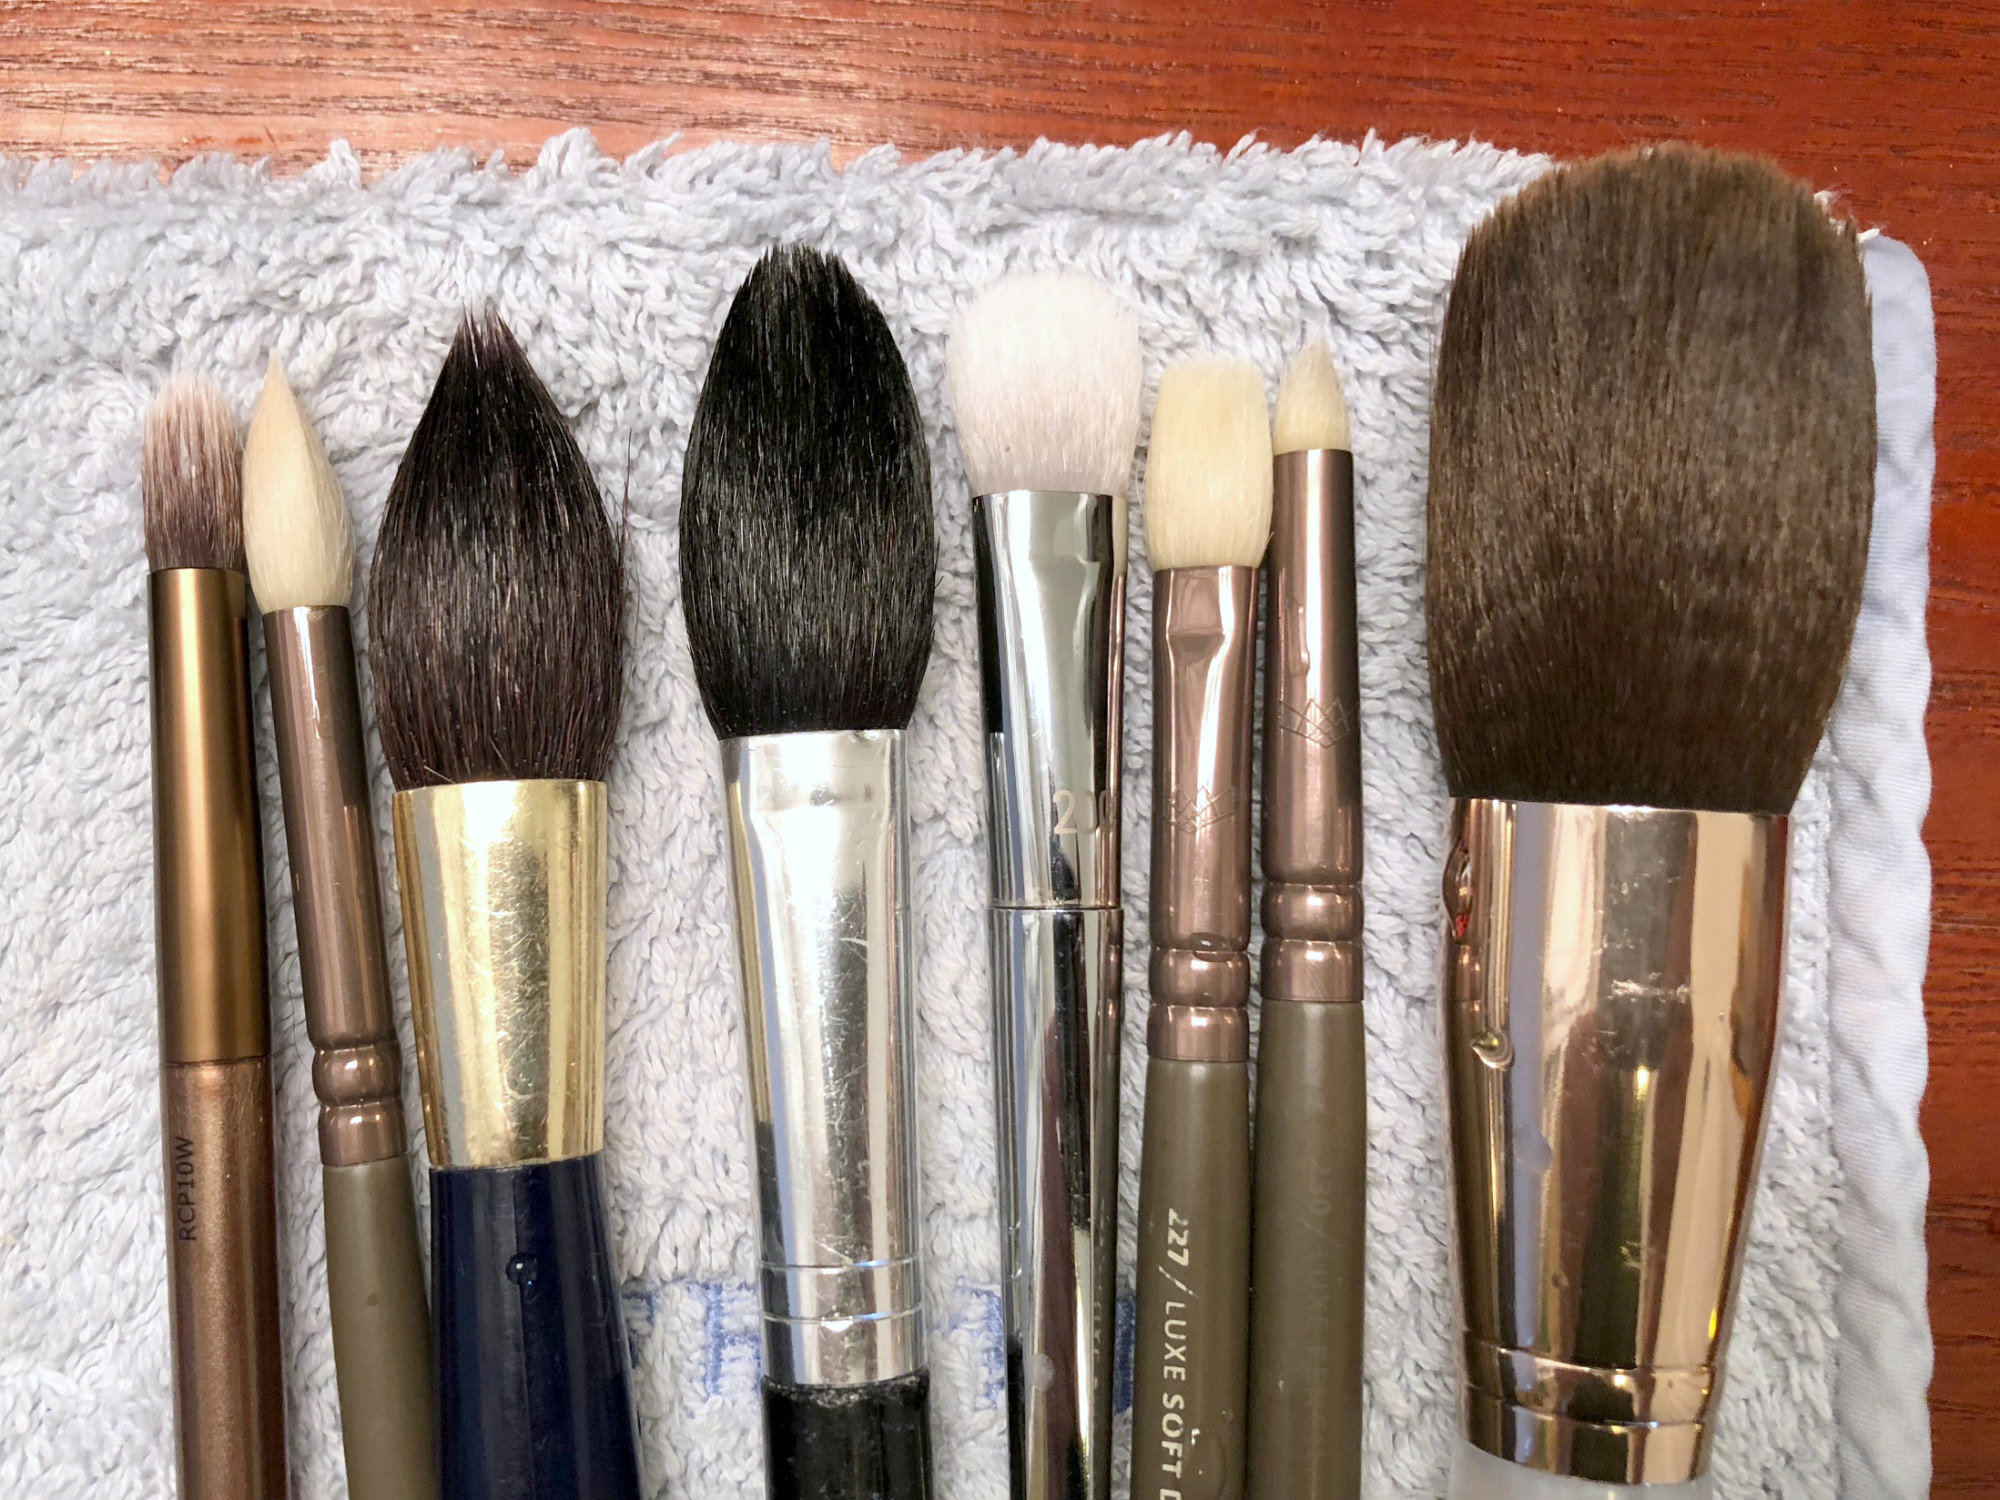
If you're like me, this is the moment you'll realize the washcloth you're using is too small to fit all your brushes on it, and start regretting many of your life choices.
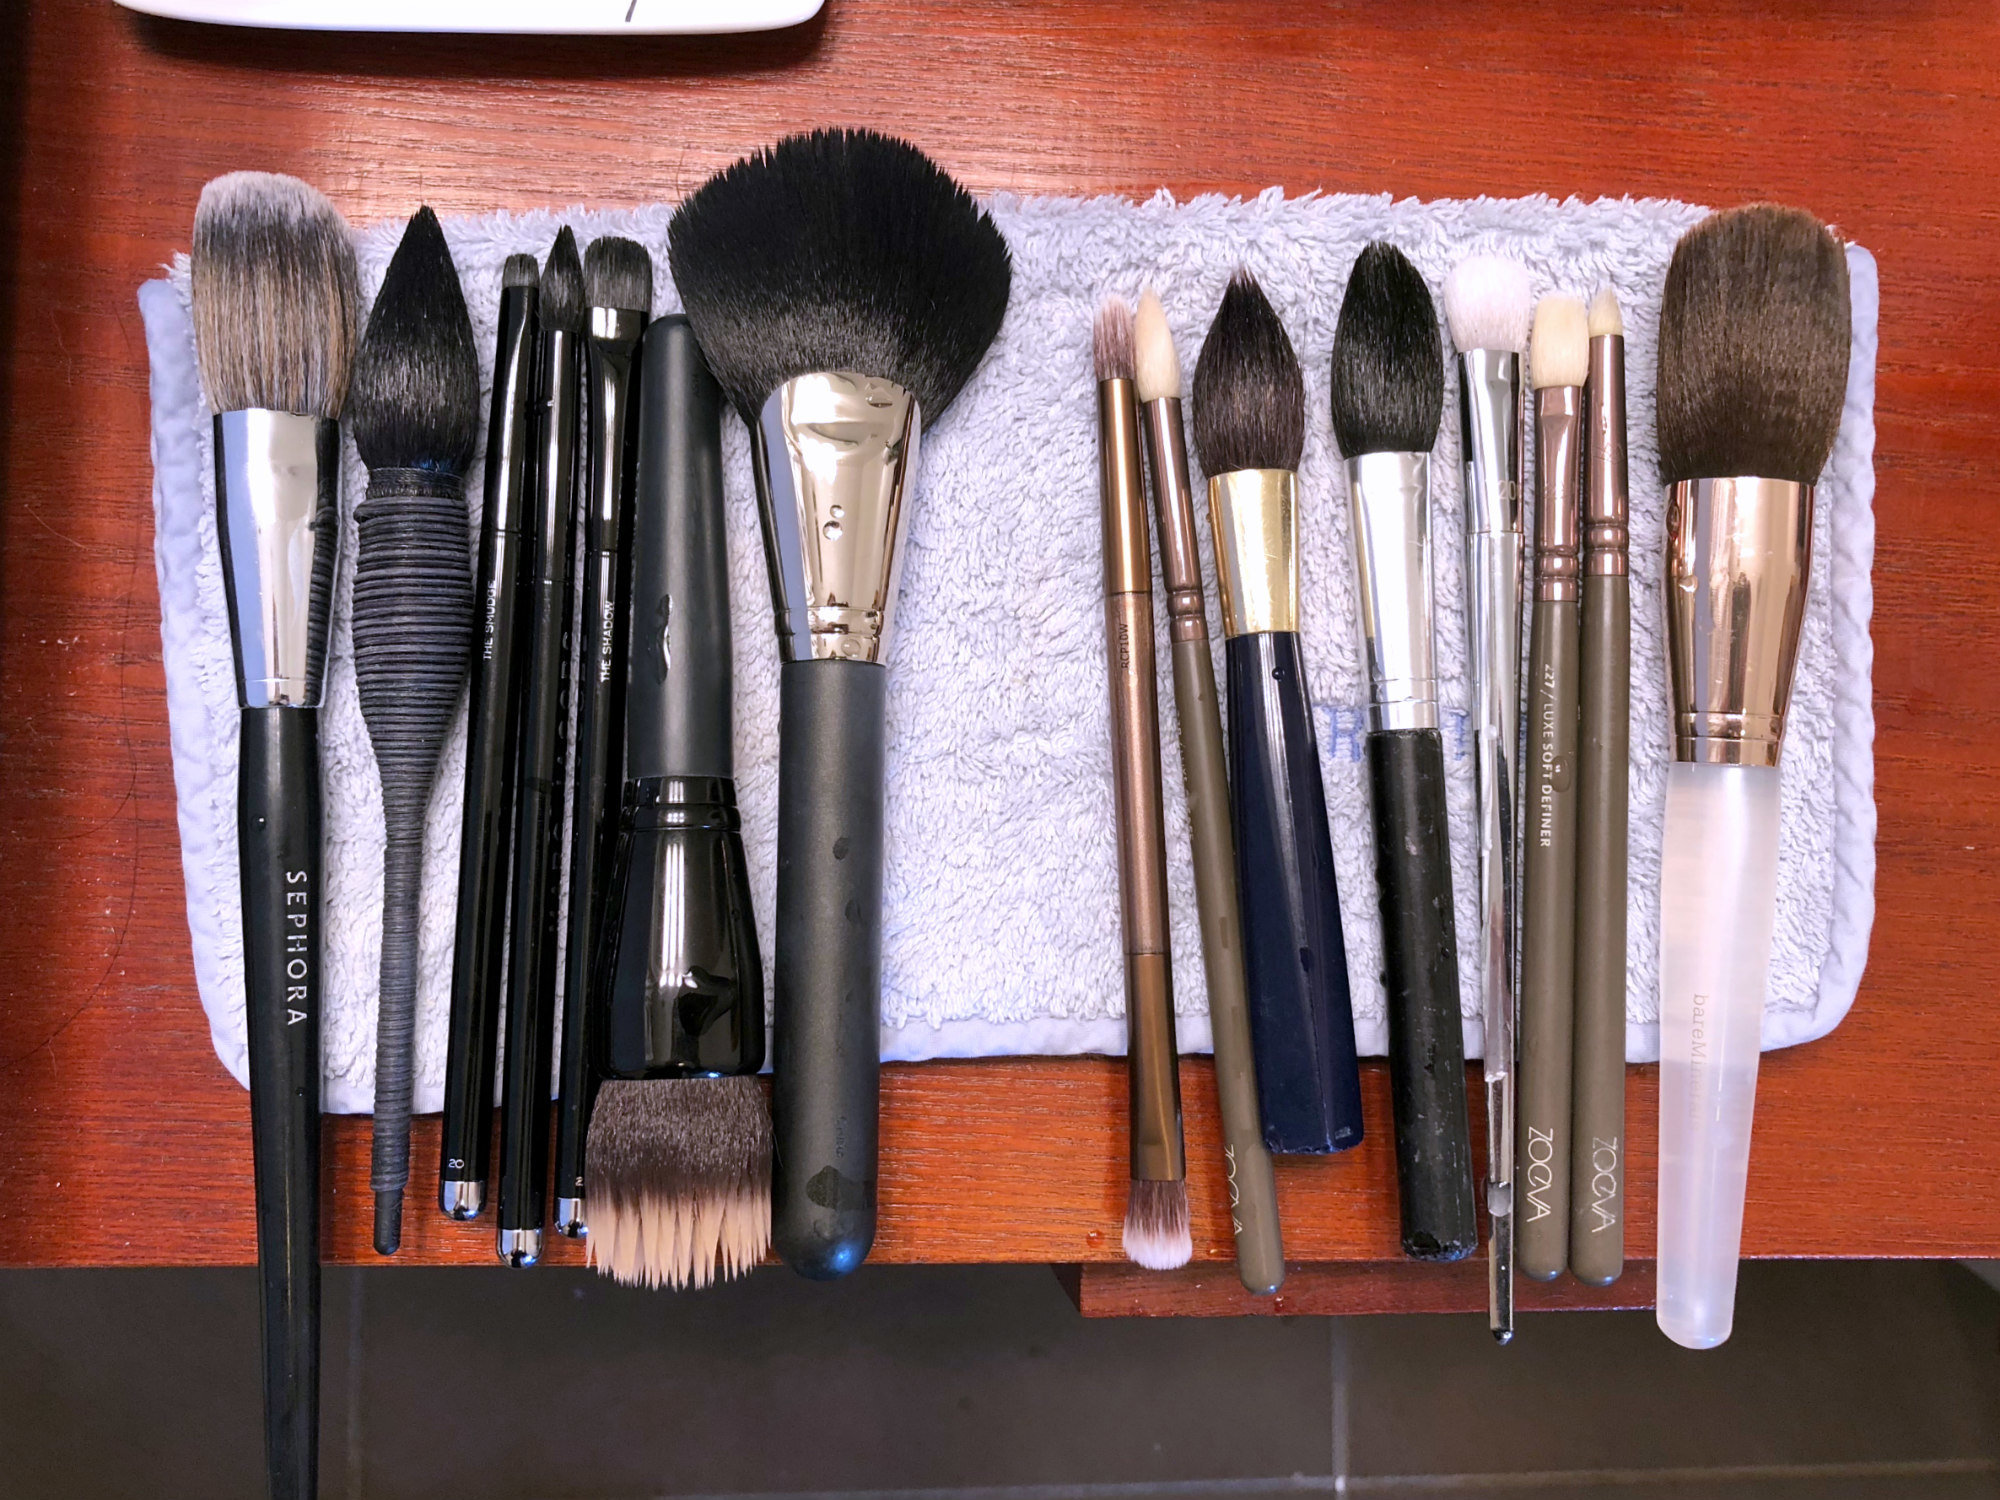
You may not think that "measure twice, cut once" applies to cleaning makeup brushes… but it does.
Anyway, it doesn't matter. Look at how shiny and beautiful and well cared for these synthetic brushes are!
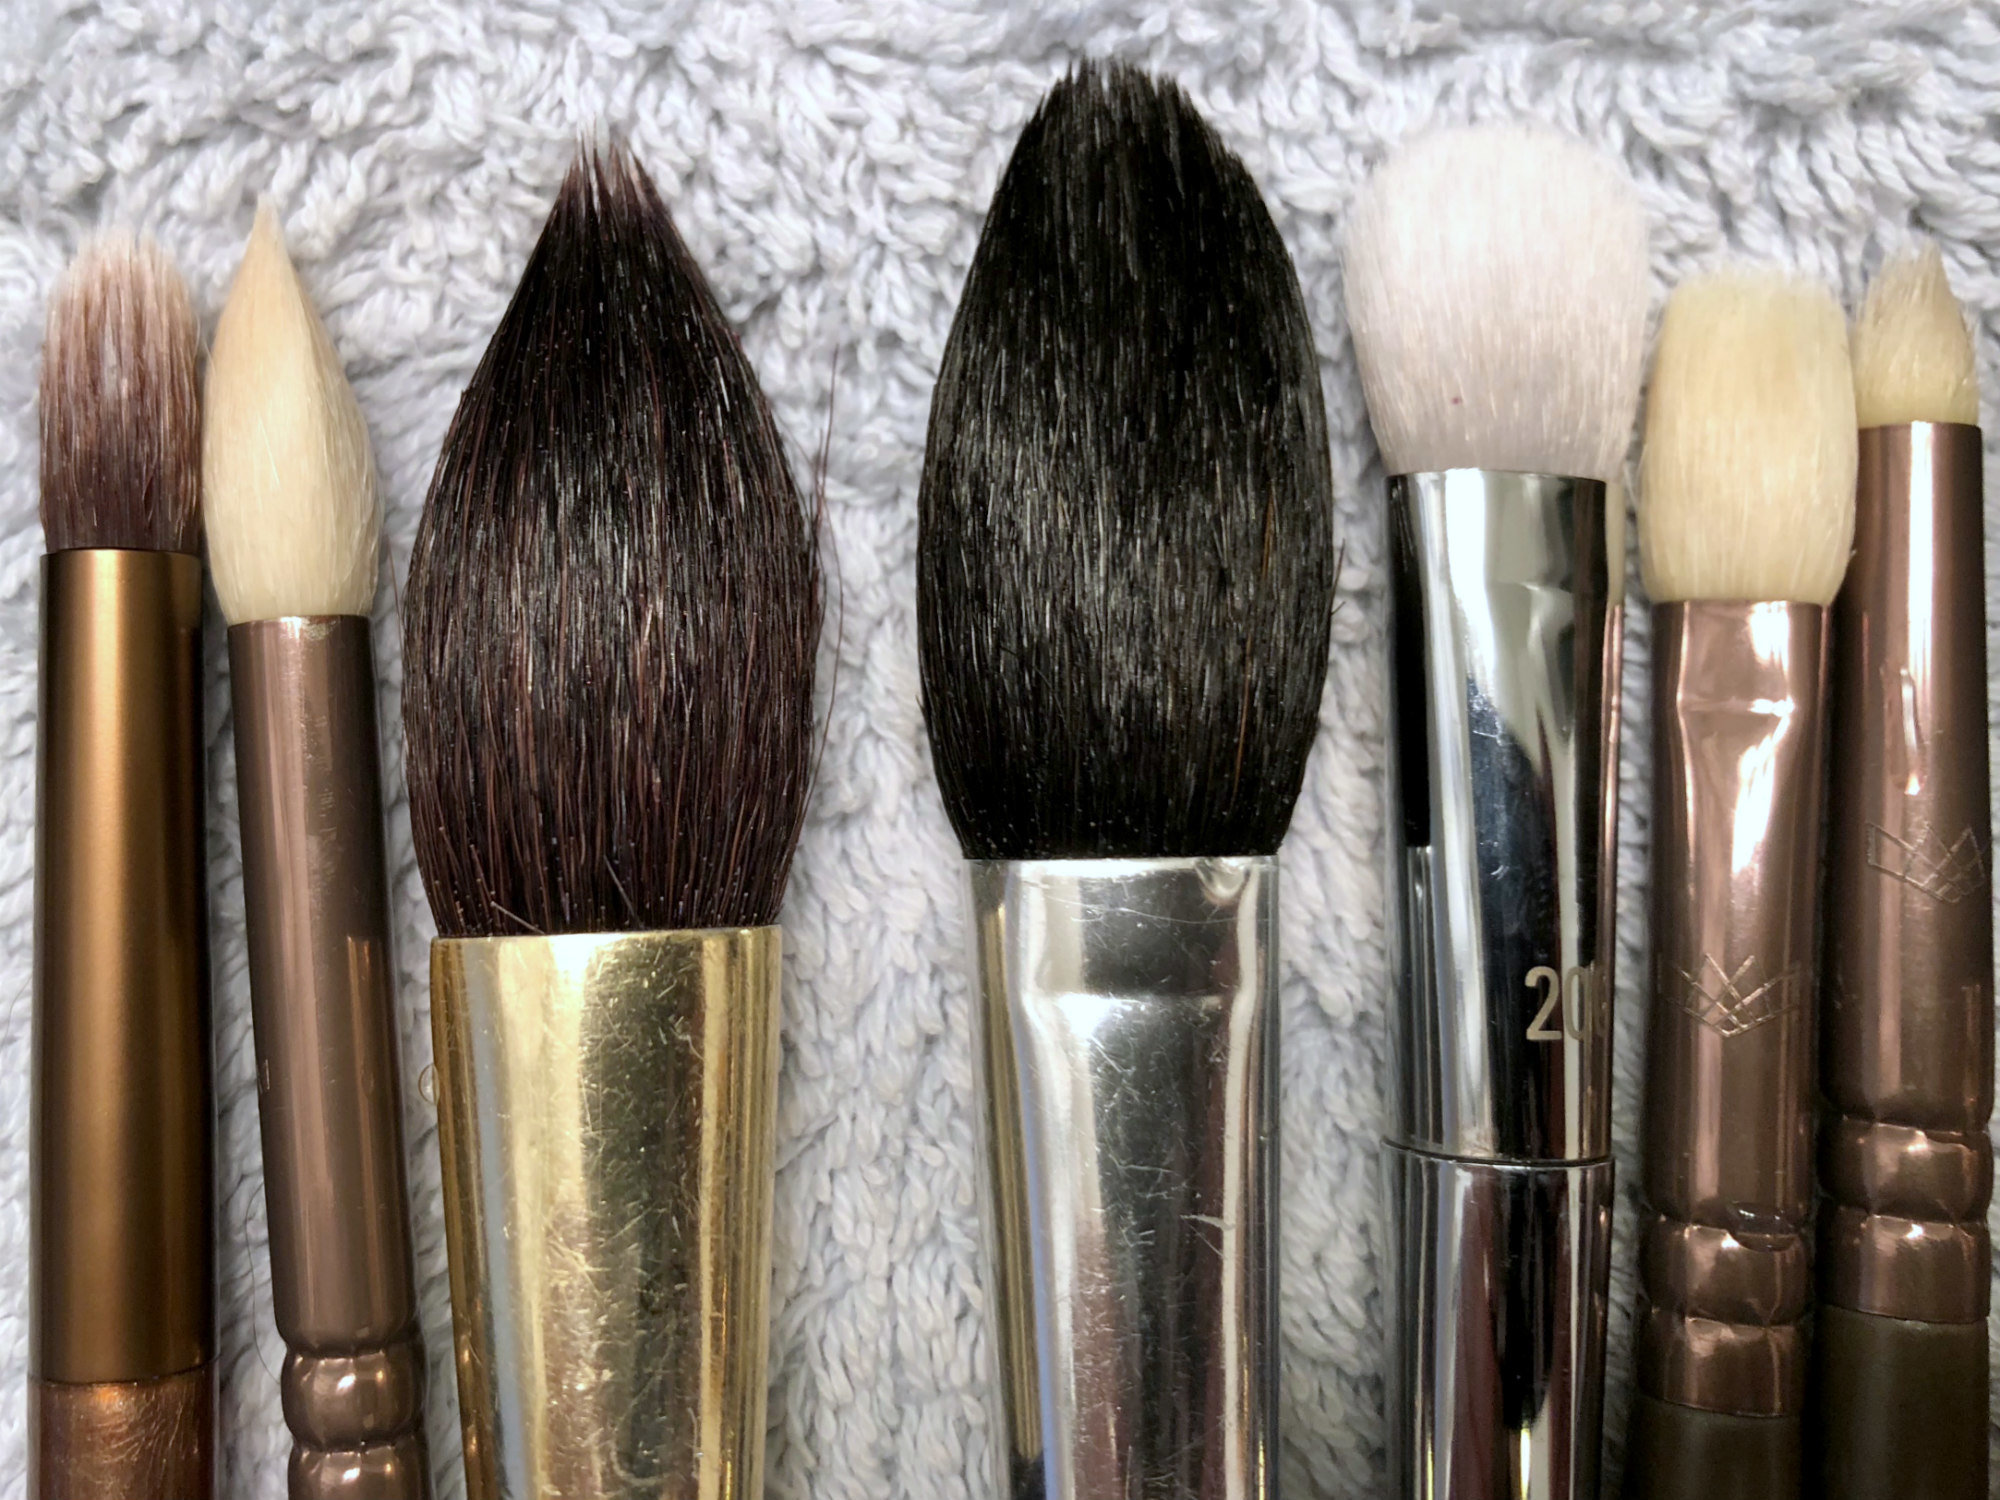
*heart eyes emoji*
The final group is the most challenging: Synthetic brushes used to apply creamy or oily products.
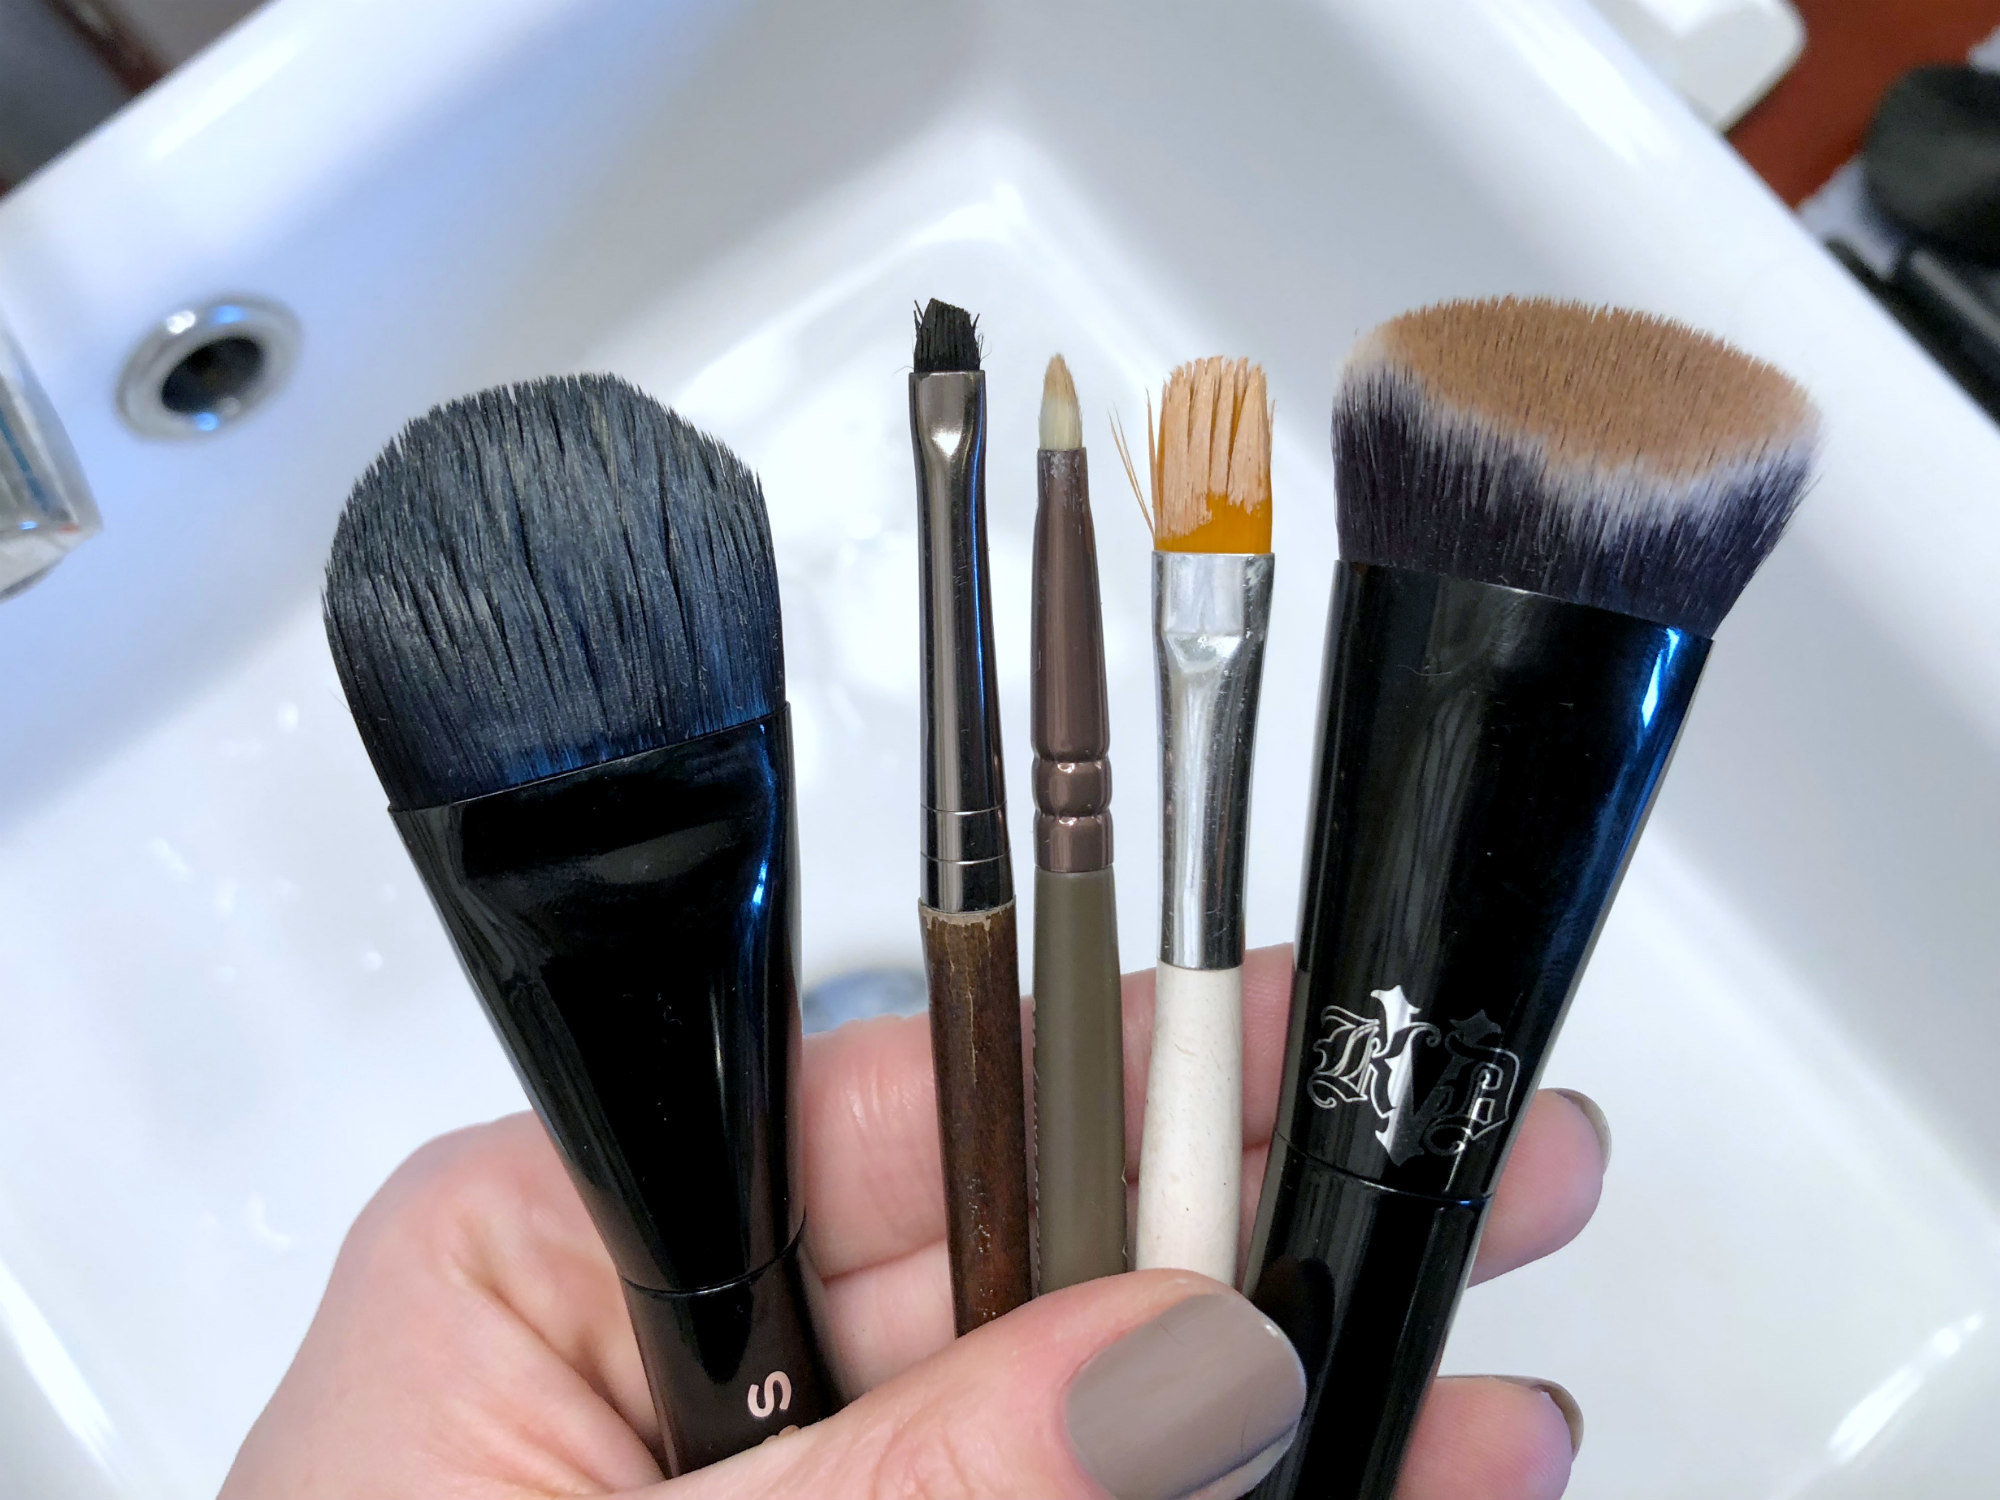
These are the tough brushes you use to apply and blend foundation, concealer, eyebrow pomade, cream contour, etc.
And as everyone knows, these are the HARDEST brushes to clean, because those products stick to everything.
That's why we're gonna use a really super-gentle dish soap to clean these brushes. I use a soap that has no fragrance, no dyes, and is hypoallergenic.
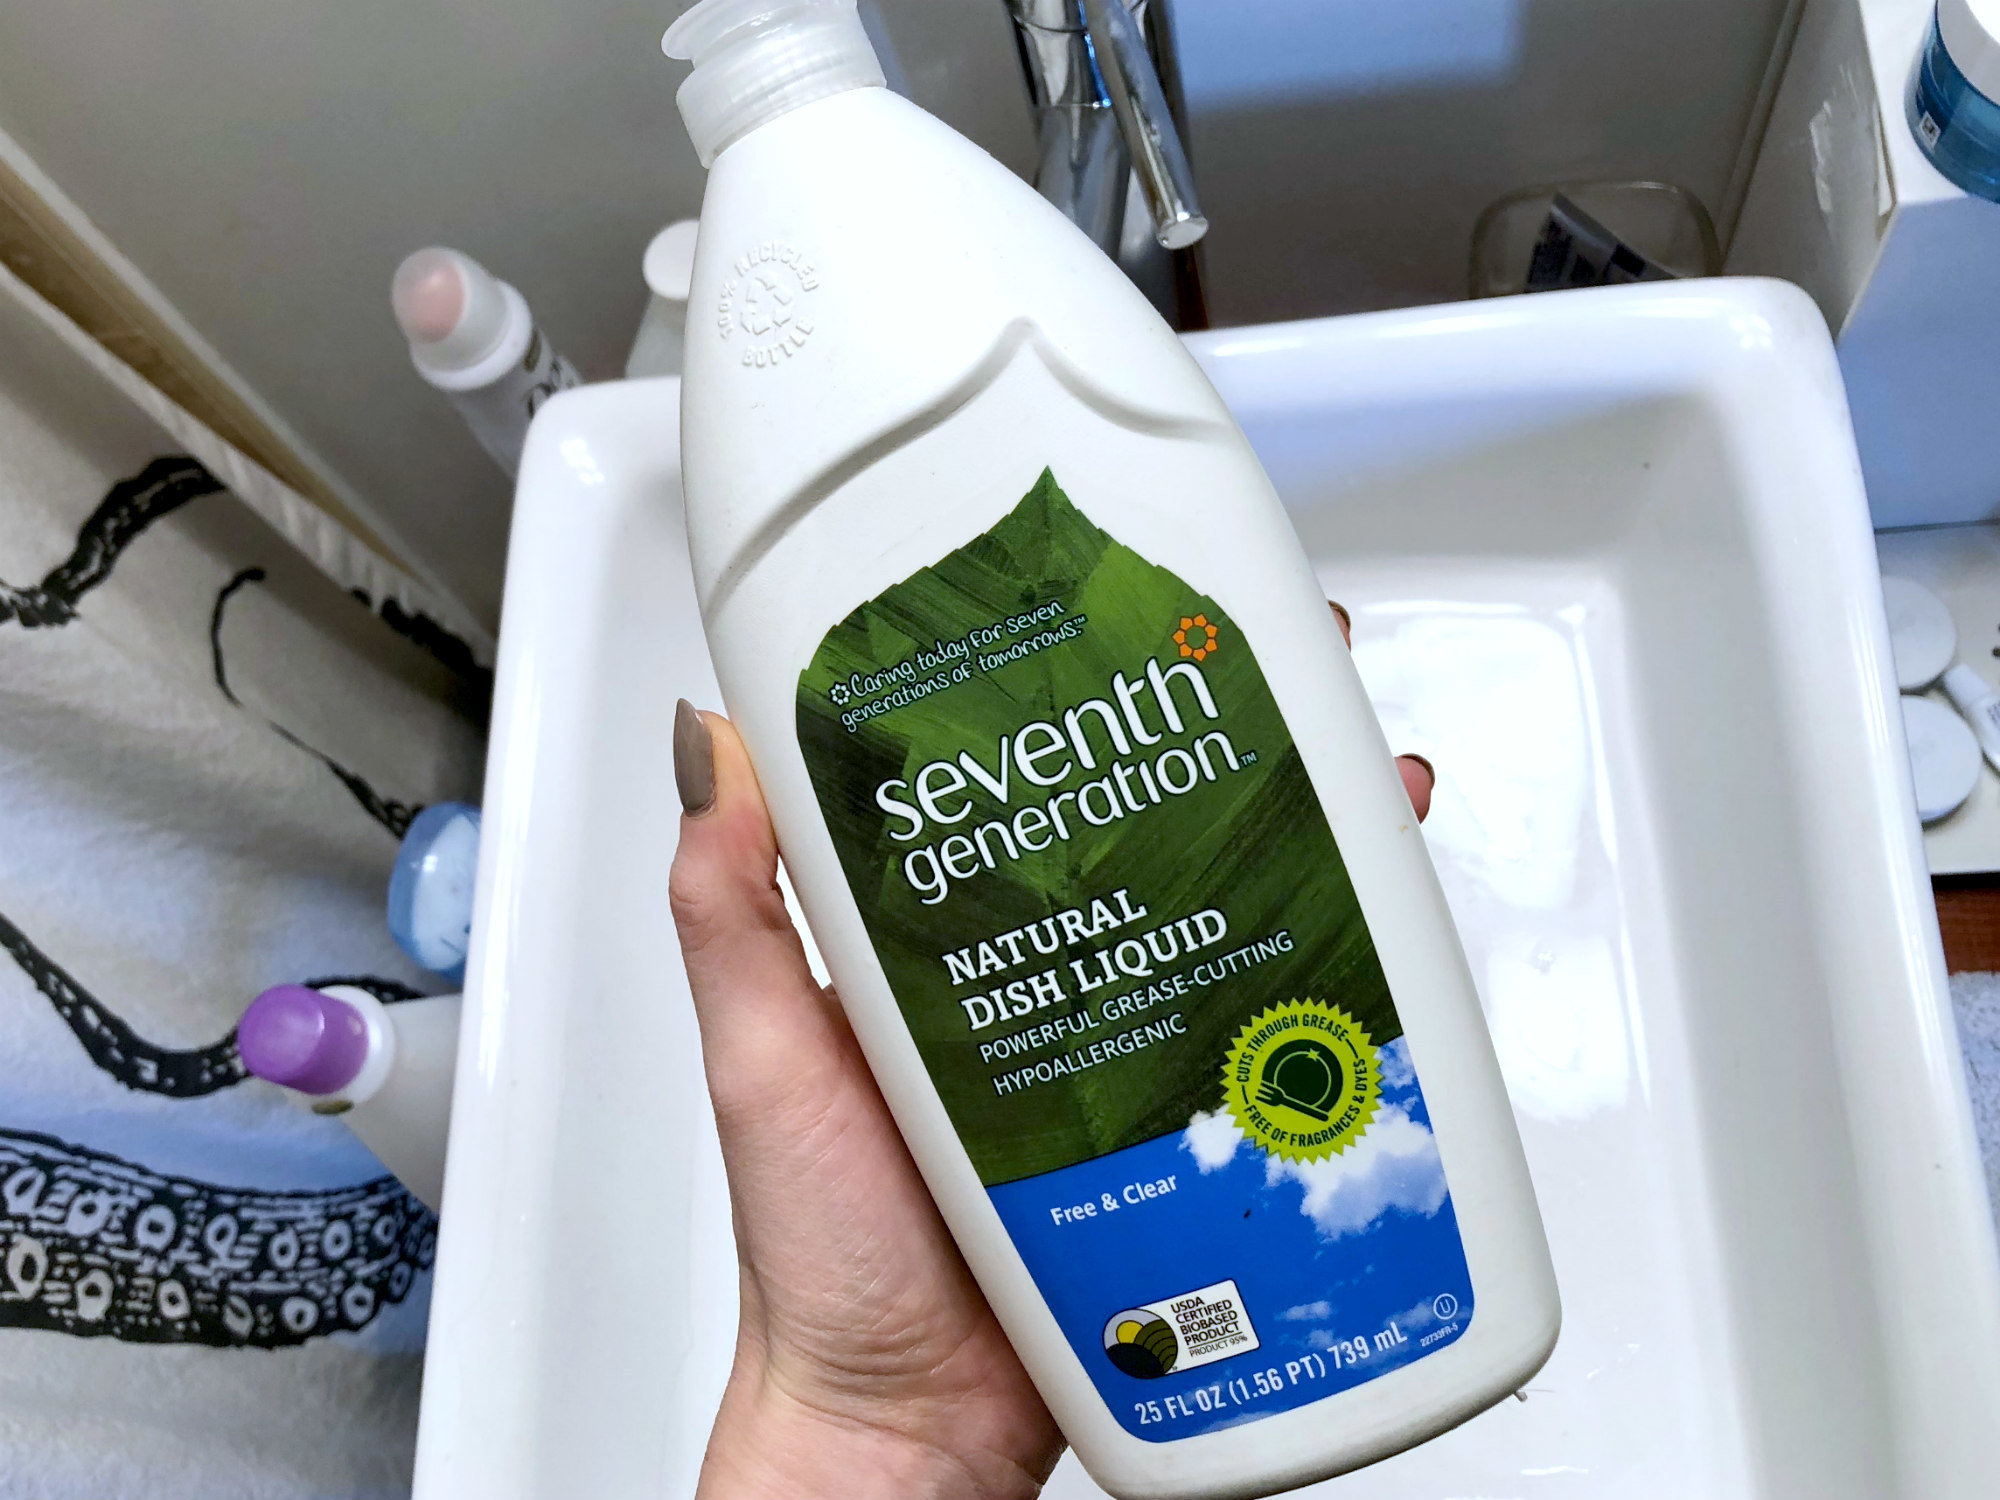
This is a re-used bottle, but I do use Seventh Generation Free and Clear dish soap ($7, Amazon) because it's the only dish soap that has never irritated my skin. If you have allergy concerns, or you have a skin condition like eczema, talk to your doctor before cleaning your brushes with ANYTHING new. Cool? Cool.
Wet all of the brushes you're going to clean...
...And add a quarter-sized blob of the dish soap to the palm of your hand.
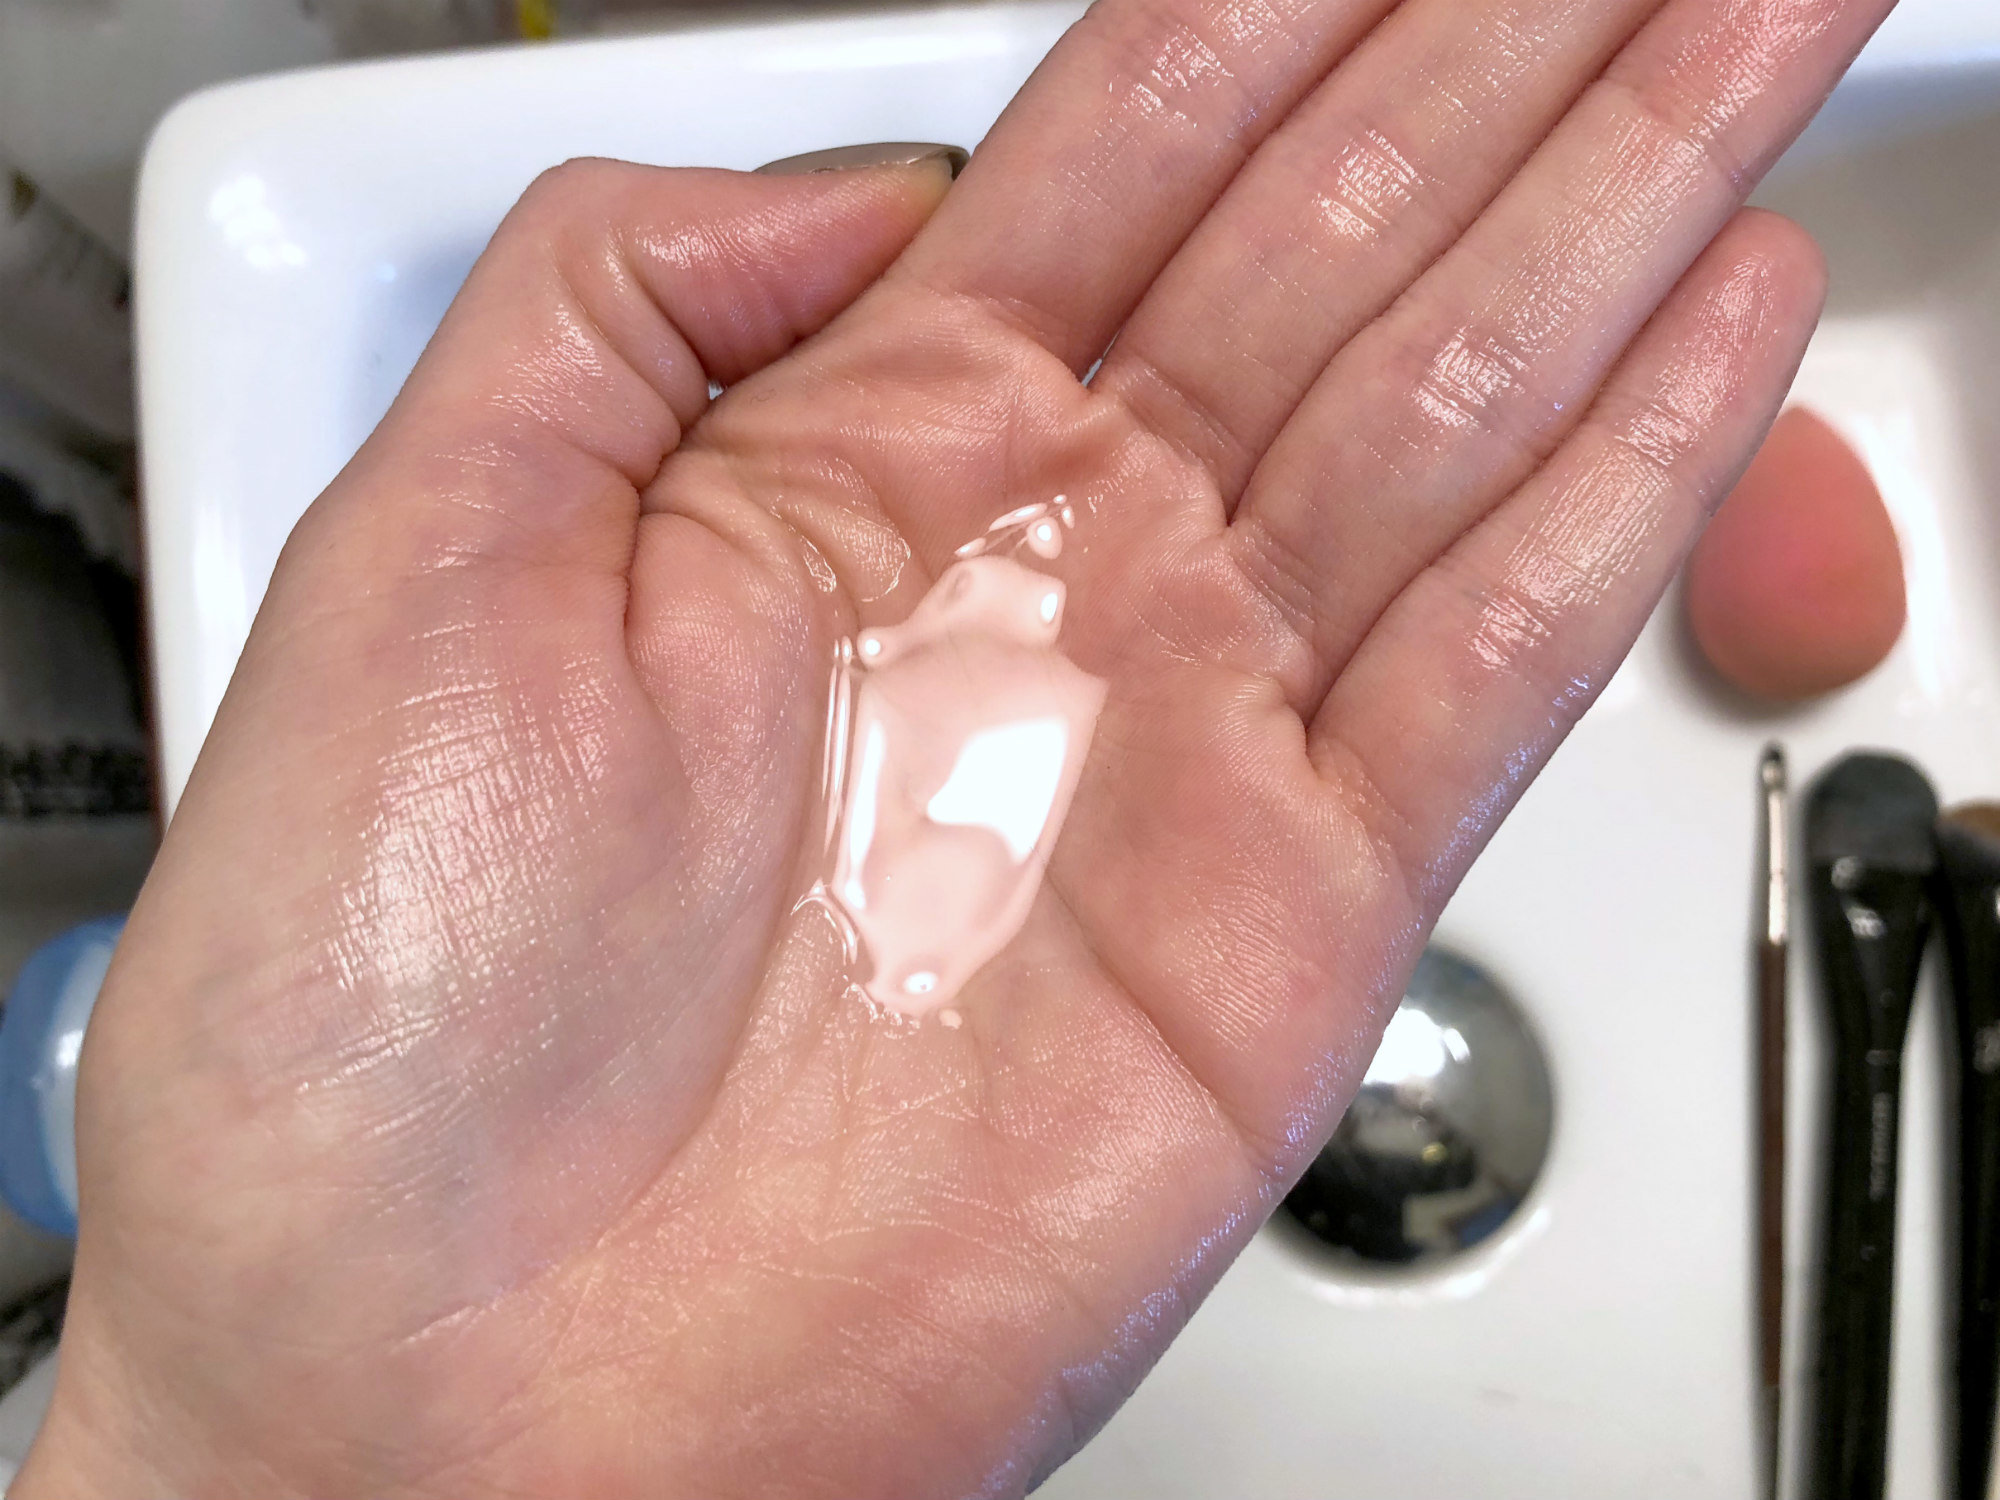
You'll probably need this amount of soap for each brush you clean, btw. You'll see why.
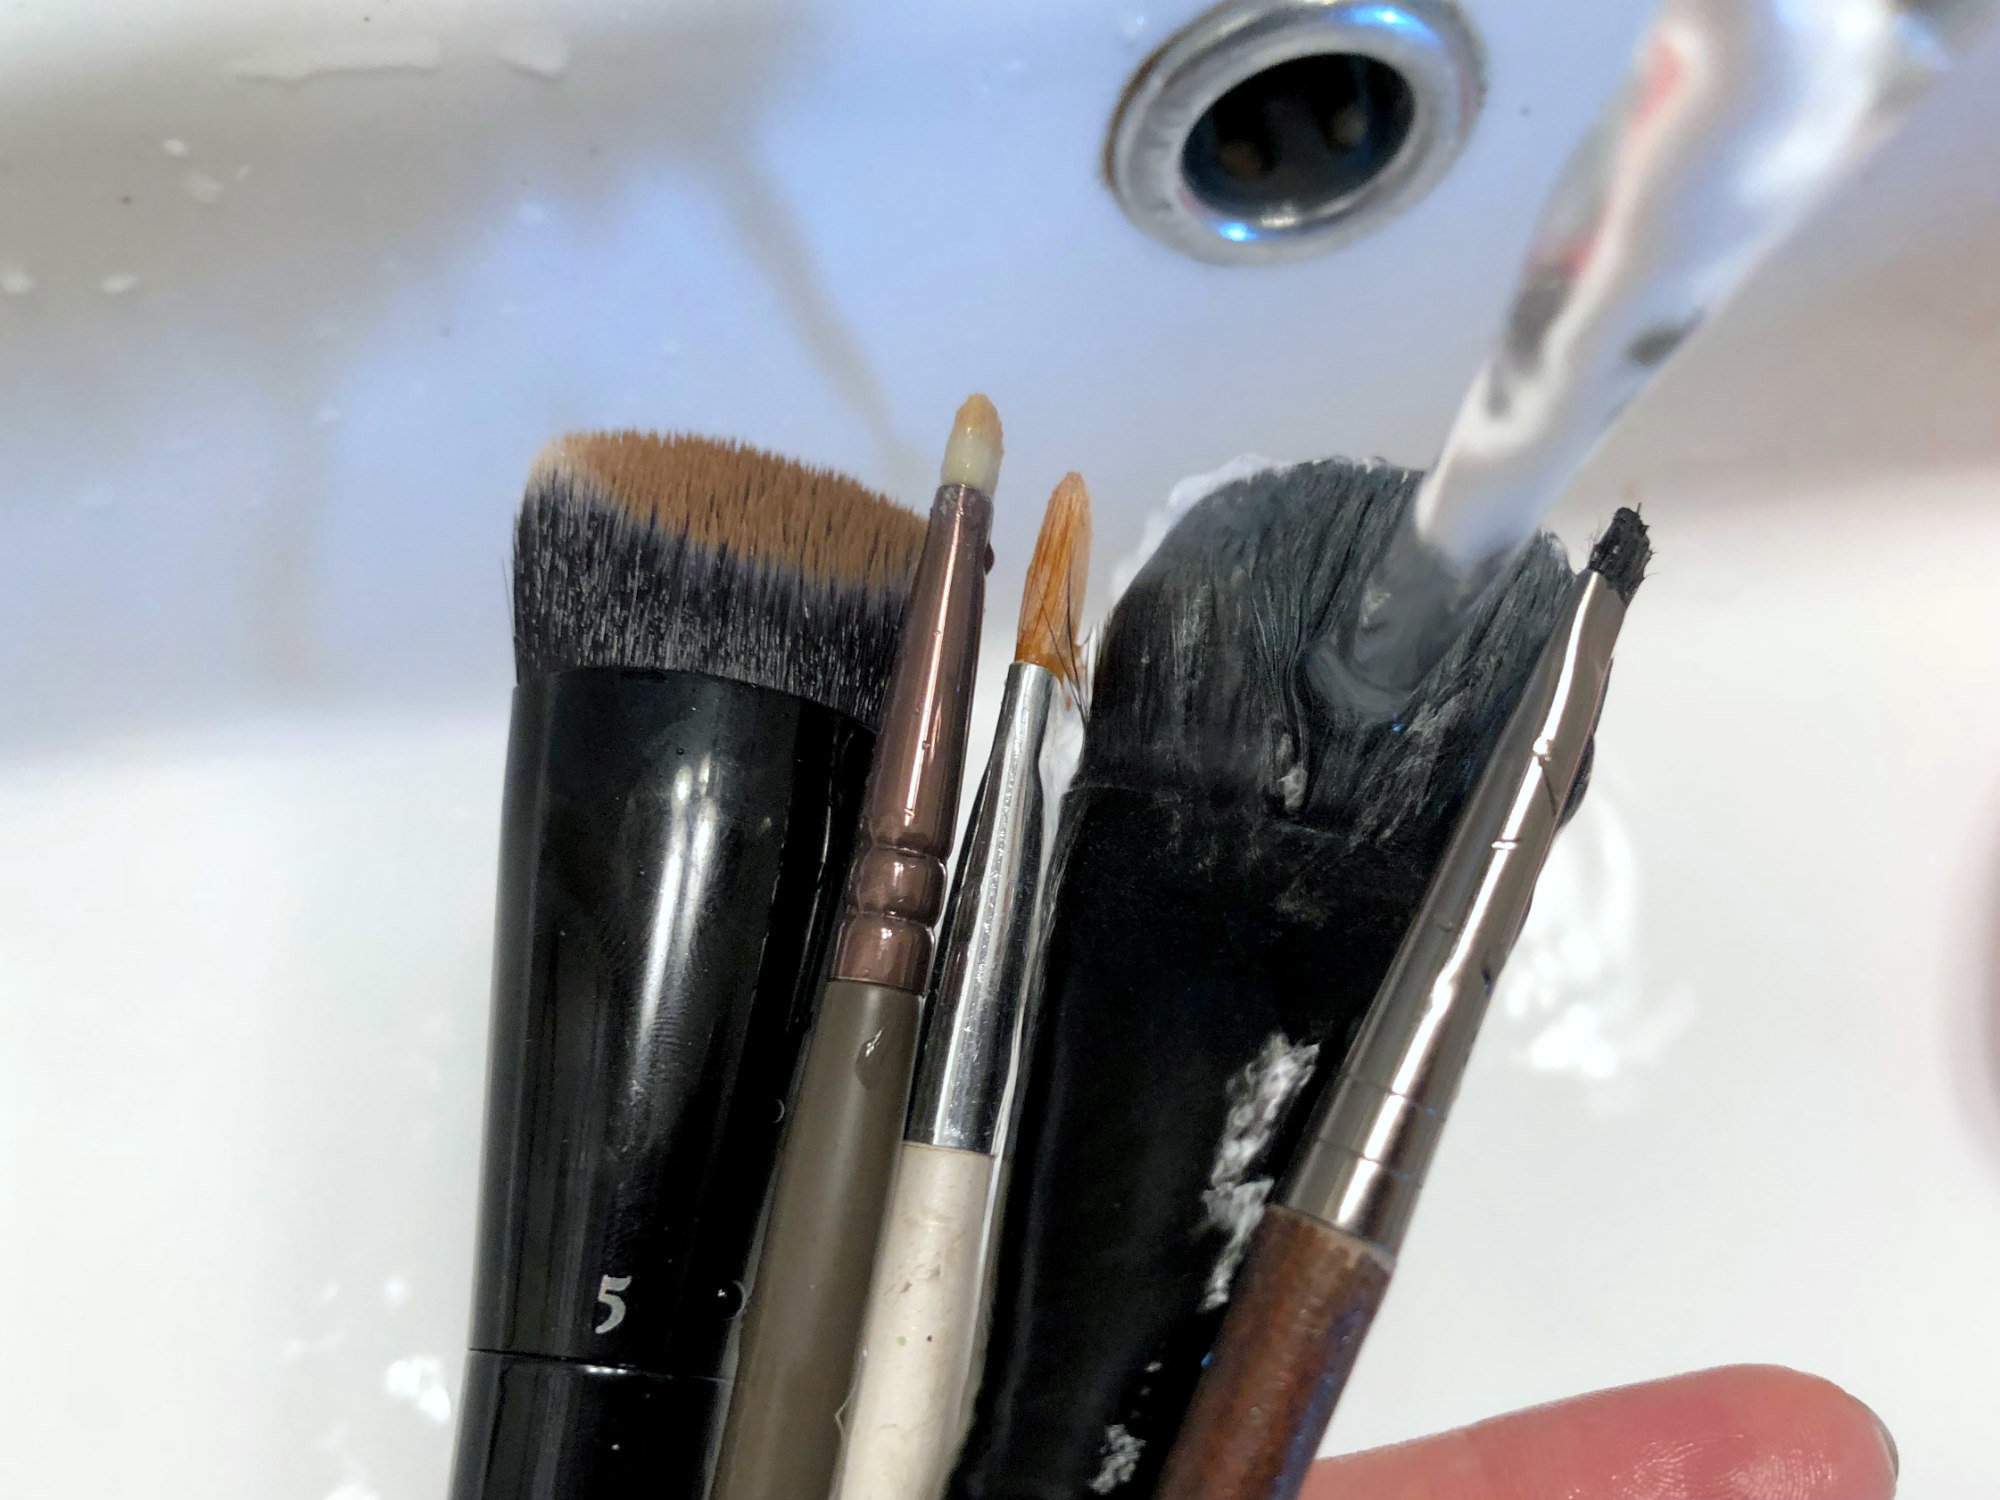
Swipe the brush back and forth, applying firm but gentle pressure. Scream internally as you see all the product finally come out.
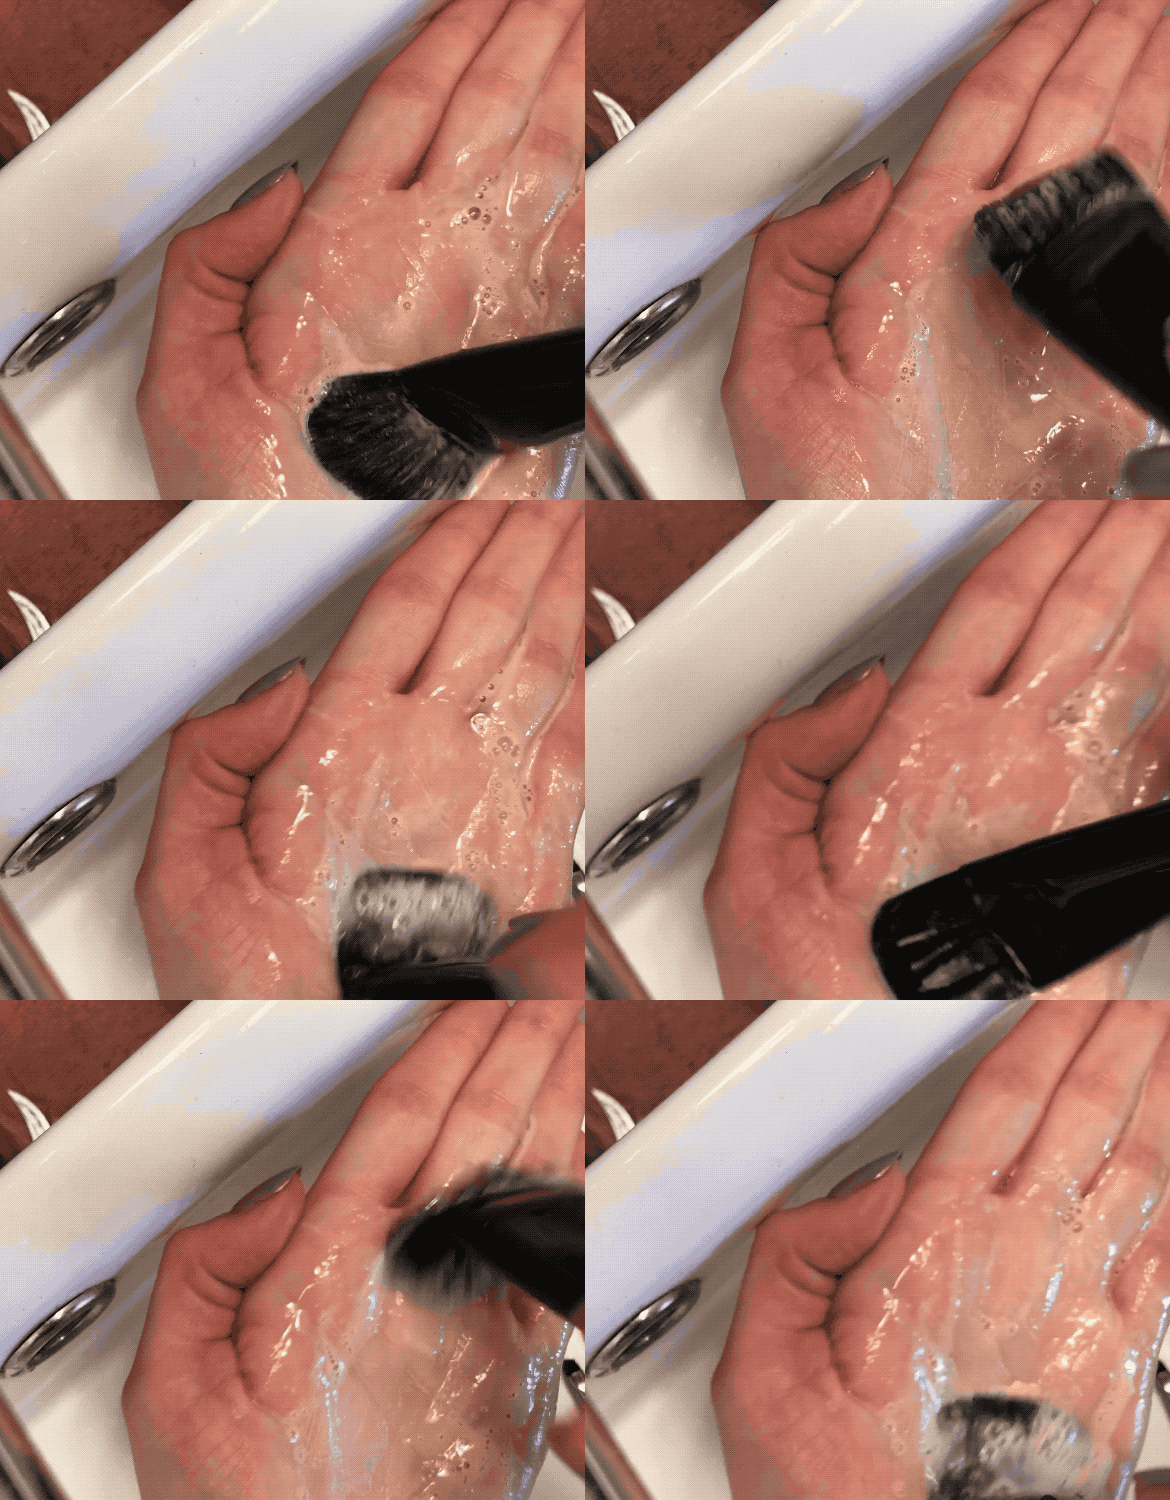
For shorter-bristled brushes, quick, circular strokes will get most of the product out. It will also make you feel like a low-key wizard.
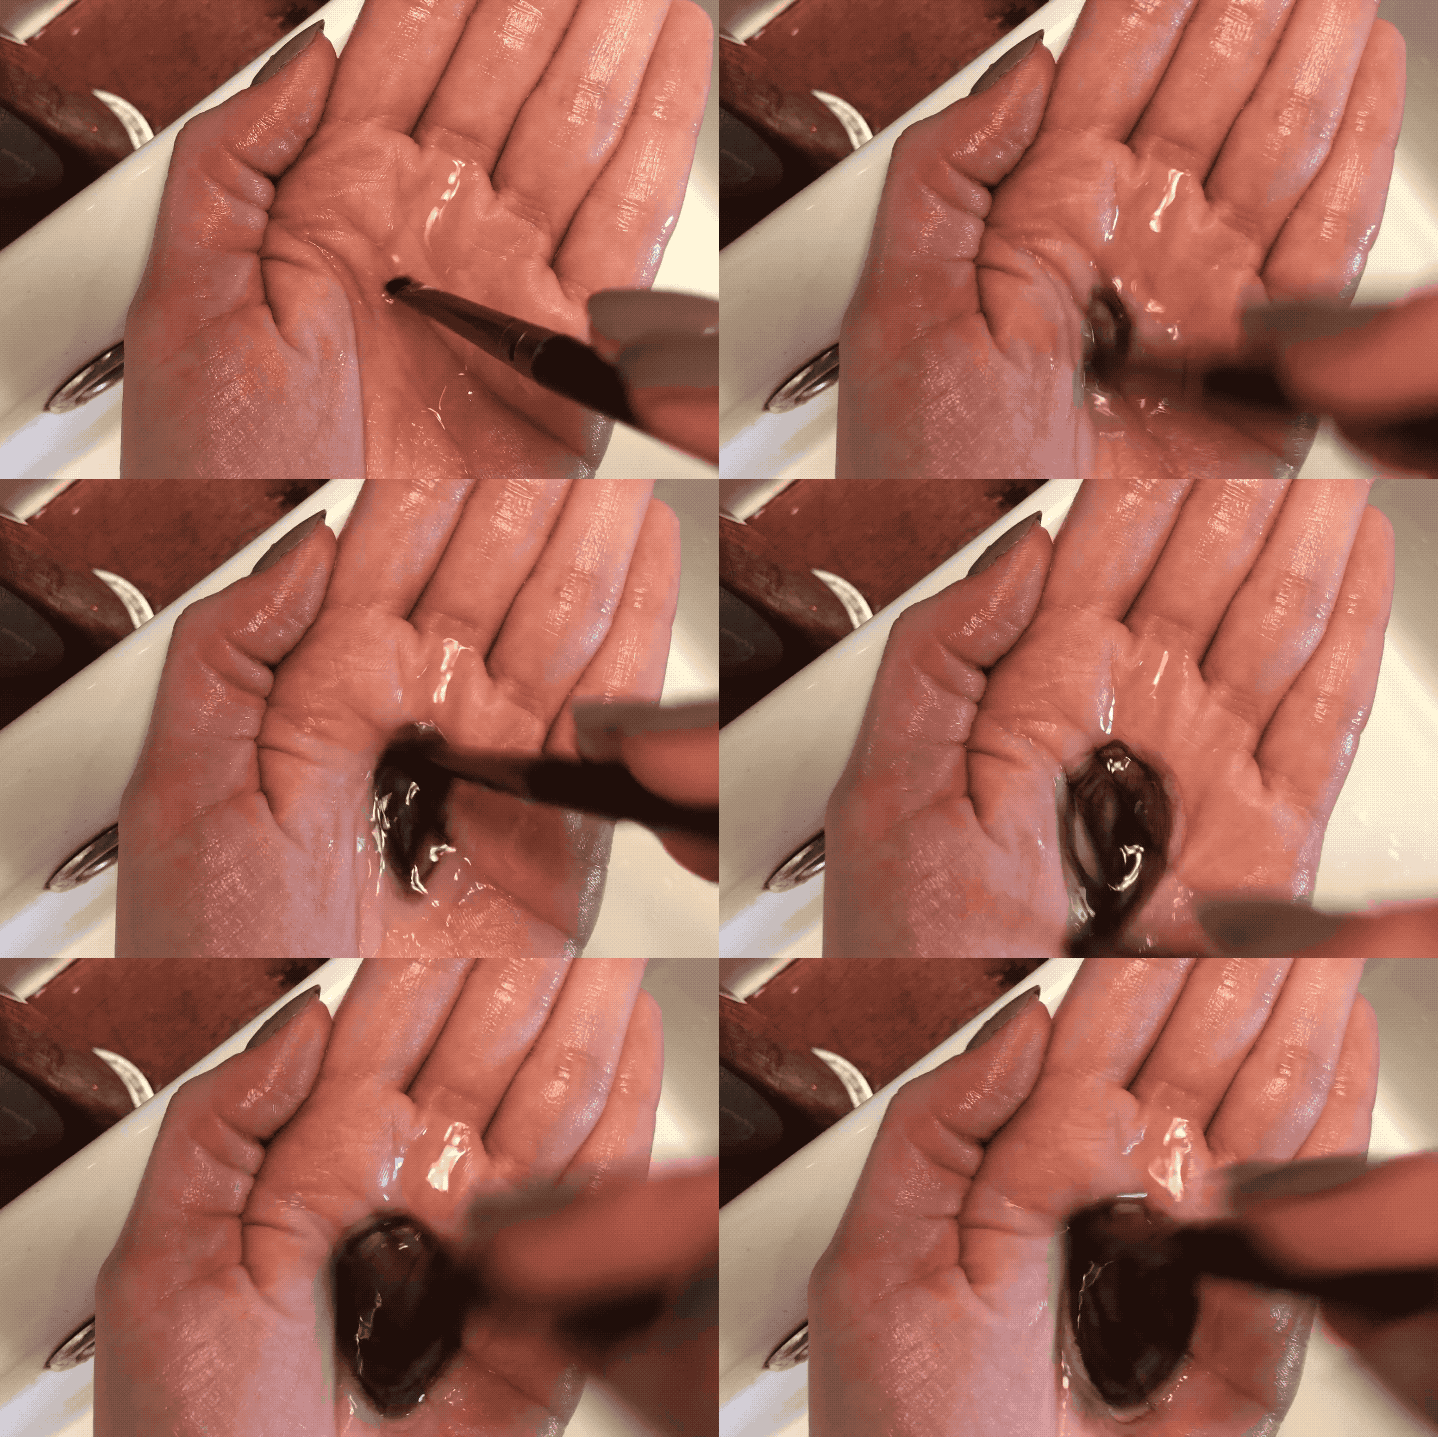
This is a bunch of waterproof brow gel coming out, but it looks like I'm casting a hex.
There's concealer coming out of this brush that's older than I am.
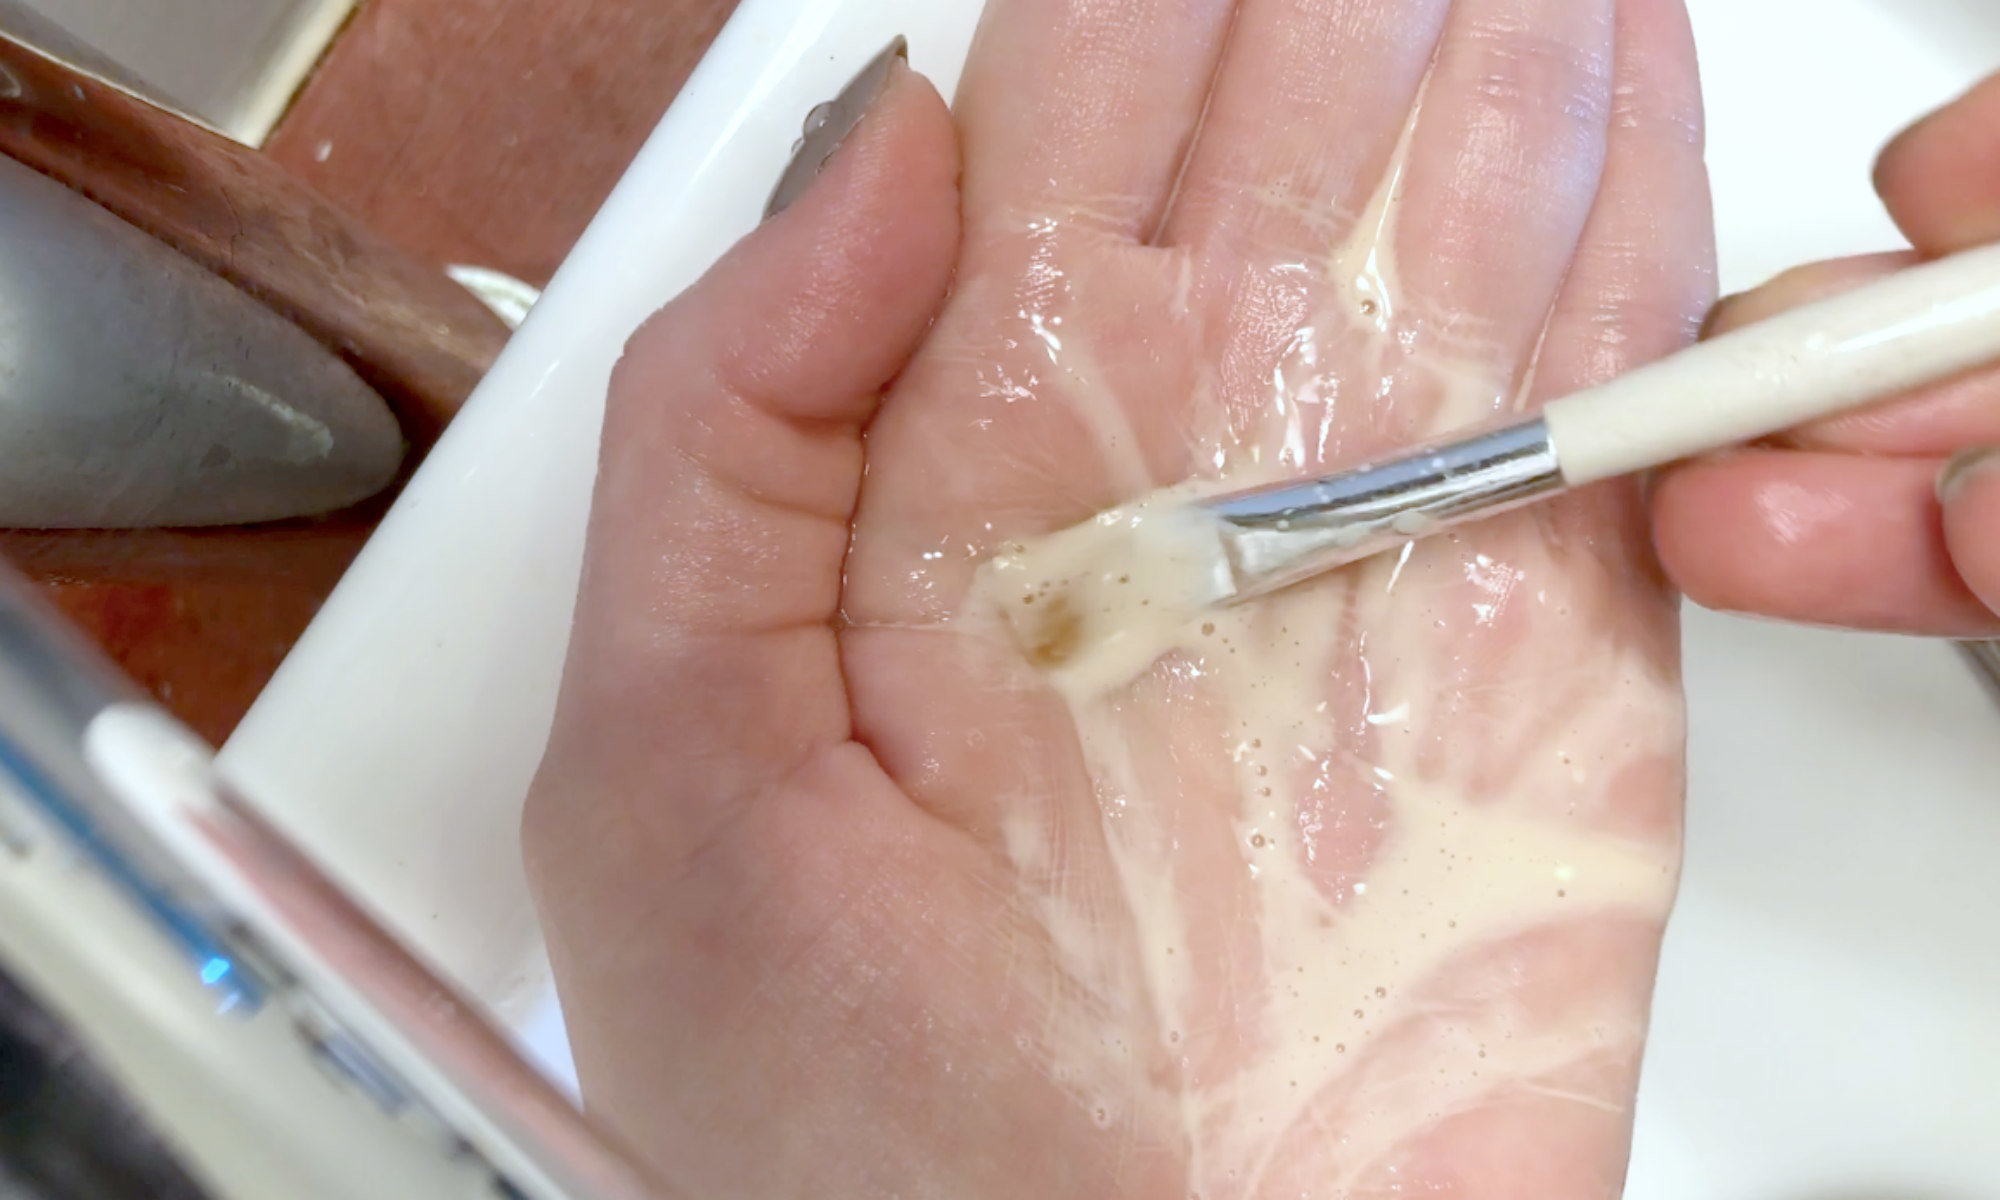
This is the kind of deep clean that nothing but dish soap will give you. TRUST ME.
After they've been rinsed clean, I like to fan through the bristles of my flat brushes to make sure there's absolutely NO old product hiding down by the ferrule.
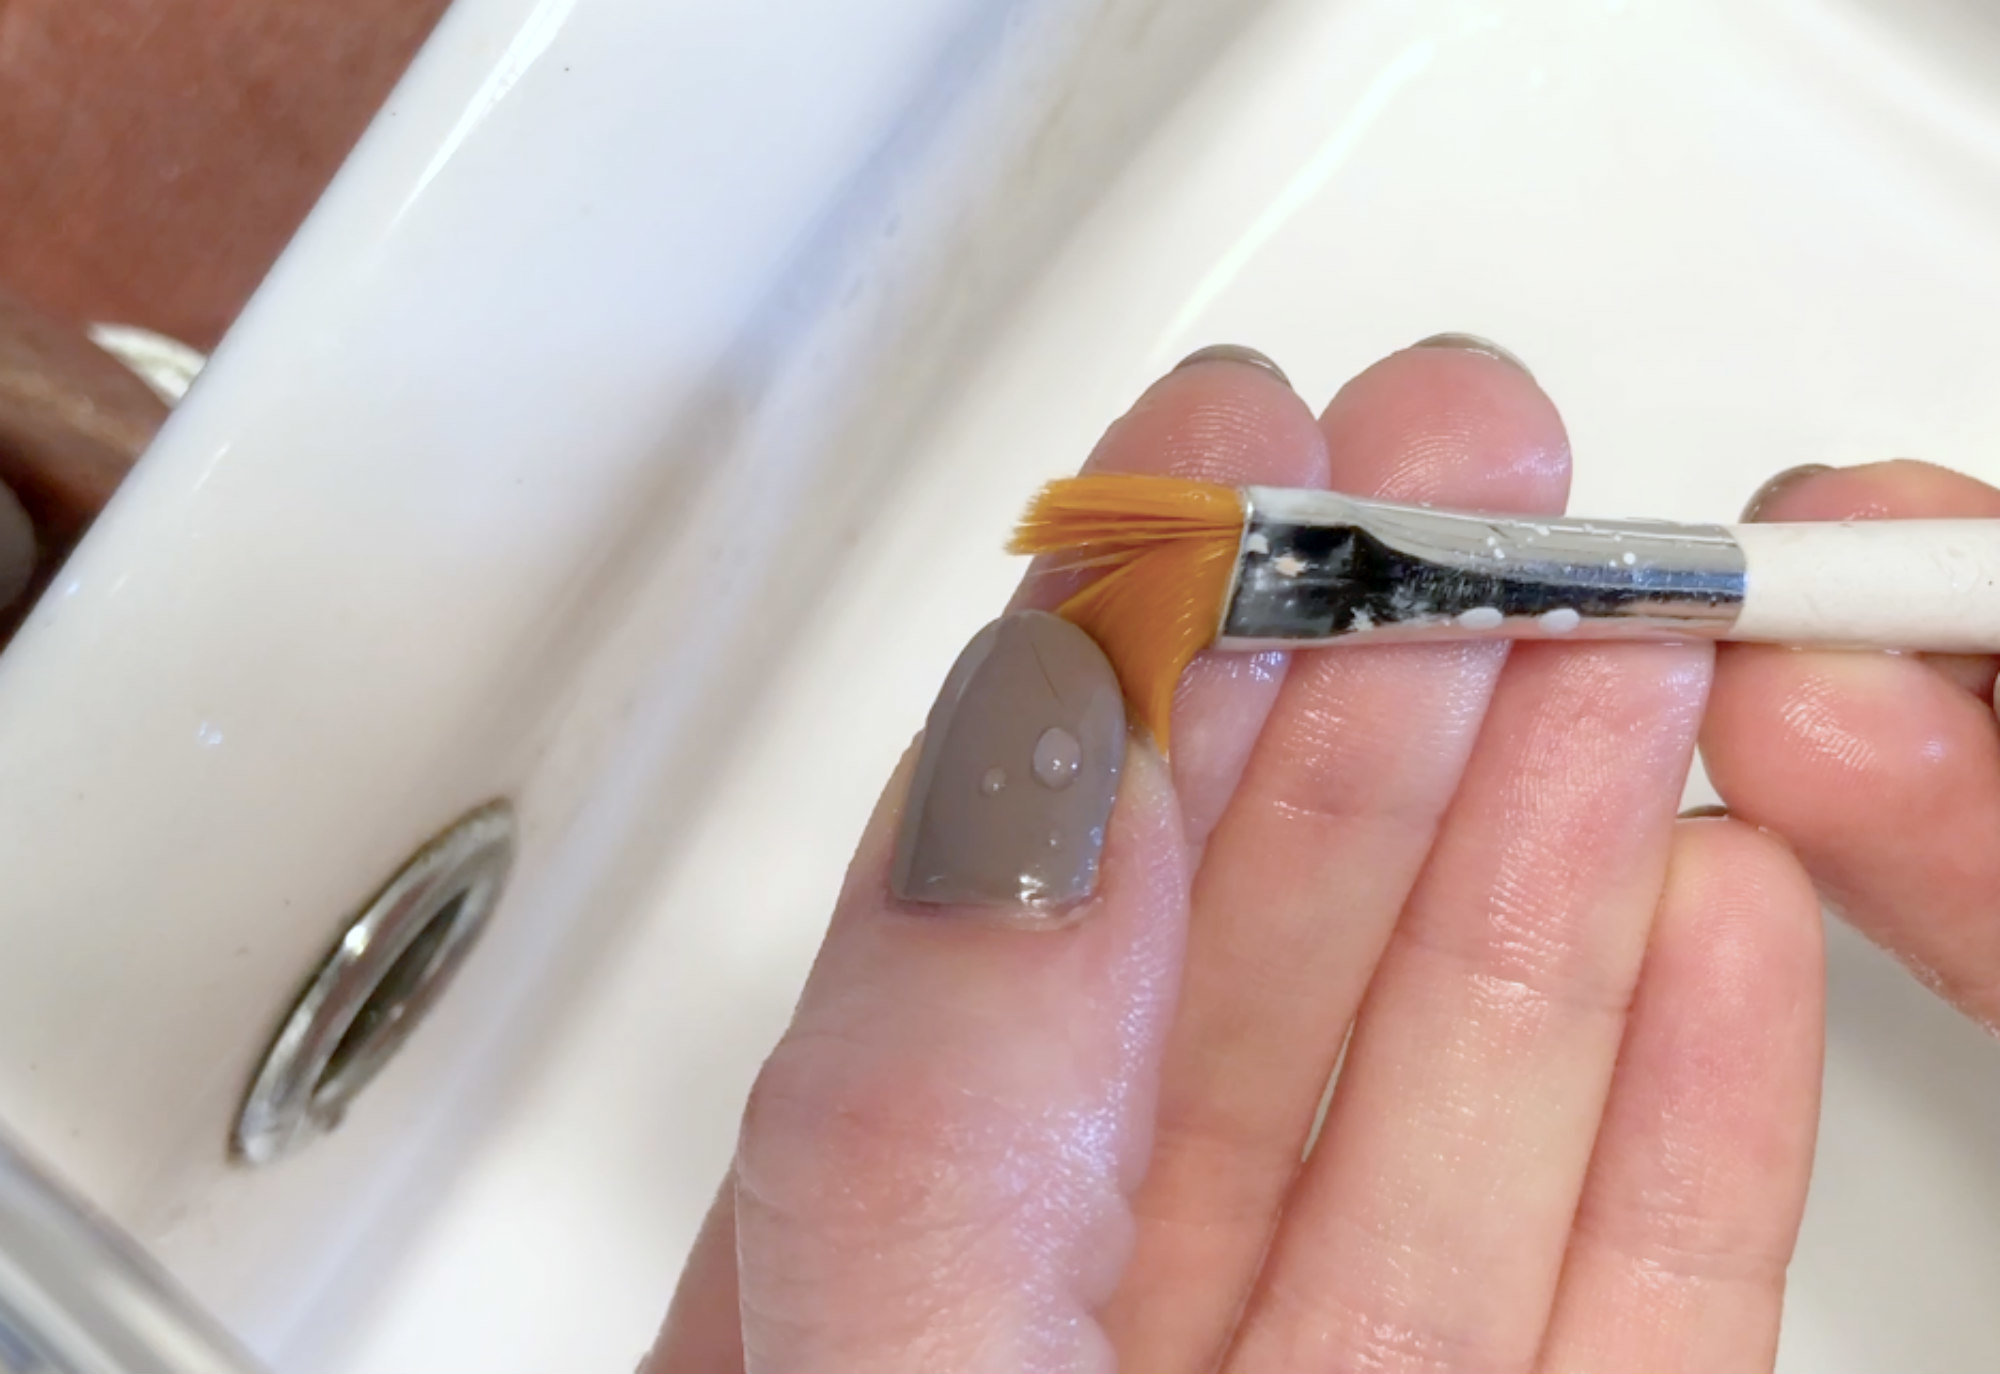
Once your brushes have been rinsed absolutely clean, shape them with your fingers, and lay them down flat to dry.
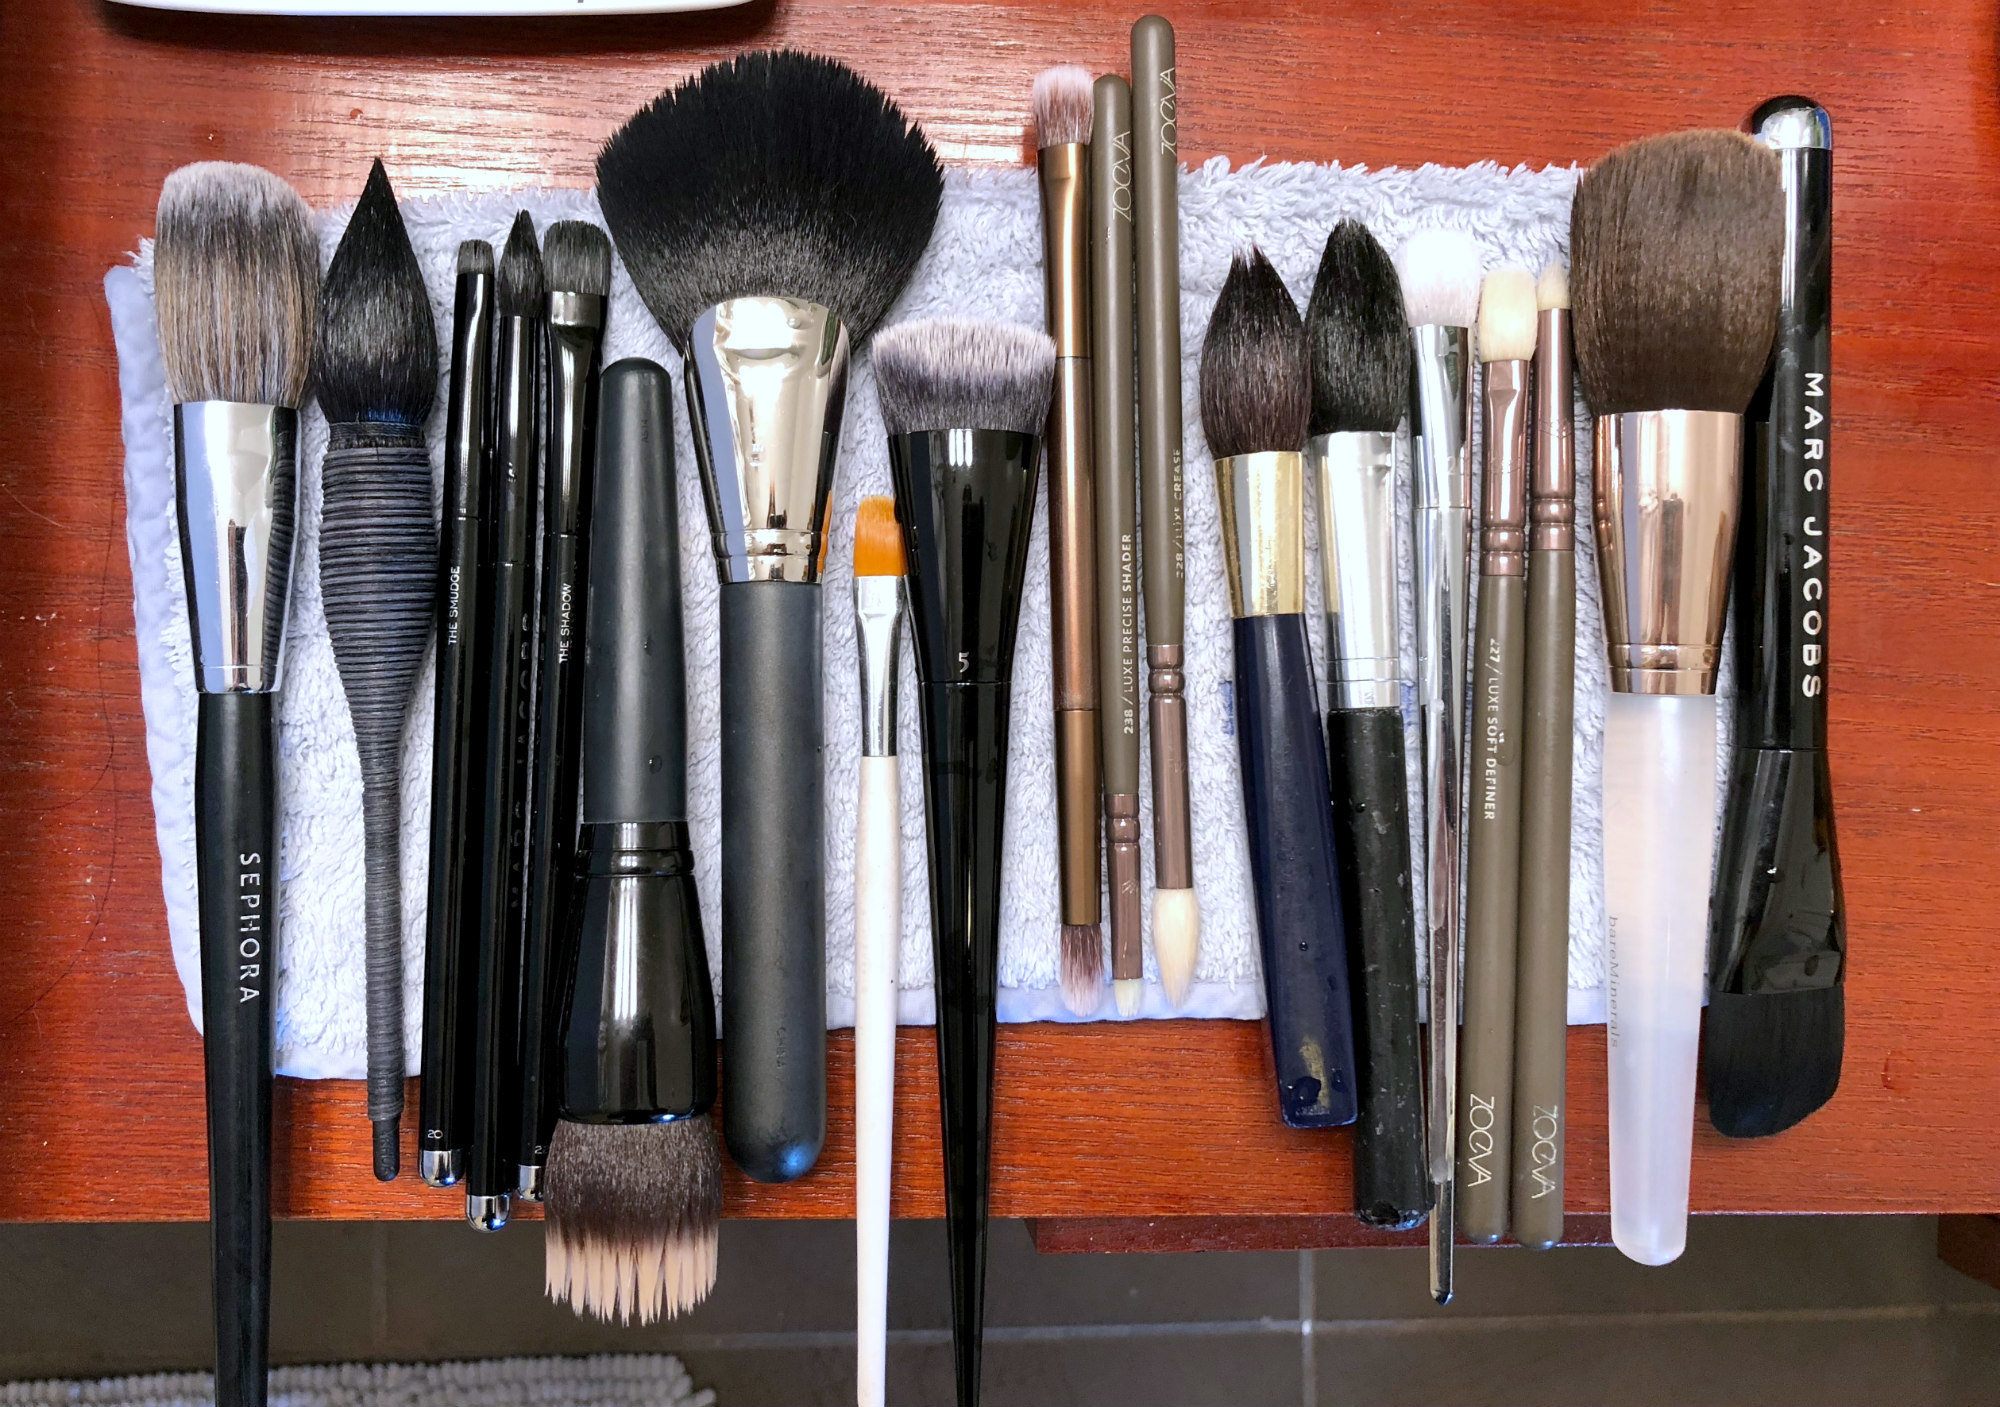
If you're me, this is when you're forced to solve some advanced spatial puzzles, because your towel is too small to accommodate all your brushes. Thank god I've played through "Monument Valley" so many times — I'm excellent at manipulating space now.
Oh, and just because I love you — here's how you PROPERLY wash a beautyblender.
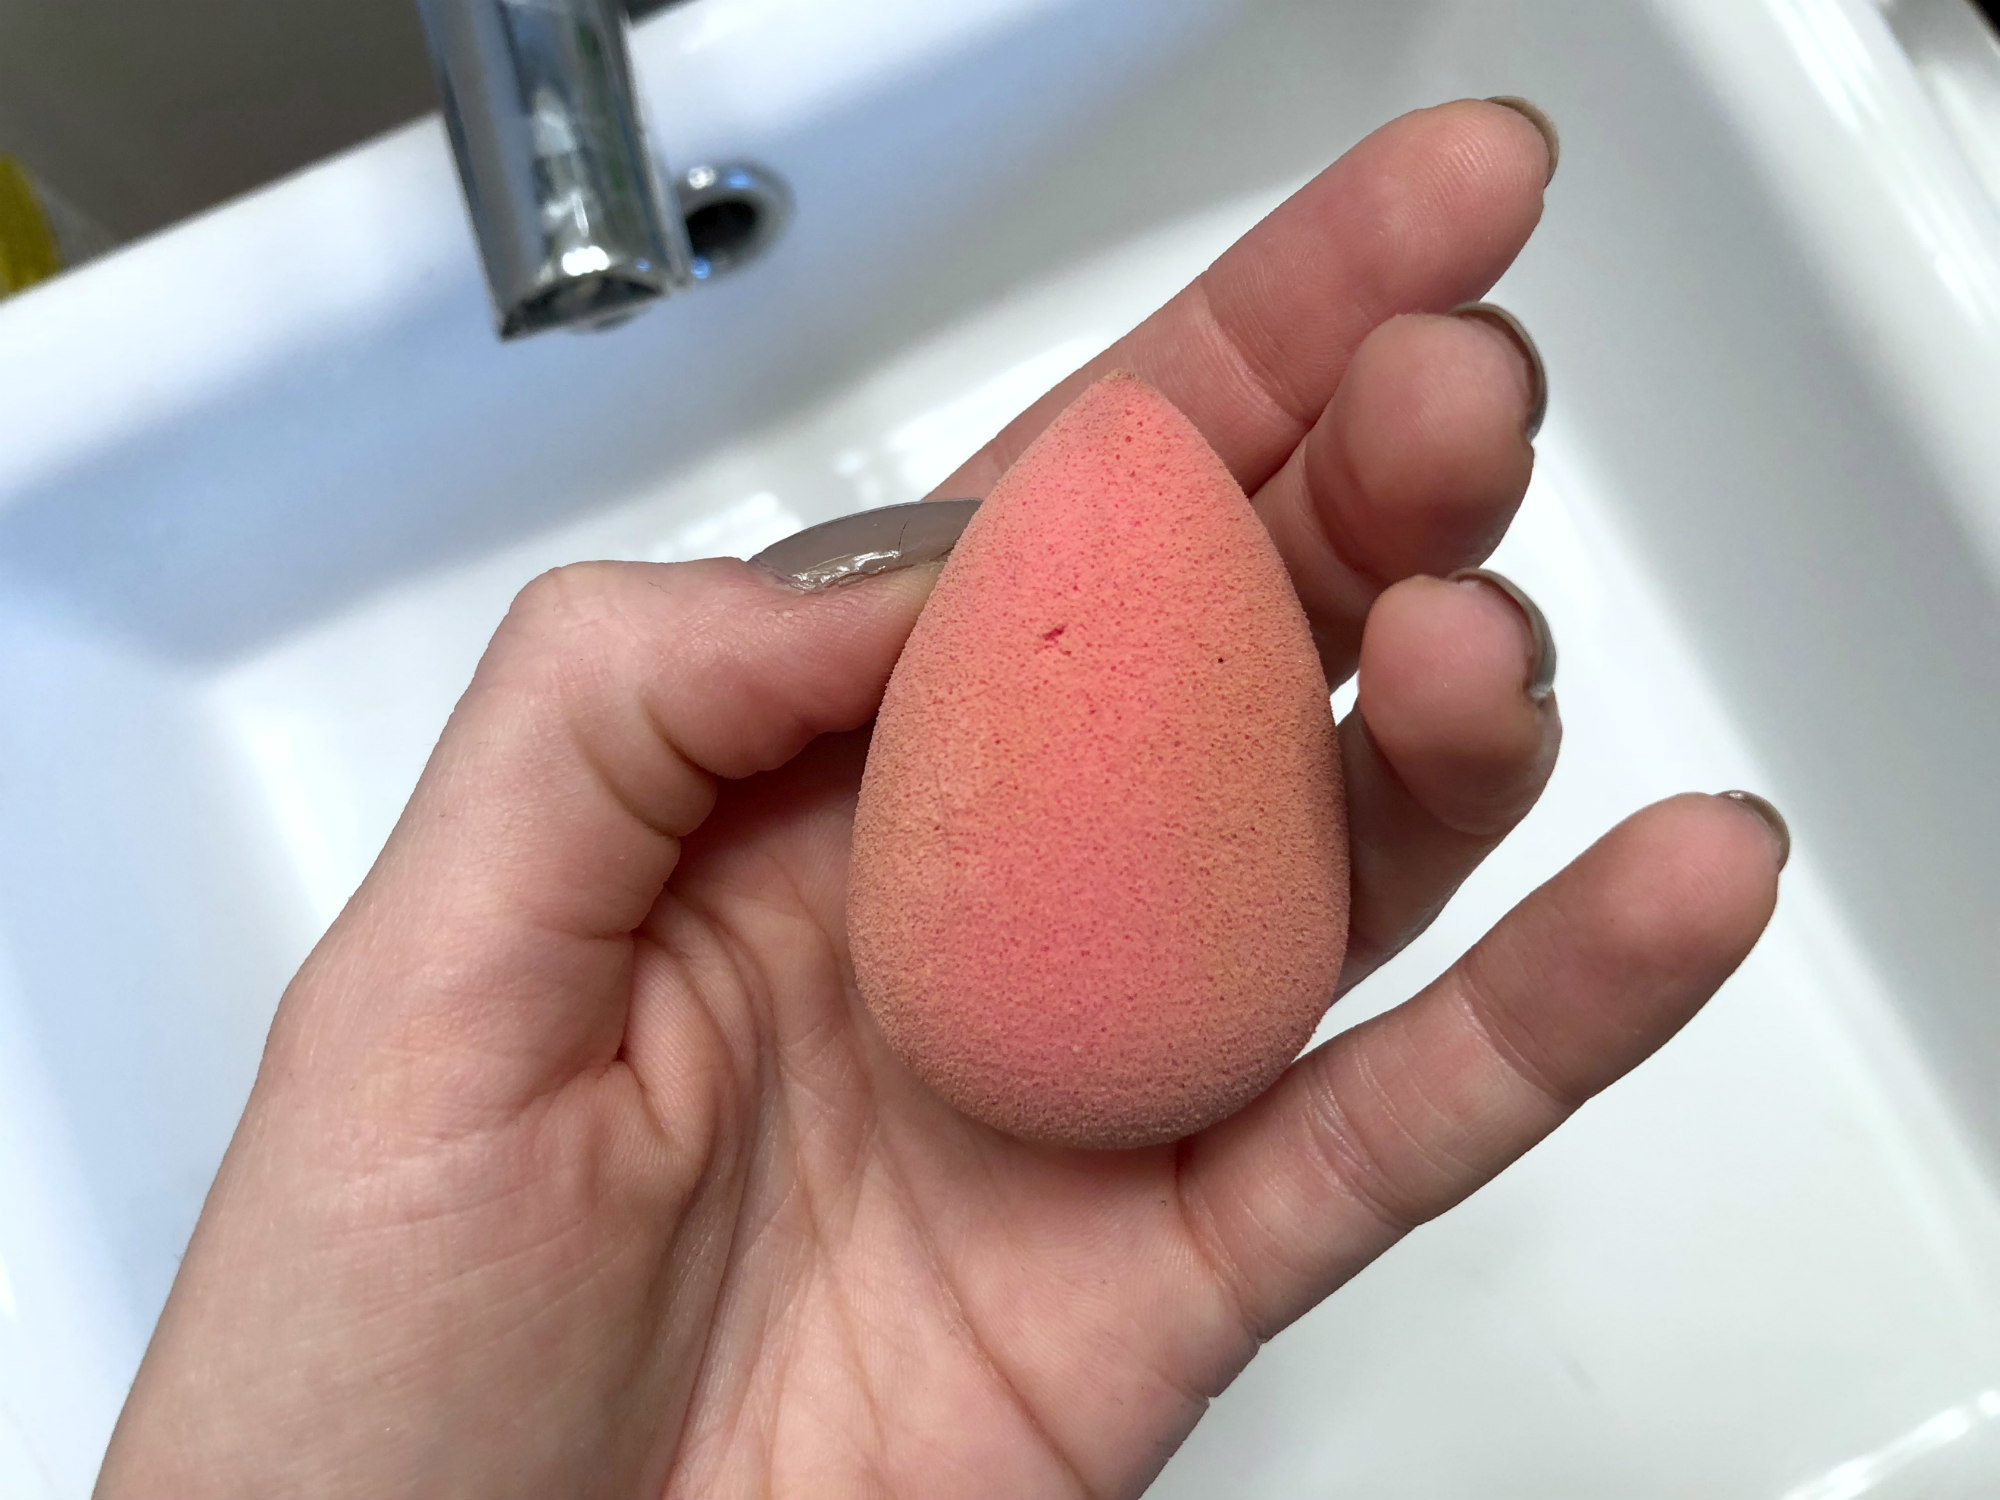
Beautyblender sponges are NOT cheap, and they get gross really quickly. The easiest way I've found to clean them involves a quarter-sized blob of dish soap, and a lot of patience.
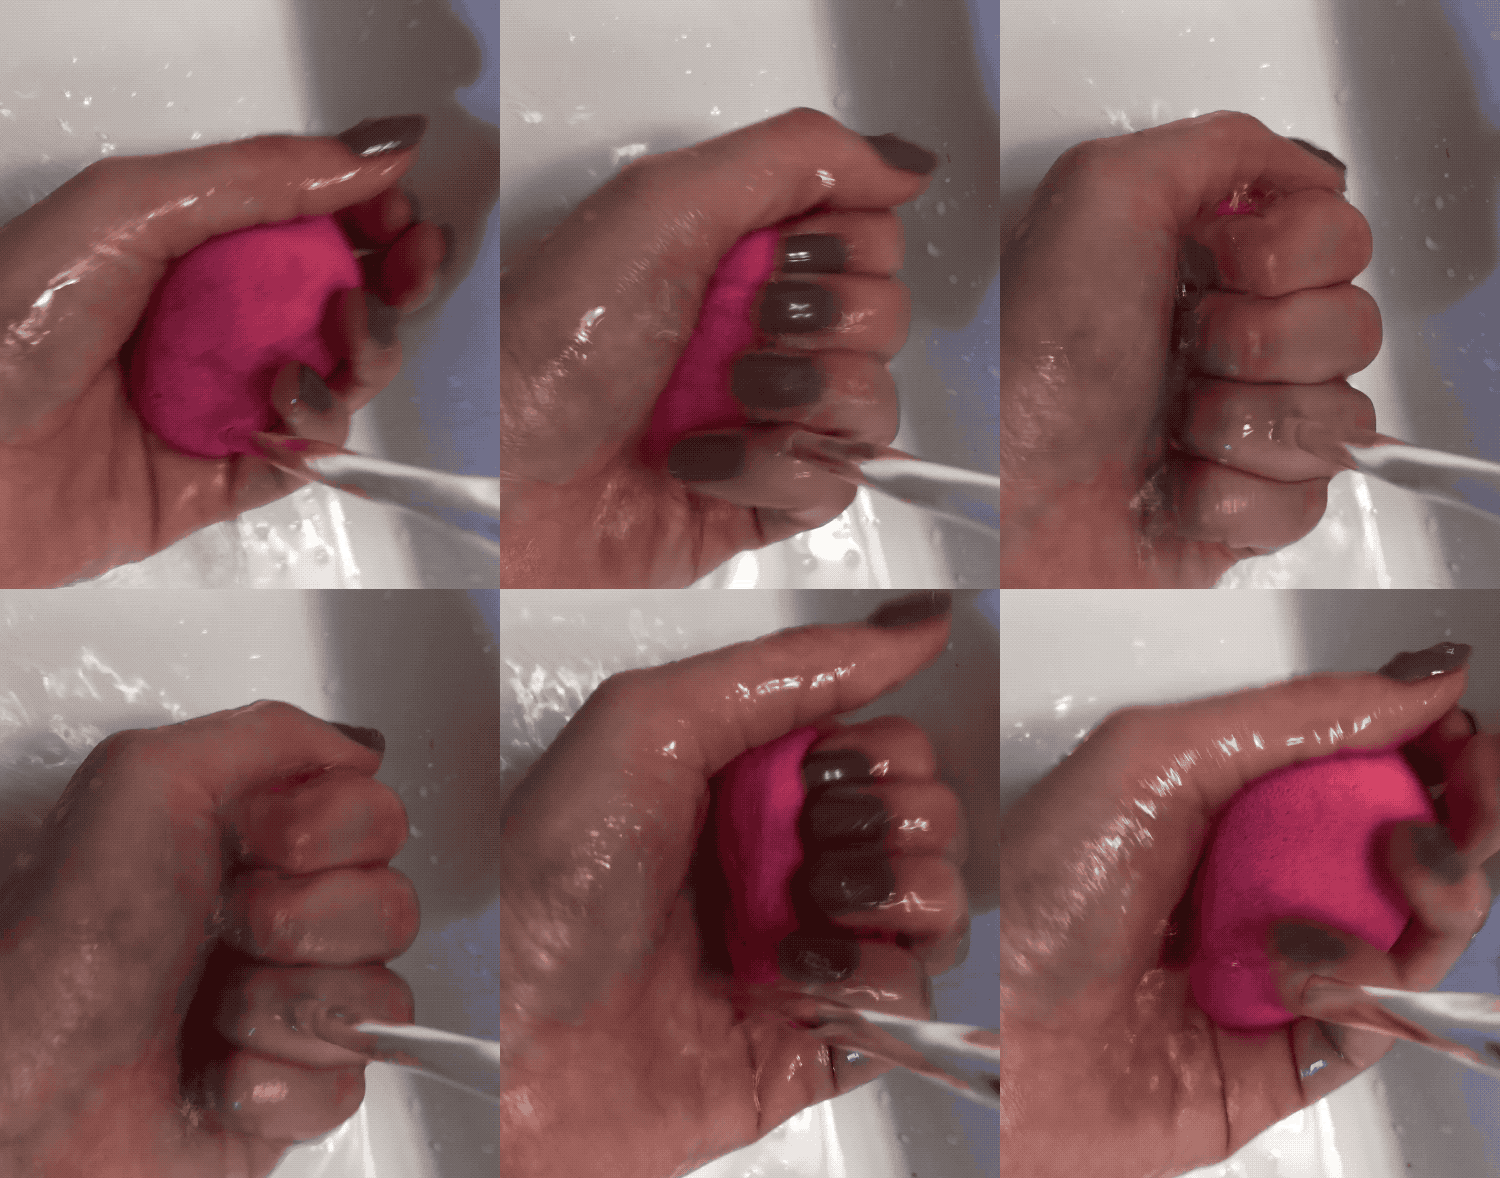
Soak your sponge until it's fully expanded. Add a blob of hypoallergenic dish liquid to the palm of one hand, then swipe the beautyblender through it. DO NOT squeeze any kind of cleanser directly onto the sponge!
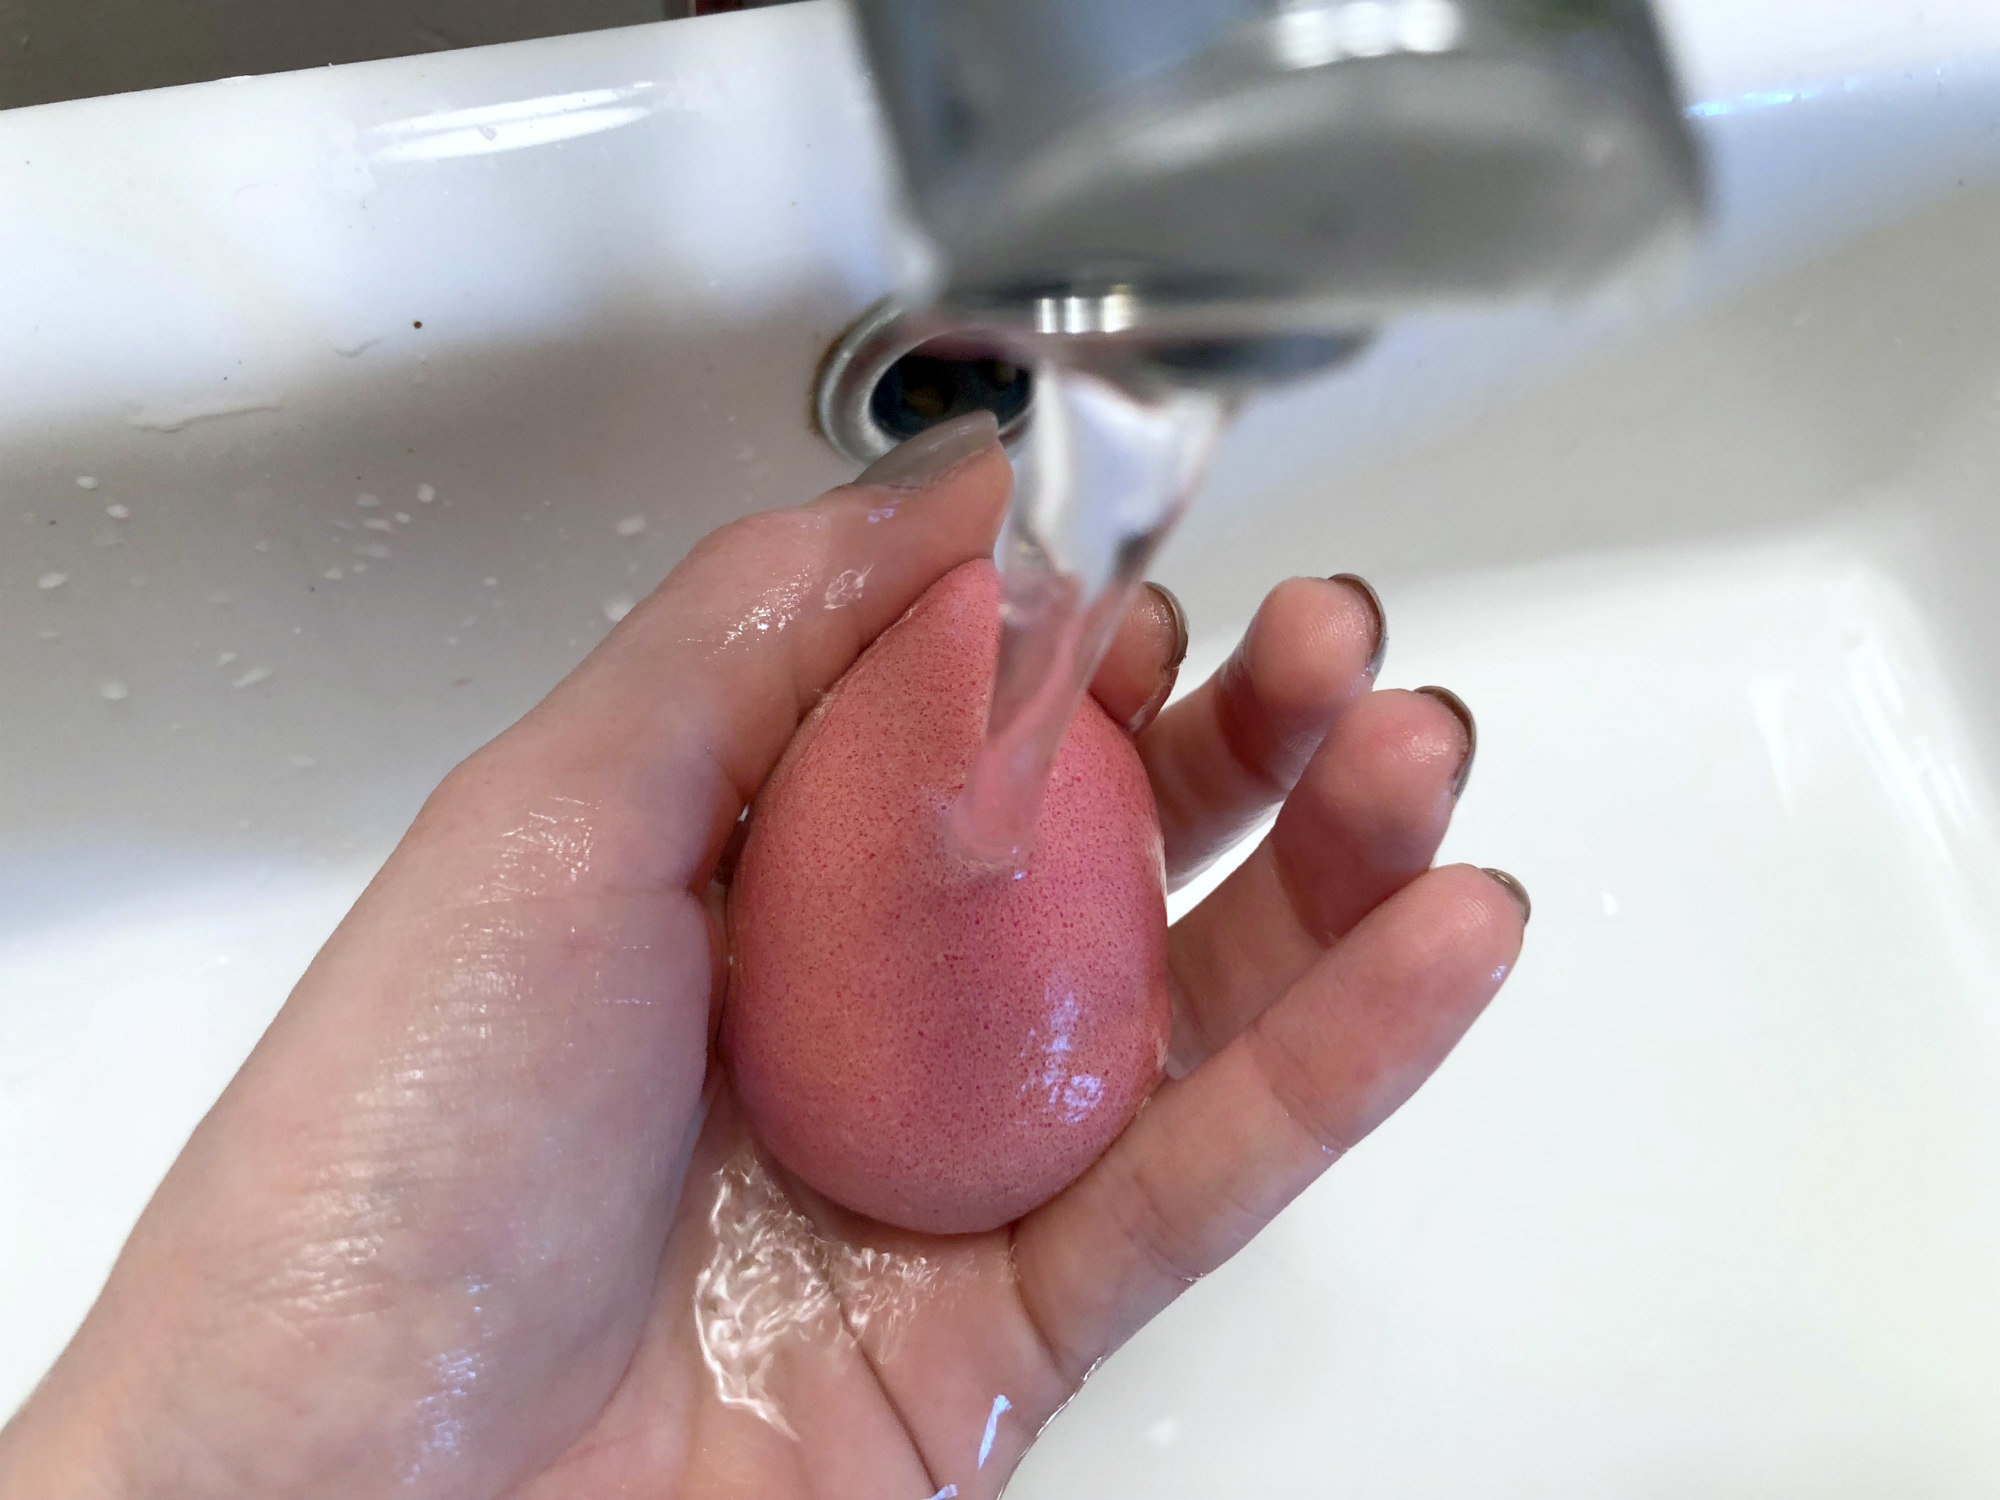
If you squeeze soap directly onto the sponge, you will never, ever get it all out. Hand first, then beautyblender.
Gently but firmly, squeeze the beautyblender, then rinse in clean water. You'll see the makeup coming out immediately.
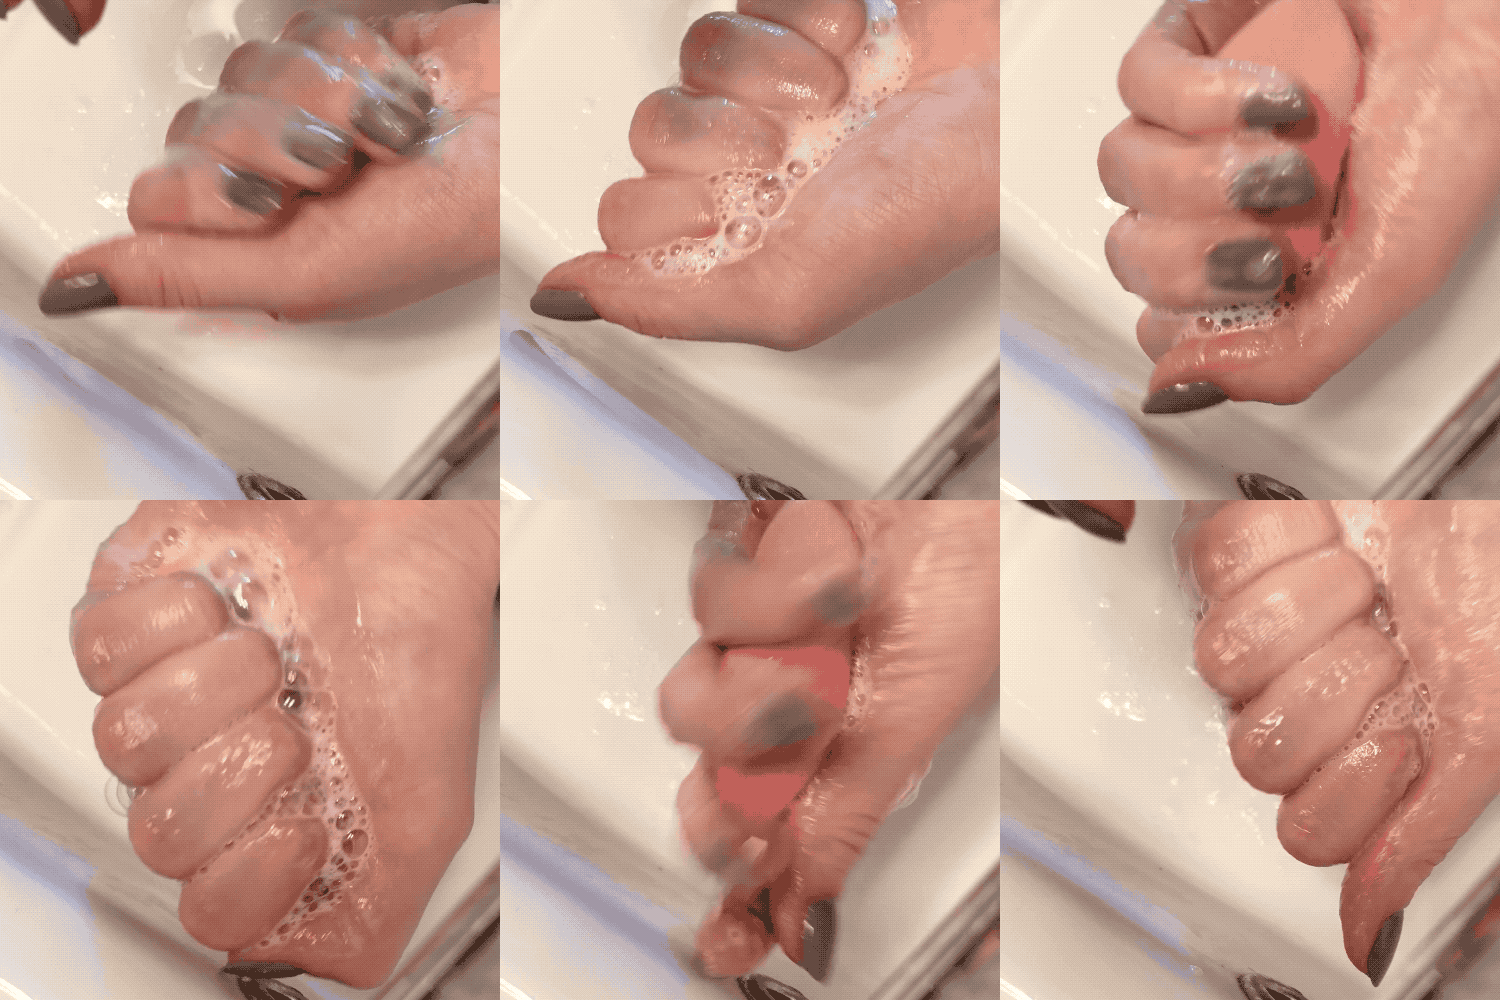
Do this over and over until no more makeup-drenched foam is coming out of the sponge. It will take time, but it is really worth it.
You'll know your beautyblender is clean when it's bright pink again, and when the water is rinsing clear. No more makeup and no more foam is coming out.
When cared for correctly — and by that I mean "washed properly" – beautyblenders can last a long time. I wash mine weekly, and I've had the same sponge for over a year.
Take care of your beauty tools, and they'll take care of you.
To let your beautyblender dry, place it in its open cylindrical package. As the sponge dries, it'll shrink — then pop down back into the plastic container!
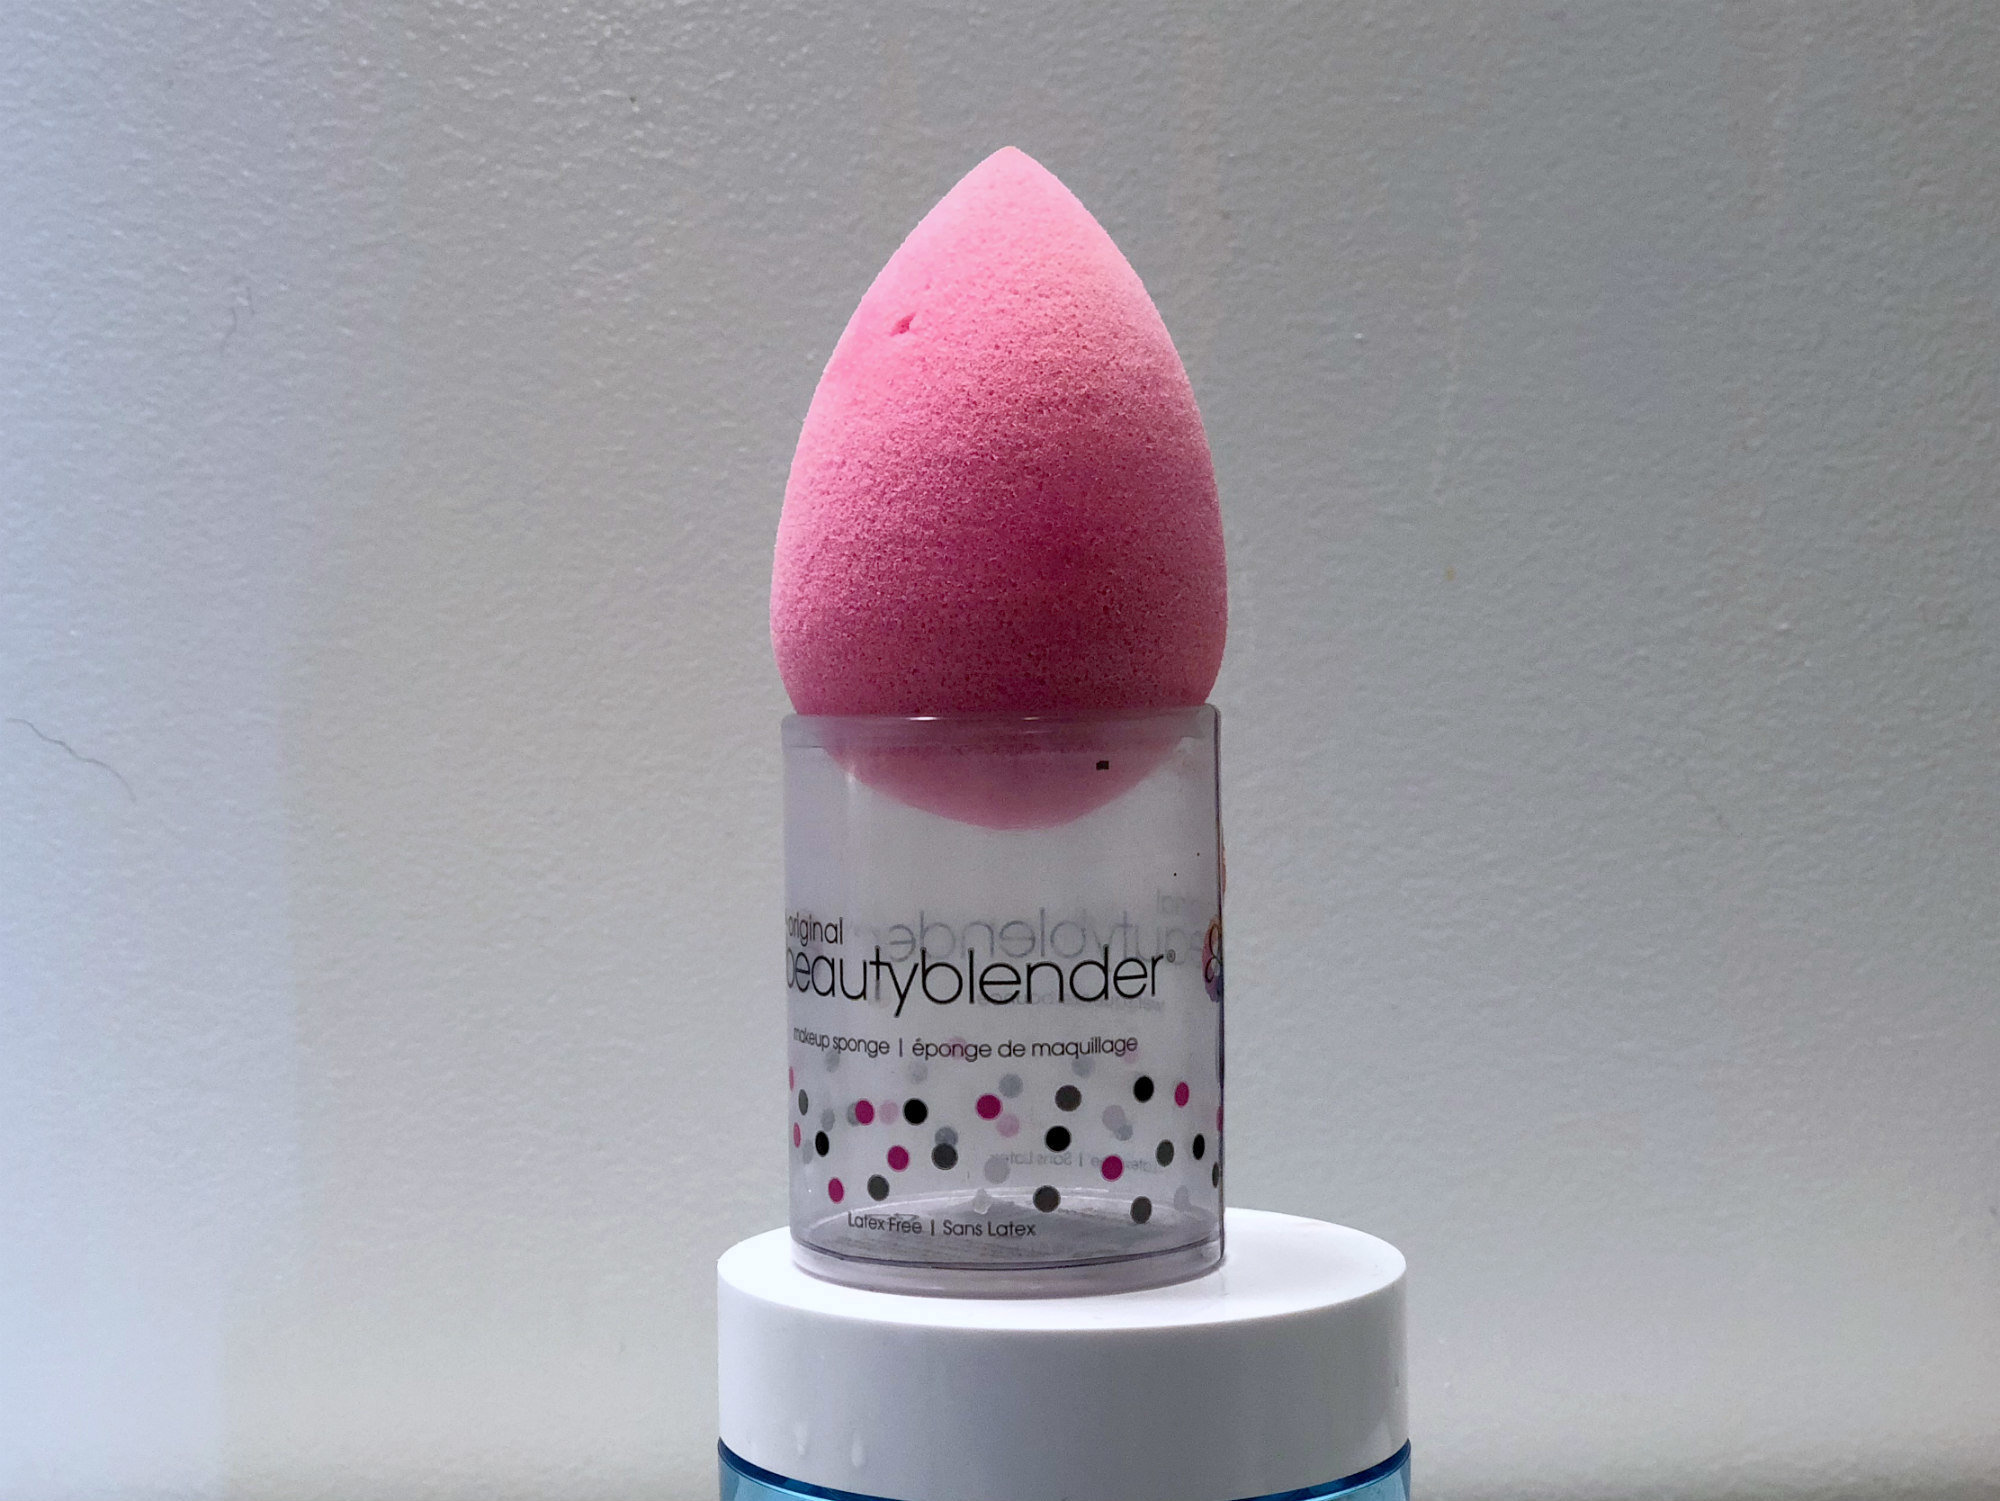
You can also use a wire egg cup, if you've accidentally thrown the packaging away.
Voila! Now all your makeup brushes are clean and ready to be used.
Now repeat this process every week for the rest of your life. Ah, the beauty-lover life — it's a struggle.


