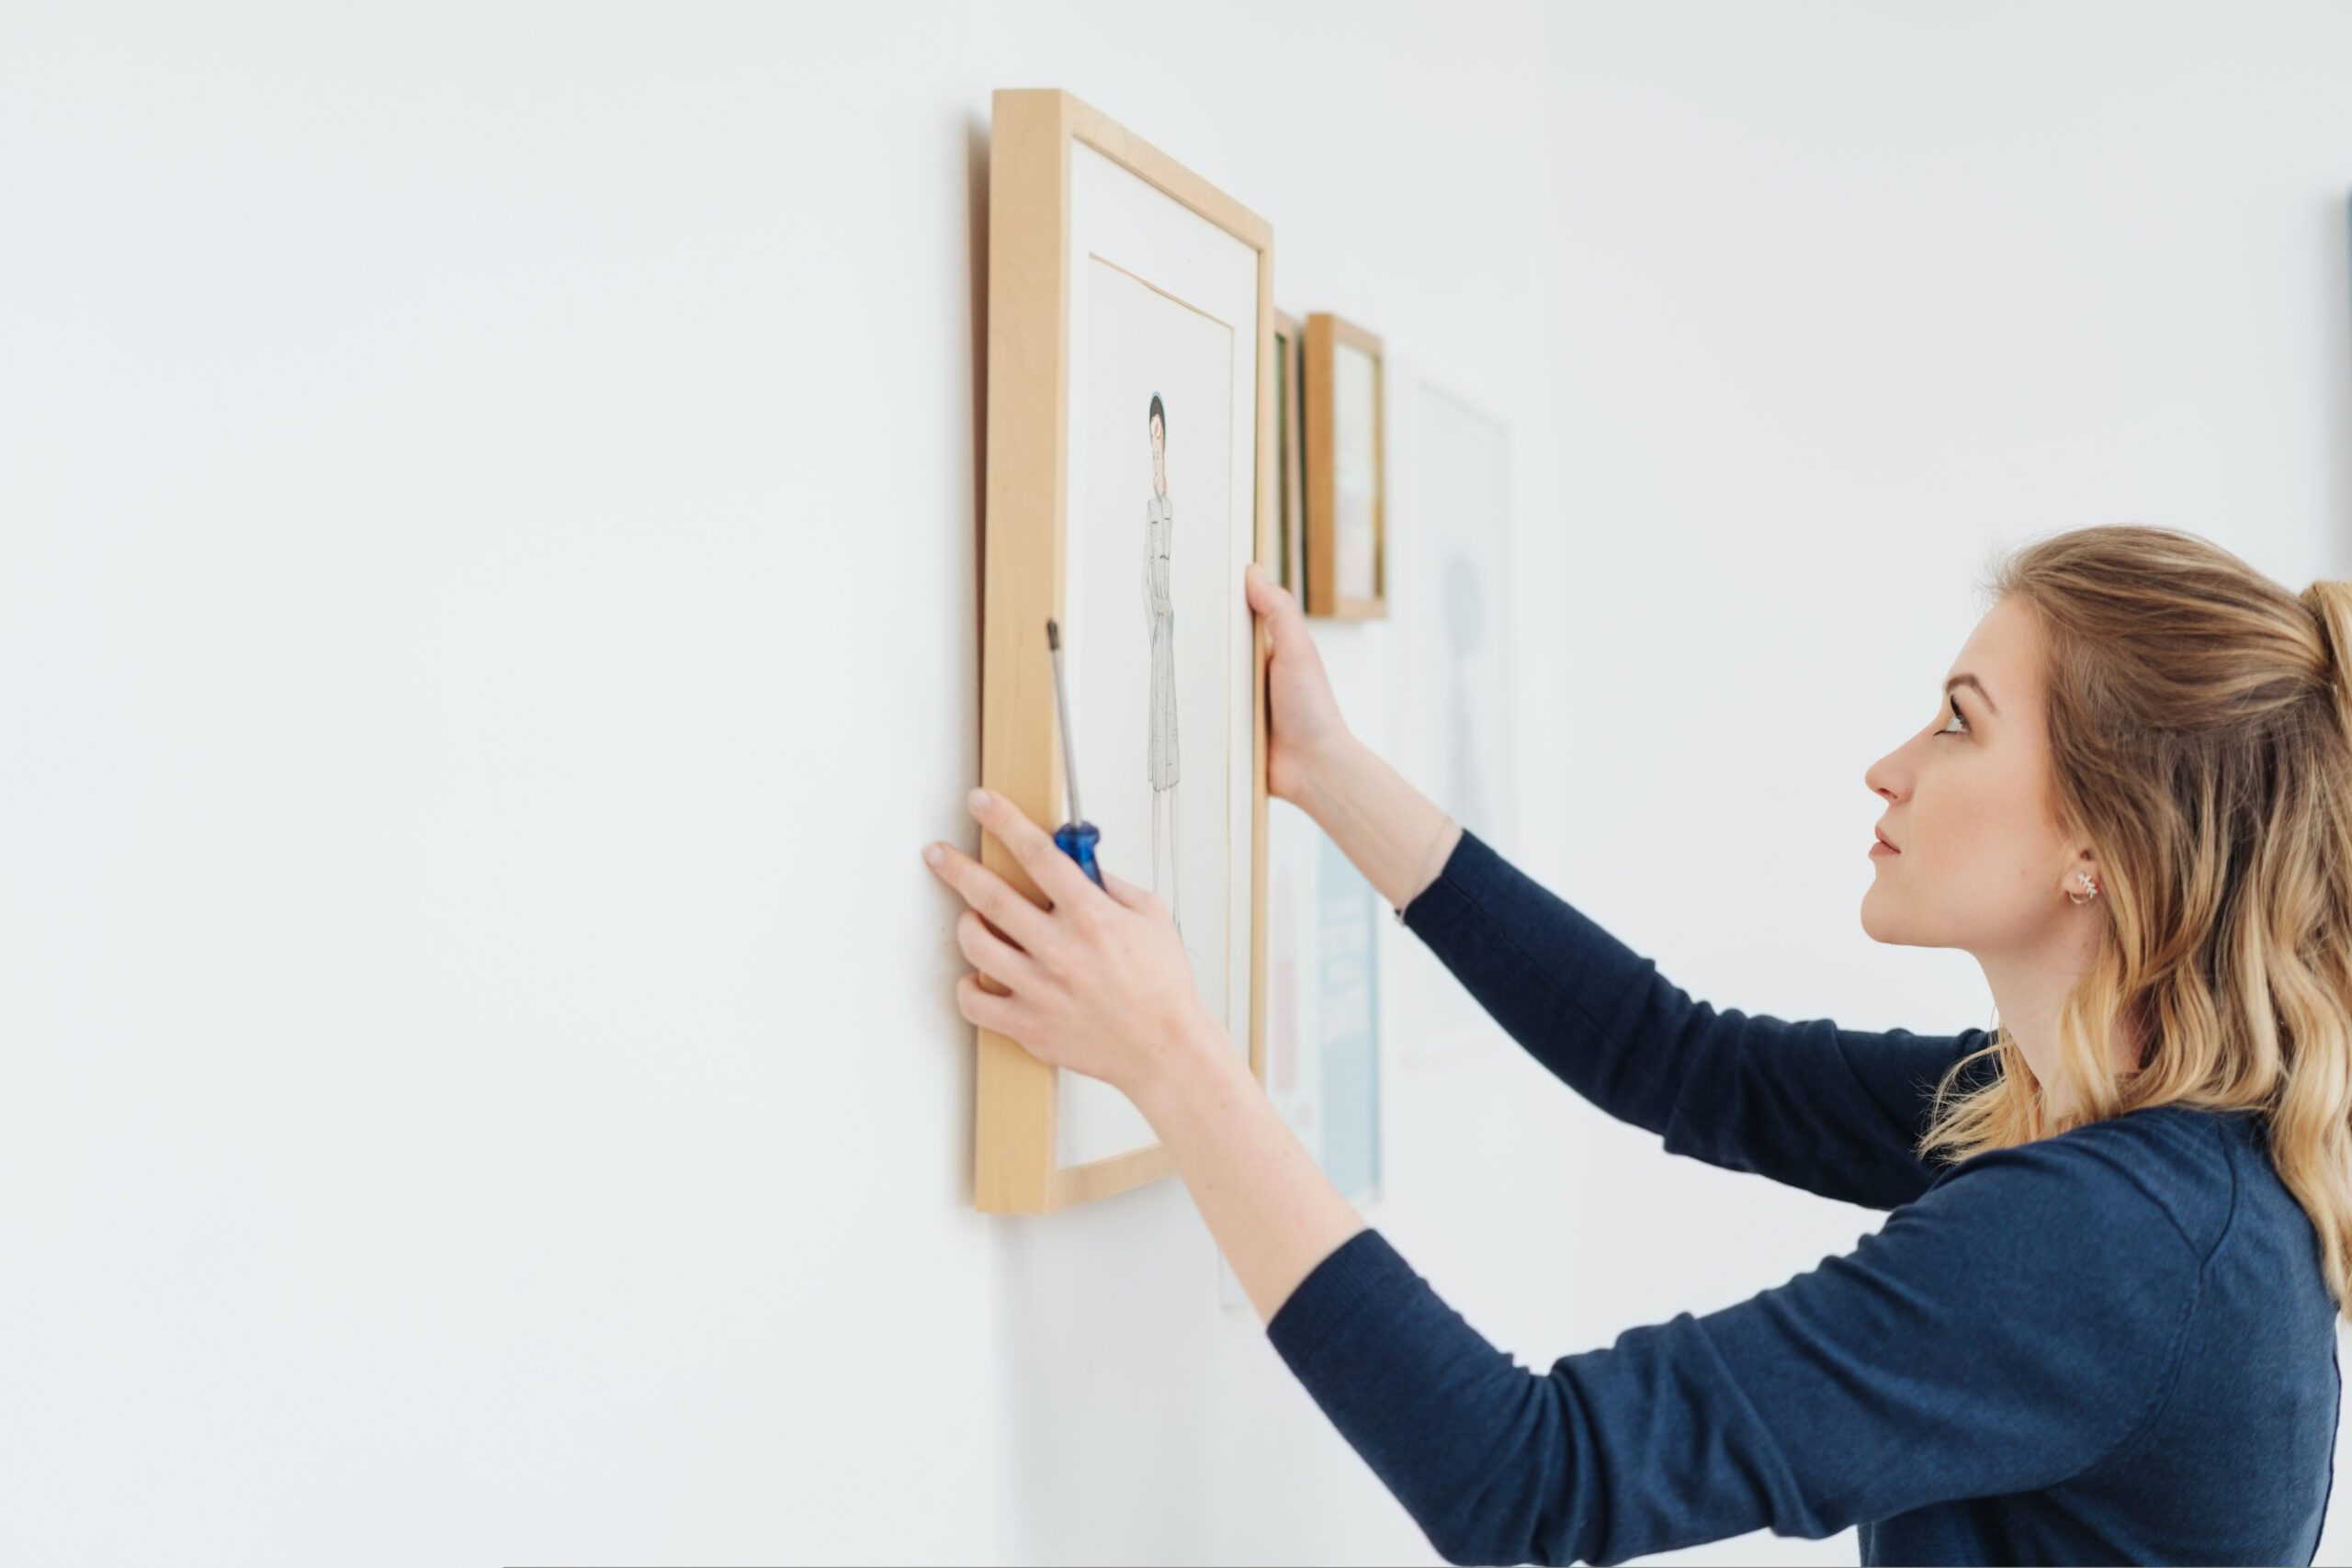
There are many ways to spruce up your home for a new season — or just because — with new furniture and decor. But if you’re looking for something simple you can do in a day, adding framed photographs to any room can give your space a fresh look and make it feel more personal. While simple frames can make ordinary artwork and photographs look good, you can make good pictures look great by framing and matting them.
Framing a sweet picture of the kids can also make a great gift this holiday season for family and friends you haven’t seen lately. But there’s one caveat: custom framing and matting your pictures can be expensive — upwards of $100 for an 8-by-10 at those national craft stores. For a fraction of the cost, you can buy your own frame and some uncut matboard and DIY some lovely framed photographs.
If you love collecting artwork or printing out photos to display on your walls, here’s a simple guide to matting pictures. We’ll walk you through how to frame a photo!
What You'll Need

Besides the artwork or photo, you’ll need the following supplies:
- A frame
- A matboard — you can find uncut matboard at Michaels stores
- A sharp utility knife — X-Acto #2 Knife With Safety Cap (#2 is important because the blade is thick, perfect for heavy duty projects like this one)
- A ruler (preferably metal)
If you have a fancy matboard cutter, that will make it easier to achieve a cleaner edge, but they’re definitely not necessary. As for the frame, there are usually unique, vintage finds at thrift stores, and budget-friendly options at the Dollar Store, or of course, recycle a frame that you have around the house. It’s also of note that some store-bought frames already have a pre-cut mat, but depending on the size of your artwork or photo, you’ll want to DIY the matting.
Cut the Mat to Size
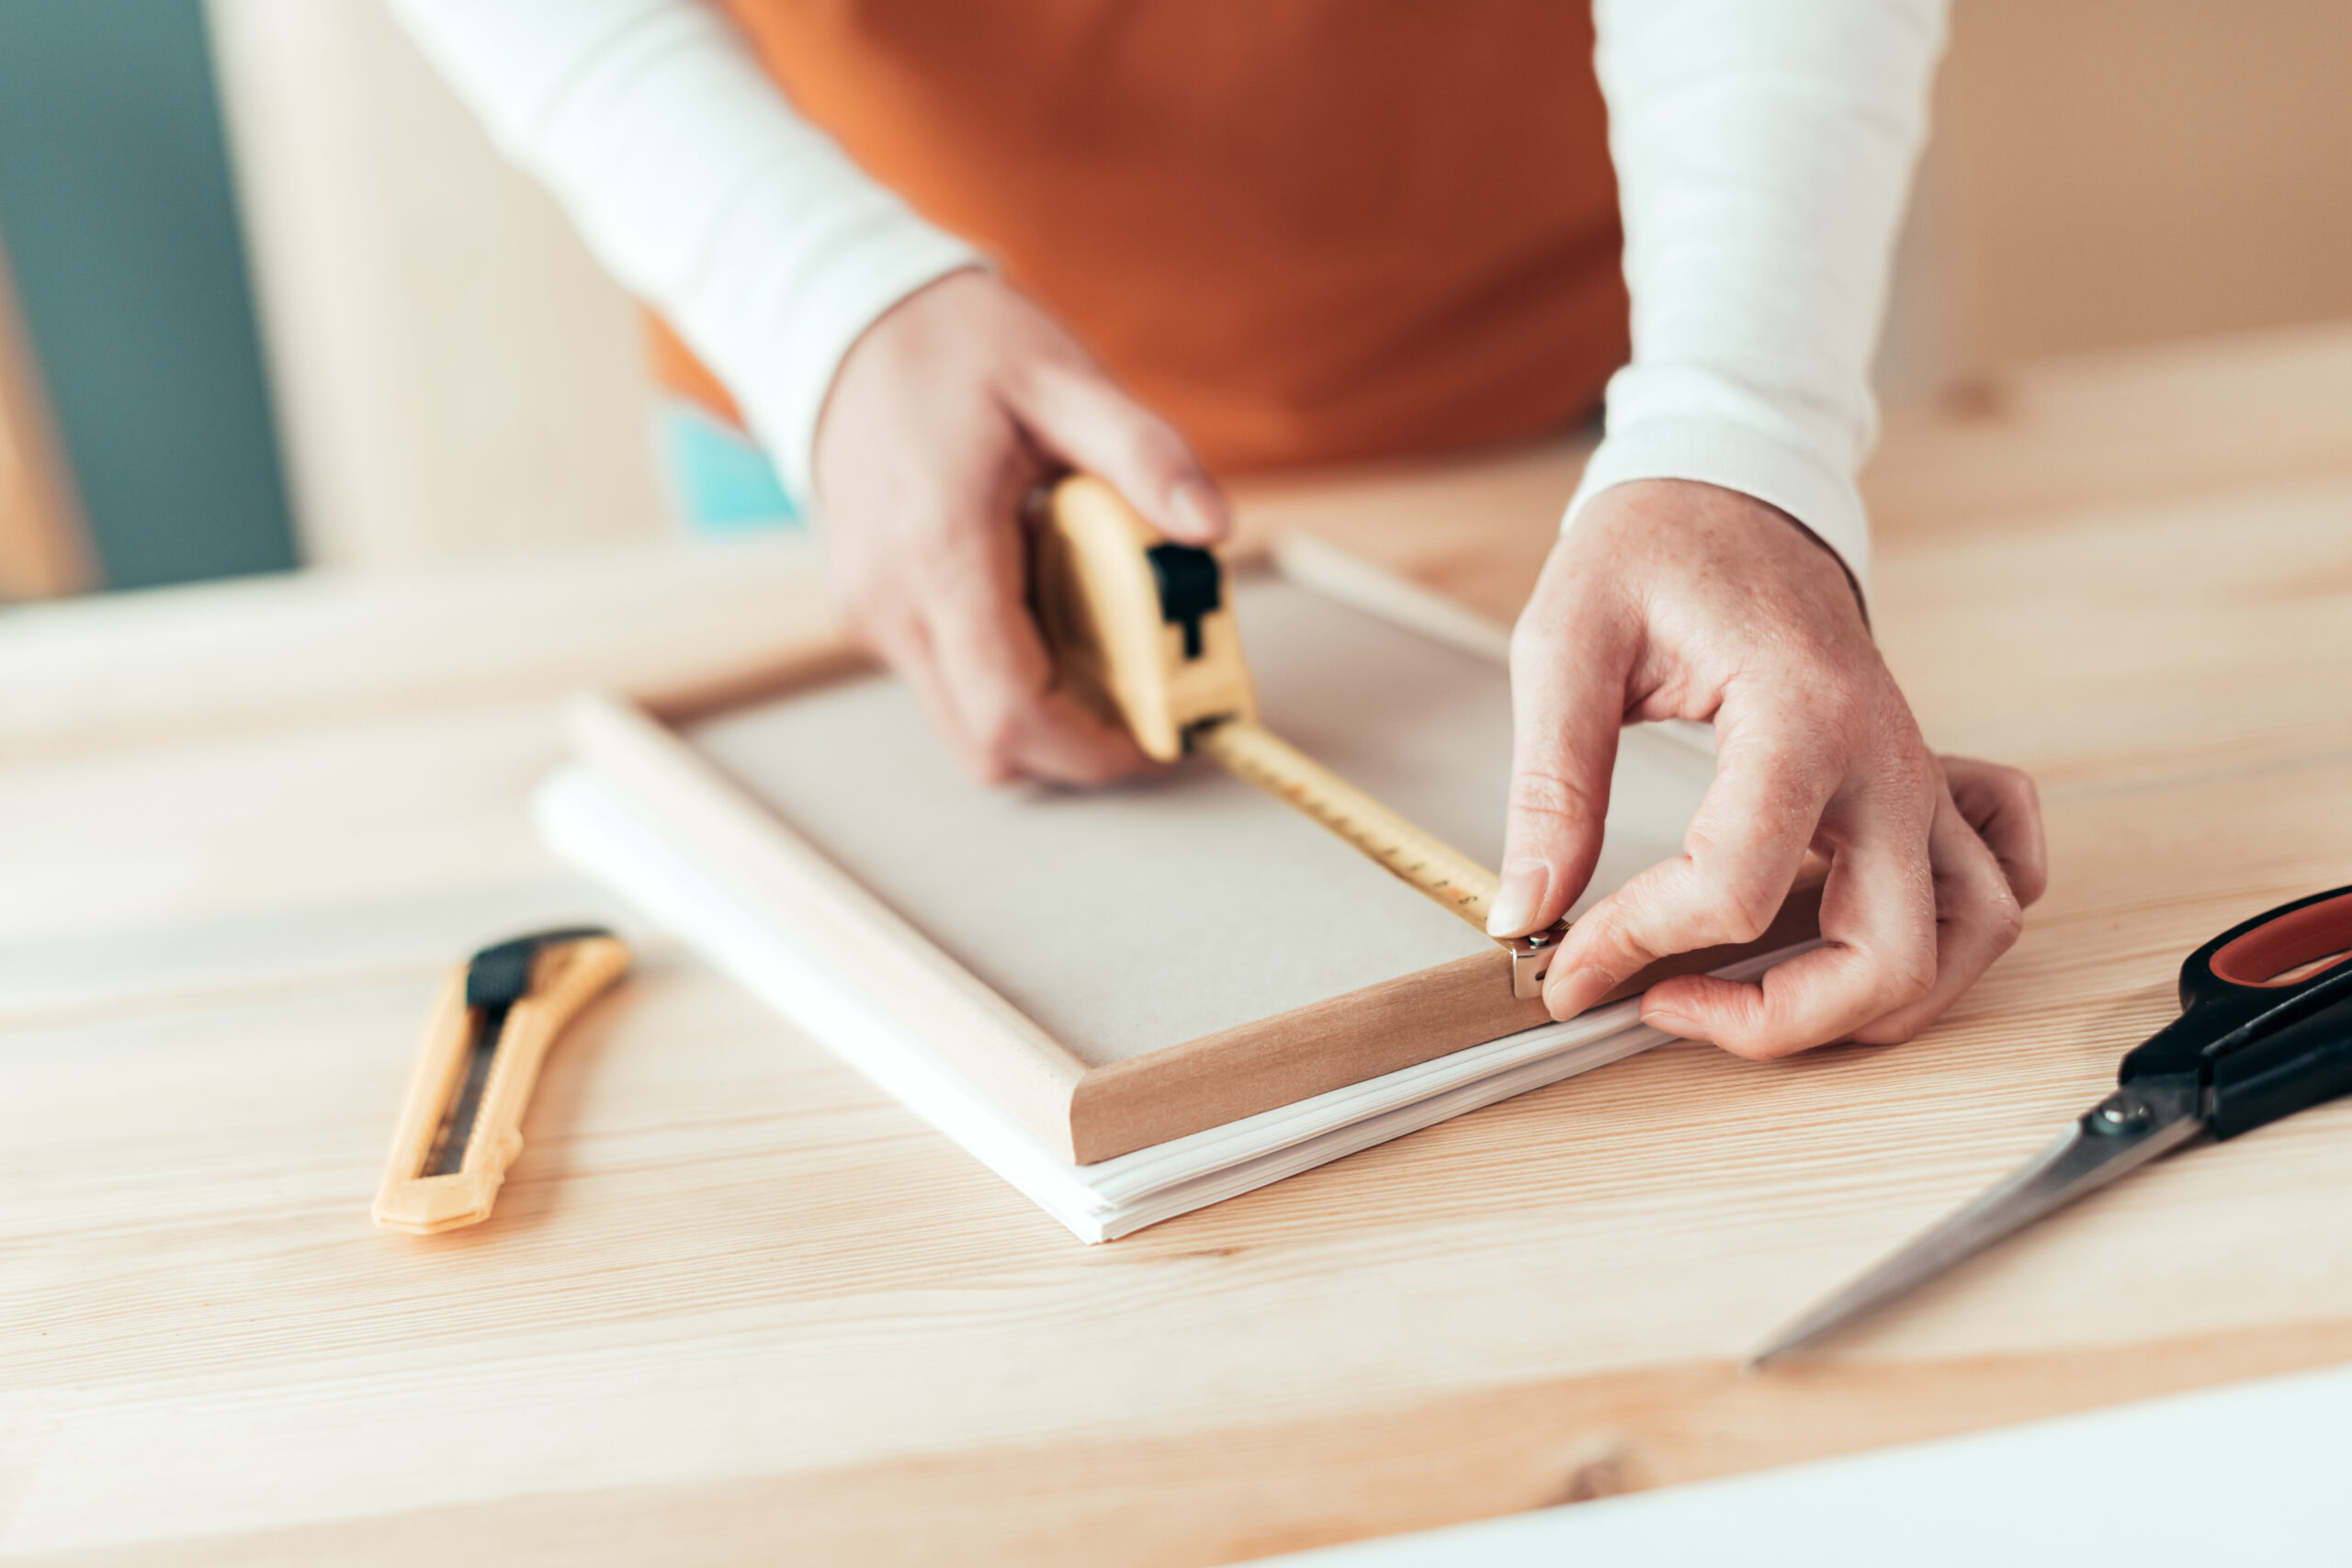
Let’s say you’re dealing with a piece of artwork that is 5 x 7 (5 inches in height, 7 inches in width) and the opening of the frame you’re using is 10 x 14. The first thing to do is to cut the matboard to fit the 10 x 14 opening of your frame. You can do this with your utility knife and a straight edge.
You don’t really have to worry about getting a nice, clean edge for this part because it’s going to be hidden by the frame. (Some places where you buy matboards will make this cut for you for free.)
Measure the Mat

Now let’s measure the mat and picture to center it. For the centering: Take the difference in widths between your picture and matboard and divide that by 2 to determine how big each border should be.
So for this example, the measurements are 7 inches for the picture and 14 inches for the board. 14 – 7 = 7 then 7 ÷ 2 = 3 1/2. So the borders on the left and right will be 3 1/2 inches each. Draw all of your dimensions on the back side of your mat lightly in pencil so the front side stays clean.
Do the same measuring for the height: 10 – 5 = 5 then 5 ÷ 2 = 2 1/2. The borders on the top and bottom will be 2 1/2 inches each. Mark the measurements lightly in pencil.
Mark the Measurements
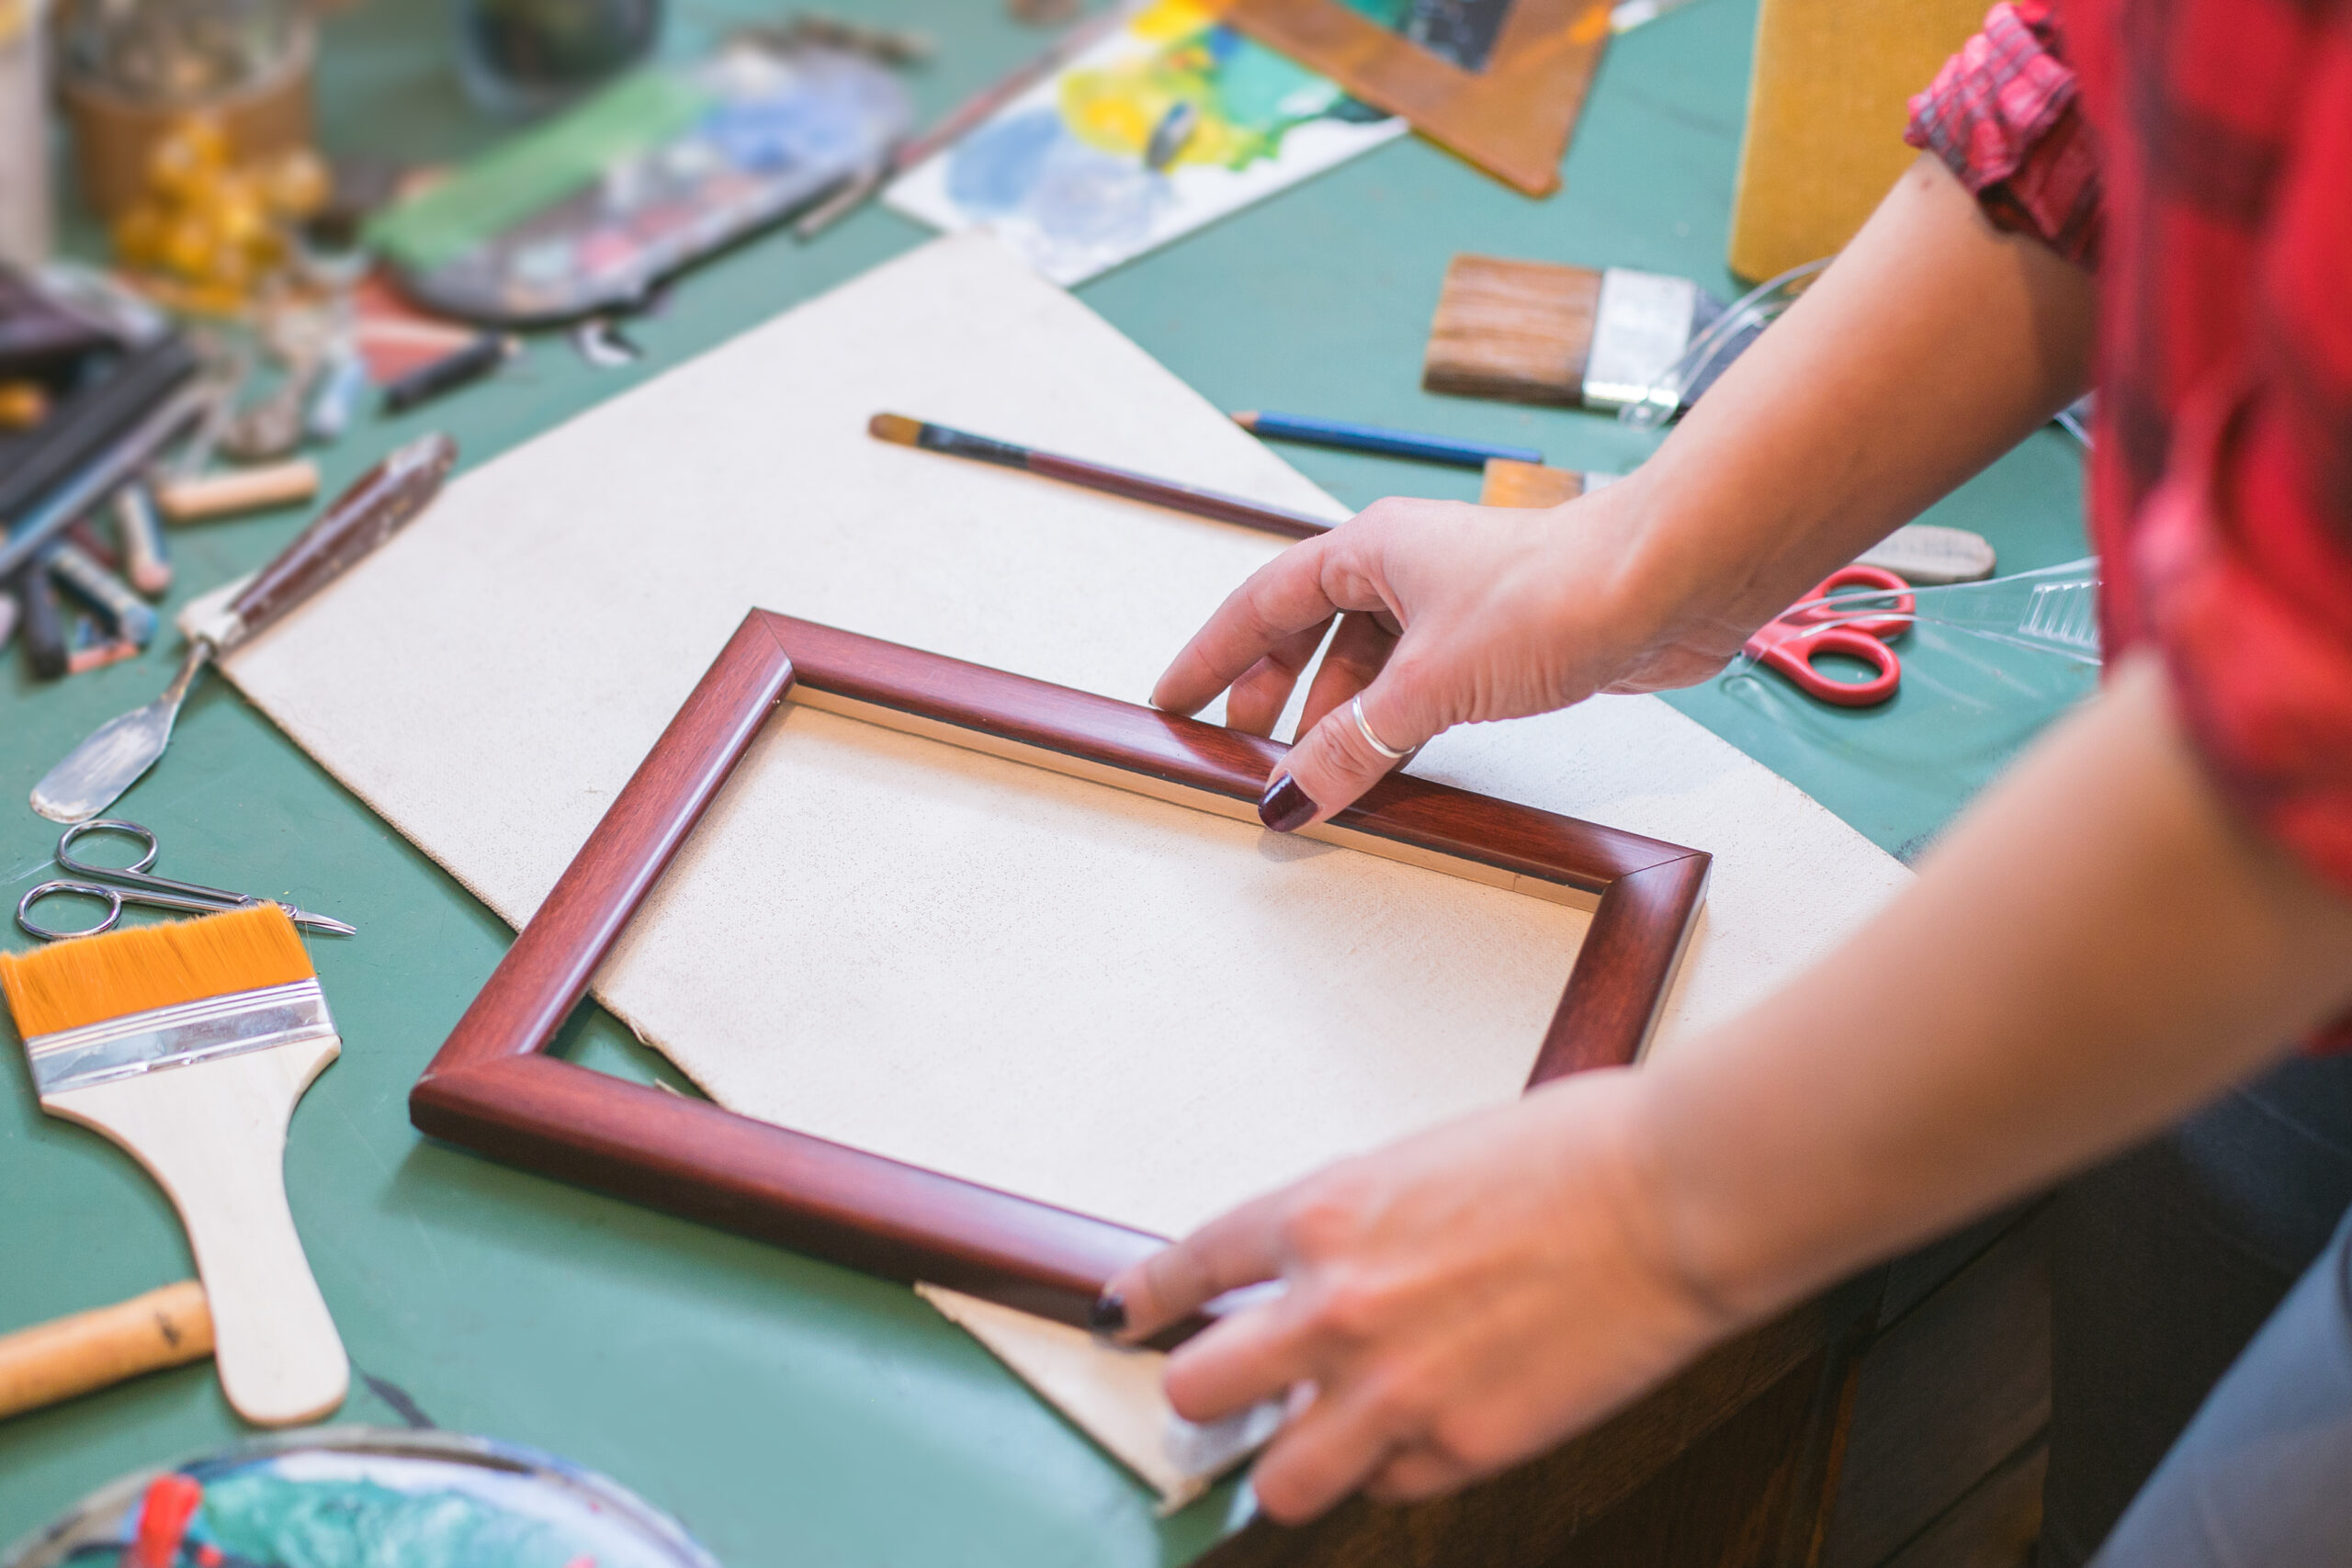
Now it’s time to mark your board with lines. With the front side facing down, measure the first side (yes to measuring twice and cutting once) and mark lines at the measurements with a pencil, flipping the board 180 degrees to make another one. Mark the other two sides, so all four sides are marked.
Cut the Matboard

Carefully cut along your lines. You probably need to repeatedly use your knife to get a clean cut all the way through (You can usually feel it when you have made a full cut). It’s also wise to make your cuts about 1/8 inch from the pencil lines because you don’t want to fully expose your print behind it. You want it to sit comfortably behind your matting.
Once you’ve made all of your cuts, remove the center piece and you are left with your own custom matting. Erase any pencil markings.
Place Your Picture
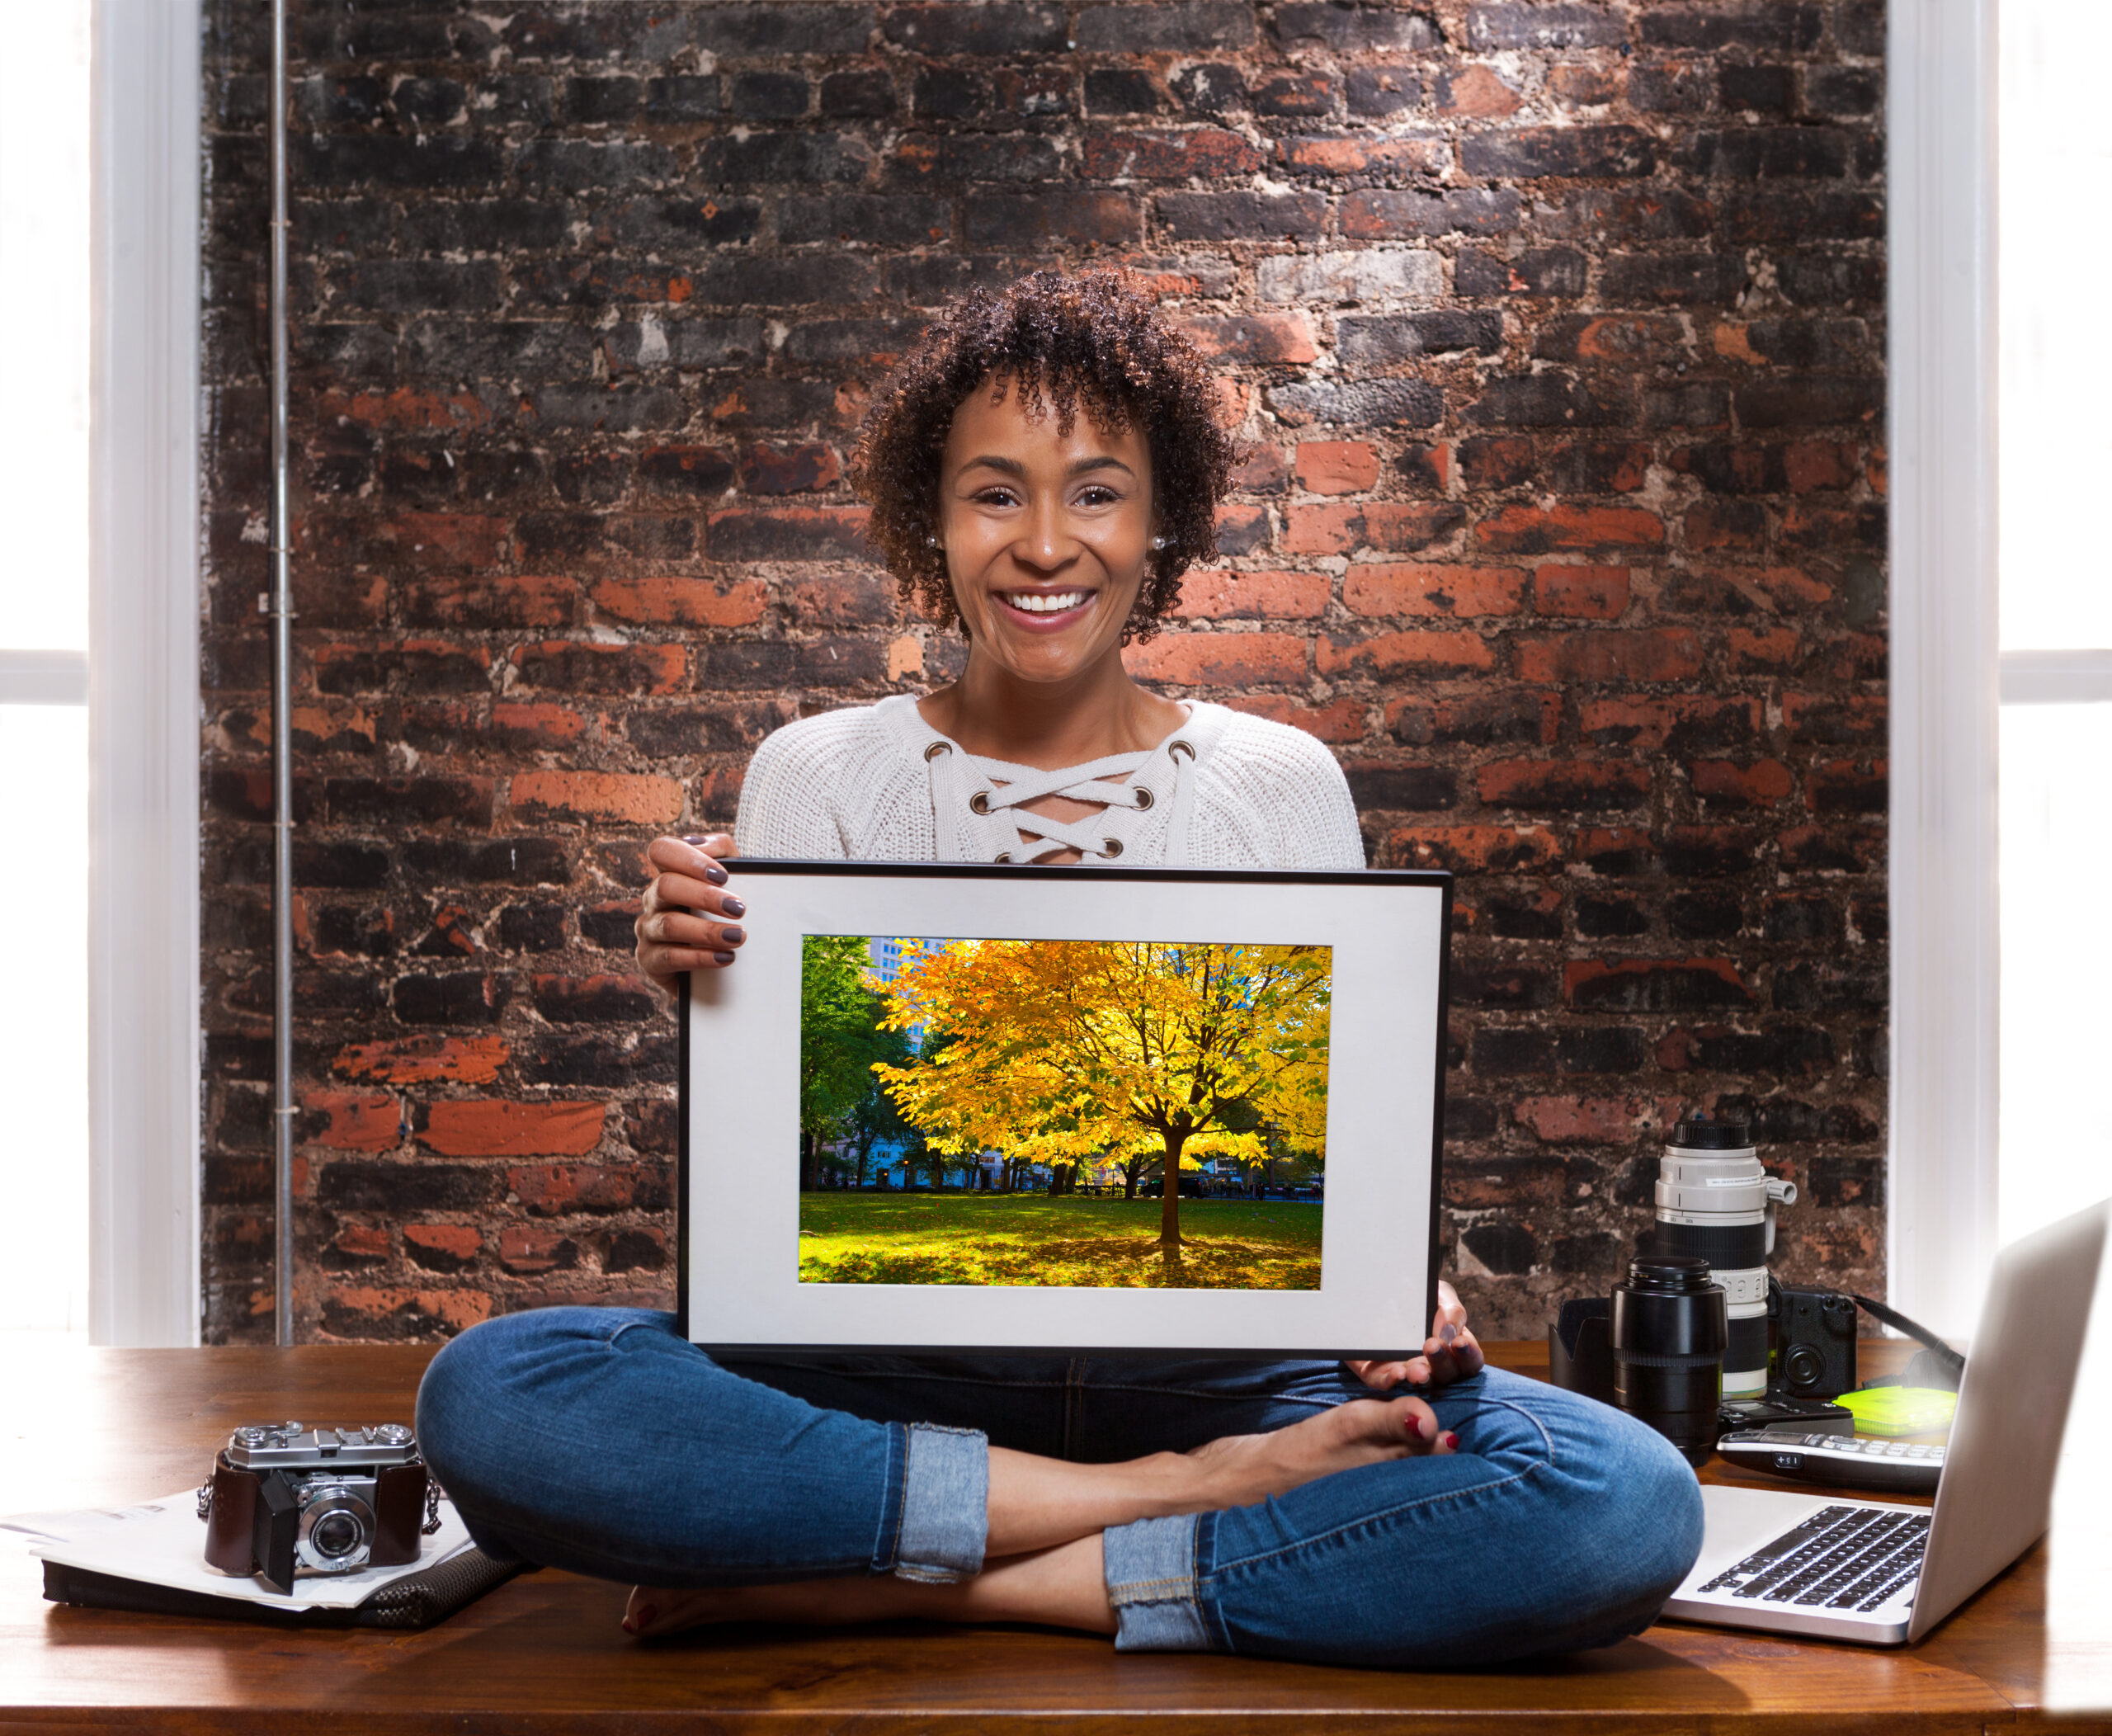
Position the picture on the back of the matboard and tape into place.
Now it’s ready to place in your frame and hang!
Psst: If purchasing an item on this list, CafeMom may receive a small cut. Each item and price is up to date at the time of publication; however, an item may be sold out or the price may be different at a later date.
