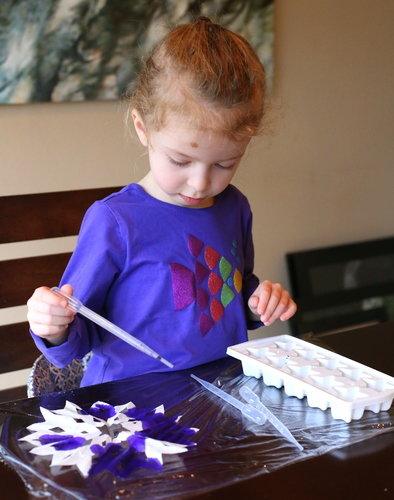
It just isn't winter until we've made our own snowflakes to decorate the windows and walls. Though snowflakes are often made with regular paper, we prefer to make ours from large coffee filters because they absorb watercolor paints gorgeously, and if you put them in a window, they almost glow because the coffee filter paper lets a small amount of light through. If an adult cuts out the snowflake first, even toddlers can complete the coloring step — coffee filter snowflakes are a great, easy, and quick art project for winter.

What you'll need for this activity:
Large white circular coffee filters (found at a grocery store); pipettes/eyedroppers or a paintbrush; liquid watercolors or diluted food coloring; plastic wrap; double-sided tape.
What to do:
- Flatten a large white coffee filter and then fold it in half. Fold it in half again three more times. (An adult may have to do this.)
- Cut out shapes along the sides and ends of the folded coffee filter. (My 5-year-old is now finally old enough to do this part herself, but younger kids might need help.)
- Carefully unfold the folded coffee filter and press it flat on a sheet of plastic wrap.
- Provide either liquid watercolors or slightly diluted food coloring in a variety of colors to your child (we chose green, blue, and purple liquid watercolors for our snowflakes).
- Using a pipette/eyedropper or a paintbrush, have your child add small amounts of color to the snowflake. If you'd like the snowflake to be several colors, be sure to add the smallest amount of color possible. If you add lots and lots of color and soak the snowflake, all the colors will blend and it will become one uniform color.
- Once the whole snowflake is colored, allow it to dry for 4 or more hours before using double-sided tape to hang it to a window or wall.
What's your favorite winter craft to make with kids?


