Whenever I attempt to frost a cake, the icing always turns out a little bit lumpy. What can I say? I just don't have the magic touch … or so I thought. With a few new tricks up my sleeve, thanks to this cake frosting tutorial, I could now fool a few friends into thinking I'm a cake frosting master.
Apparently the key to a perfect cake is reapplying a layer of frosting after refrigerating the cake (sort of like how you put on a second coat of nail polish after letting the first coat dry). Then you can go ahead add your favorite toppings, like nuts or sprinkles!
To see how it's done, watch this cake frosting tutorial.
What toppings do you like to put on your cake?
Image via CafeMom Solutions
Frosting Made Easy
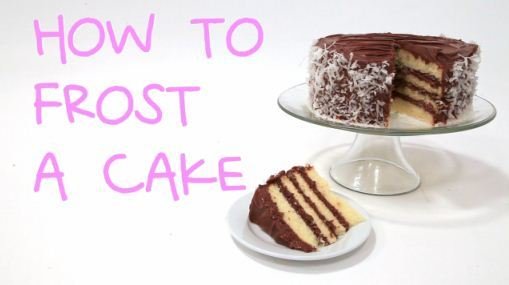
This will be a four-layer cake, so we've sliced two standard size cake layers in half (horizontally).
Step One: Line the Cake Stand
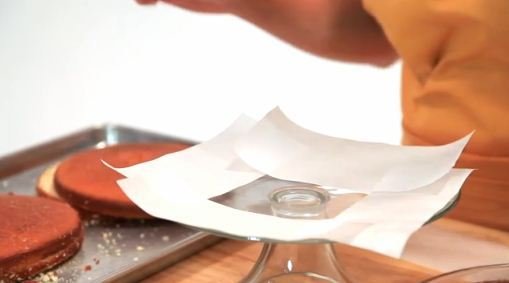
Start by lining your cake stand or platter with wax paper.
Step Two: Frost Each Layer
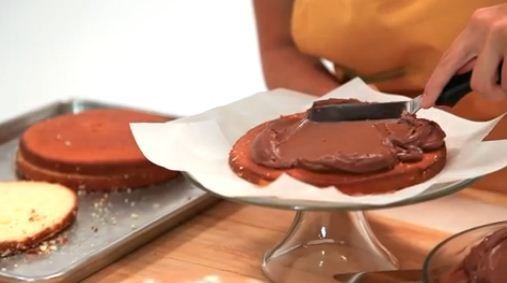
Place a large mound of frosting on top of the first layer. Using a spatula, spread outwards from center. Repeat for layers two and three. When you get to the final layer, spread the frosting as you did before, but move any excess frosting to the sides of the cake.
Step Three: Frost the Sides of the Cake
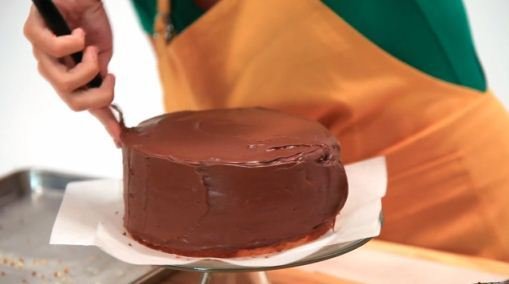
Spread a thin layer of frosting around the side of the cake. This forms the crumb coating.
Step Four: Refrigerate and Refrost
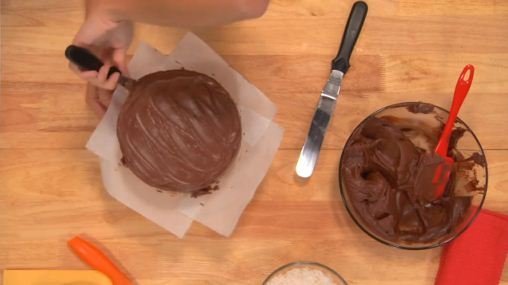
Refrigerate for 15 to 20 minutes. Then remove from fridge and add another layer of frosting.
Step Five: Add Toppings (Optional)
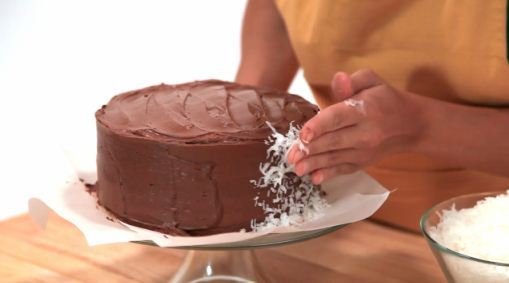
If you want to add a little more pizzazz to your cake, you can decorate the sides with coconut, crushed nuts, or chocolate curls.
Step Six: Remove Wax Paper
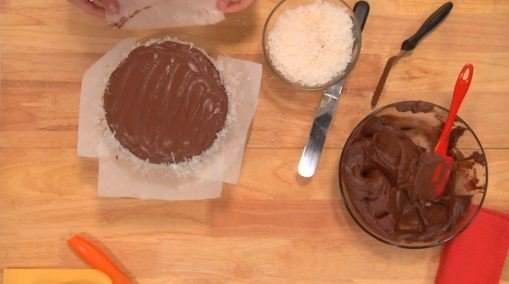
Gently tug at the wax paper under the cake to remove.
Enjoy!
