Like any woman, I appreciate a good manicure. I love the chance to take an hour or so break in my day, head to the salon, and walk out with perfectly manicured nails and loose shoulders (hey, the massage is my favorite part!). The only problem? All those salon manicures start to add up. If you were to get a manicure every other week for $12 a pop, twice a month, that's $288 a year! (That's also before the $2 tip.)
Well what if I were to tell you that for about $30, you can have all the materials you need to do at least 12 manicures on your own at home? And it gets better: You can do them just as well as at the salon.
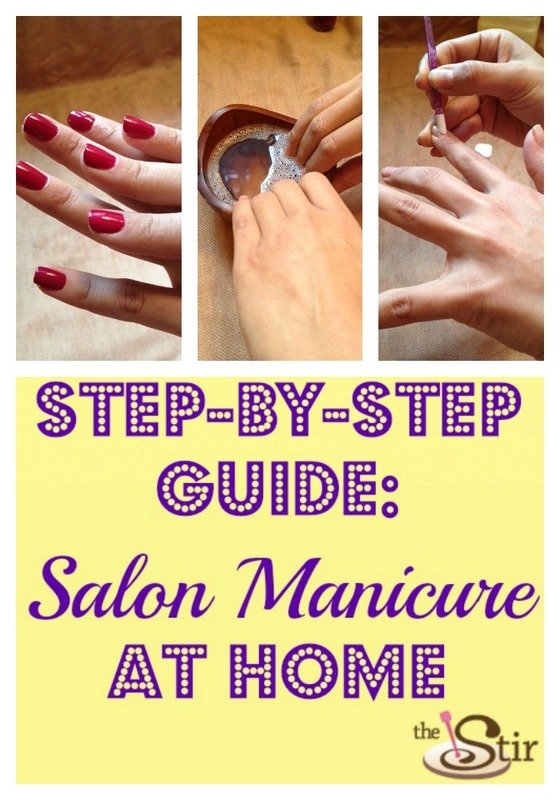
I swear, it's possible! Check out our guide for how to get a salon manicure at home:
Do you think you could do this on your own at home?
Images via Emily Abbate
The Perfect At-Home Manicure
Gather Your Supplies
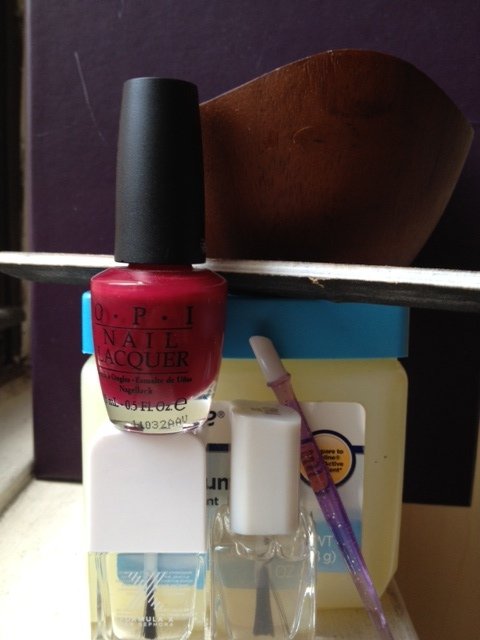
First things first, gather your supplies. For my DIY manicure, I use a cuticle pusher, nail file, a bowl of warm water with some bath gel, petroleum jelly, a pretty color (of course), and a bottom and top coat.
File Your Nails
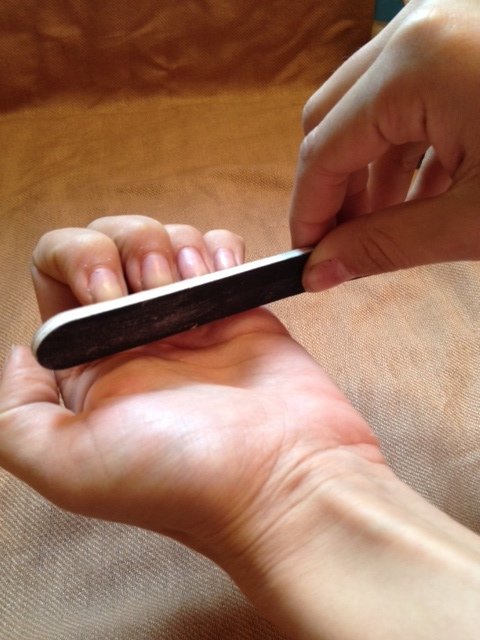
The first step to that salon look at home is making sure you have the right shape.
As a woman who doesn't like to keep her nails long as it is, I usually only need to re-shape my nails due to wear since my last manicure to achieve my desired look. If it's been a while, feel free to start with nail clippers to get rid of the excess nail, then file down to a round or square shape (whichever is your preference).
Soak
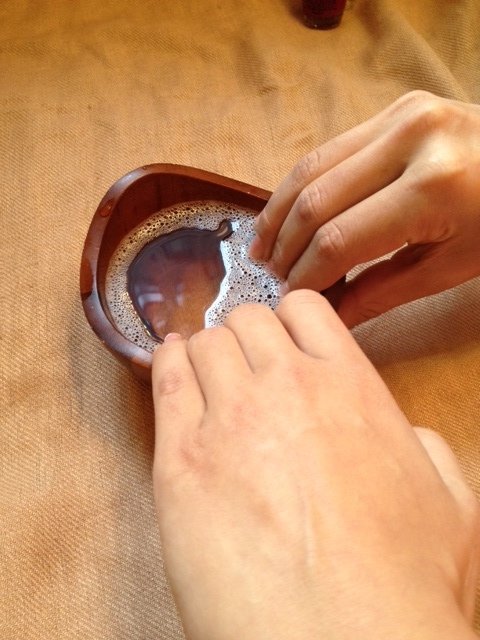
Next, soak your hands for about five minutes. This will soften the cuticles and make them easier to push back.
It's Cuticle Time
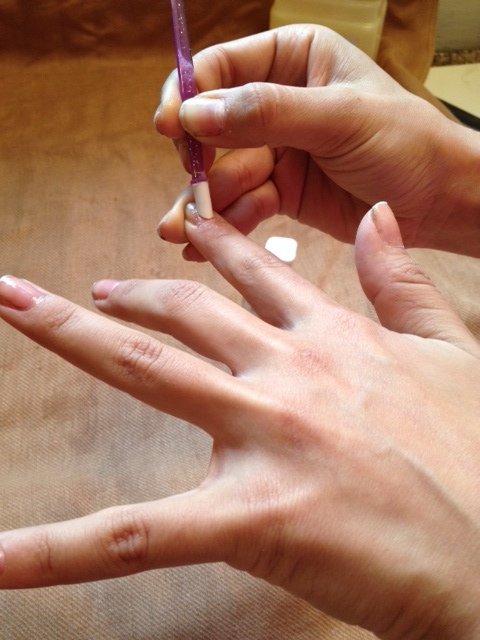
Wash your hands with soap and water to get rid of any extra bubbles from your hand bath. Then, put a small dab of petroleum jelly on top of each of your cuticles. Then, using a cuticle pusher, gently push back at the base of each nail bed.
Moisturize
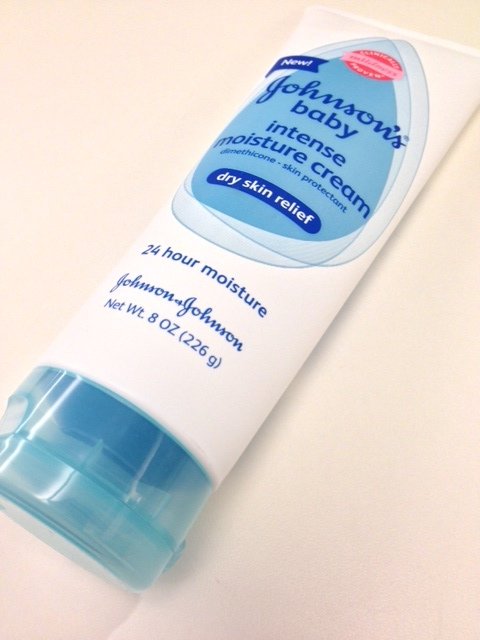
Next, rinse off your hands one last time and then apply your favorite hand moisturizer. My go-to is Johnson's baby intense moisture cream ($4.27, walmart.com) even if I am an adult. Leaves my hands feeling flawless.
Apply the Base Coat
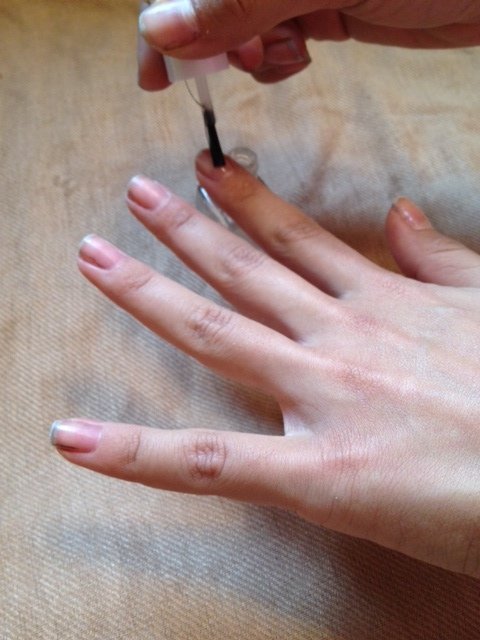
Now it's time to get to the polish! Every good at-home manicure starts off with a base coat. My go-to base is usually L'Oreal colour riche one stop base coat ($5.99, ulta.com). Do one coat.
Apply the Polish
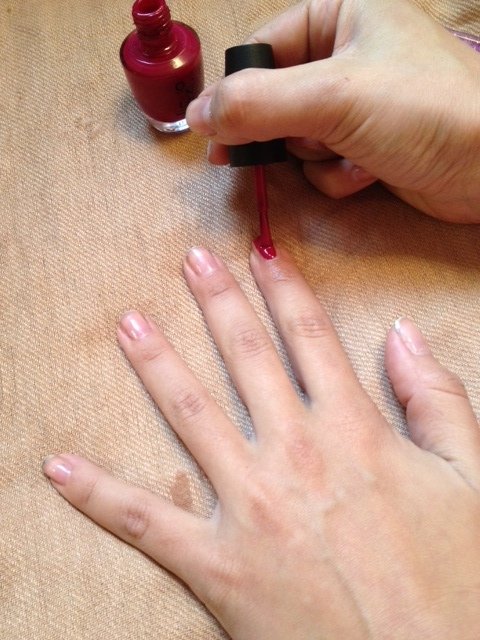
Applying polish to both of your hands at home isn't exactly easy for the average righty or lefty (damn the ambidextrous). However, you don't have to be a perfect painter to do an at-home manicure.
Start by painting one stripe up the middle of your nail, then come back to do the right and left side with a swift, sweeping motion. Continue on all nails on both hands. By painting the middle stripe first, you'll be able to use that extra polish to your advantage.
Second Coat
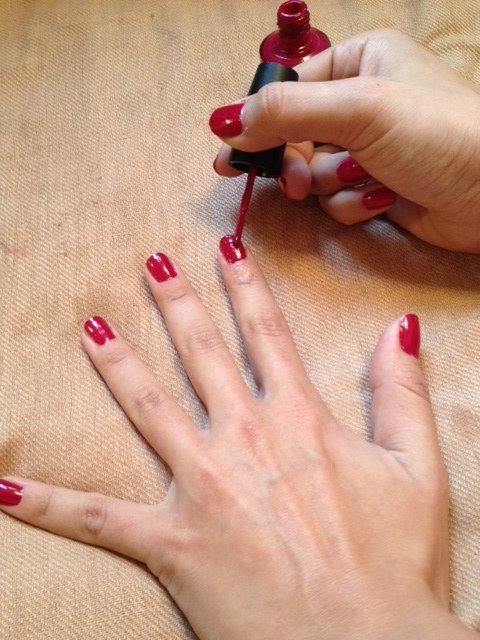
Then, do a second coat. The point of the second coat is to get the polish to be the exact color on the bottle your using. One of my fall favorites? Malaga Wine from OPI ($6.86, amazon.com).
Once the second coat is done, don't touch ANYTHING for 5 minutes. Allow your polish to dry mostly, this way you won't get your manicure color into your top coat bottle.
The Top Coat
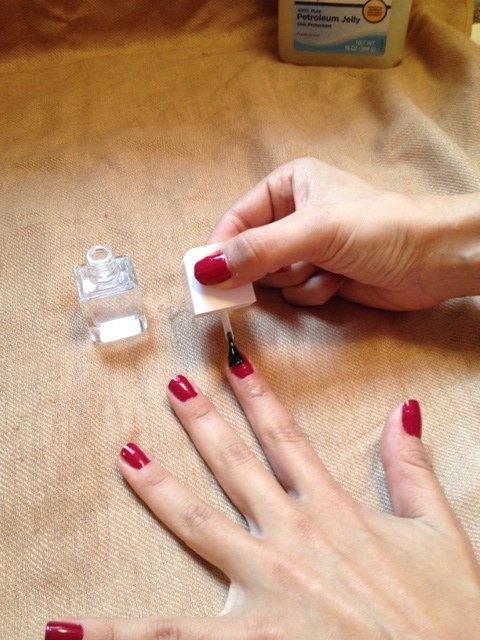
When your nails are dry, apply your favorite top coat. Lately, I can't get enough of Sephora's new Formula X top coat ($10.50, sephora.com). Yes, it's a little pricey — but think about how many at-home manicures you can use this puppy for. Totally worth it.
Now, allow your nails to dry for another 10 minutes without touching a thing.
Voilà!
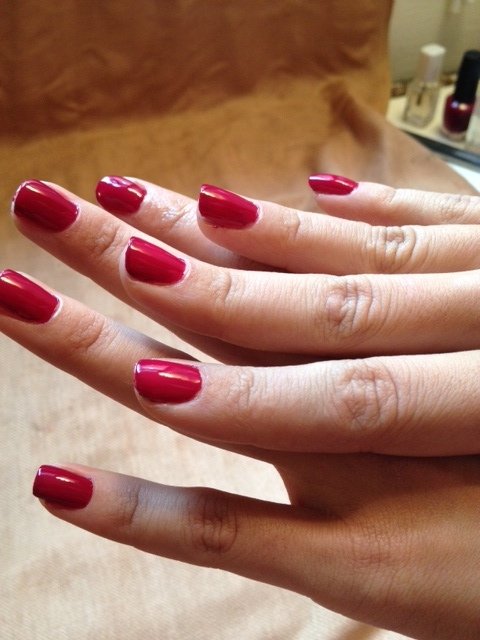
The last step to finishing your manicure is using a cotton swab dipped in nail polish remover to carefully fix any mess-ups. Graze against mistakes lightly so you don't smear your perfectly painted fingers.
And bim bam boom — you're done and ready for a night on the town!


