So you want to make your own baby food? Good news: You don’t need to clutter your baby registry — or your cabinets — with special equipment designed just for babies.
Here are 16 things that you may already have in your kitchen that you can use to whip up homemade meals for your little one. And no, you don’t need all of them. But you might want to pick up one or two you don’t have. Don’t worry: You can use them long after baby’s moved past purees to make meals for the whole family.
Stephanie Kivich is a personal chef and culinary instructor. She lives in New Jersey with her husband and her twin toddler sons.
Photo via iStock.com/Qwart
Sharp Knife
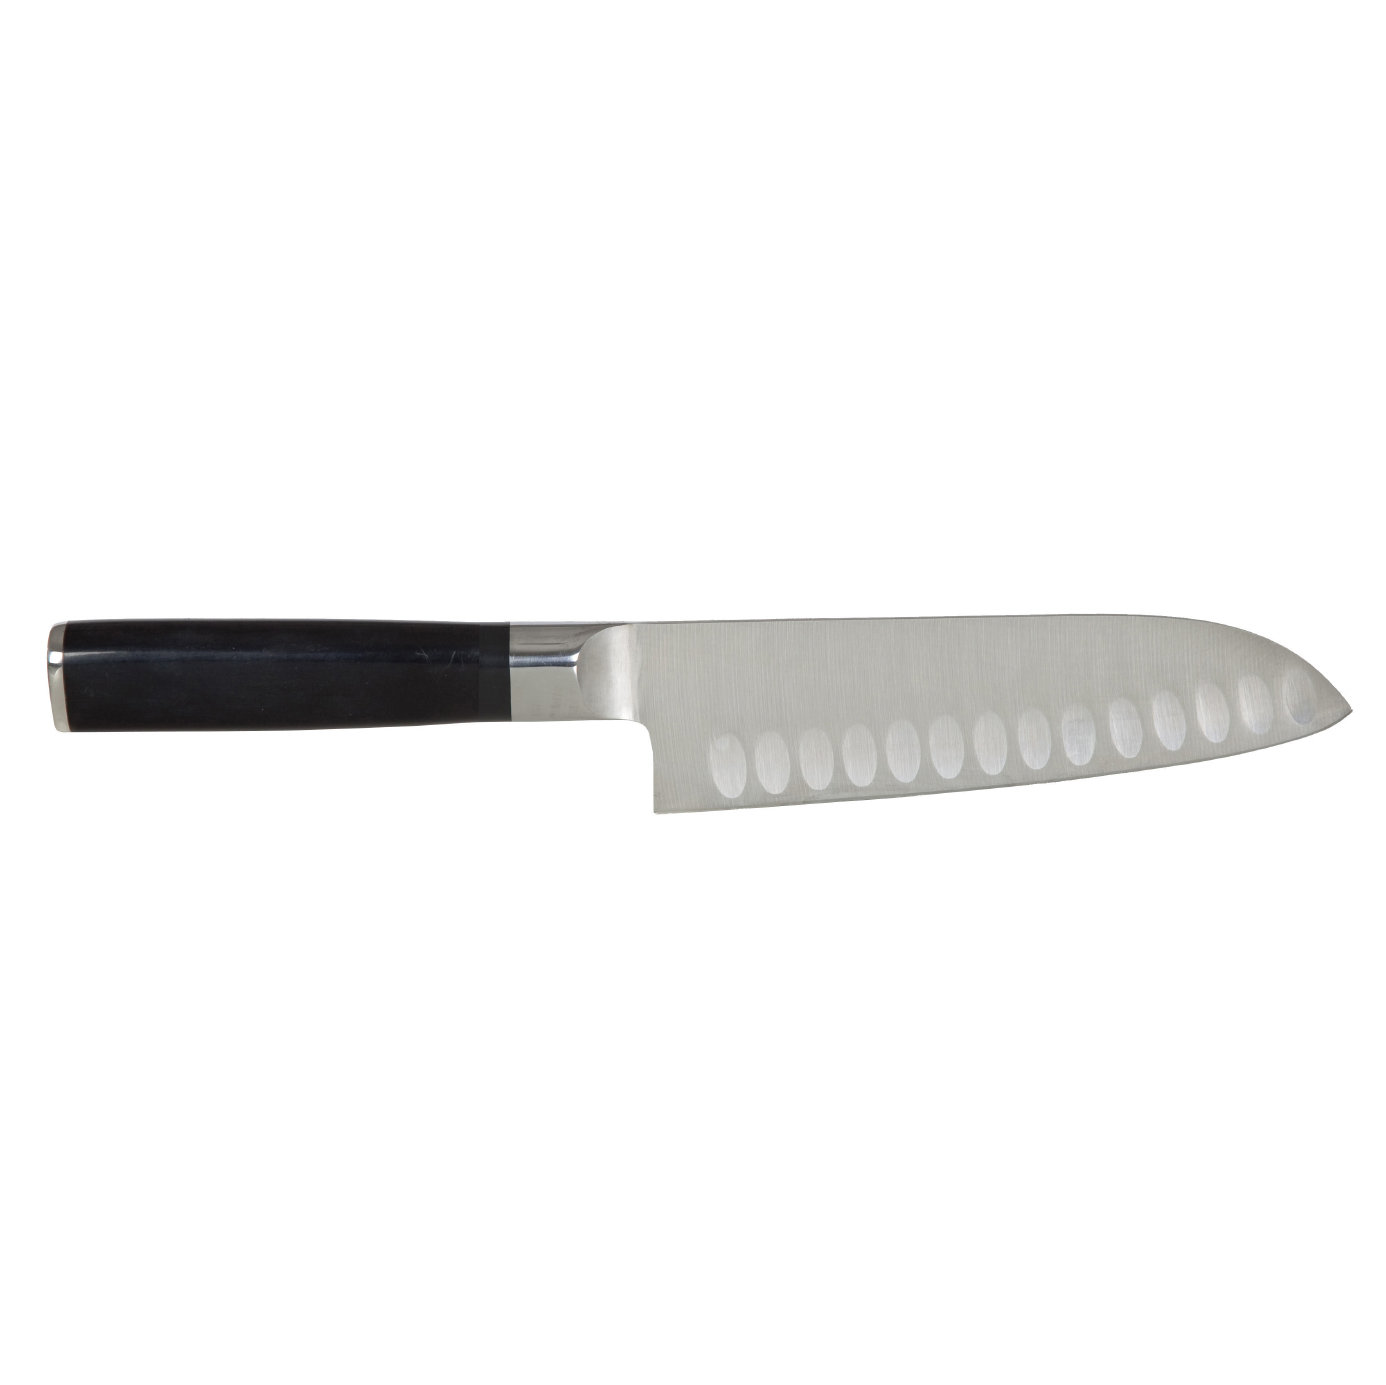
Making baby food does require some prep work and for that you’ll need this most basic — and essential — of kitchen tools. An 8” chef’s knife is an ideal choice, since it can cut through large, tough-skin produce such as acorn squash and watermelon. When prepping food, cut even slices or chunks to promote even cooking.
Worried about the blade? Sharp knives actually are easier and safer to use, as struggling with dull knives often leads to injury. Kitchen supply stores often offer knife-sharpening services for a reasonable fee.
Cutting Board
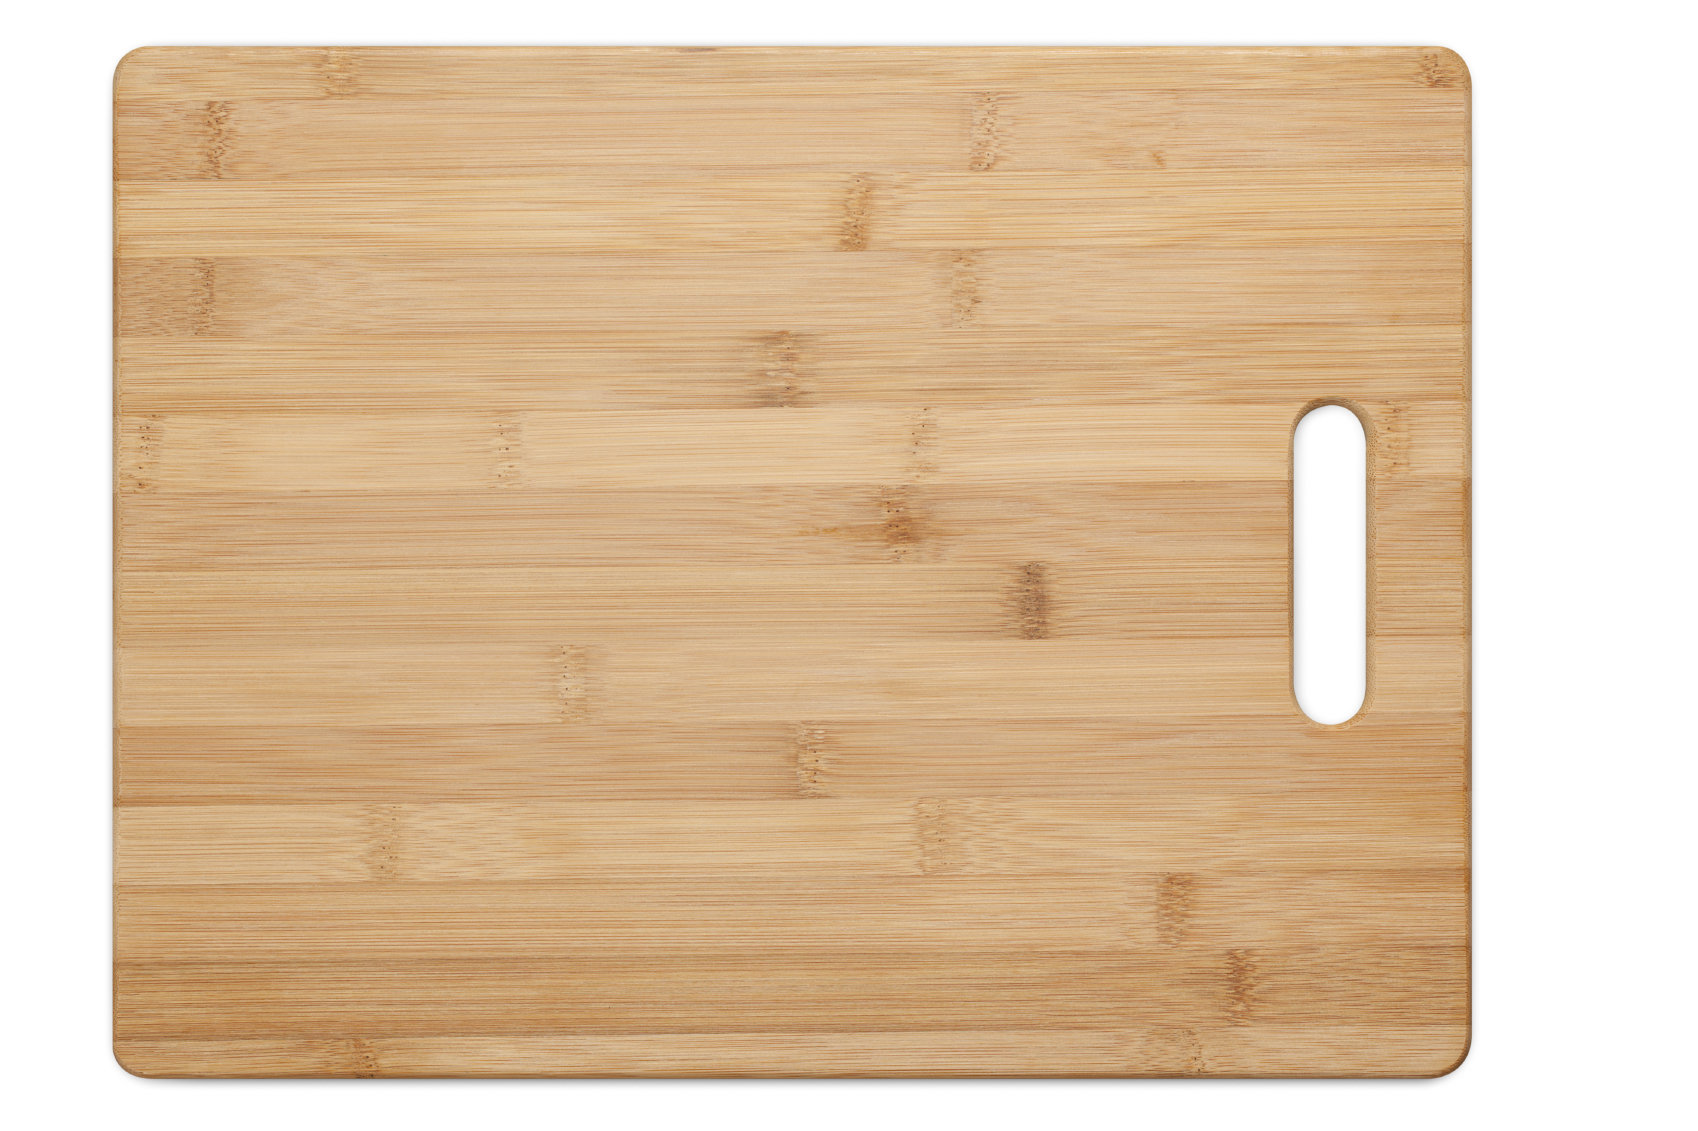
Even the most modestly stocked kitchen will have a couple cutting boards. Wood, bamboo, plastic — use whatever you have on hand. For the sake of keeping things extra clean for baby, consider earmarking a separate board for raw meat and fish — all cutting boards, especially well-worn ones, can harbor bacteria. Limiting exposure to raw protein reduces the chance of cross-contamination with produce and other foods that are consumed without cooking (which kills bacteria).
Vegetable Peeler
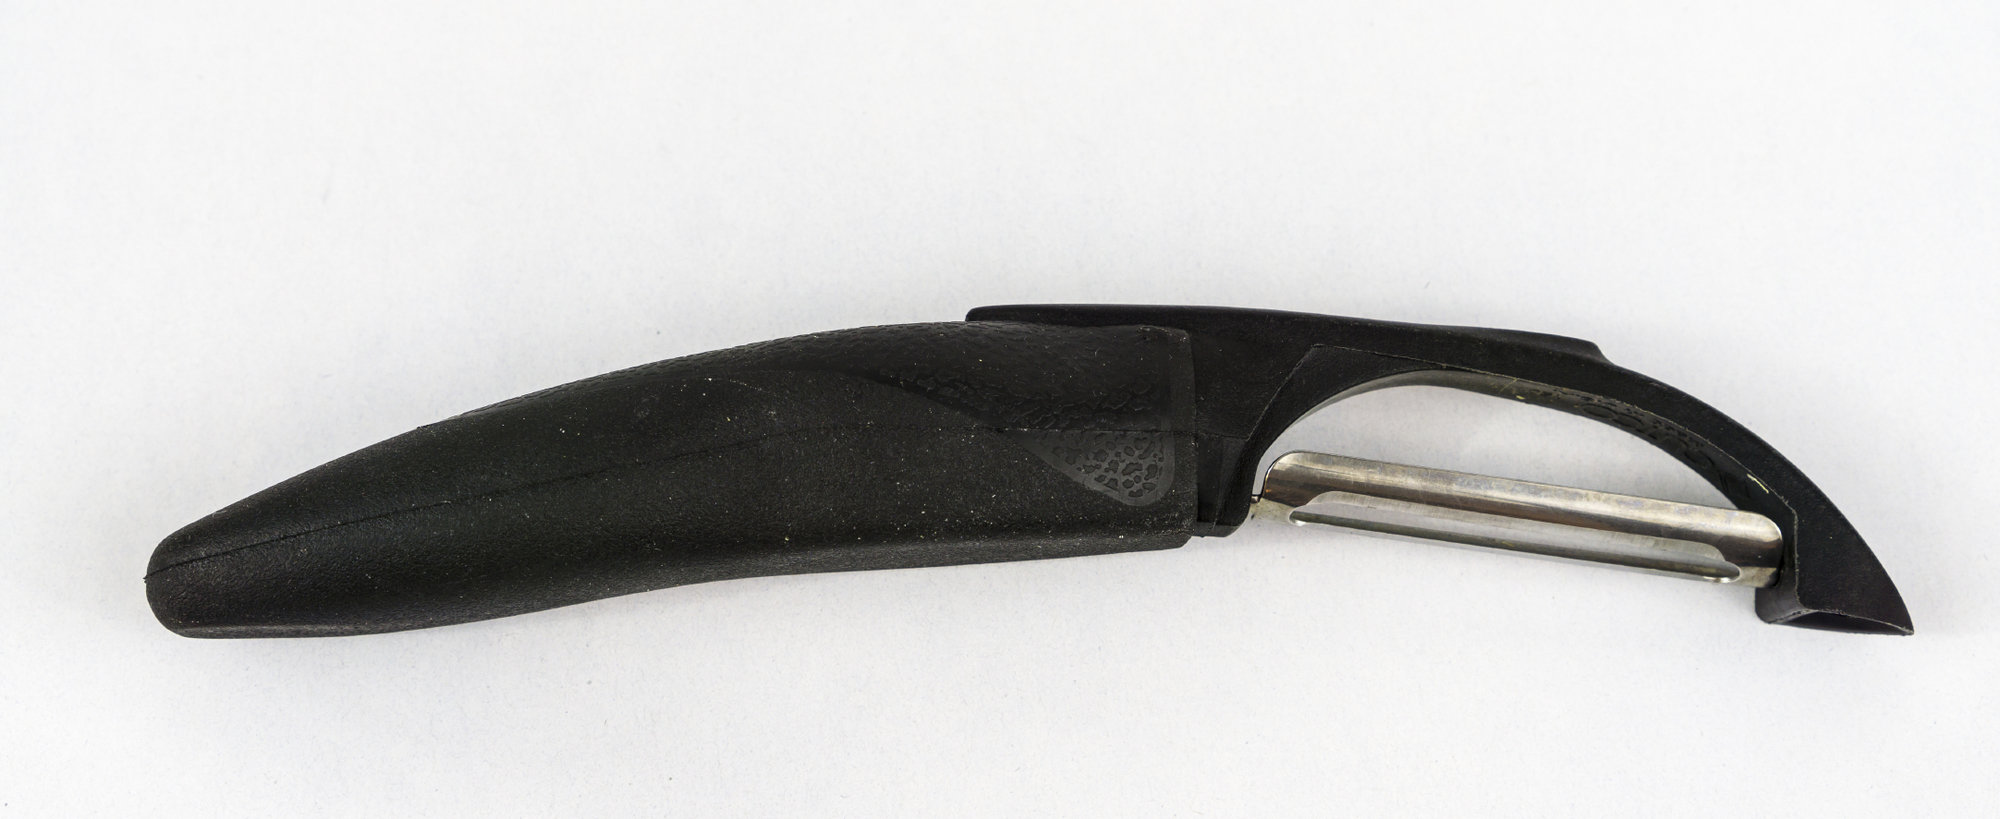
When baby first starts to eat solids, you’ll want to remove the peel from most if not all fruits and vegetables, as they can be difficult to digest. Before long, you can keep the skins on, particularly when opting for organic produce.
The veggie peeler also comes in handy for the picky toddler stage, when eating raw carrots, cucumbers, and zucchini in “ribbon” form is a lot more fun.
Sheet Pan
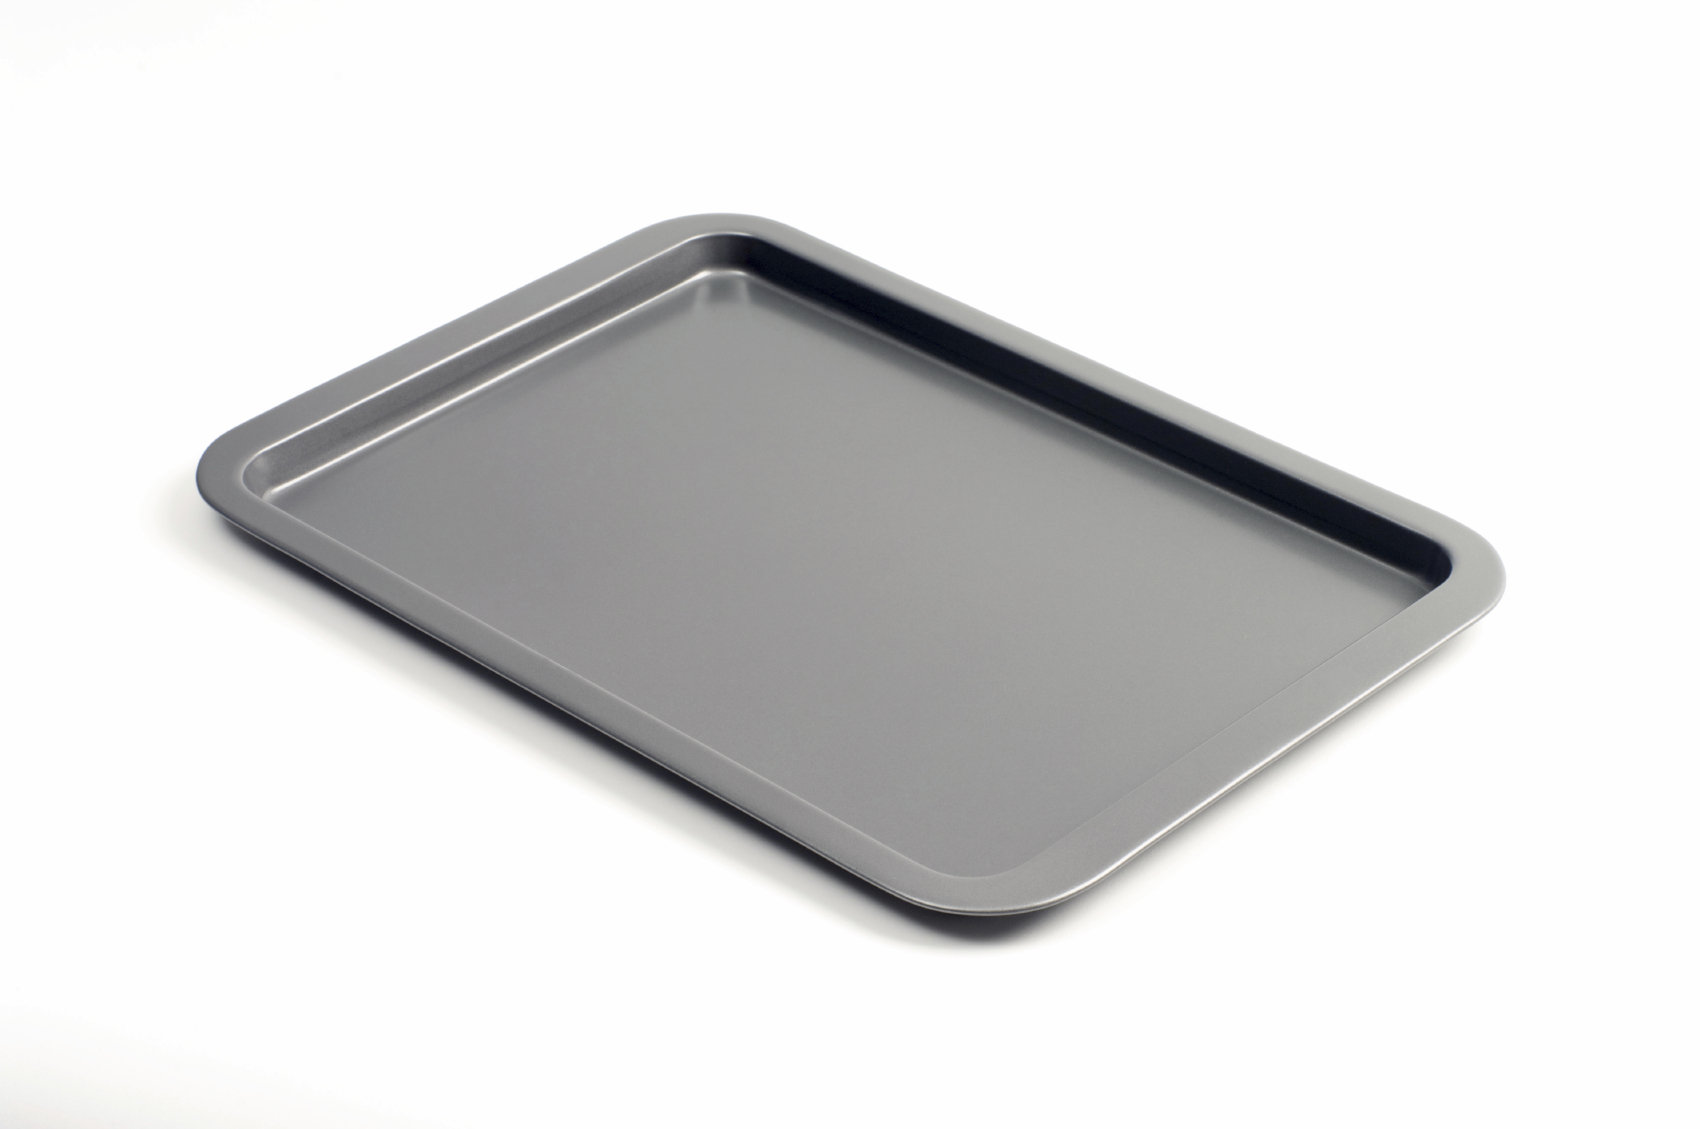
Sheet pans are a must for roasting fruits and vegetables, which arguably yields the tastiest baby food. Roasting caramelizes the natural sugars found in produce, and the moisture lost in the process tends to amp up flavor.
Veggies can be tossed with olive oil and herbs. Most fruits pair well with spices like cinnamon and nutmeg, especially pears and peaches. For easy cleanup, line the sheet pan with parchment paper or lightly greased aluminum foil.
Steamer Basket
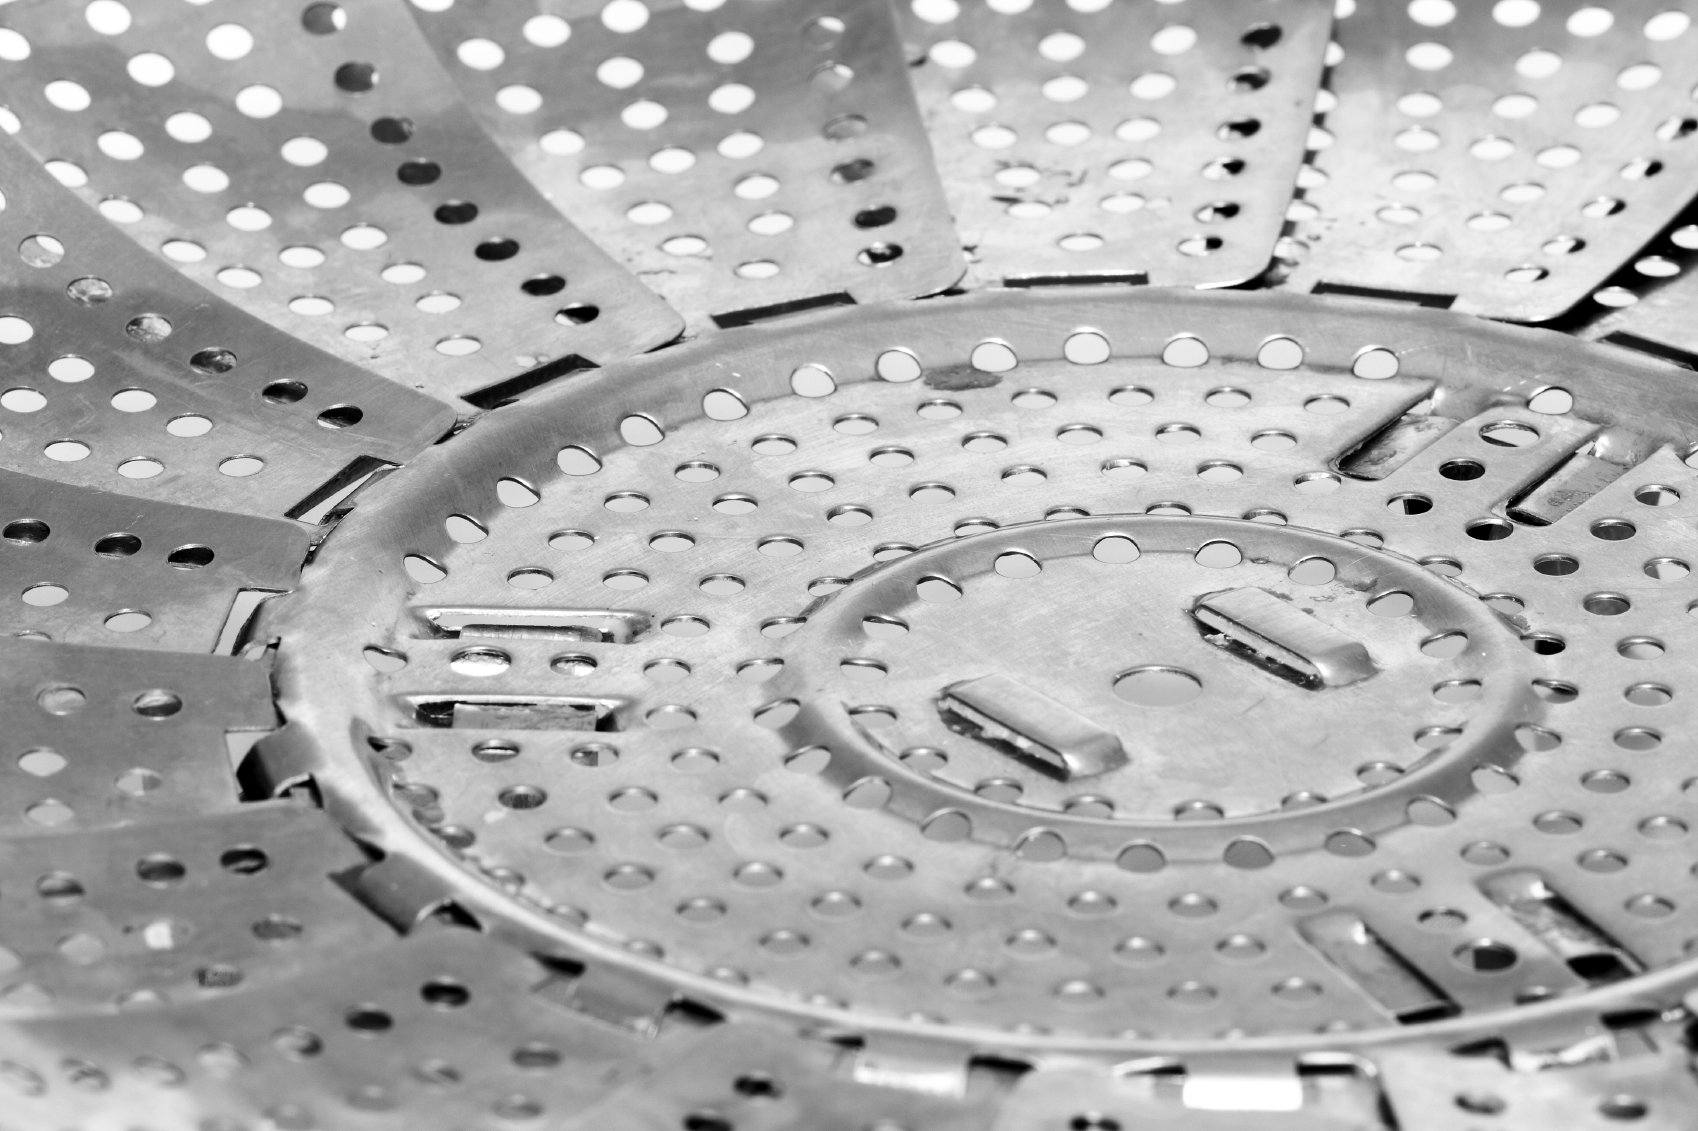
Steaming is thought to be among the healthiest way to prepare food, as it helps retains vitamins and minerals often lost in other methods, such as boiling. It is also among the easiest ways to cook — place a collapsible steamer basket at the bottom of a pot, pour only enough water so its surface is directly under the basket, heat until boiling and then add your produce. Cover with a tight lid and steam until tender (most foods cook in under five minutes).
More from The Stir: 7 Signs Your Baby Is Ready for Solid Food
Stock Pot
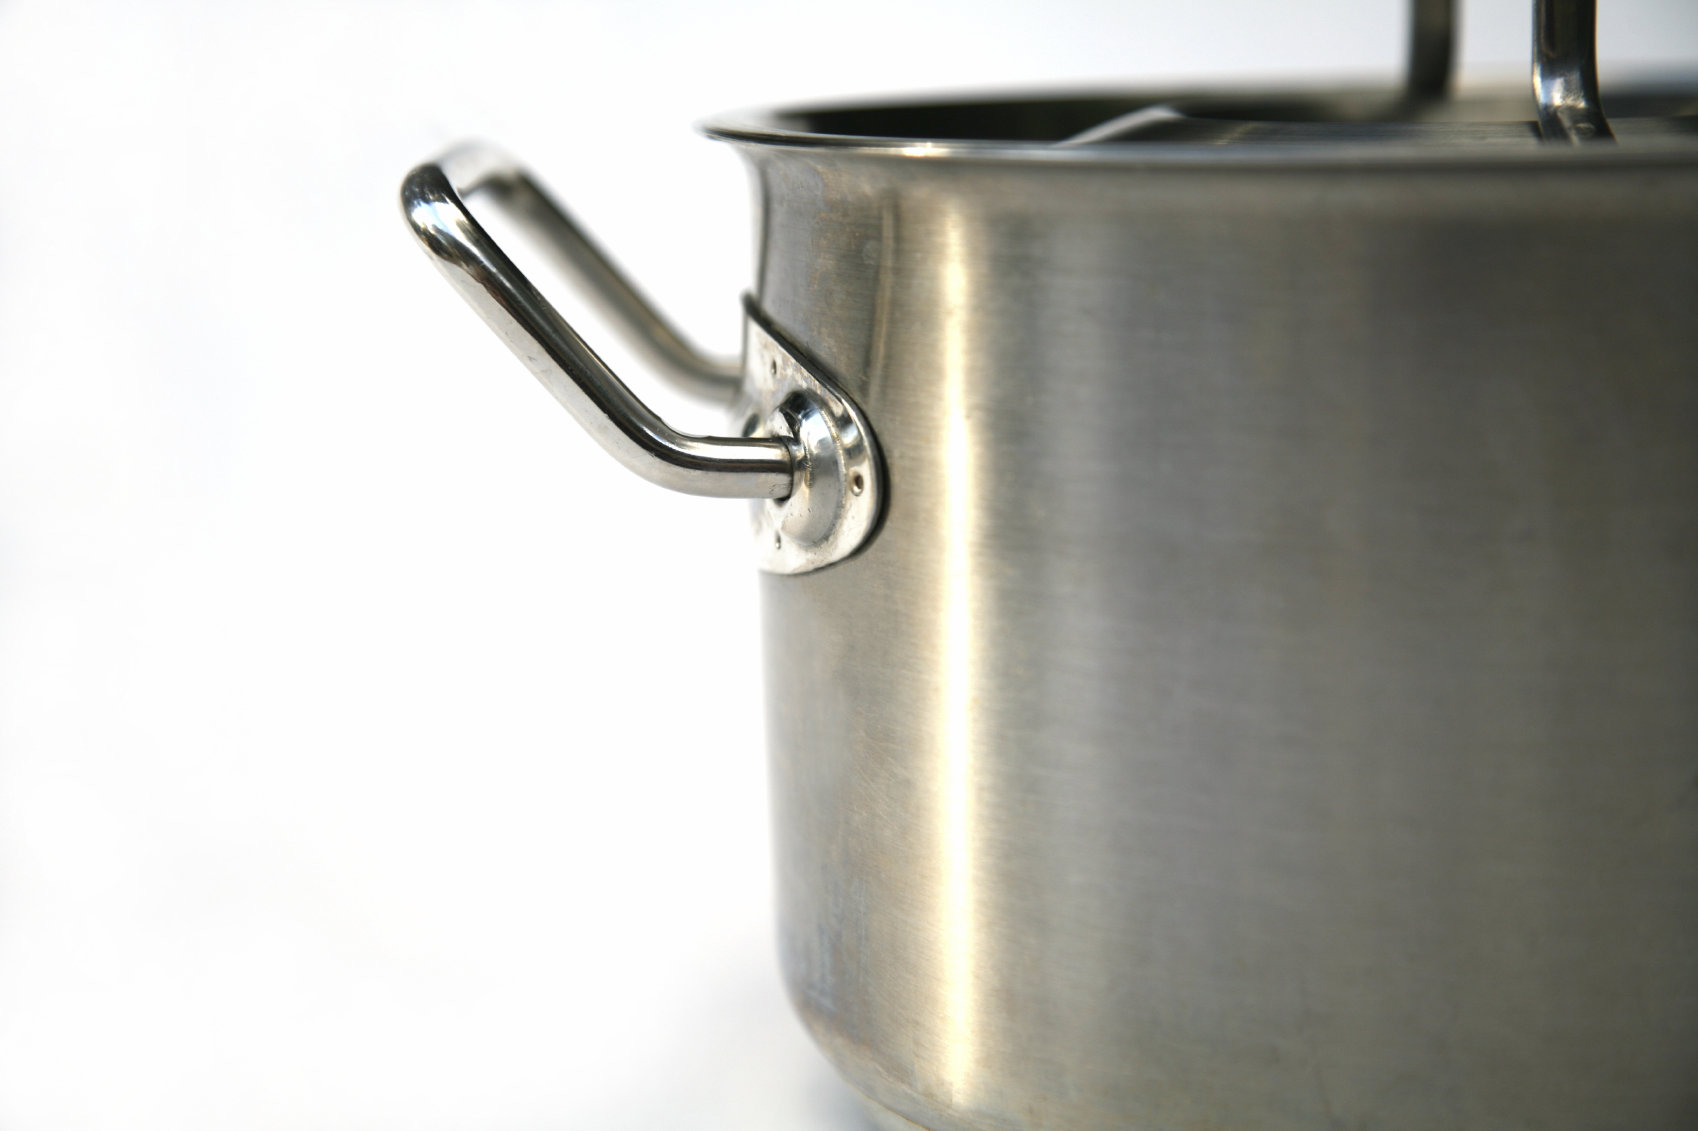
Any medium-to-large pot can work, so long as it can accommodate the size of your steamer basket. A matching lid that snuggly fits is best but a sheet pan placed on top of the pot can work in a pinch, so long as it completely covers the opening.
The pot can also be used for poaching fruits like pears or apples. Unlike boiling, poaching gently cooks the fruit over low heat in a small amount of liquid. Infuse the fruit with extra flavor by adding whole spices such as cinnamon sticks, cloves, allspice berries, or even cracked cardamom pods.
Blender
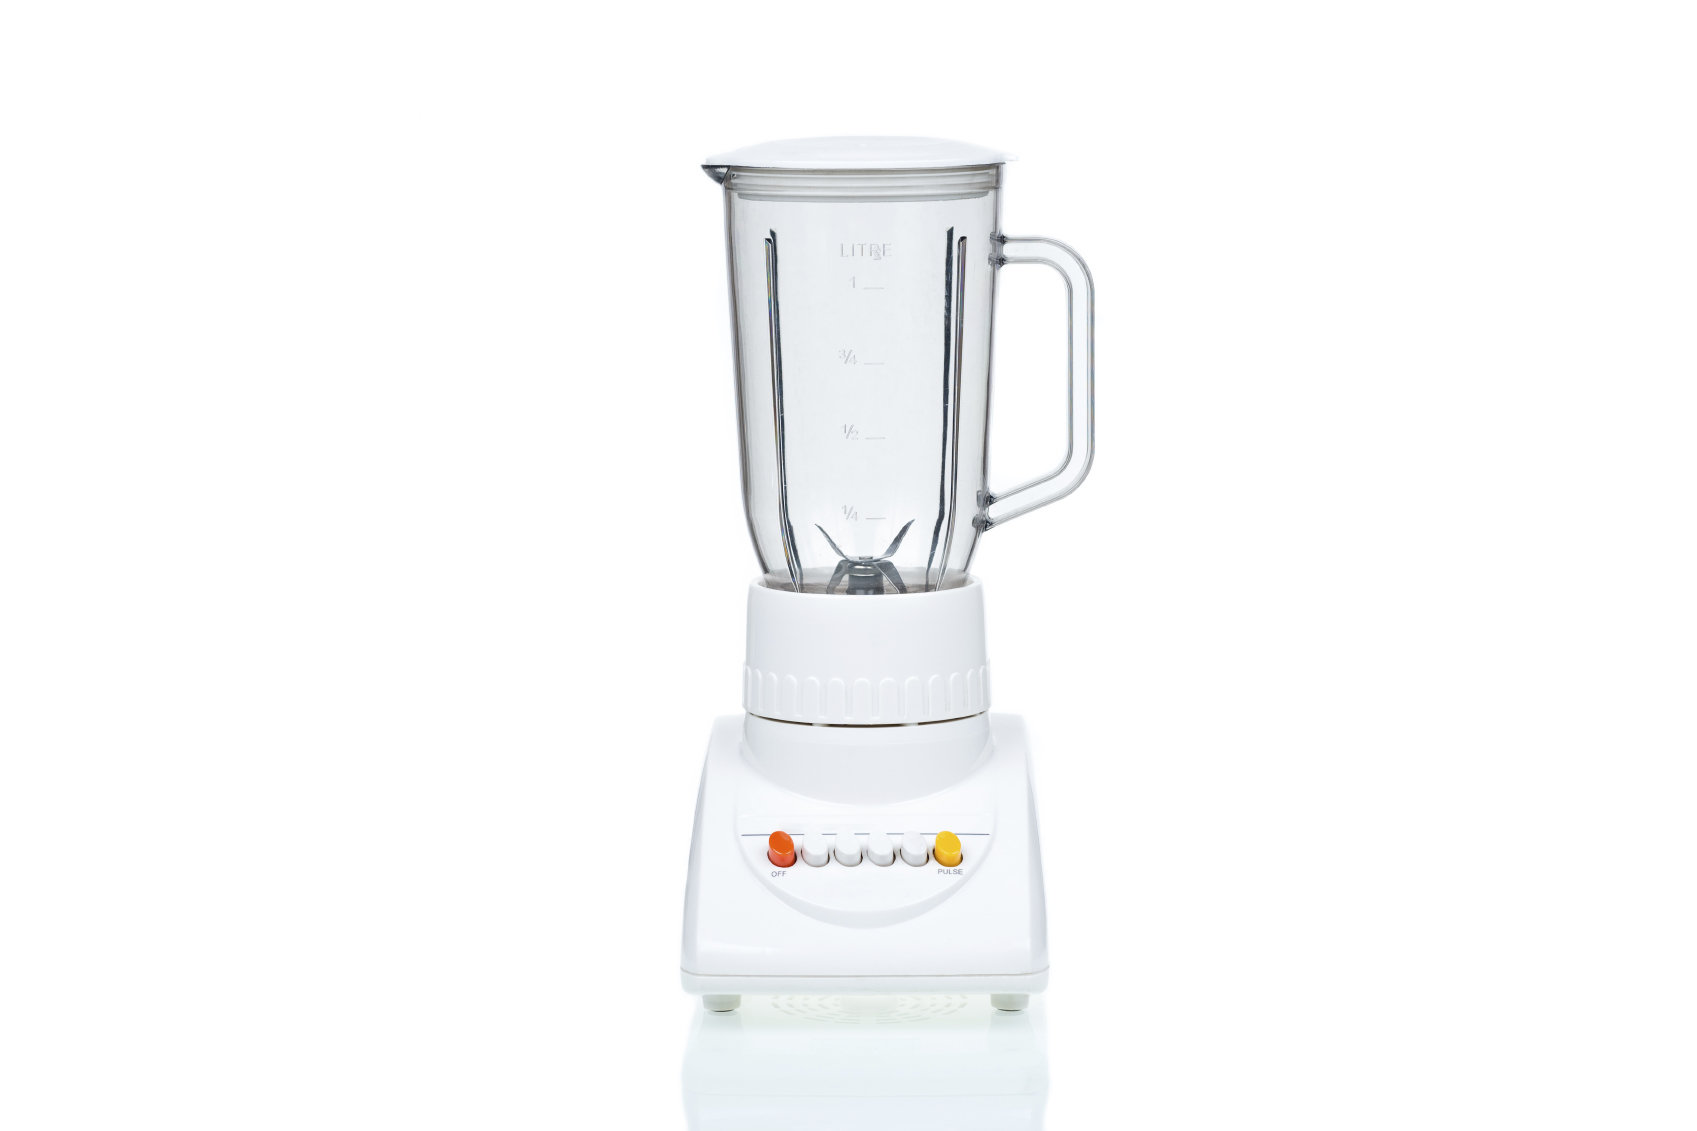
The workhorse of any homemade baby food making venture, a standard blender (or handheld immersion blender), can make a variety of meals ready for baby. Use it in the beginning for single-ingredient foods and later, for smoothies and for blending adult foods, like chunky soups and stews for your baby. For best results, pour some cooking liquid or water in before adding any dryer solids to encourage thorough blending.
Food Processor
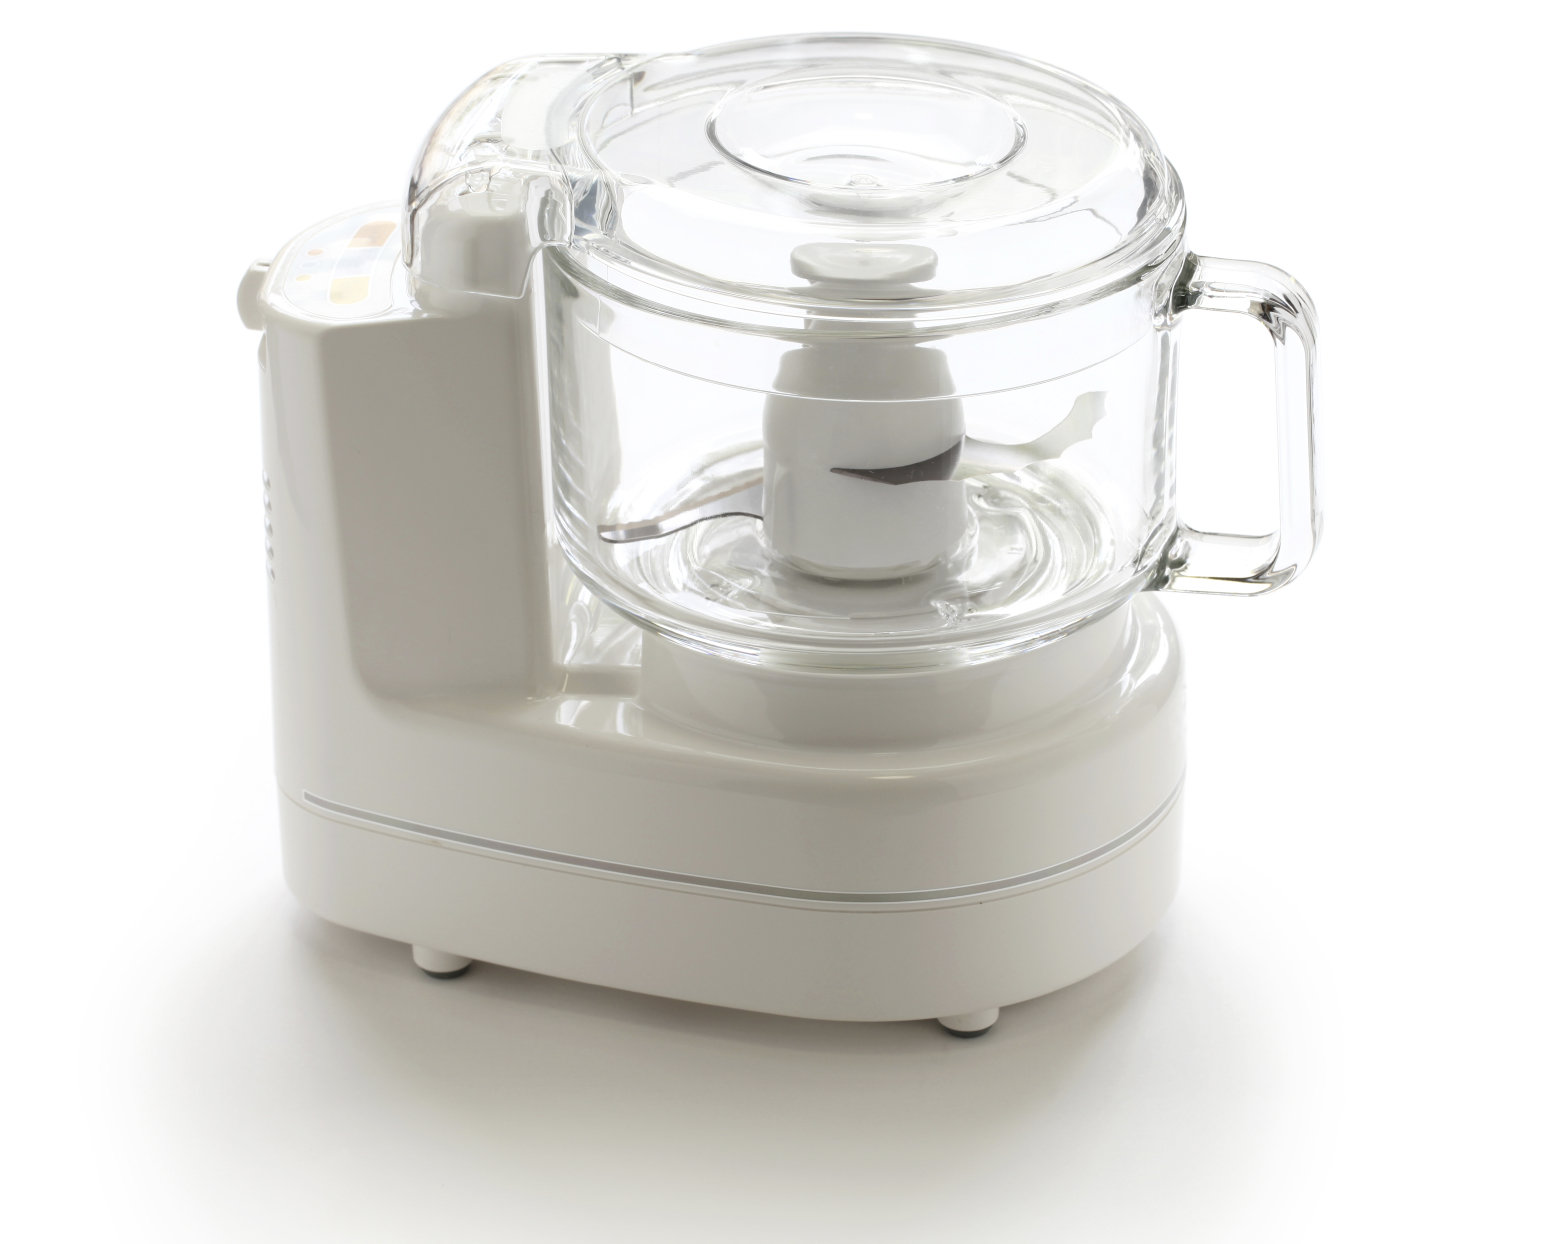
Unlike the blender, the food processor has the advantage of not requiring much liquid to sufficiently work, making it an excellent choice for mincing family dinner – from shish kabobs to stir frys – into baby-ready food.
Use it to grind your own infant cereals, cutting costs and introducing your baby to grains beyond rice and oatmeal, from barley and millet to kasha and quinoa (which are technically seeds). Process uncooked grains into a fine powder and prepare as you would any infant cereal. Note: Commercial cereals are iron-fortified, so if you're exclusively breastfeeding (formula contains iron) ensure your baby is receiving iron from other sources.
Fine Mesh Strainer or Sieve
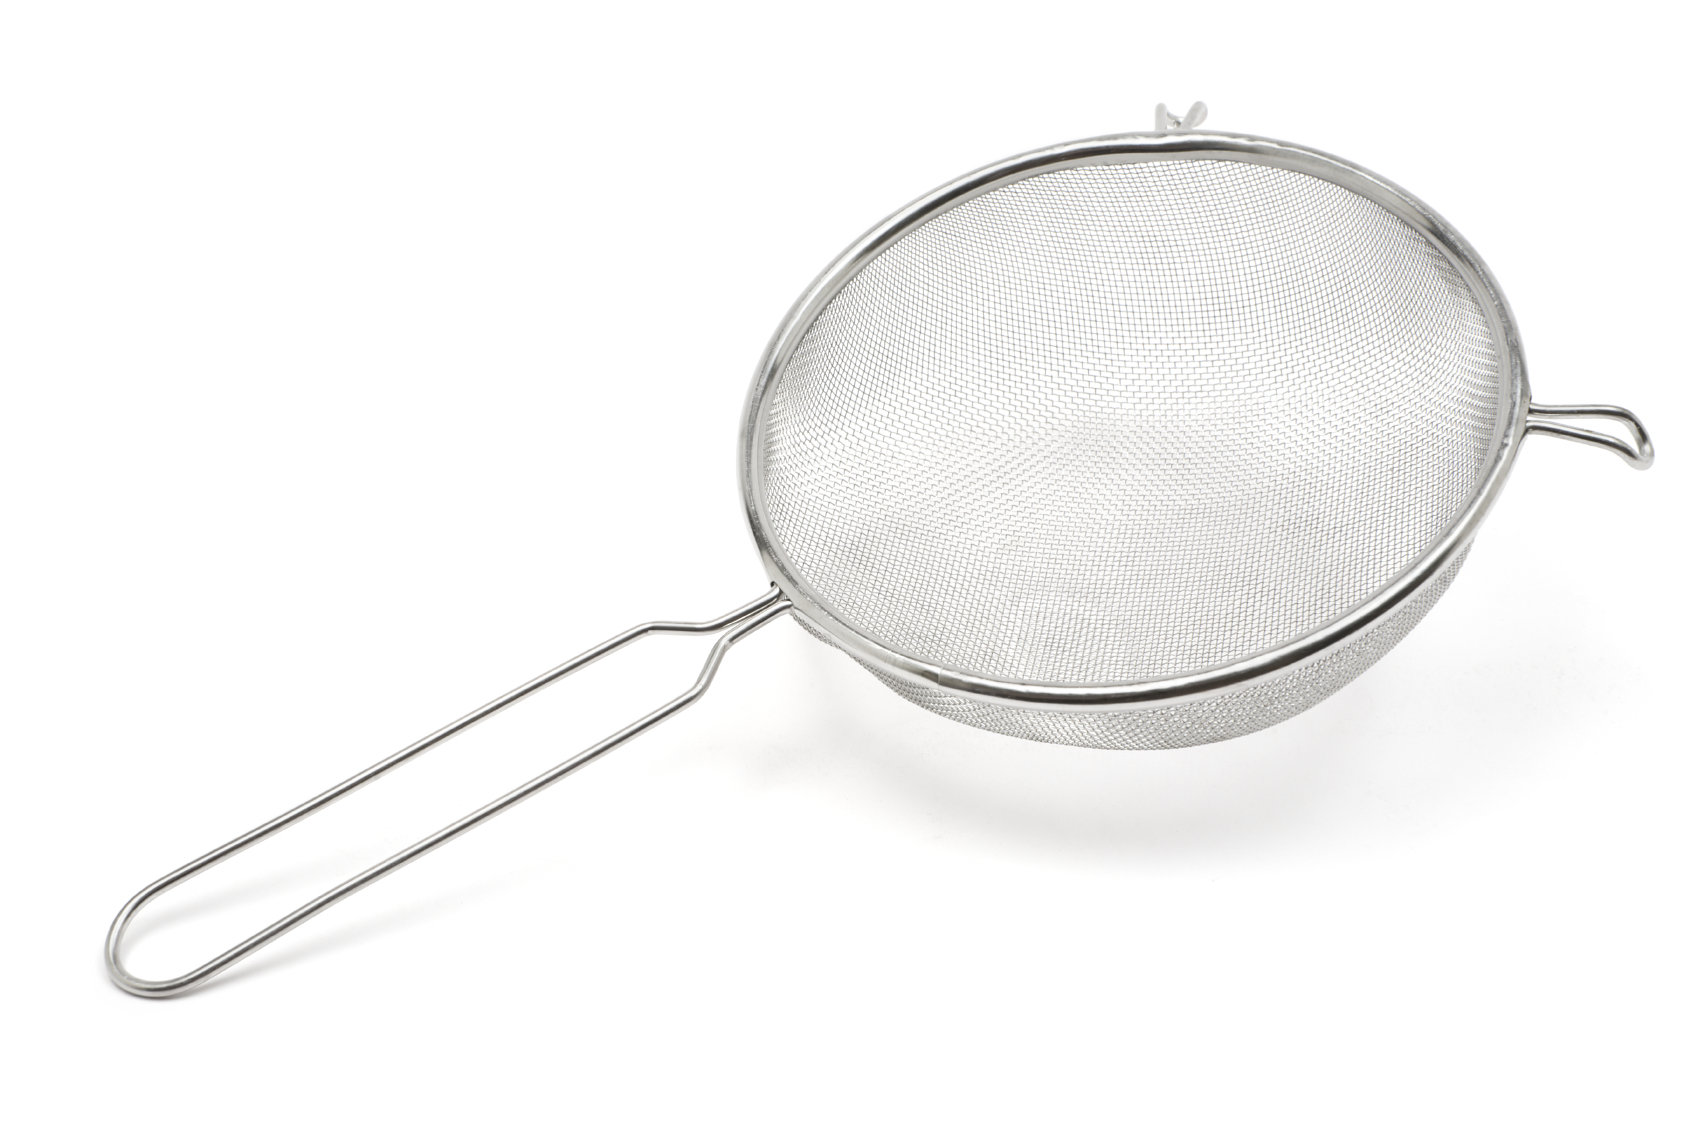
Higher-end blenders can pulverize practically anything, yielding a purée that's velvety smooth. But if your blender is more of a mid-range model, you can force your purée through a fine mesh strainer, catching any pea skins or green bean strings left behind.
More from The Stir: 5 Myths About Making Your Own Baby Food — Debunked!
Food Mill
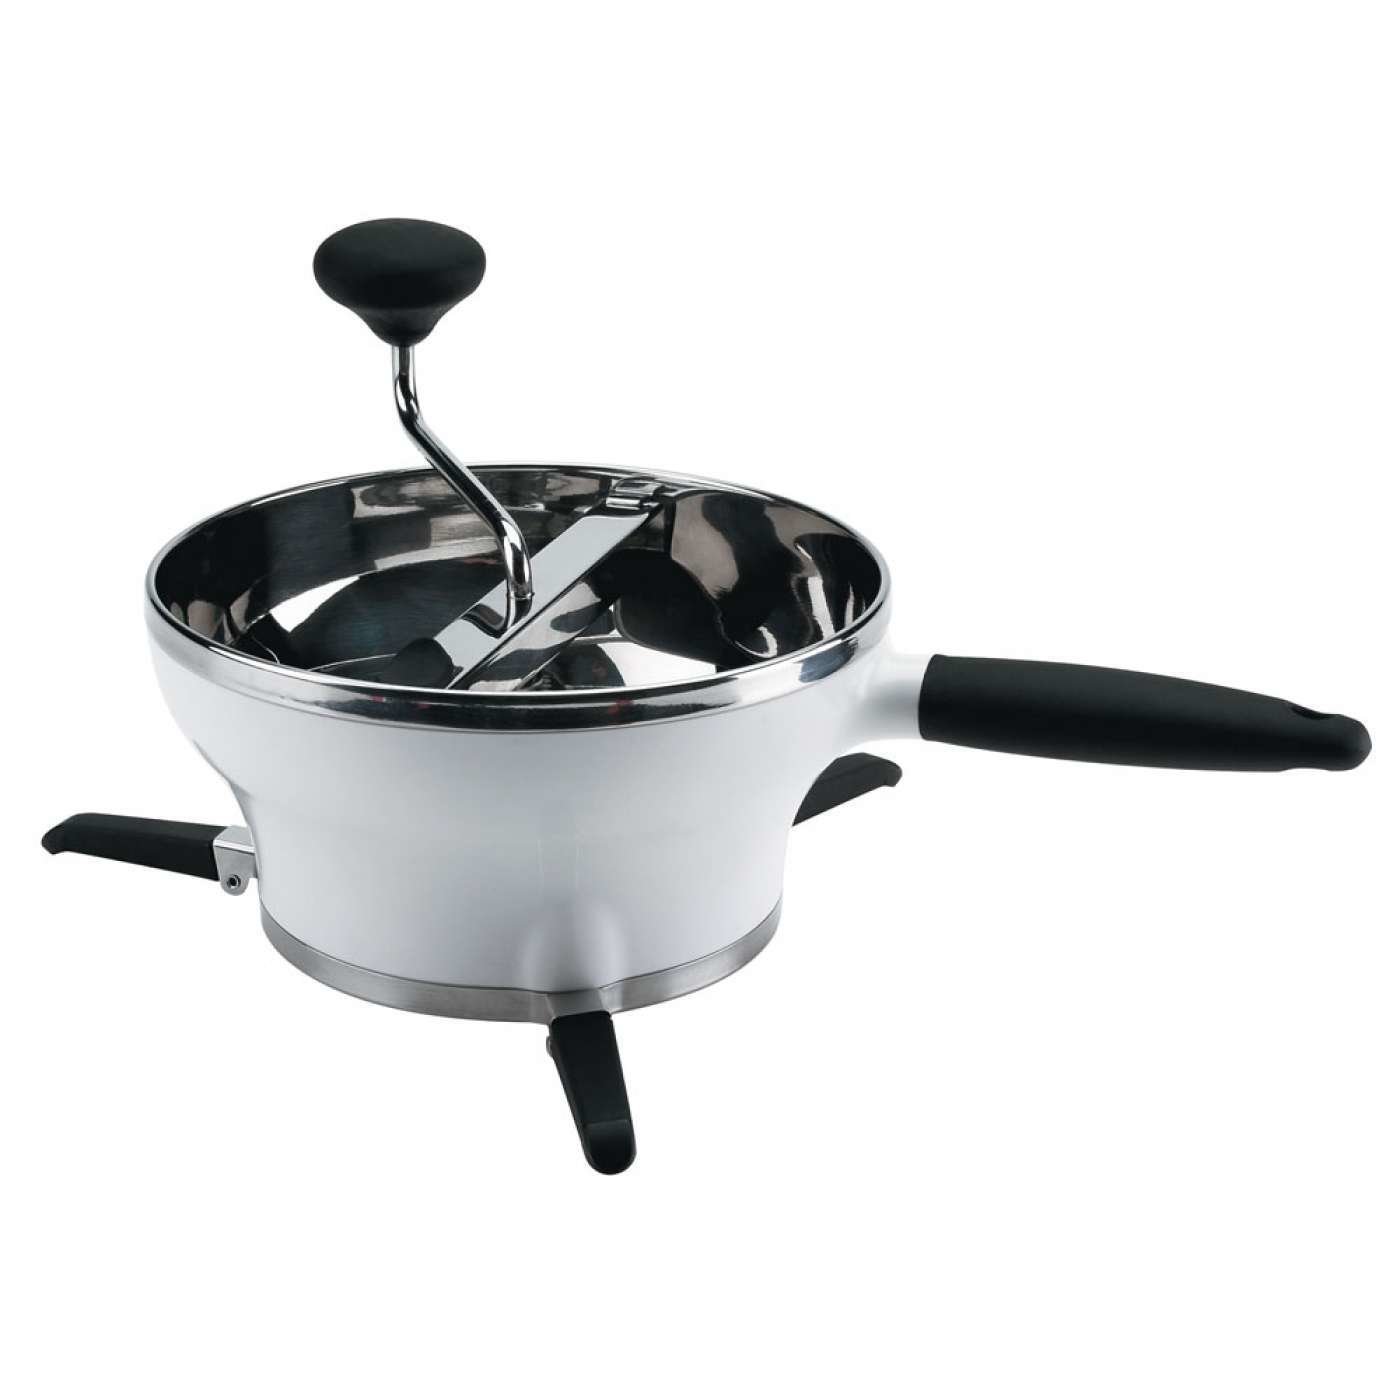
Maybe you don’t have a blender or a food processor but you have one of these contraptions sitting in your kitchen, be it a hand-me-down from an aunt or an impulse addition to your wedding registry. The food mill is an old-school way to purée but it gets the job done — and it ingeniously catches skins, seeds, and stringy bits, yielding a pillowy soft product sure to please your baby.
Box Grater
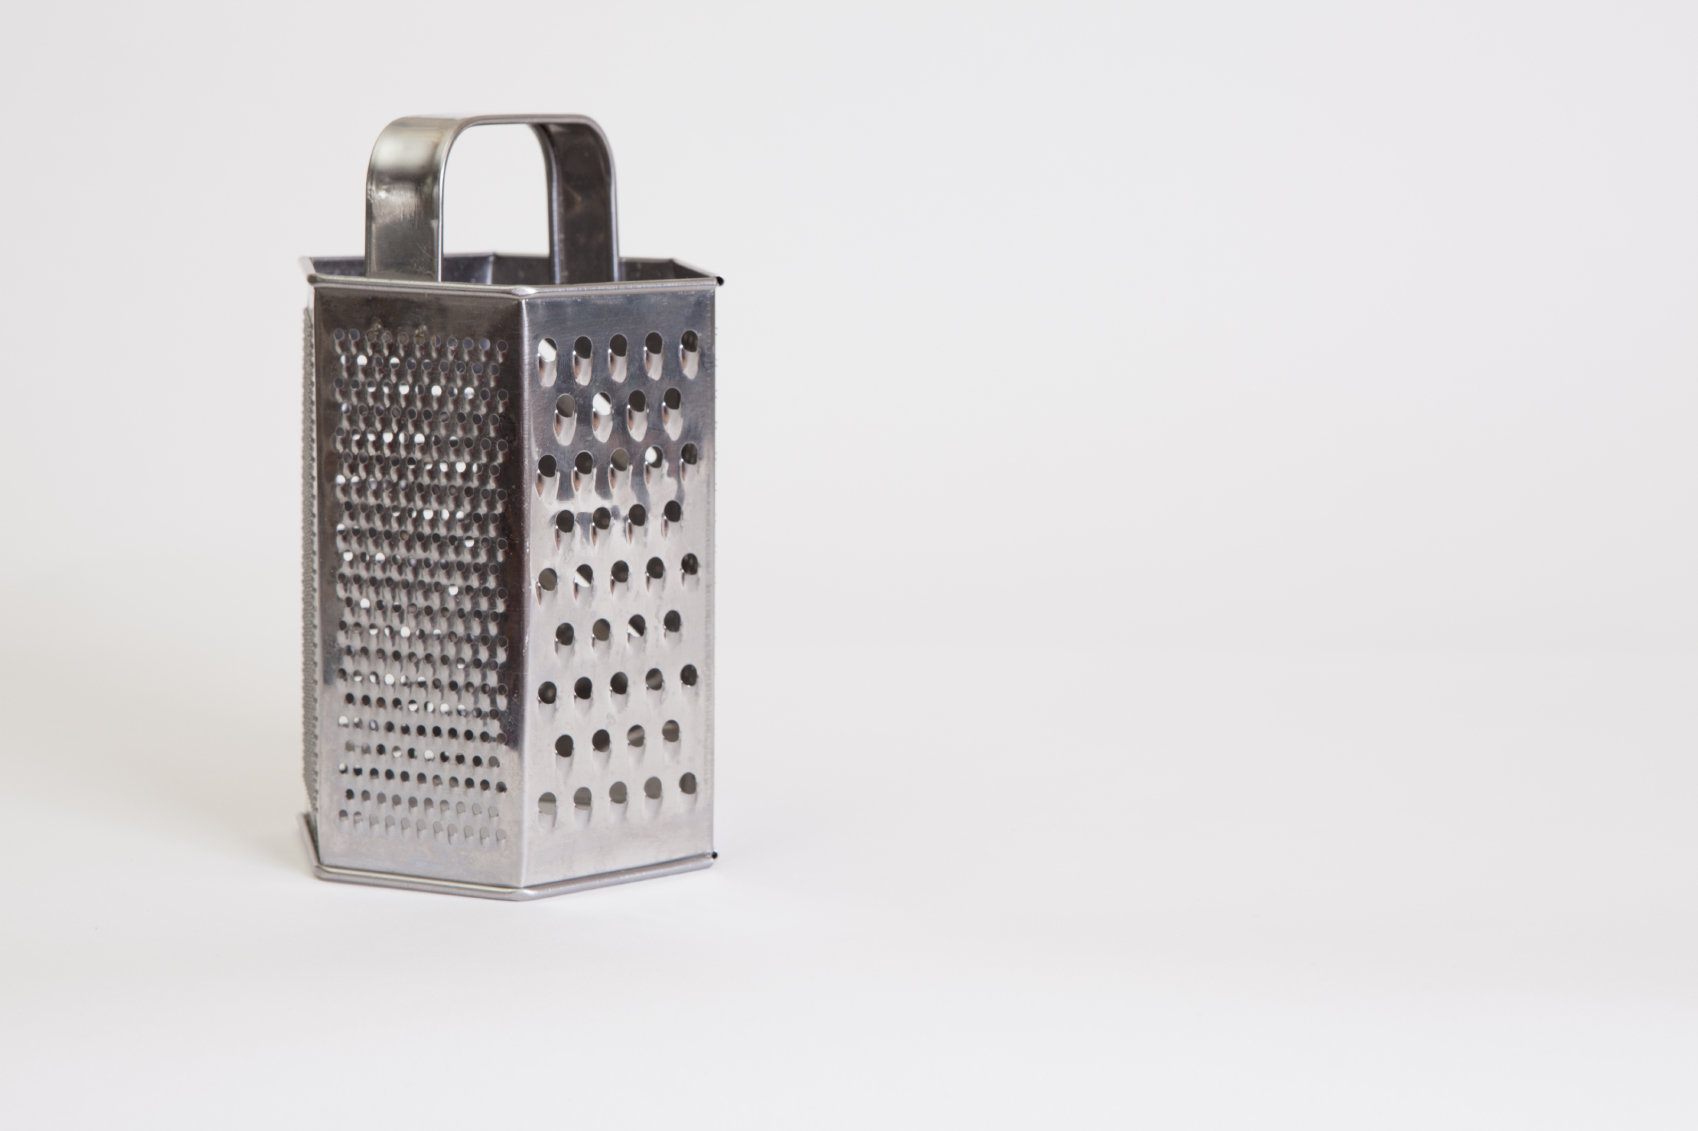
A great tool for when your baby starts to transition out of purées, the box grater can turn an apple into chunky applesauce in less than 60 seconds. Use the grater’s finer side at first, saving the coarser side for when your baby can handle more texture. Grate raw pears into oatmeal or yogurt. Finely shred raw carrots or sweet bell pepper into hummus or bean dip. And for vegetable-adverse toddlers, sprinkle favorite foods like sweet potatoes and pasta with colorful “sprinkles” (a.k.a. shredded frozen veggies).
Fork
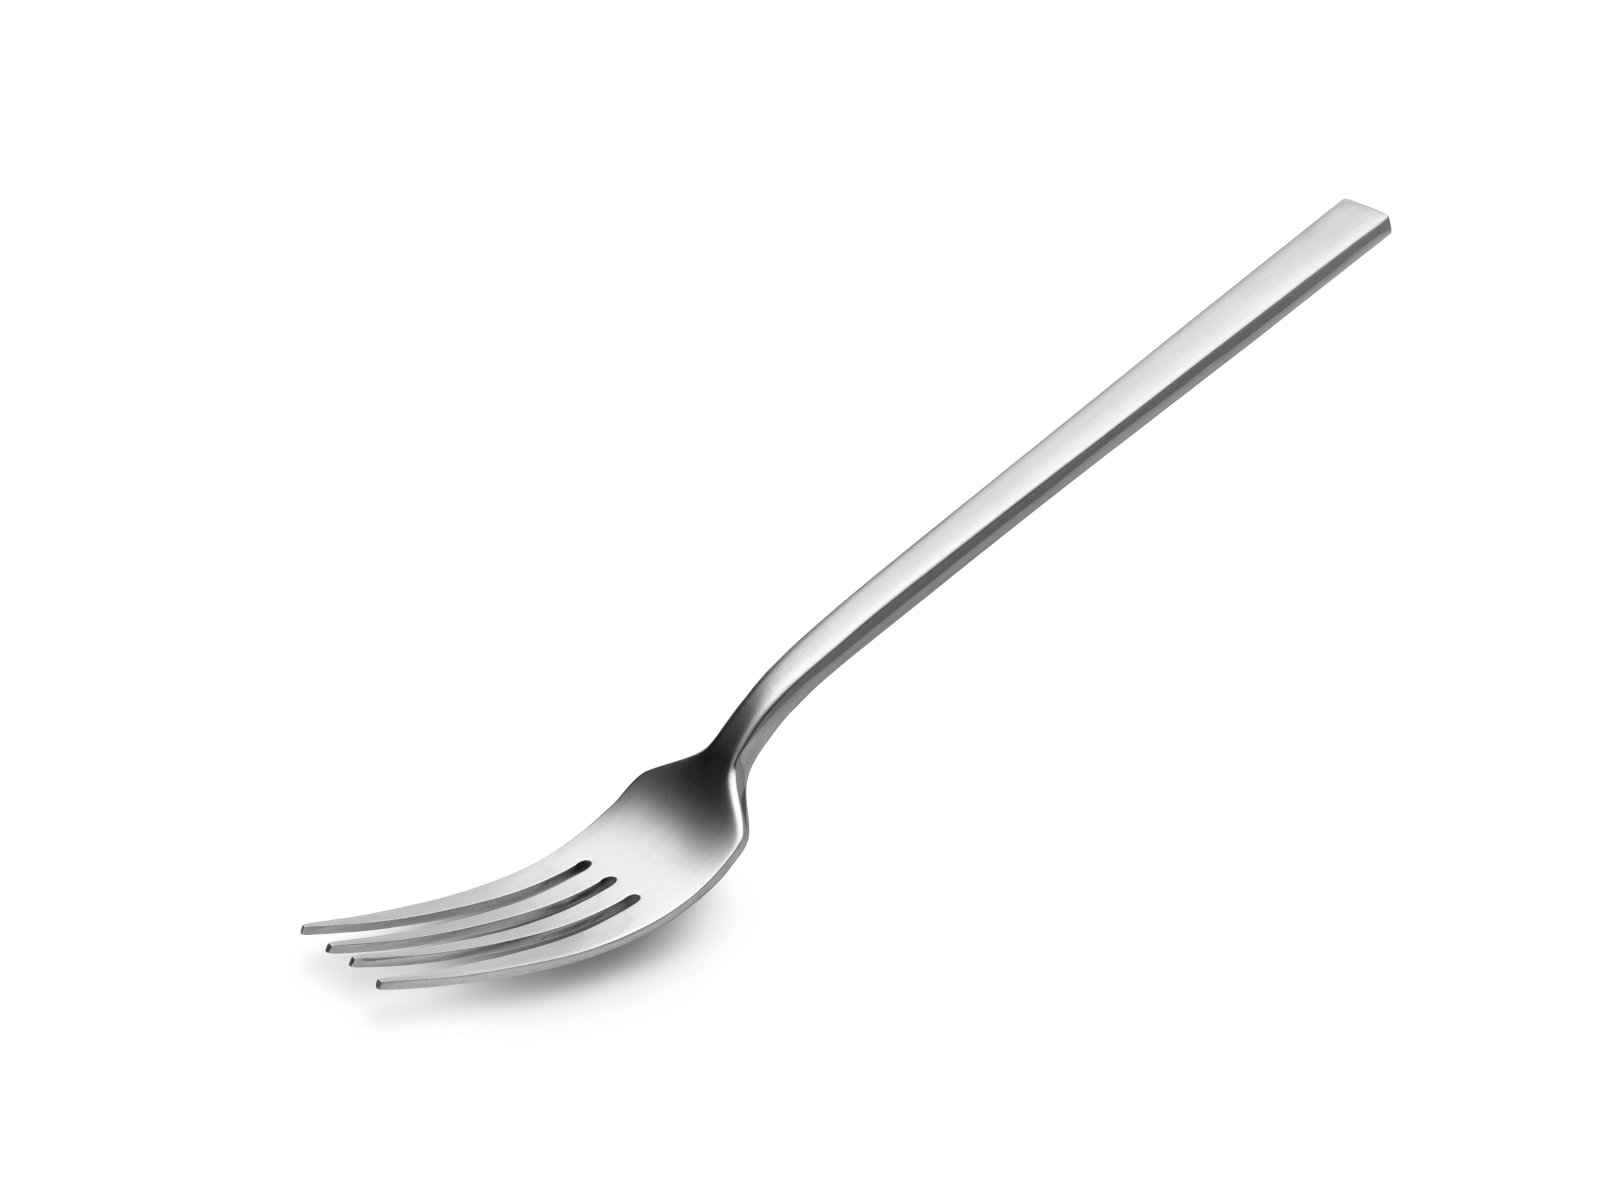
Simple, easy, and fast. A fork can turn a banana, an avocado — even a ripe pear — into baby food in mere moments.
Potato Masher
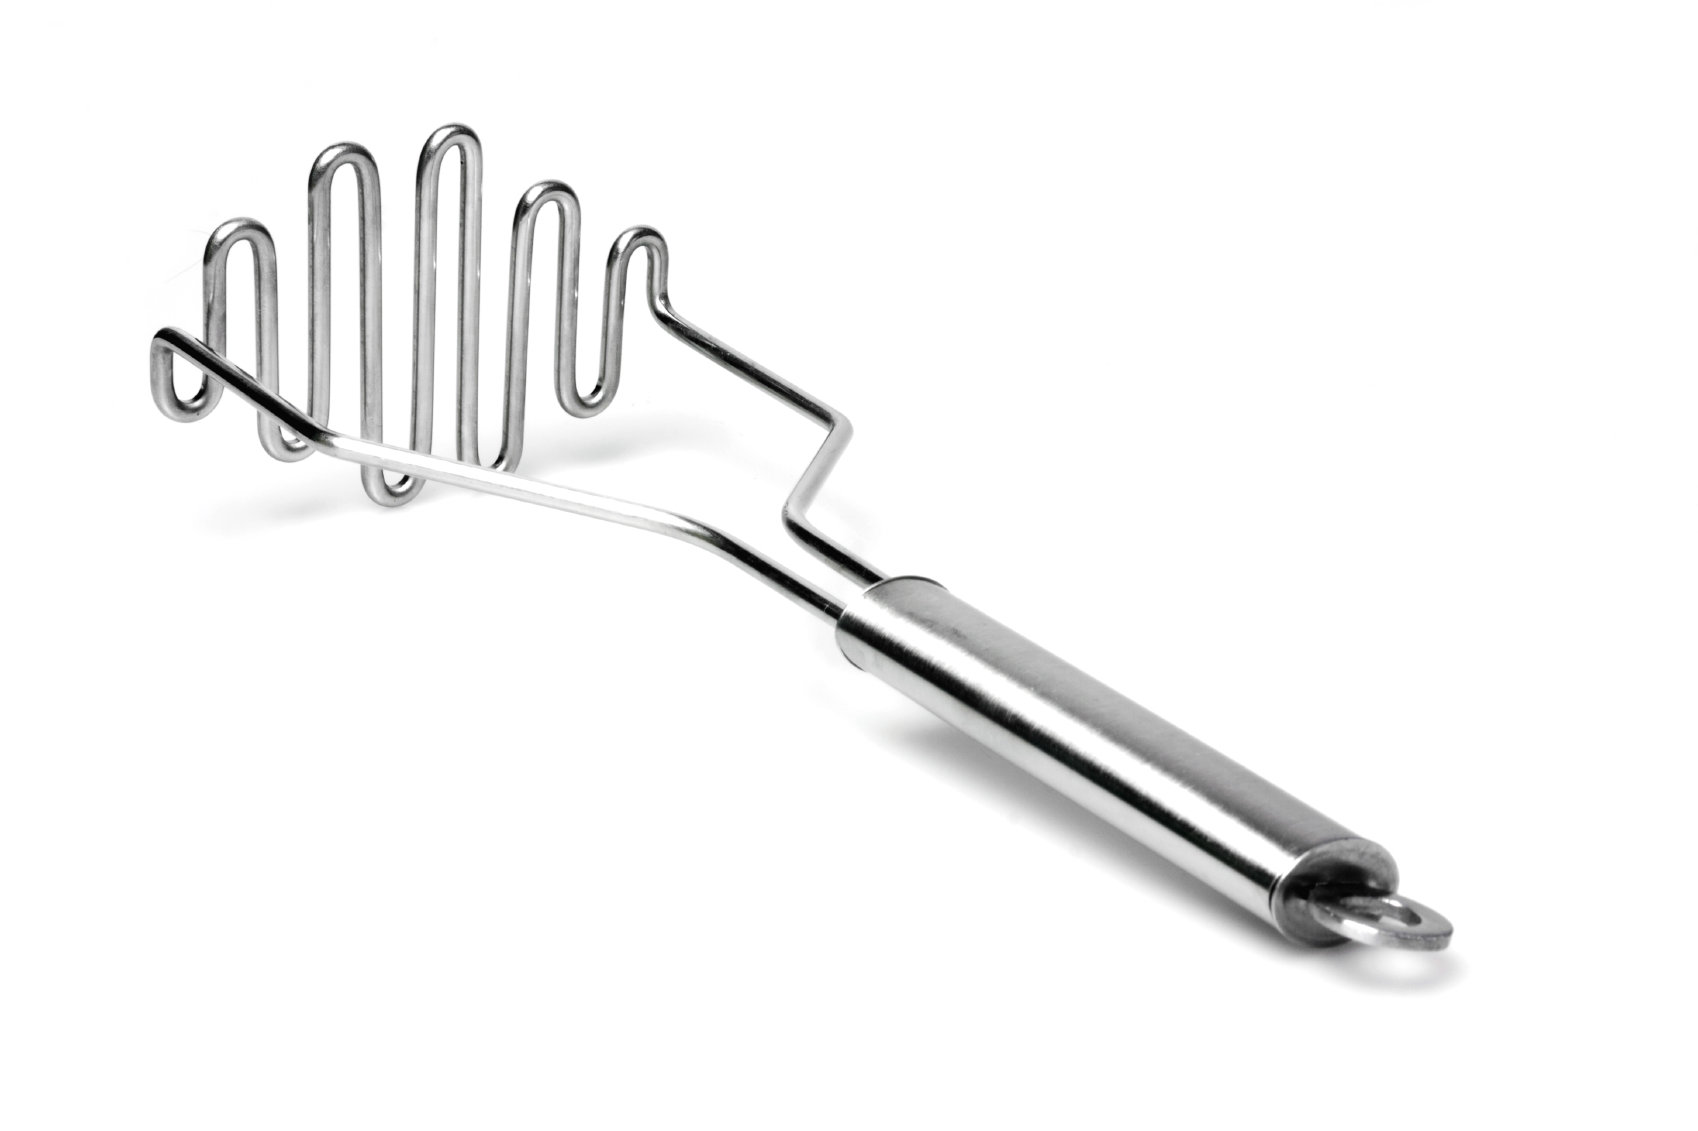
As your baby gets older and can handle more texture, there’s no need to dirty the blender or food processor. Use a potato masher to make a variety off foods baby-ready including steamed or roasted vegetables like winter squashes, rutabagas, and sweet potatoes or cooked fruit such as apples, pears, and peaches.
More from The Stir: 7 Exciting Baby Food Milestones Beyond the First Solids
Ice Cube Tray
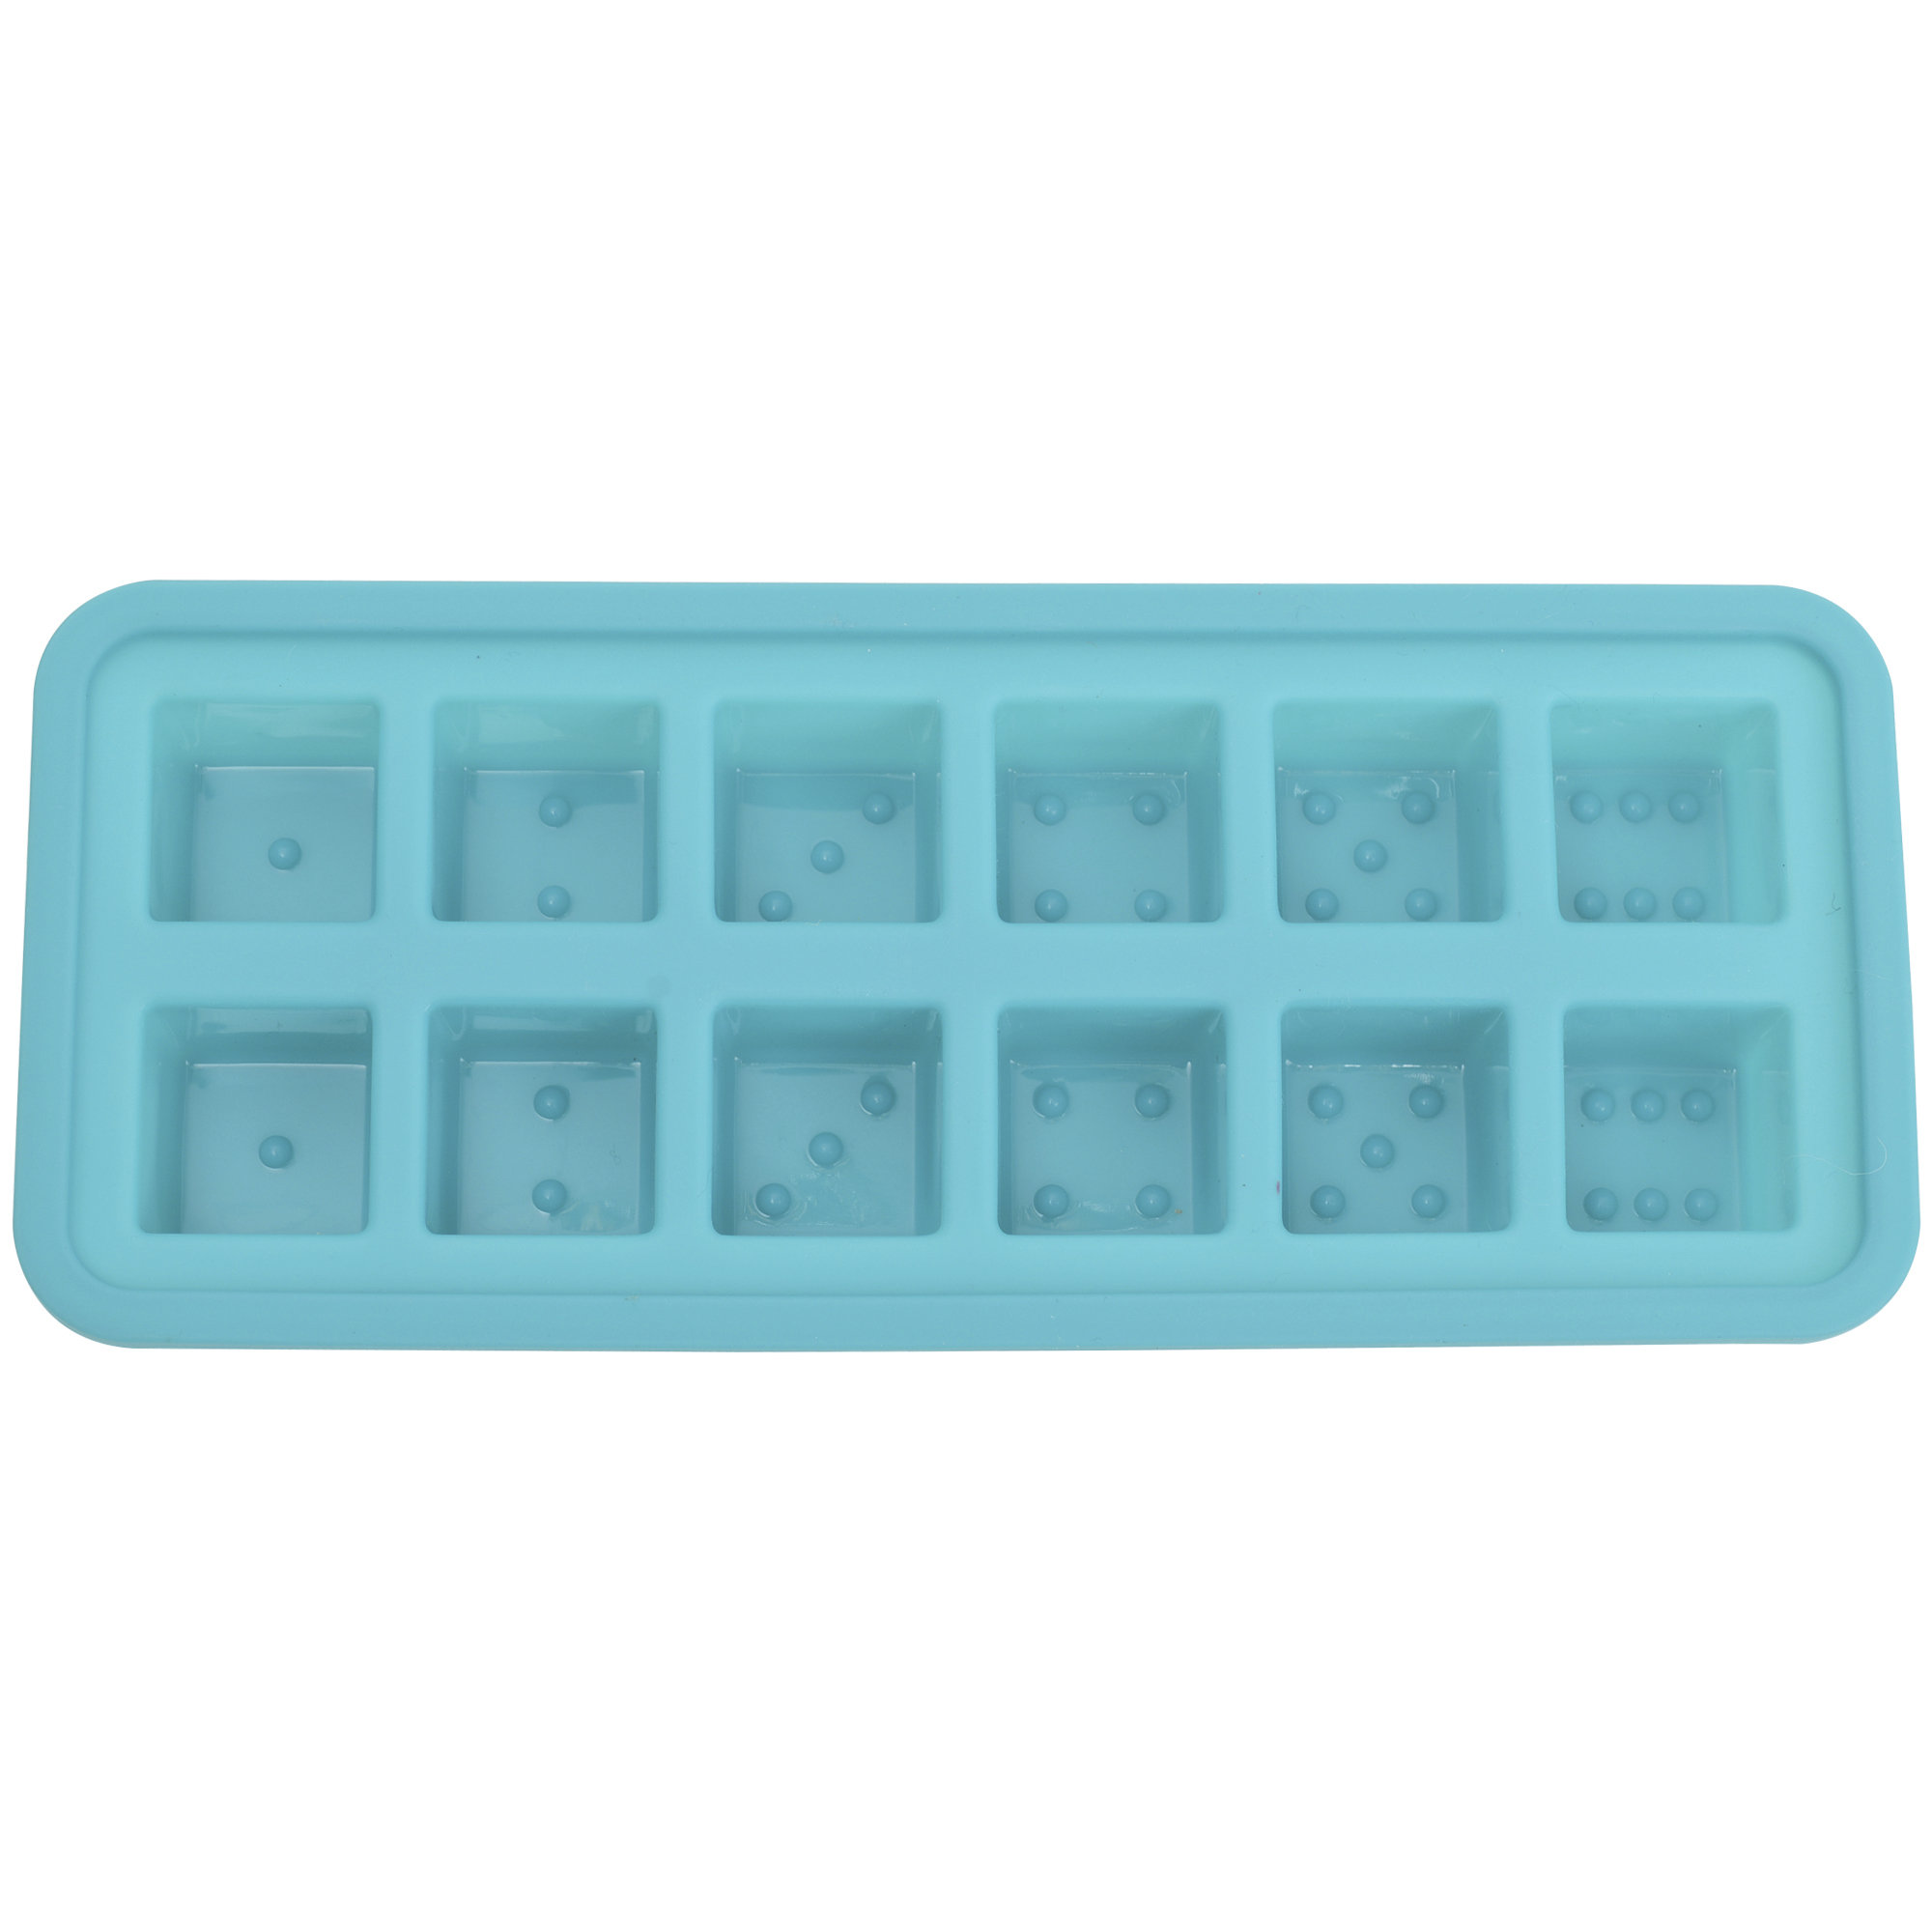
Even if your refrigerator has an automatic ice maker, there’s a good chance you have a couple of these stowed in your kitchen (or at your parents’ house). Ice cube trays are the cheapest way to store prepared baby food — just portion, freeze until set (2 to 4 hours), and then pop them into freezer bags.
A traditional plastic tray certainly works, but for super-easy release of your frozen baby food, opt for silicone, which comes in a variety of sizes, allowing you to freeze larger portions of food as your baby’s appetite grows.
Freezer Bags
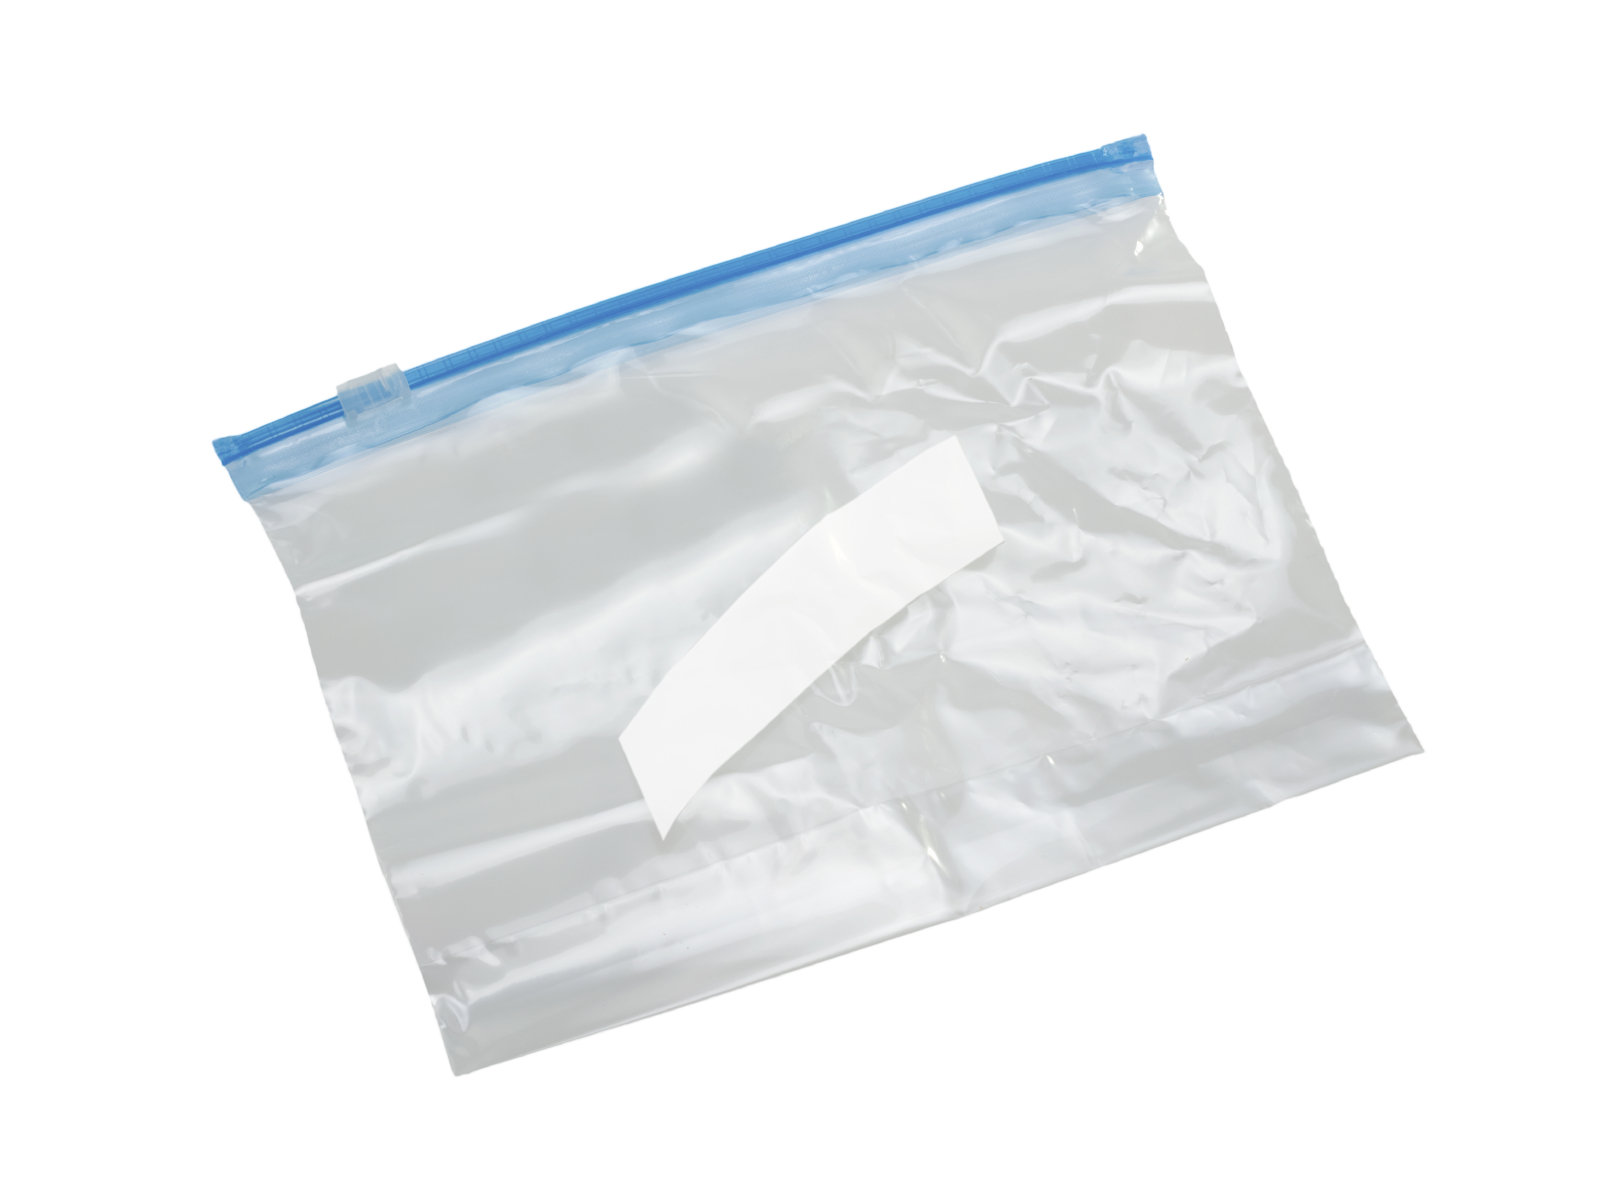
Uniform cubes of frozen baby food stack nicely in gallon or quart size freezer bags. Squeeze as much air out of the bag as possible before sealing and freezing. To protect your food from freezer burn and from taking on funky flavors, be sure to use bags specifically made to be frozen (as opposed to the regular storage variety).
Permanent Marker
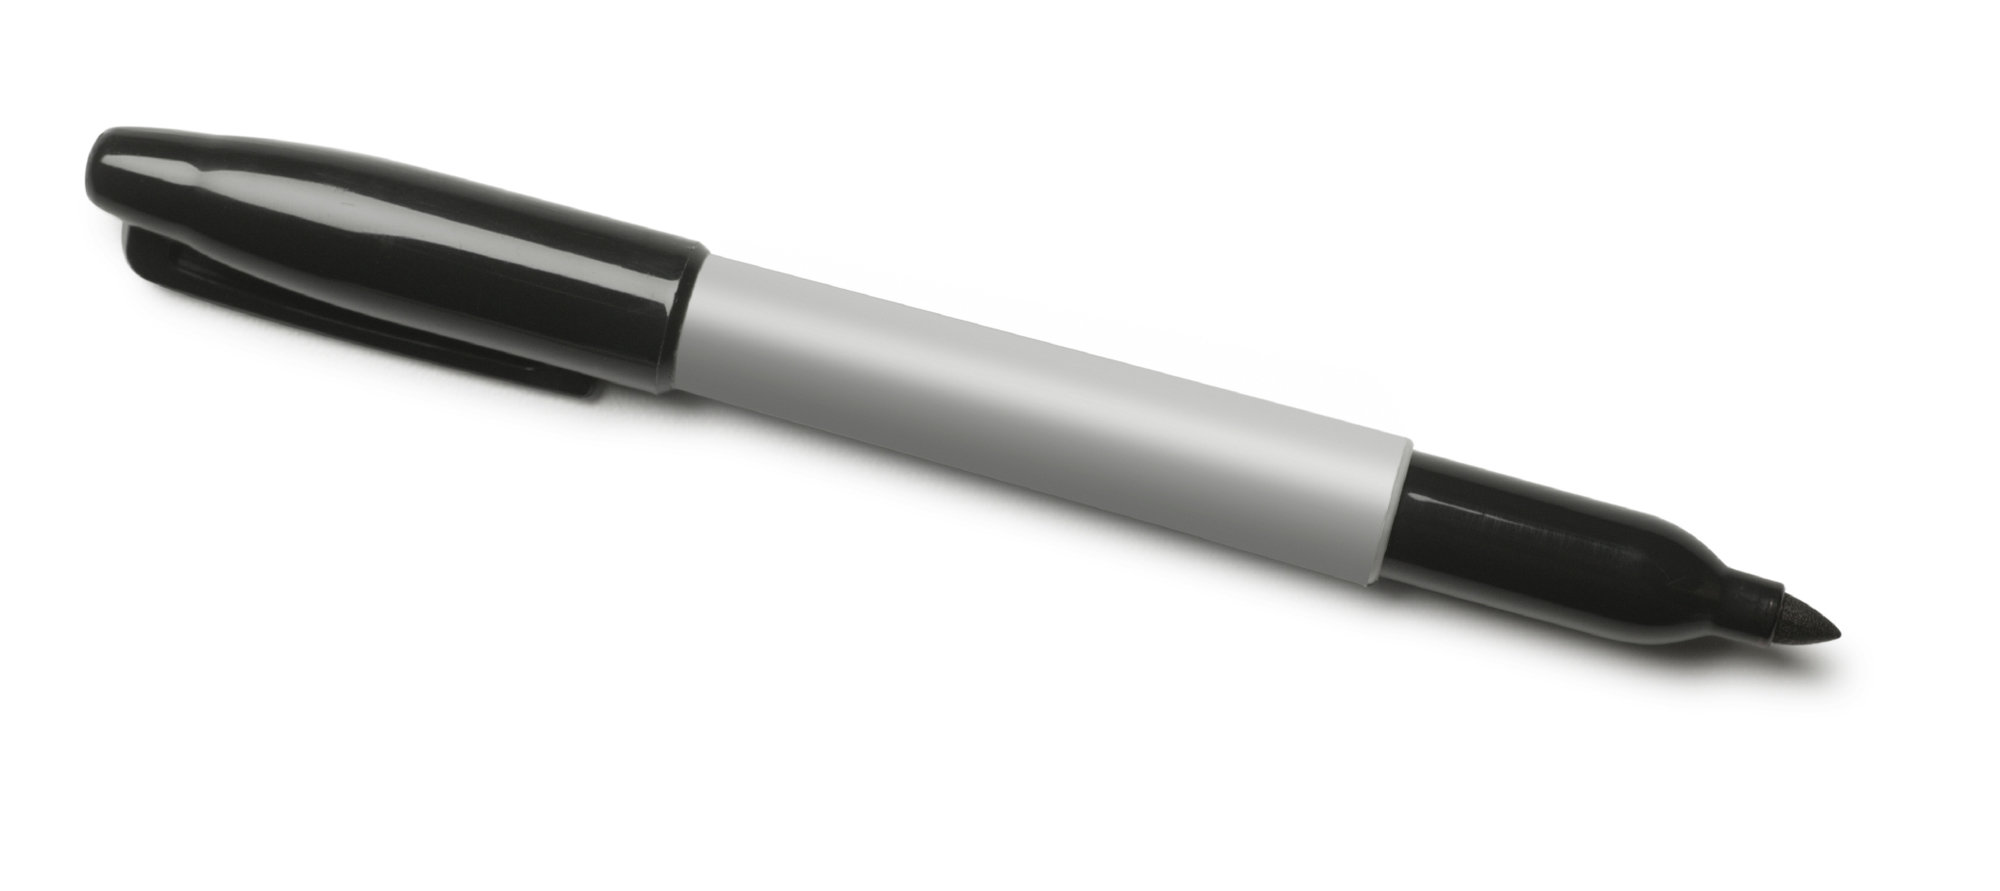
As your stash of baby food grows, you’ll find it helpful to diligently label each freezer bag with its contents and date. Most frozen baby food can keep for up to three months when properly stored in the freezer. Labeling your bags help you remember to use the older food first.


