Who wants a juicy, flavorful turkey — raise those hands! We all do, of course, and the secret here is in the turkey brine. Brining is one of a Thanksgiving chef's best secrets. And when it's done correctly, it can make one mouthwateringly juicy roast turkey. (Yes, please!) Don't worry, we've got all the secrets — here are some of the best tips for brining a perfect bird.
First we must address the issue many may be having regarding everything Thanksgiving: the stress. It's true — there can be a lot of stress when it comes to getting the turkey right. Because no one likes a dry turkey, and no amount of gravy can help.
More from CafeMom: Thanksgiving Hacks to Make the Holiday Easier
We're here to help and take all of the stress out of this part. There will be no dry turkeys! These tips aren't just for the seasoned chef, either. Anyone (even those who call boxed mac and cheese their specialty) can get their turkey brined to perfection. These tips are even easy enough for those who detest cooking (can we get a raise of hands for that, too?).
More from CafeMom: 10 Reasons to Keep Pawning Off Thanksgiving on Relatives
Brining is an art, but one that's easy enough for anyone to master. It just requires a little patience, mindfulness, and following these handy tips.
Be Mindful of Brining Process
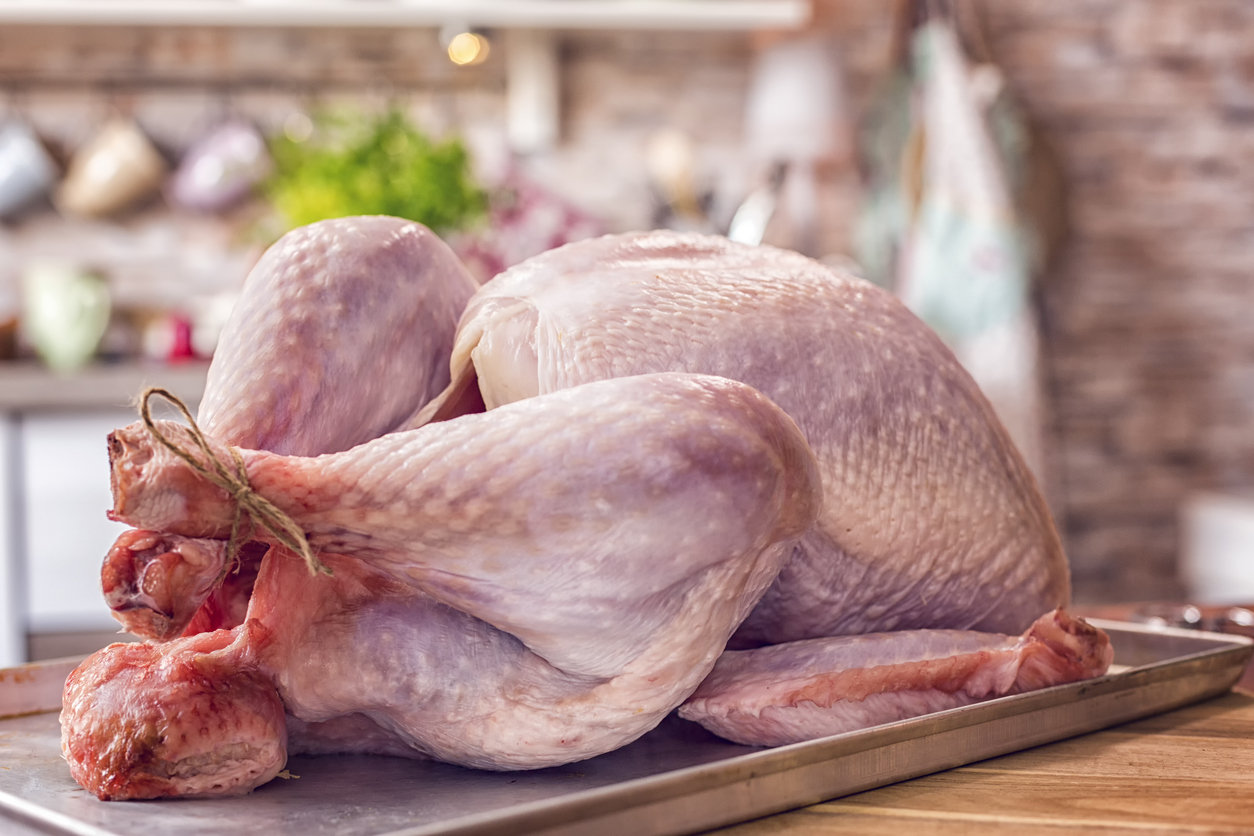
Not everyone thinks of this part, but it's still key in getting everything about the turkey right — including brining. When brining, always keep the turkey on the bottom shelf of the refrigerator and always cover it. Nothing ruins Thanksgiving more than food poisoning.
Brine Turkey In Parts
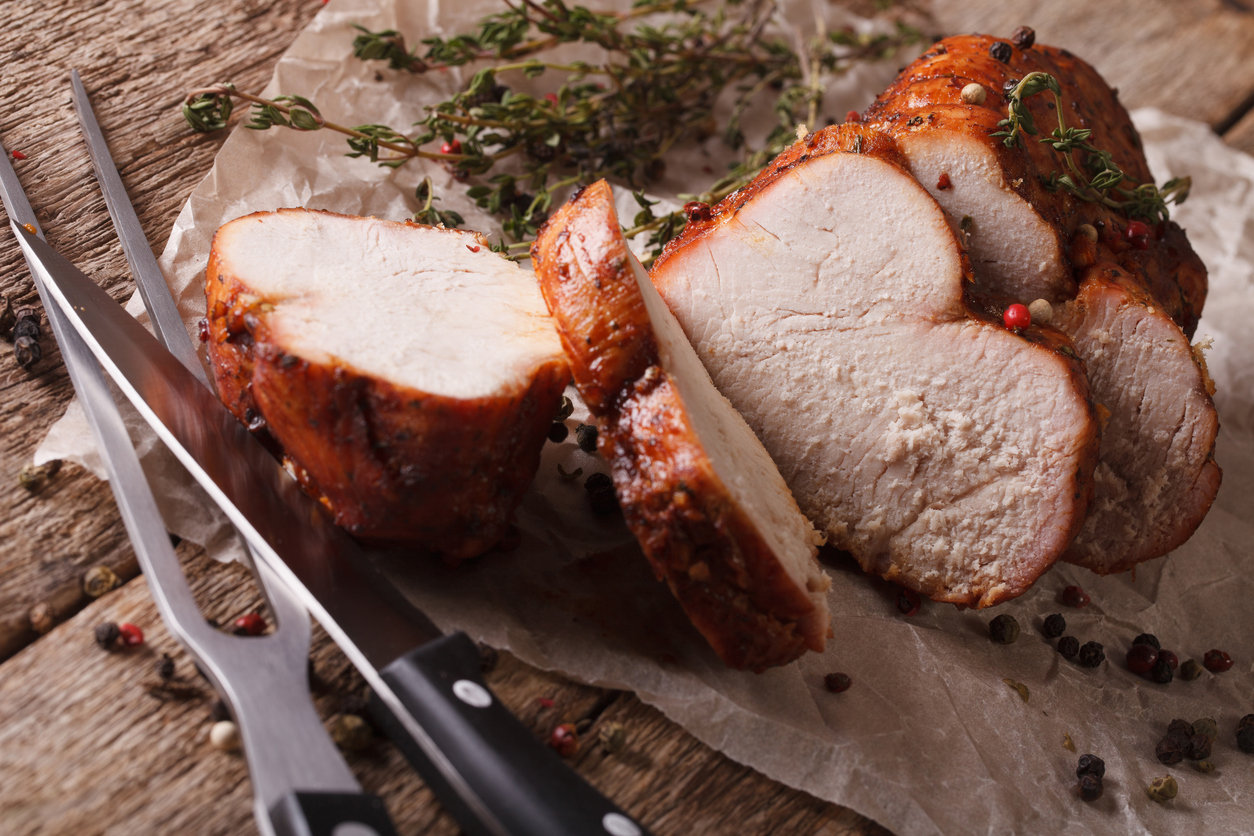
Sure, cooking the whole bird is the traditional way, but here's a very fine idea: Cut the raw turkey into pieces. This ensures your brine will work like magic. This also means just about every mouthful will have more of that flavorful brine. Cutting it into pieces isn't too challenging either — the turkey cutting tips over at Serious Eats will help.
Let It Rest
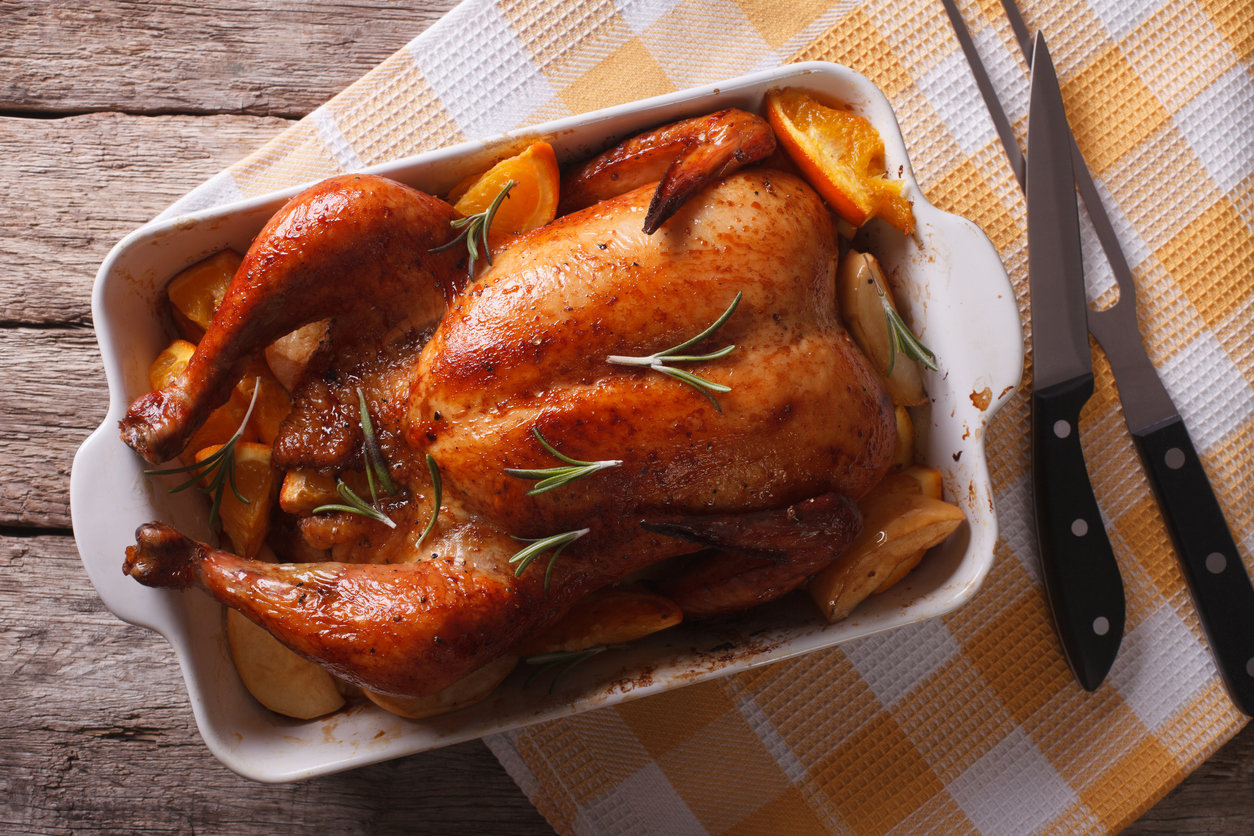
After going through all the time-consuming bits of prepping, brining, and then cooking the turkey, even when that timer goes off, there is still more time to wait before beginning the carve. Let that turkey rest for at least 20 minutes before cutting it to serve. This rest period allows the juices to stay in the turkey and not just spill out. Many chefs say 30 to 40 minutes and remind that the turkey won't be cold because the gravy you pour on it will be hot.
More from CafeMom: 9 Hilarious, Messy, and Totally Unforgettable Thanksgiving Mishaps
Use Cranberry in a Whole New Way

Cranberry sauce is the perfect side, but it can also take your brine to the next level. Use a cranberry sauce as a rub and it becomes a sticky, sweet glaze. You can also add cranberry juice to your brine, which helps the turkey be even more tender.
Try Untraditional Spices
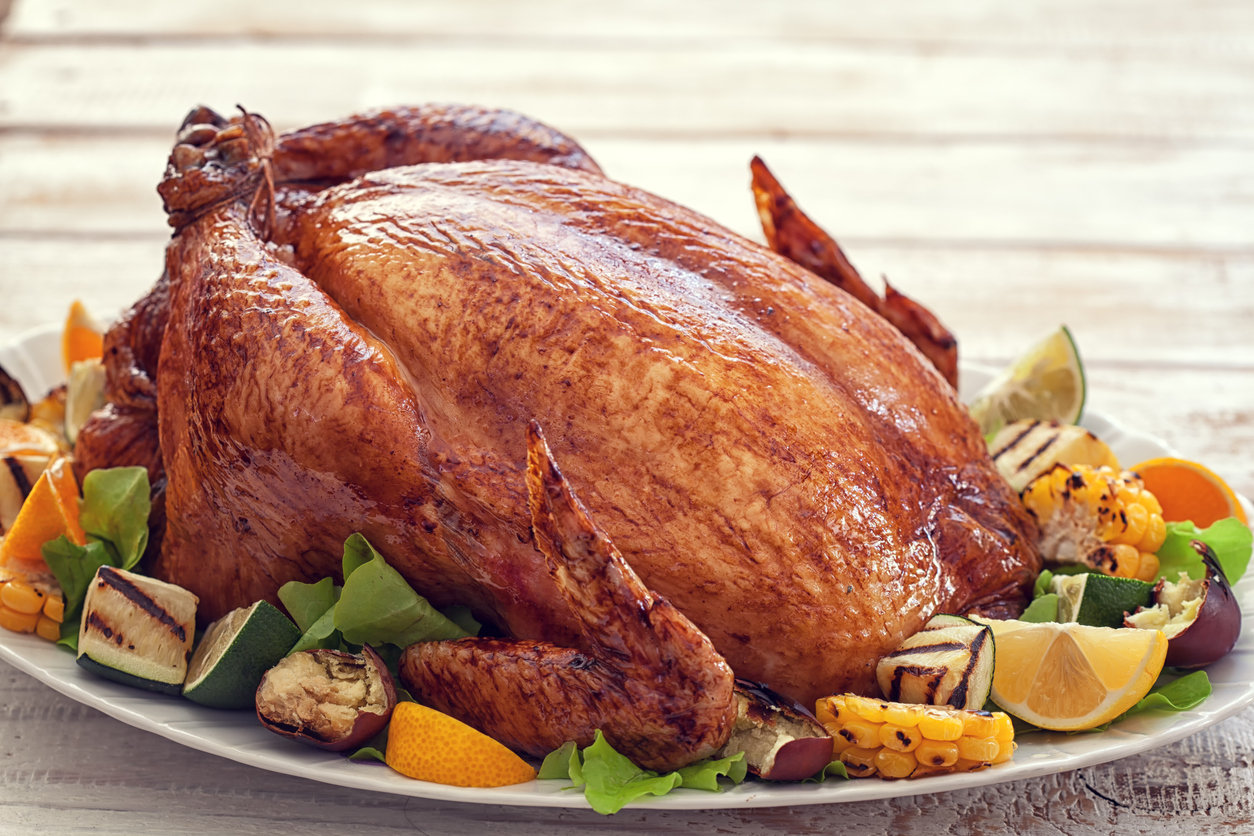
Everyone knows about the traditional favorites to season the brine — salt, rosemary, sage, and thyme. But these flavors aren't the only ones to get your turkey moist and savory. Try substituting soy sauce for salt. Use a mole as a dry rub. Add spices to your turkey like cumin and chili powder, coriander, all spice, ginger, even cinnamon. Flavor your turkey with any of your favorite seasonings — you can make your own brining spices depending on your tastes. Let your side dishes follow the theme.
Pick the Right Turkey
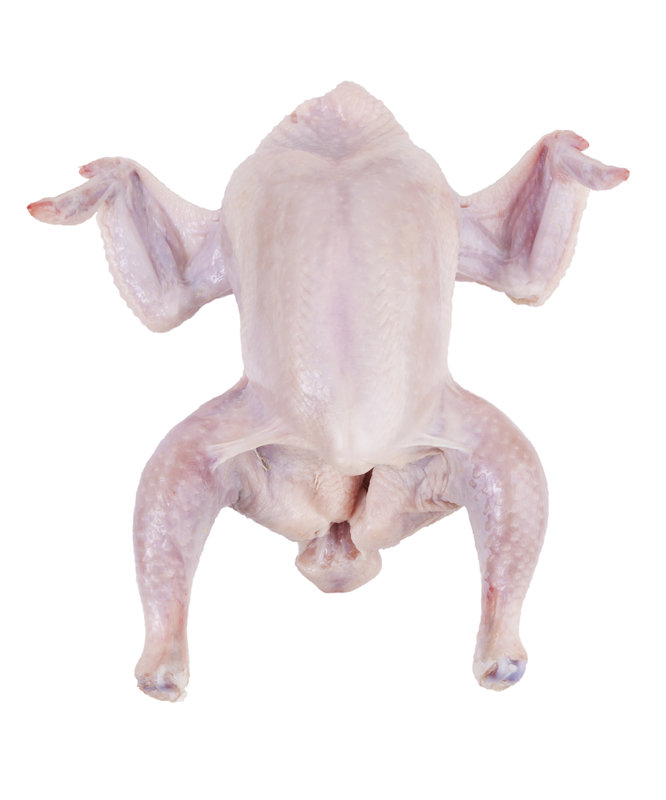
Not all turkeys are made for brining. First of all, never brine a kosher turkey. They've already been treated with salt, and they're not alone. Some brands sell pre-seasoned turkeys that have been injected with salt and other flavorings and those shouldn't be brined, either. So check the ingredients list on the package of your turkey.
More from Cafemom: 19 Easy Thanksgiving Activities to Teach Kids to Be Thankful
Plan Ahead

Depending on the method you use, you may need a couple of days for the entire process. So plan ahead! If you're buying a frozen turkey, it will take three to four days just to thaw. Even if you're just brining overnight, you'll need time for the turkey to dry out — more on that soon. So get out your calendar a week ahead.
Strong Brine: Short Time, Weak Brine: Long Time

There are a lot of different brine recipes out there with different concentrations of water to salt. Generally speaking, you can brine a bird longer in a weaker solution. In a stronger solution, brining too long can render the meat mushy and tasteless. So trust the recipe and don't leave the turkey in its bath longer than recommended.
Use the Right Salt
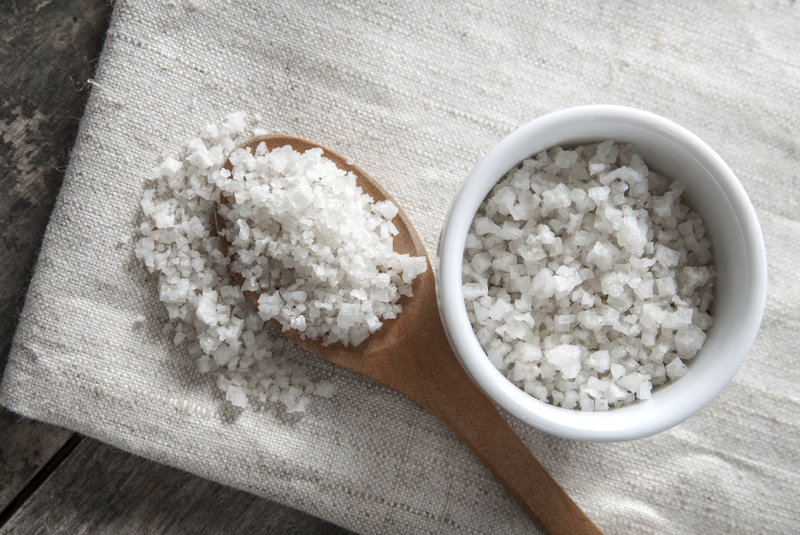
Any salt will work, but for BEST results, use kosher salt. Most brine recipes are written for kosher salt, and table salt has more density, so the same measurement will be, well, saltier.
Best Brine Proportions
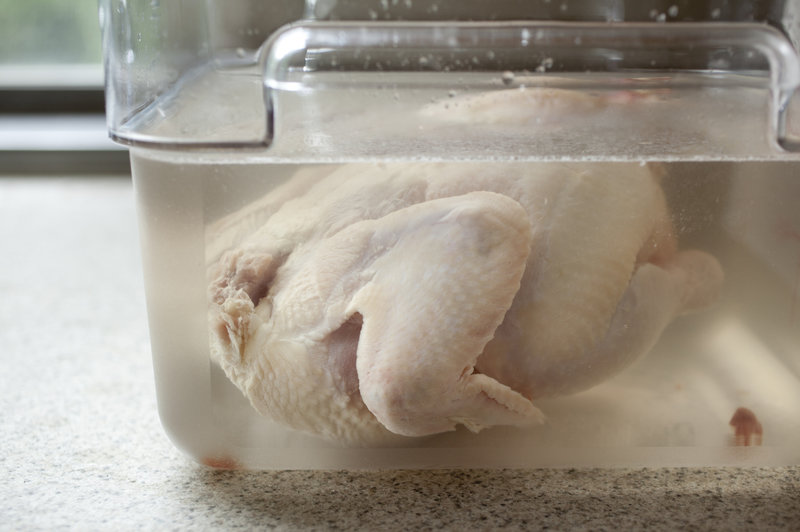
Winging it on your own? A general rule of thumb is one pound of salt per gallon of water. Or, follow Martha Stewart's classic brine recipe, which uses 1 1/2 cups of salt in 7 quarts (28 cups) of water.
More from CafeMom: 5 Tips for the Most Juicy, Flavorful Turkey You've Ever Had
Best Brine Seasonings
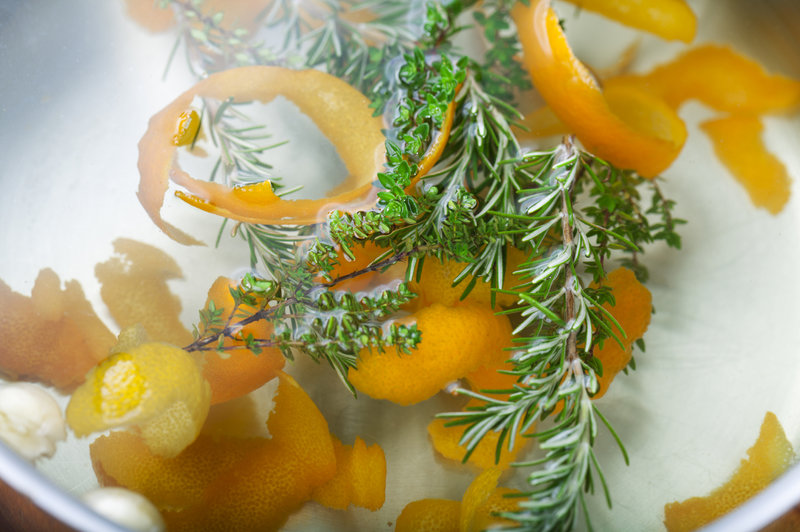
Give your bird some flava! You can add all kinds of seasonings to a turkey brine — anything you want your turkey to taste like. Most cooks recommend bay leaves, peppercorns, thyme, rosemary, sage, citrus peels, and a little sugar. DO NOT use acids like apple cider or vinegar. They will make your meat mushy.
Brew Your Brine First
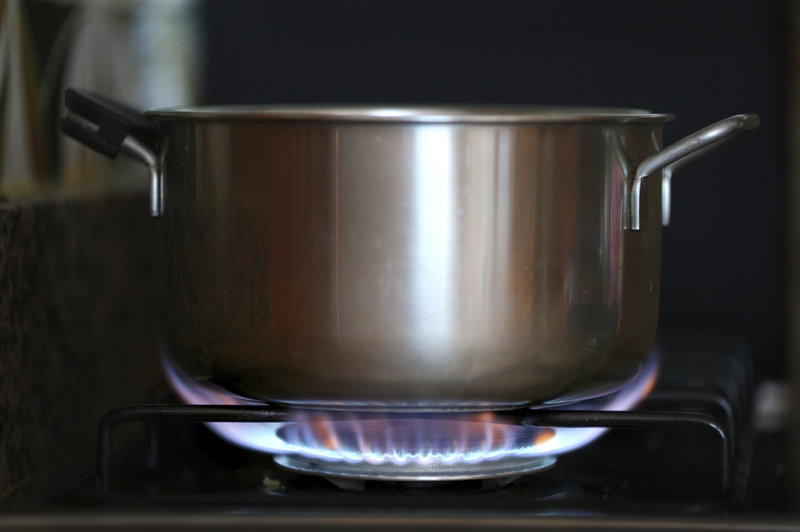
For maximum flavor, brew your brine ingredients (without the turkey) first. Bring it all to a boil in a big pot on the stove, turn off the heat, cover, and let steep until it all cools.
We're serious about the cooling — you'll need to brine your turkey in a COLD environment (like your fridge) to ward off bacteria.
Try the Dry Brine
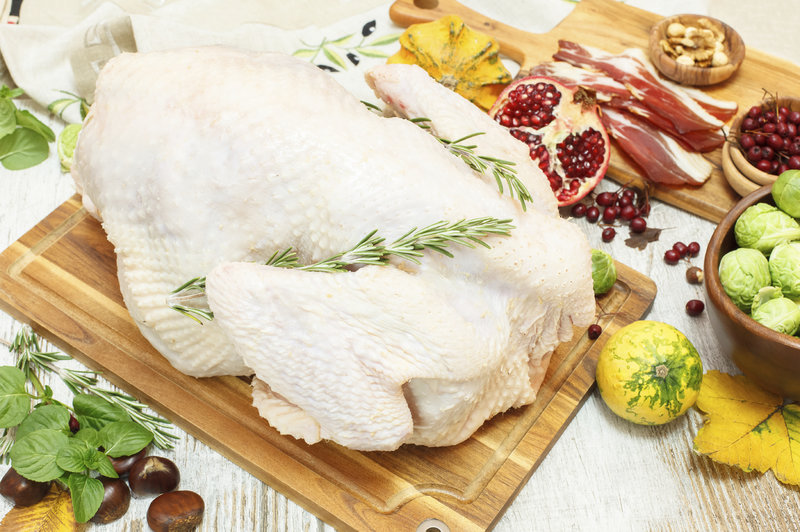
Some turkey experts say dry brining is far better than wet brining. Instead of soaking your bird in a bath, you rub it all over (inside and outside) with salt and other seasonings. Food writer Russ Parsons recommends dry brining with 1 tablespoon of salt per 5 pounds. Sprinkle right on the skin, place in a plastic bag, close tightly, and refrigerate for a day or two.
Rinse After Brining
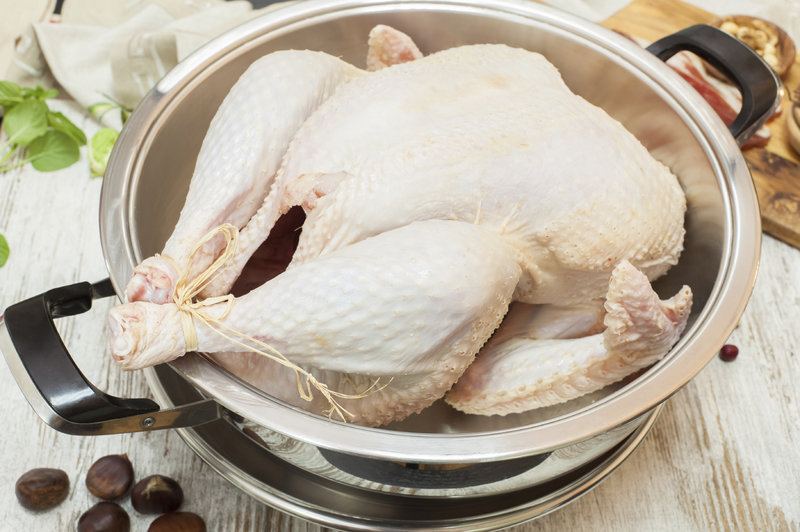
Finished with the brine? Don't forget this important step, whether you're doing the wet or the dry method: RINSE the brine from the bird, otherwise it'll come out too salty.
Dry Out After Wet Brine
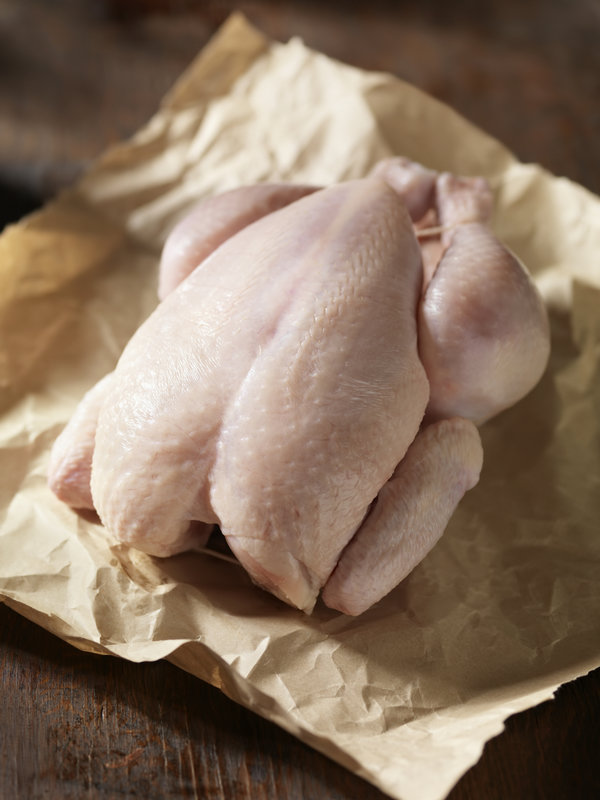
Just as important as rinsing, be sure to dry your bird as well. After rinsing, leave uncovered in the refrigerator a few hours until the surface is completely dry. This will give you a crisper, more golden skin.


